This is the second part of our bunk bed construction, check here to see where we started, or jump ahead to Part III for the big reveal.
Our bunk bed project is moving a little slower than most, because anything done in the kid’s rooms requires all work be relegated to weekends. Bedtime around here is 7:30 and Jason typically gets home a little after six, so between dinner and baths there isn’t much room in the schedule for woodworking. After a five day hiatus, we got back to business on Saturday.
The upstairs hallway is serving double as a workshop, and Grant is finding all sorts of excuses to pass by the miter saw. “I tay sower (I want to take a shower),” is something I’ve been hearing about ten times a day, because he knows Mama can’t refuse an offer to willingly bathe.
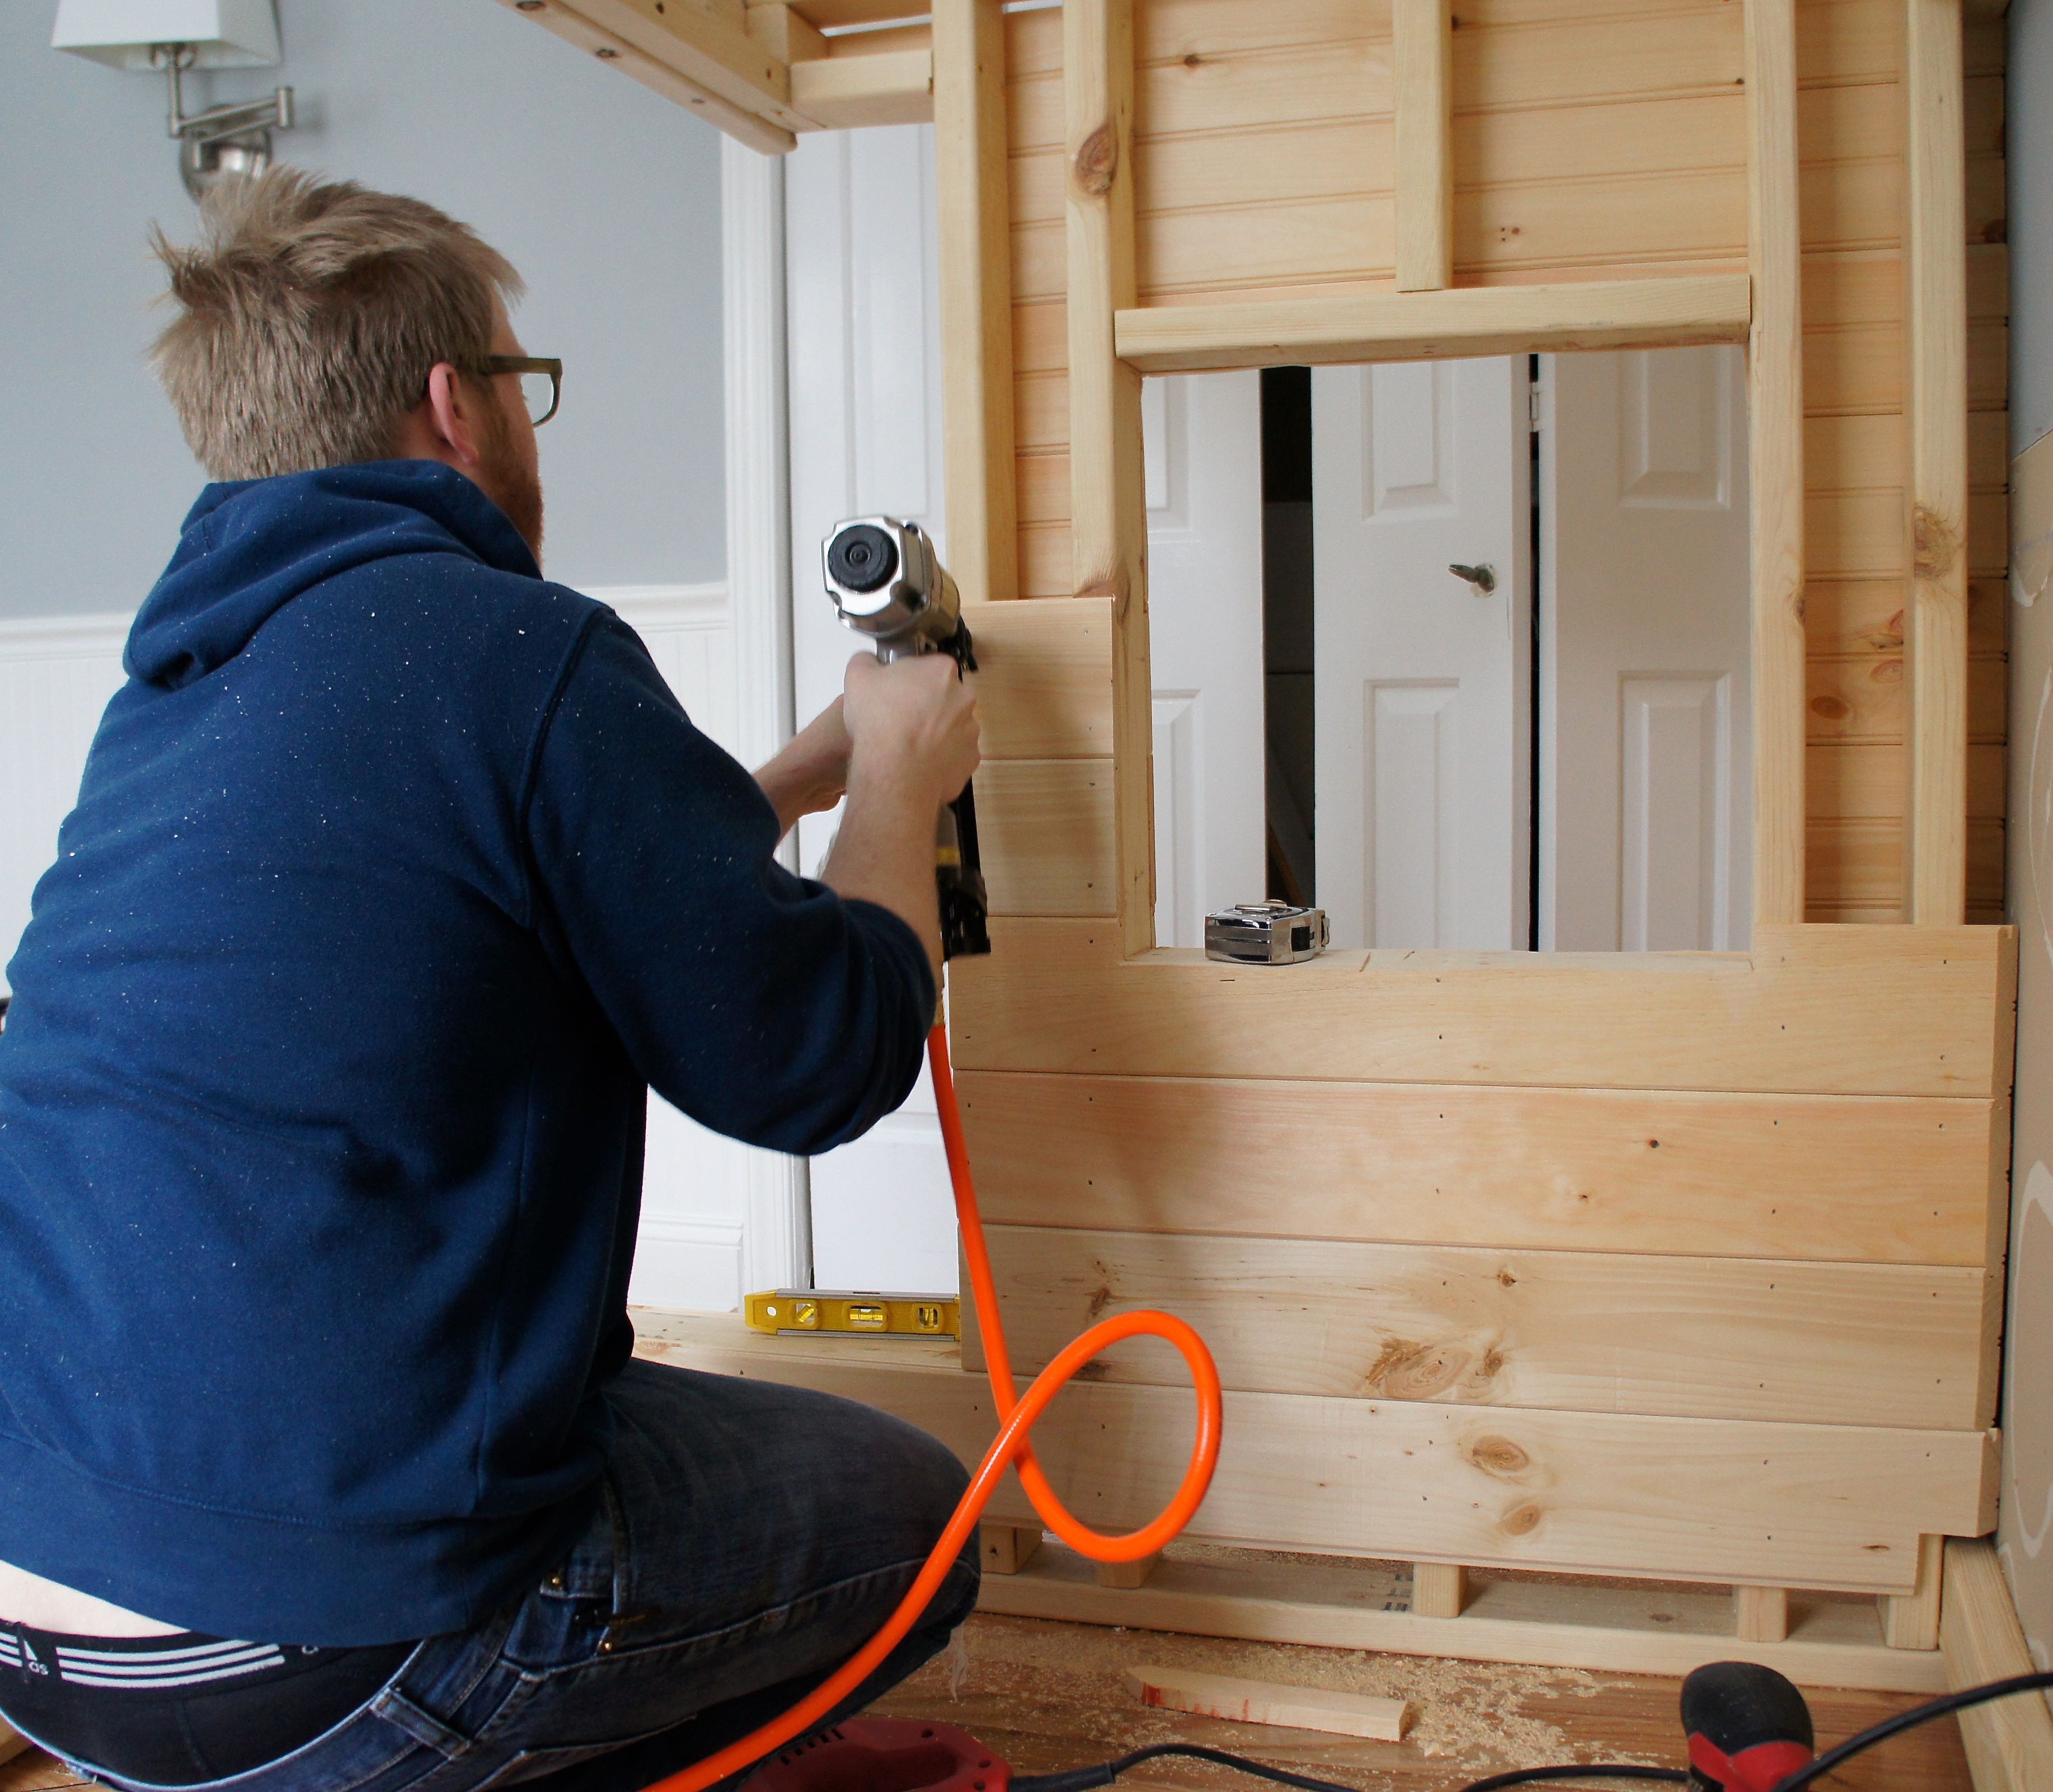
Jason started off Saturday morning cutting tongue and groove wood planks to cover the frame and attaching them with the nail gun.
I made a last minute decision to hardwire a sconce into the beds, and Jason was kind enough to oblige. The Family Handyman had a great tutorial that made the electrical work cut and dry.
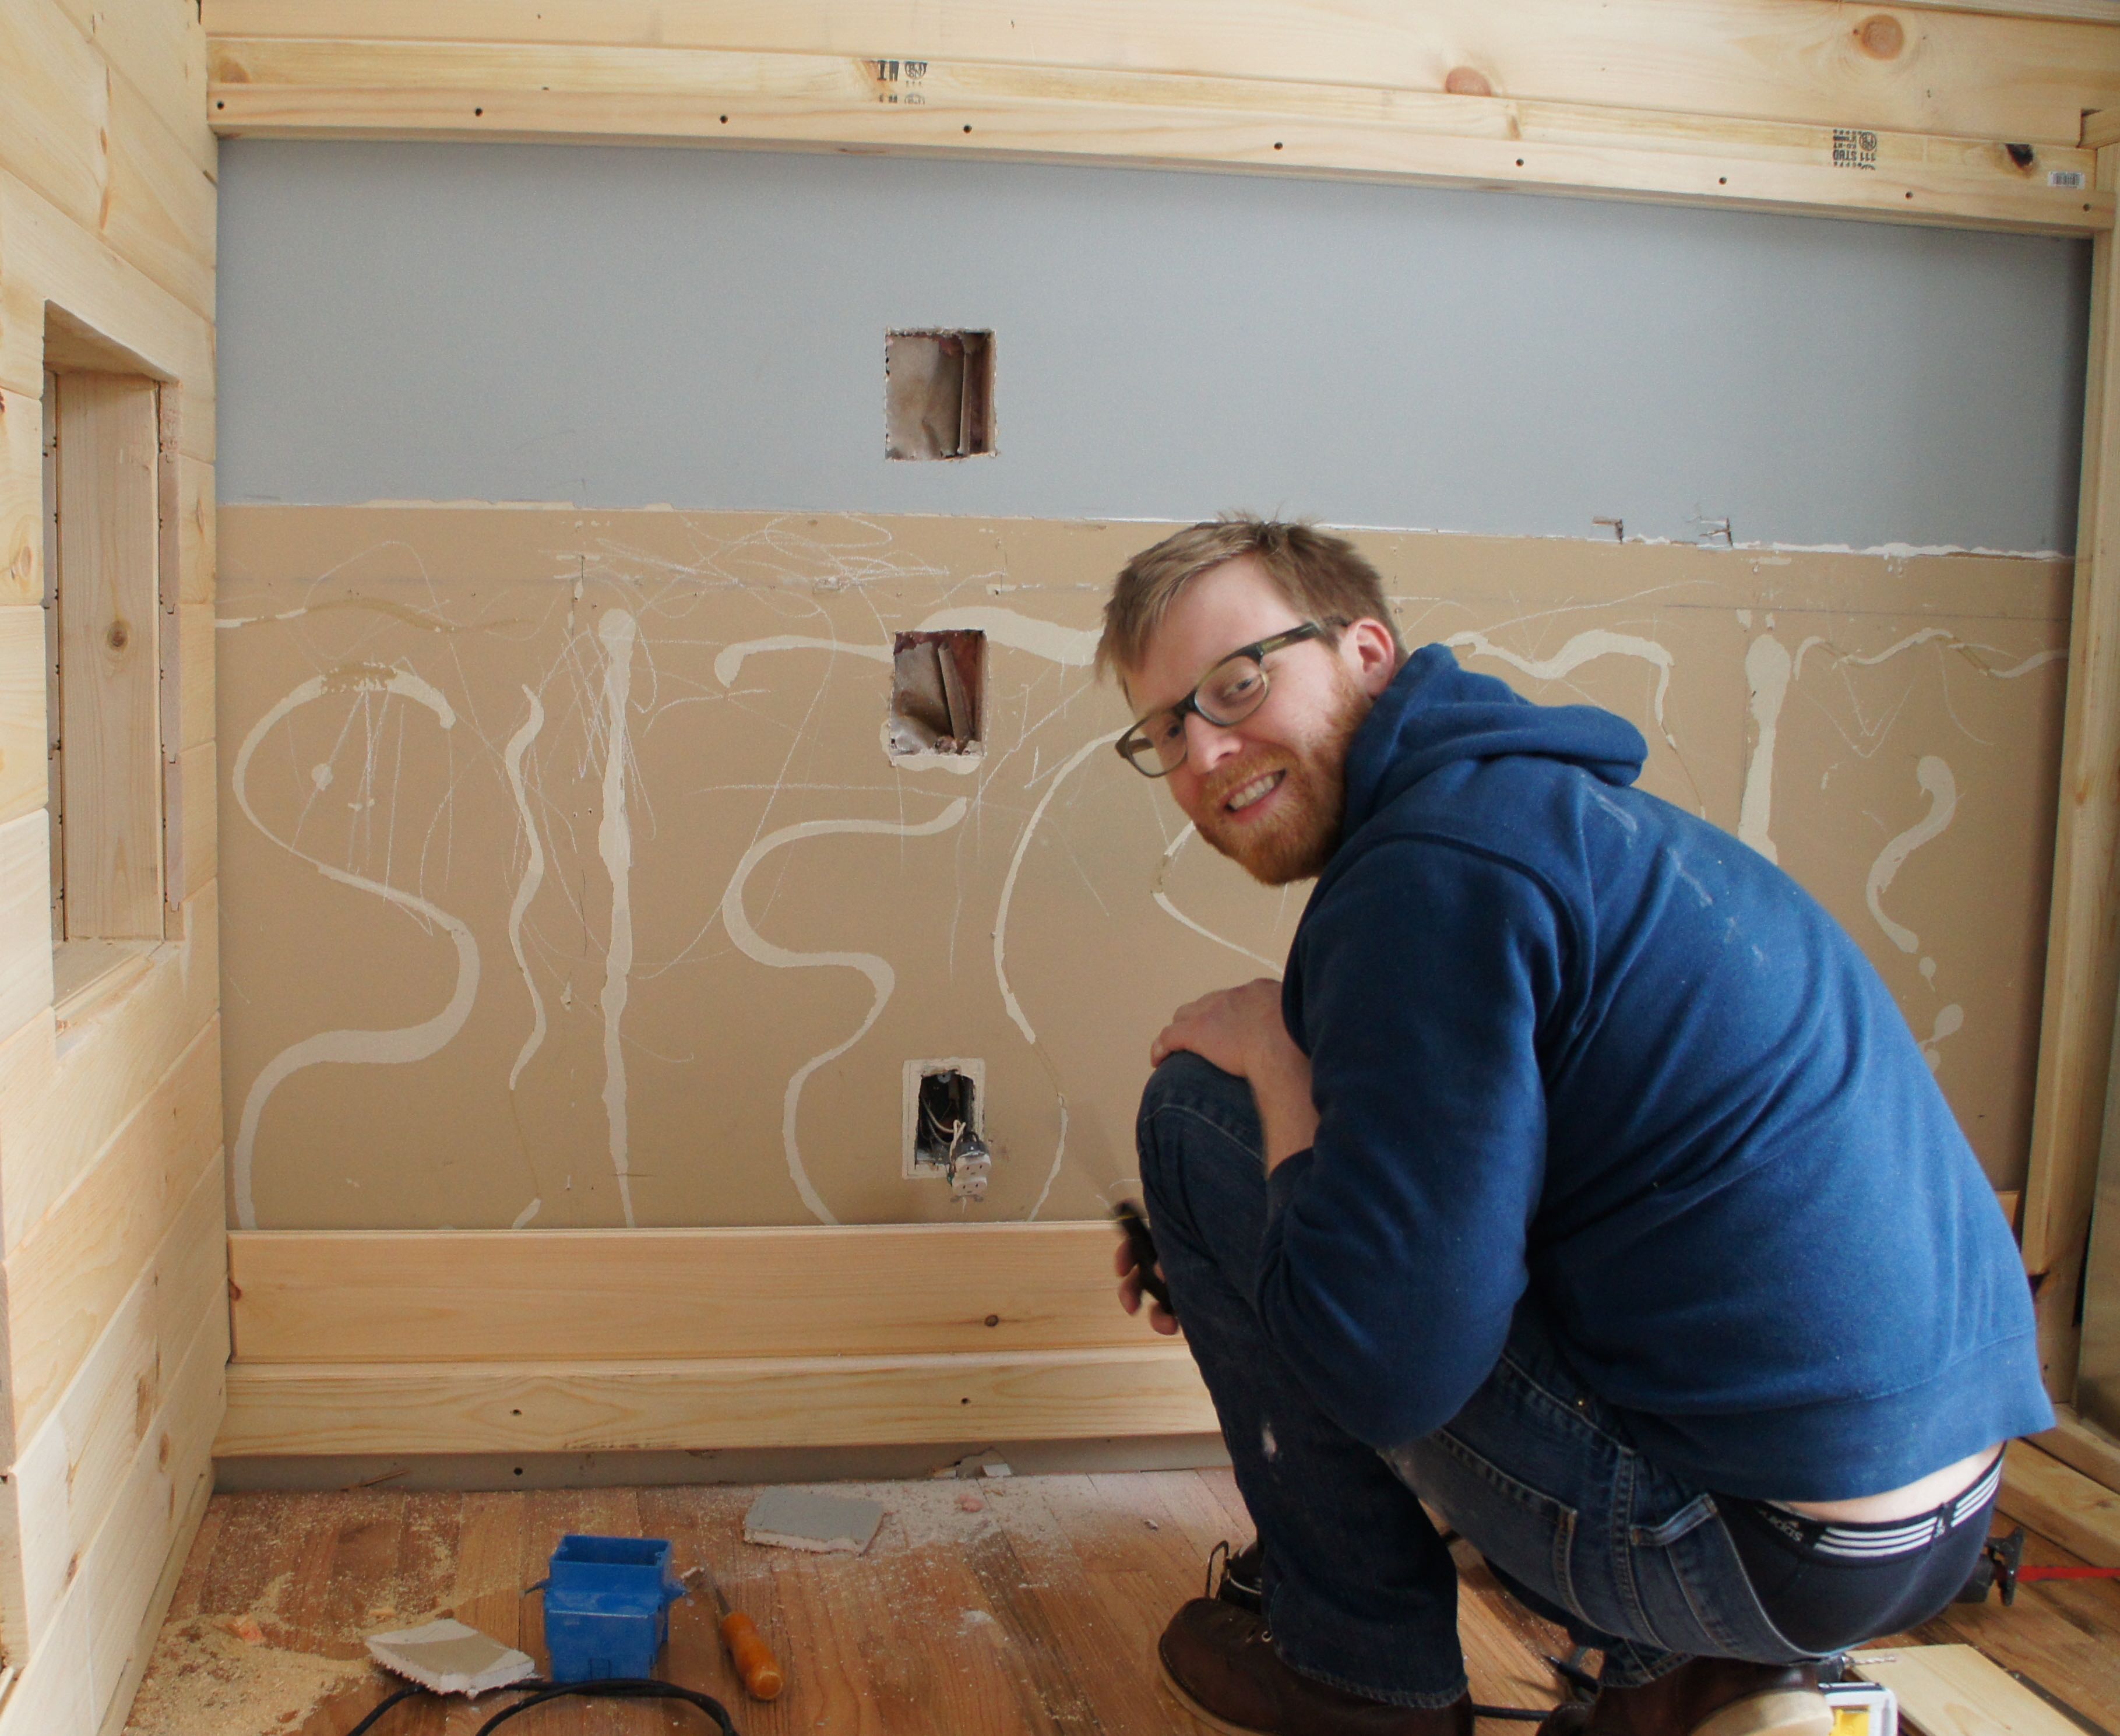
However, cutting the boards to fit the new outlet boxes was time consuming.
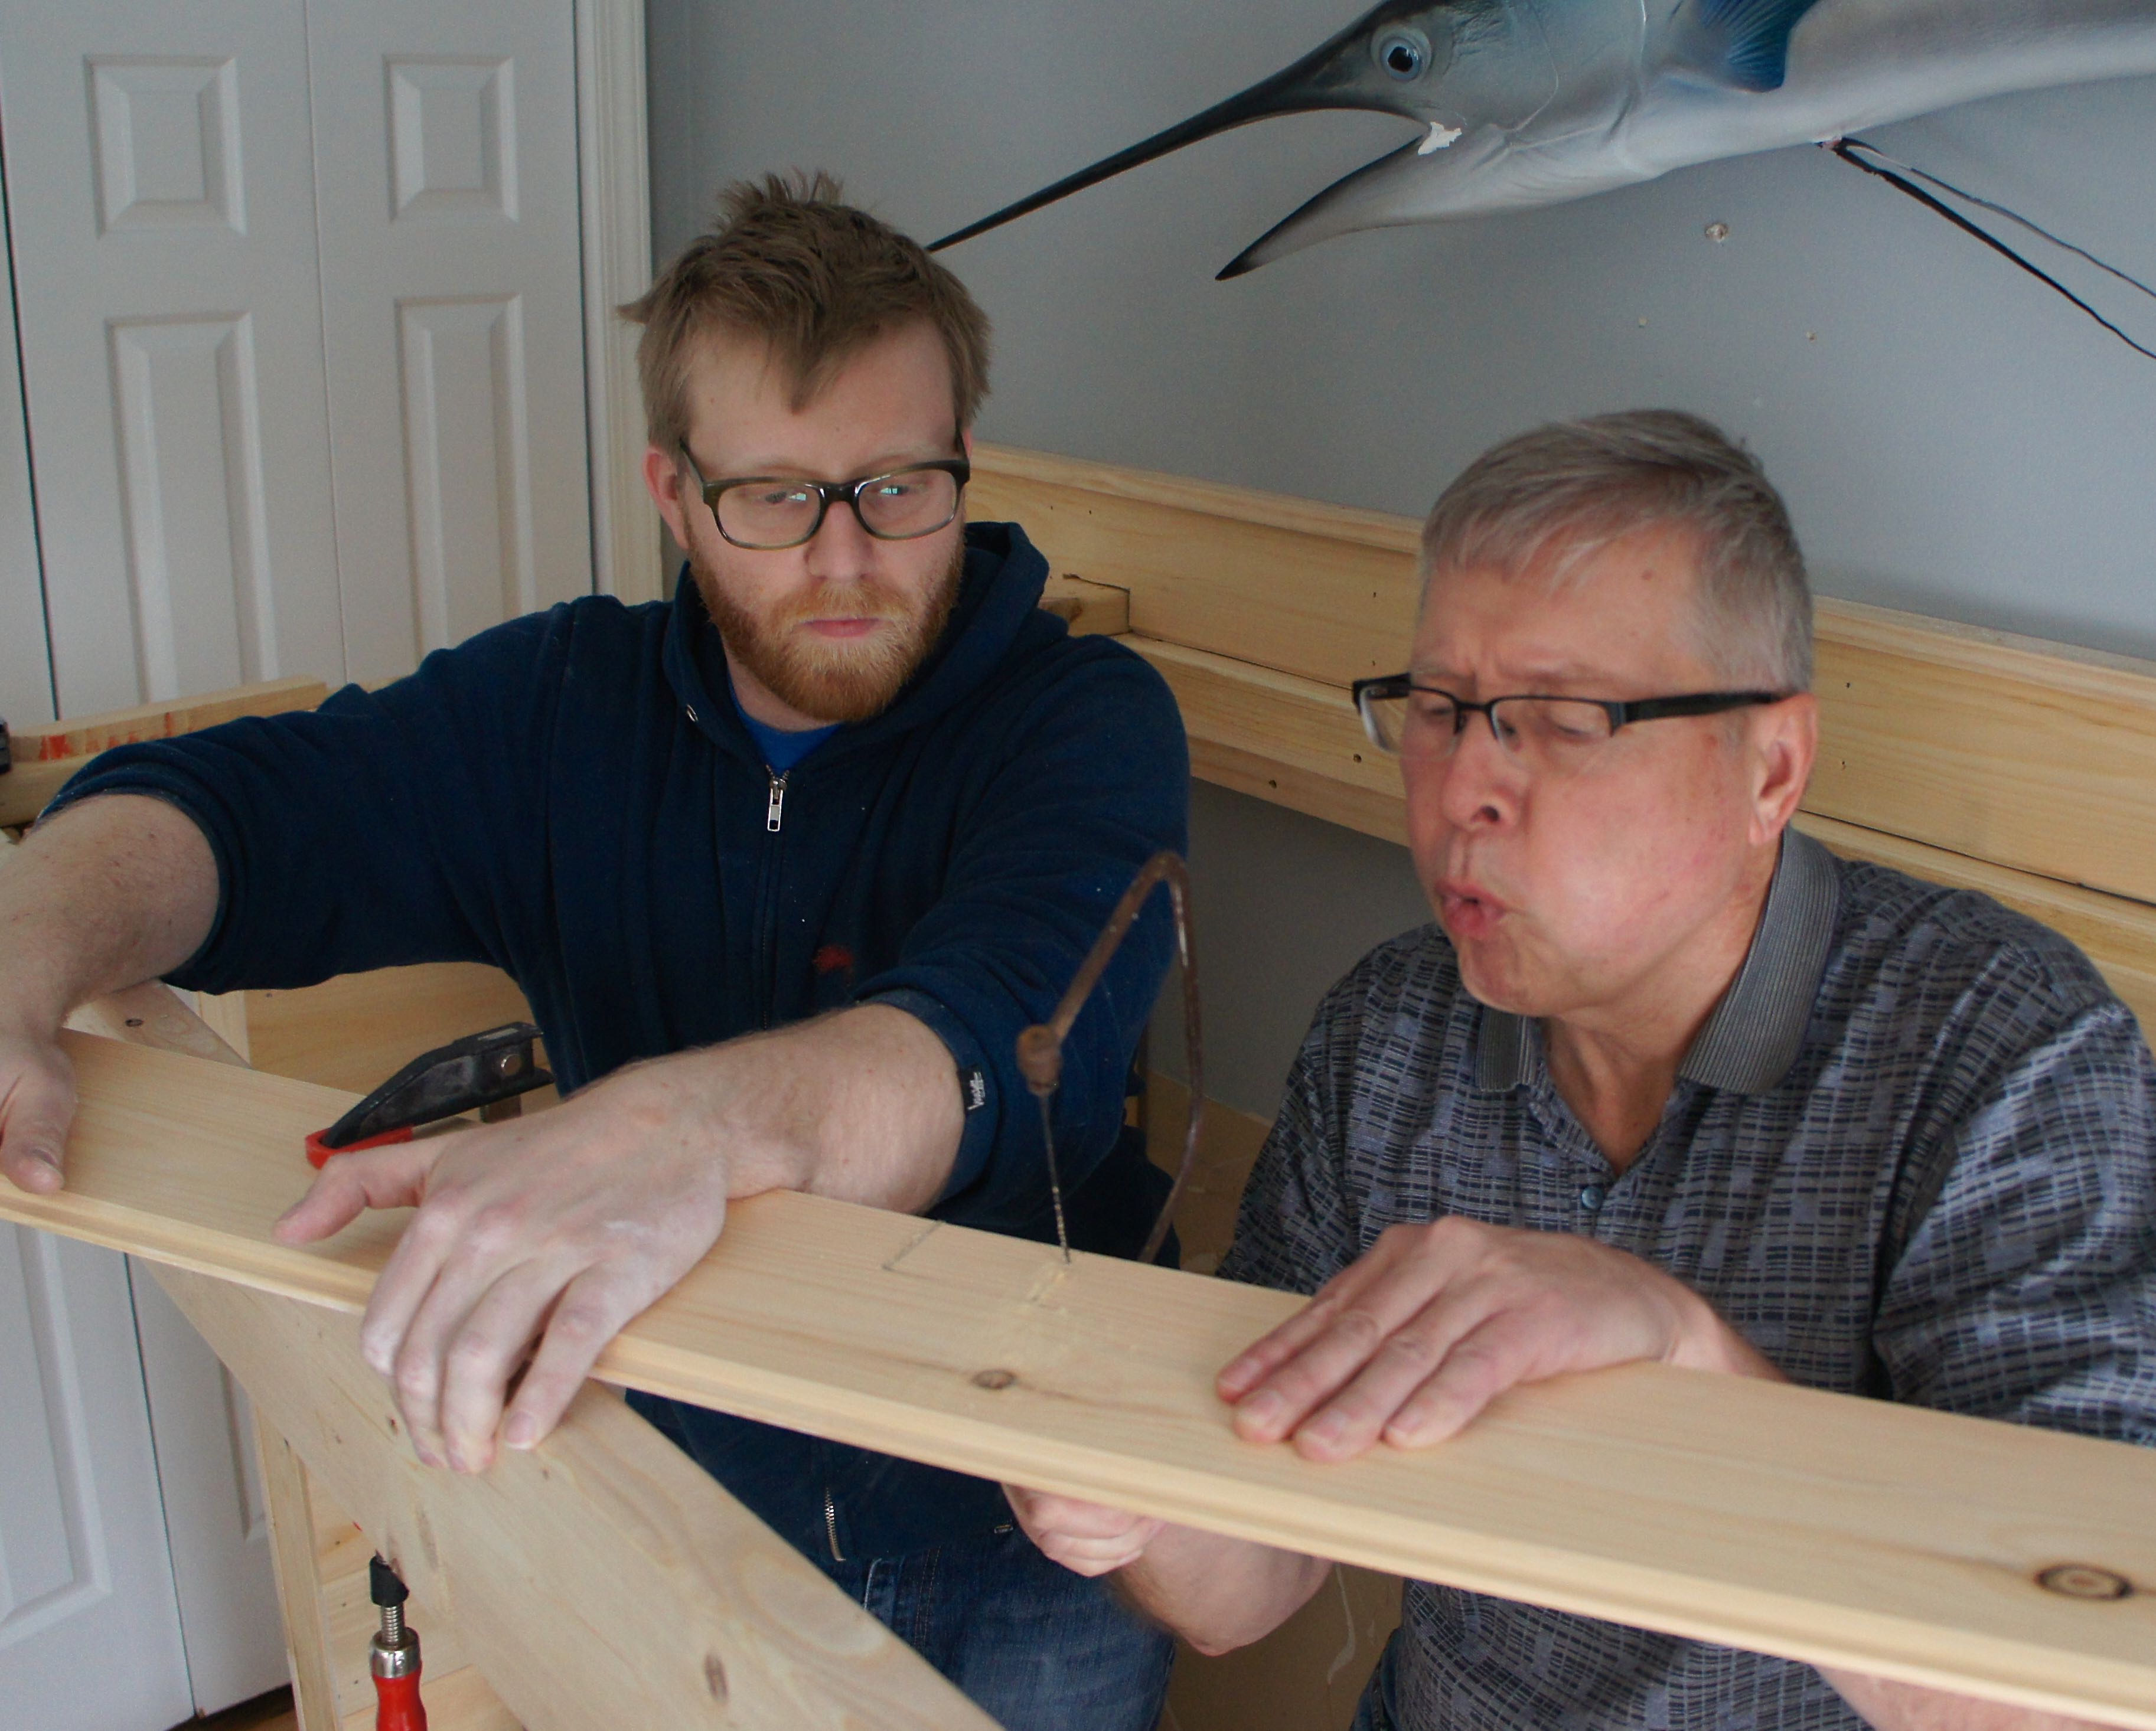
Thankfully my in laws were visiting for the weekend and helped with the little guys.
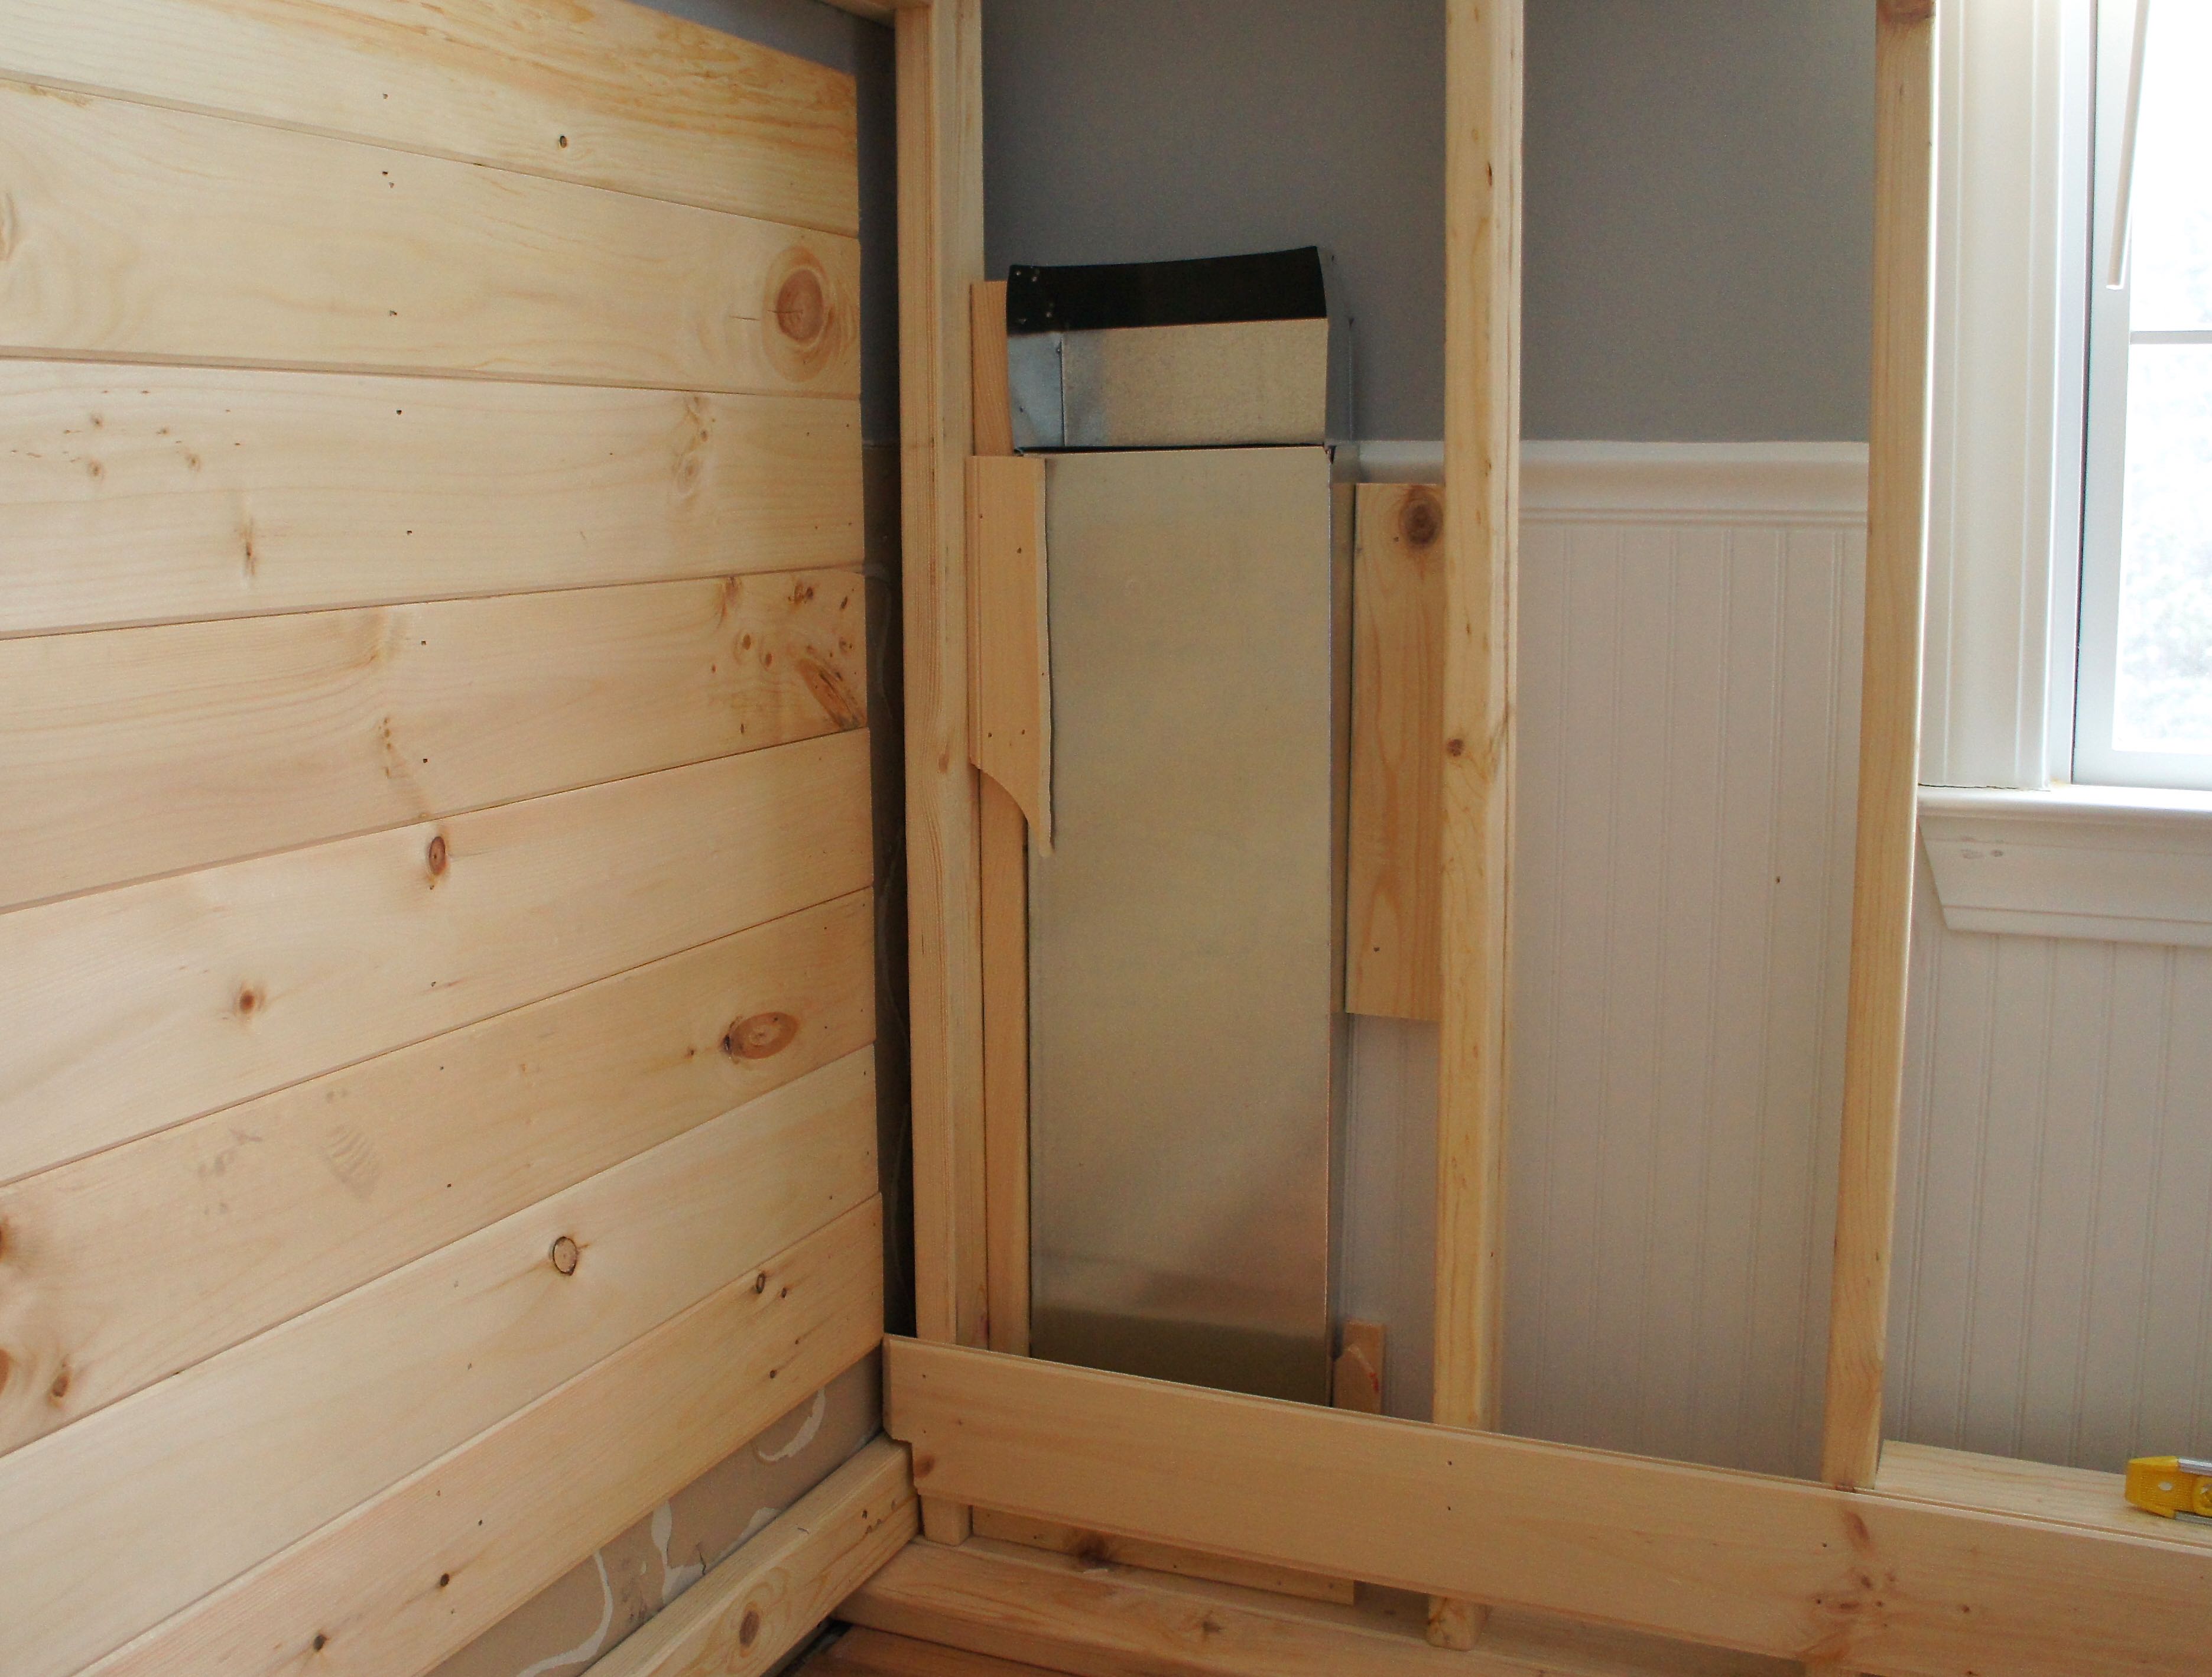
The ductwork in our house runs up through the floors, so we extended Grant’s sole vent up a few feet to keep the bunk bed from obstructing airflow (that’s also why the bunk bed doesn’t fit flush with the wall).
After two days of non stop nailing, sawing, and sanding, our frame is essentially complete! And Jason and I are enjoying some adult beverages and early bedtimes in celebration. I’m not feeling too guilty, though, because this kid clearly loves his new room.
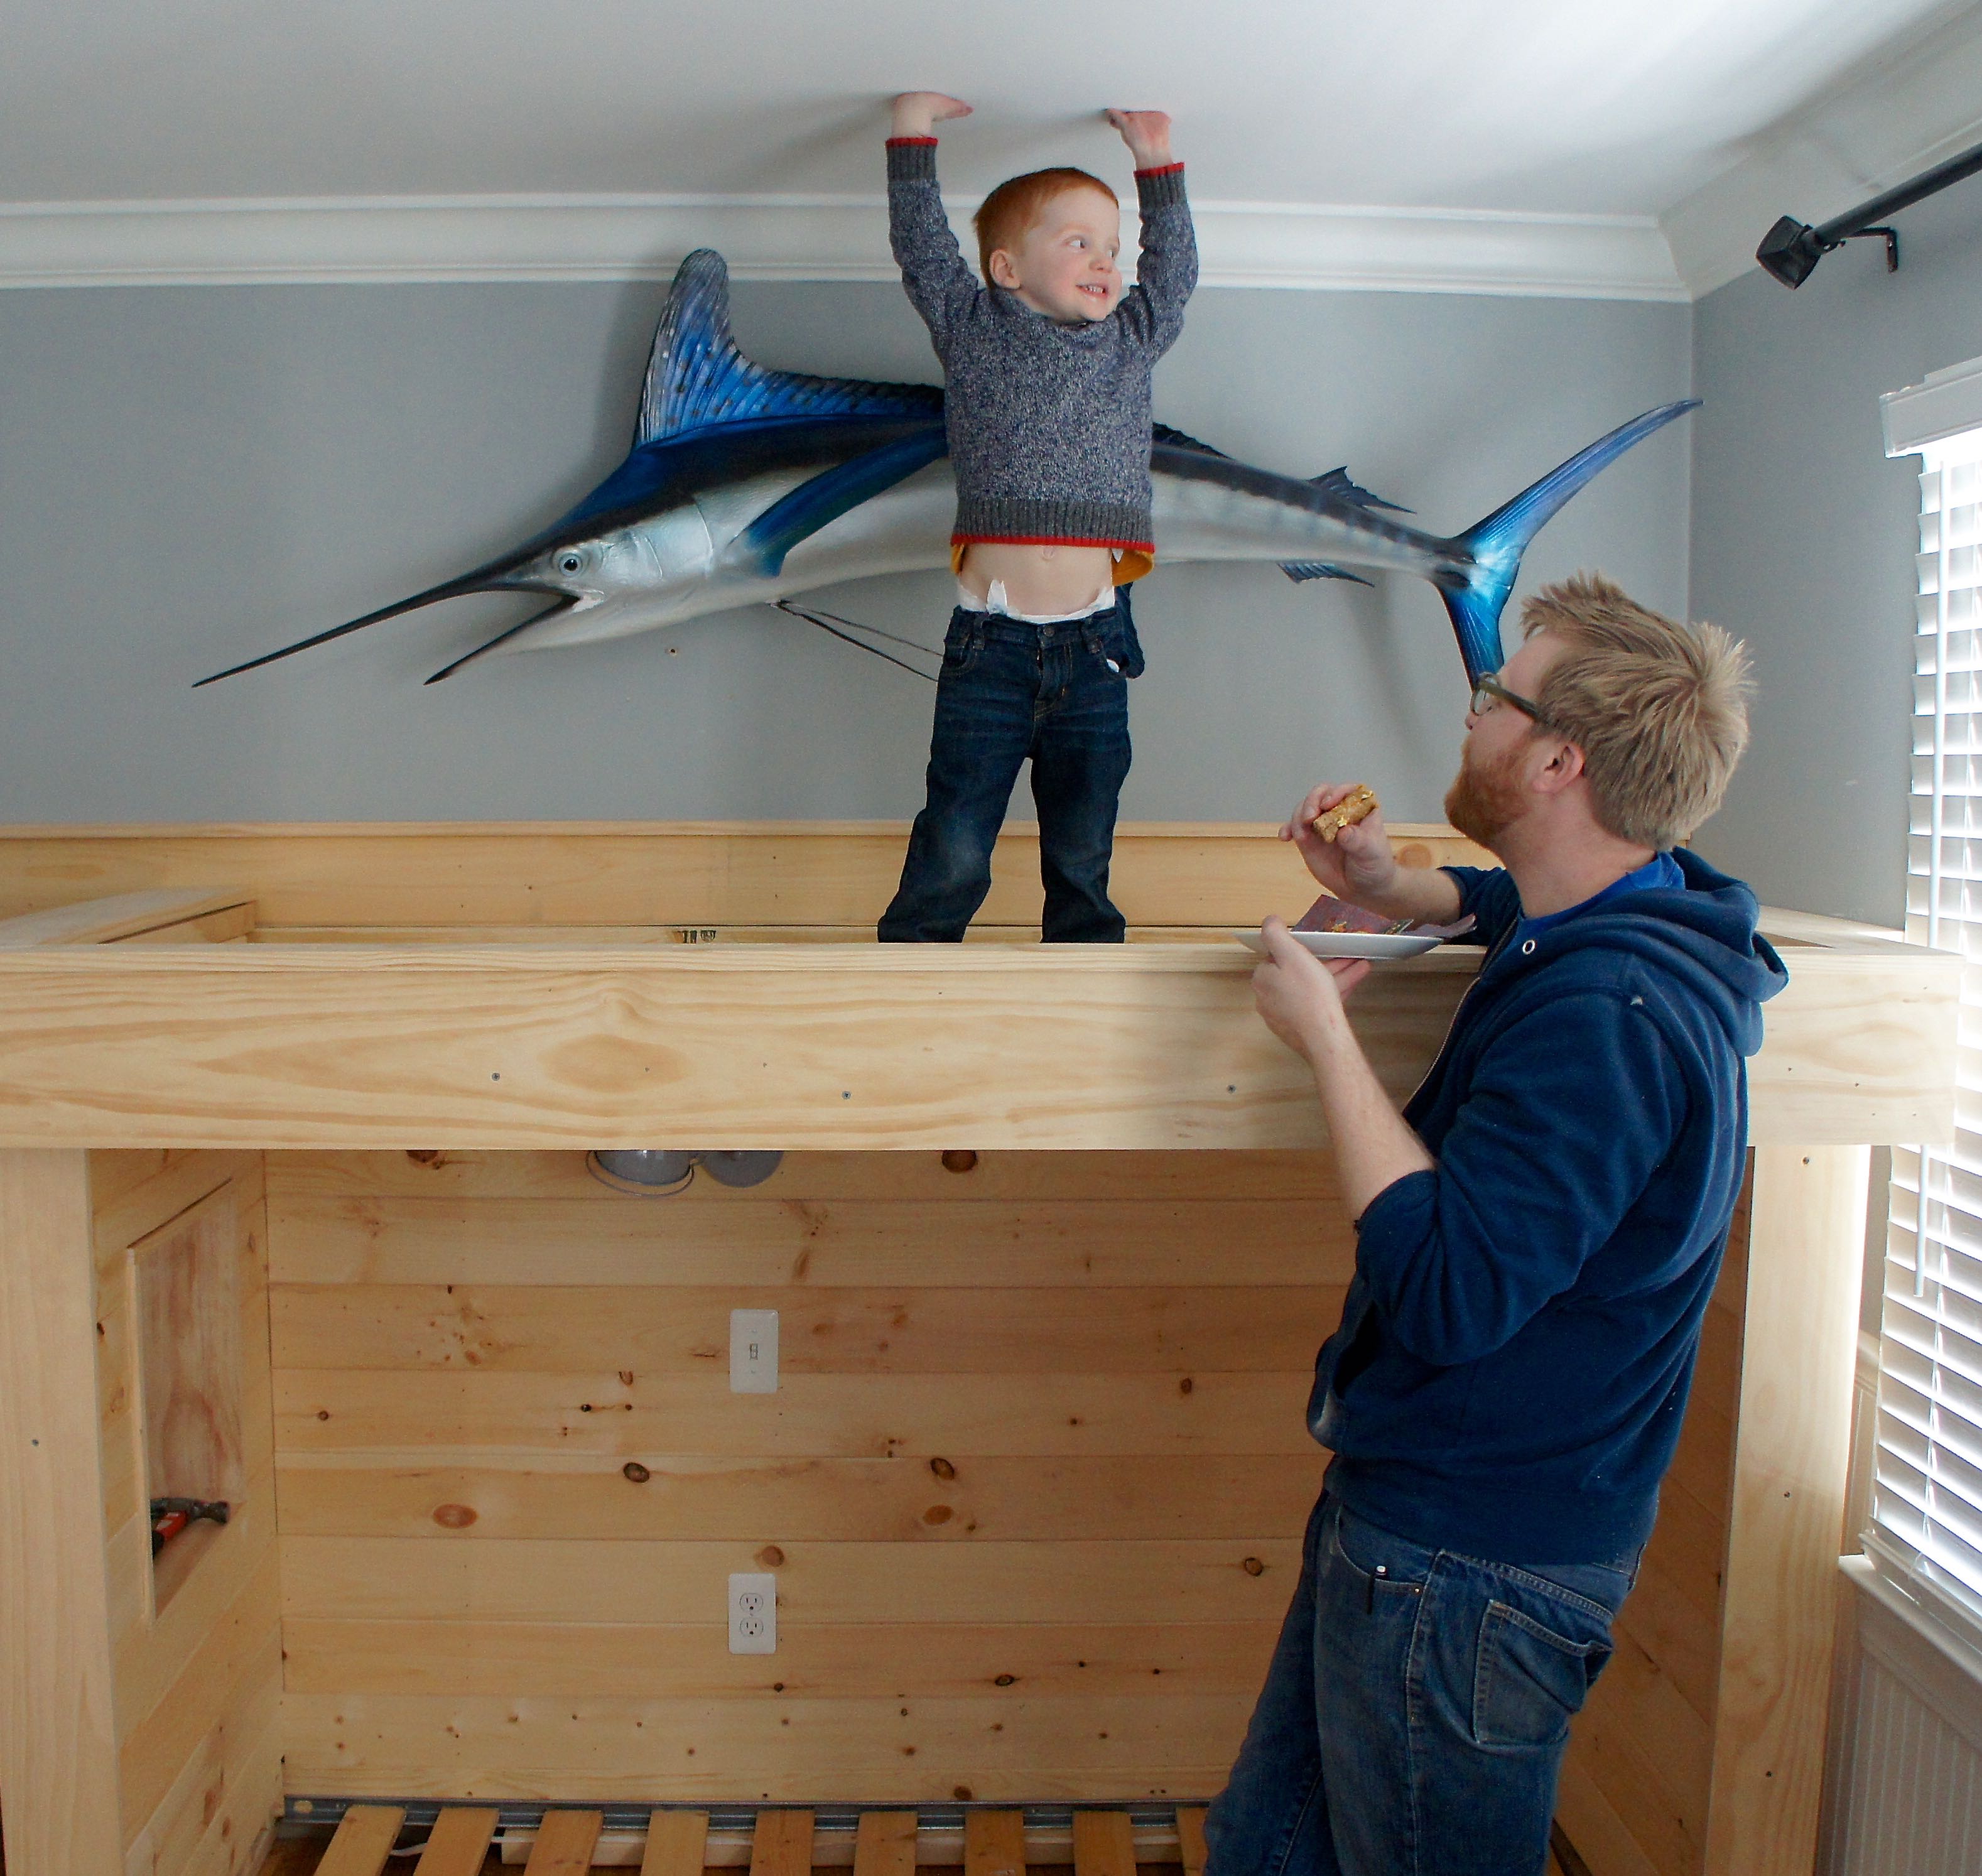
The last thing Jason did on Sunday was put the plywood base on top and lift Grant onto his new perch.

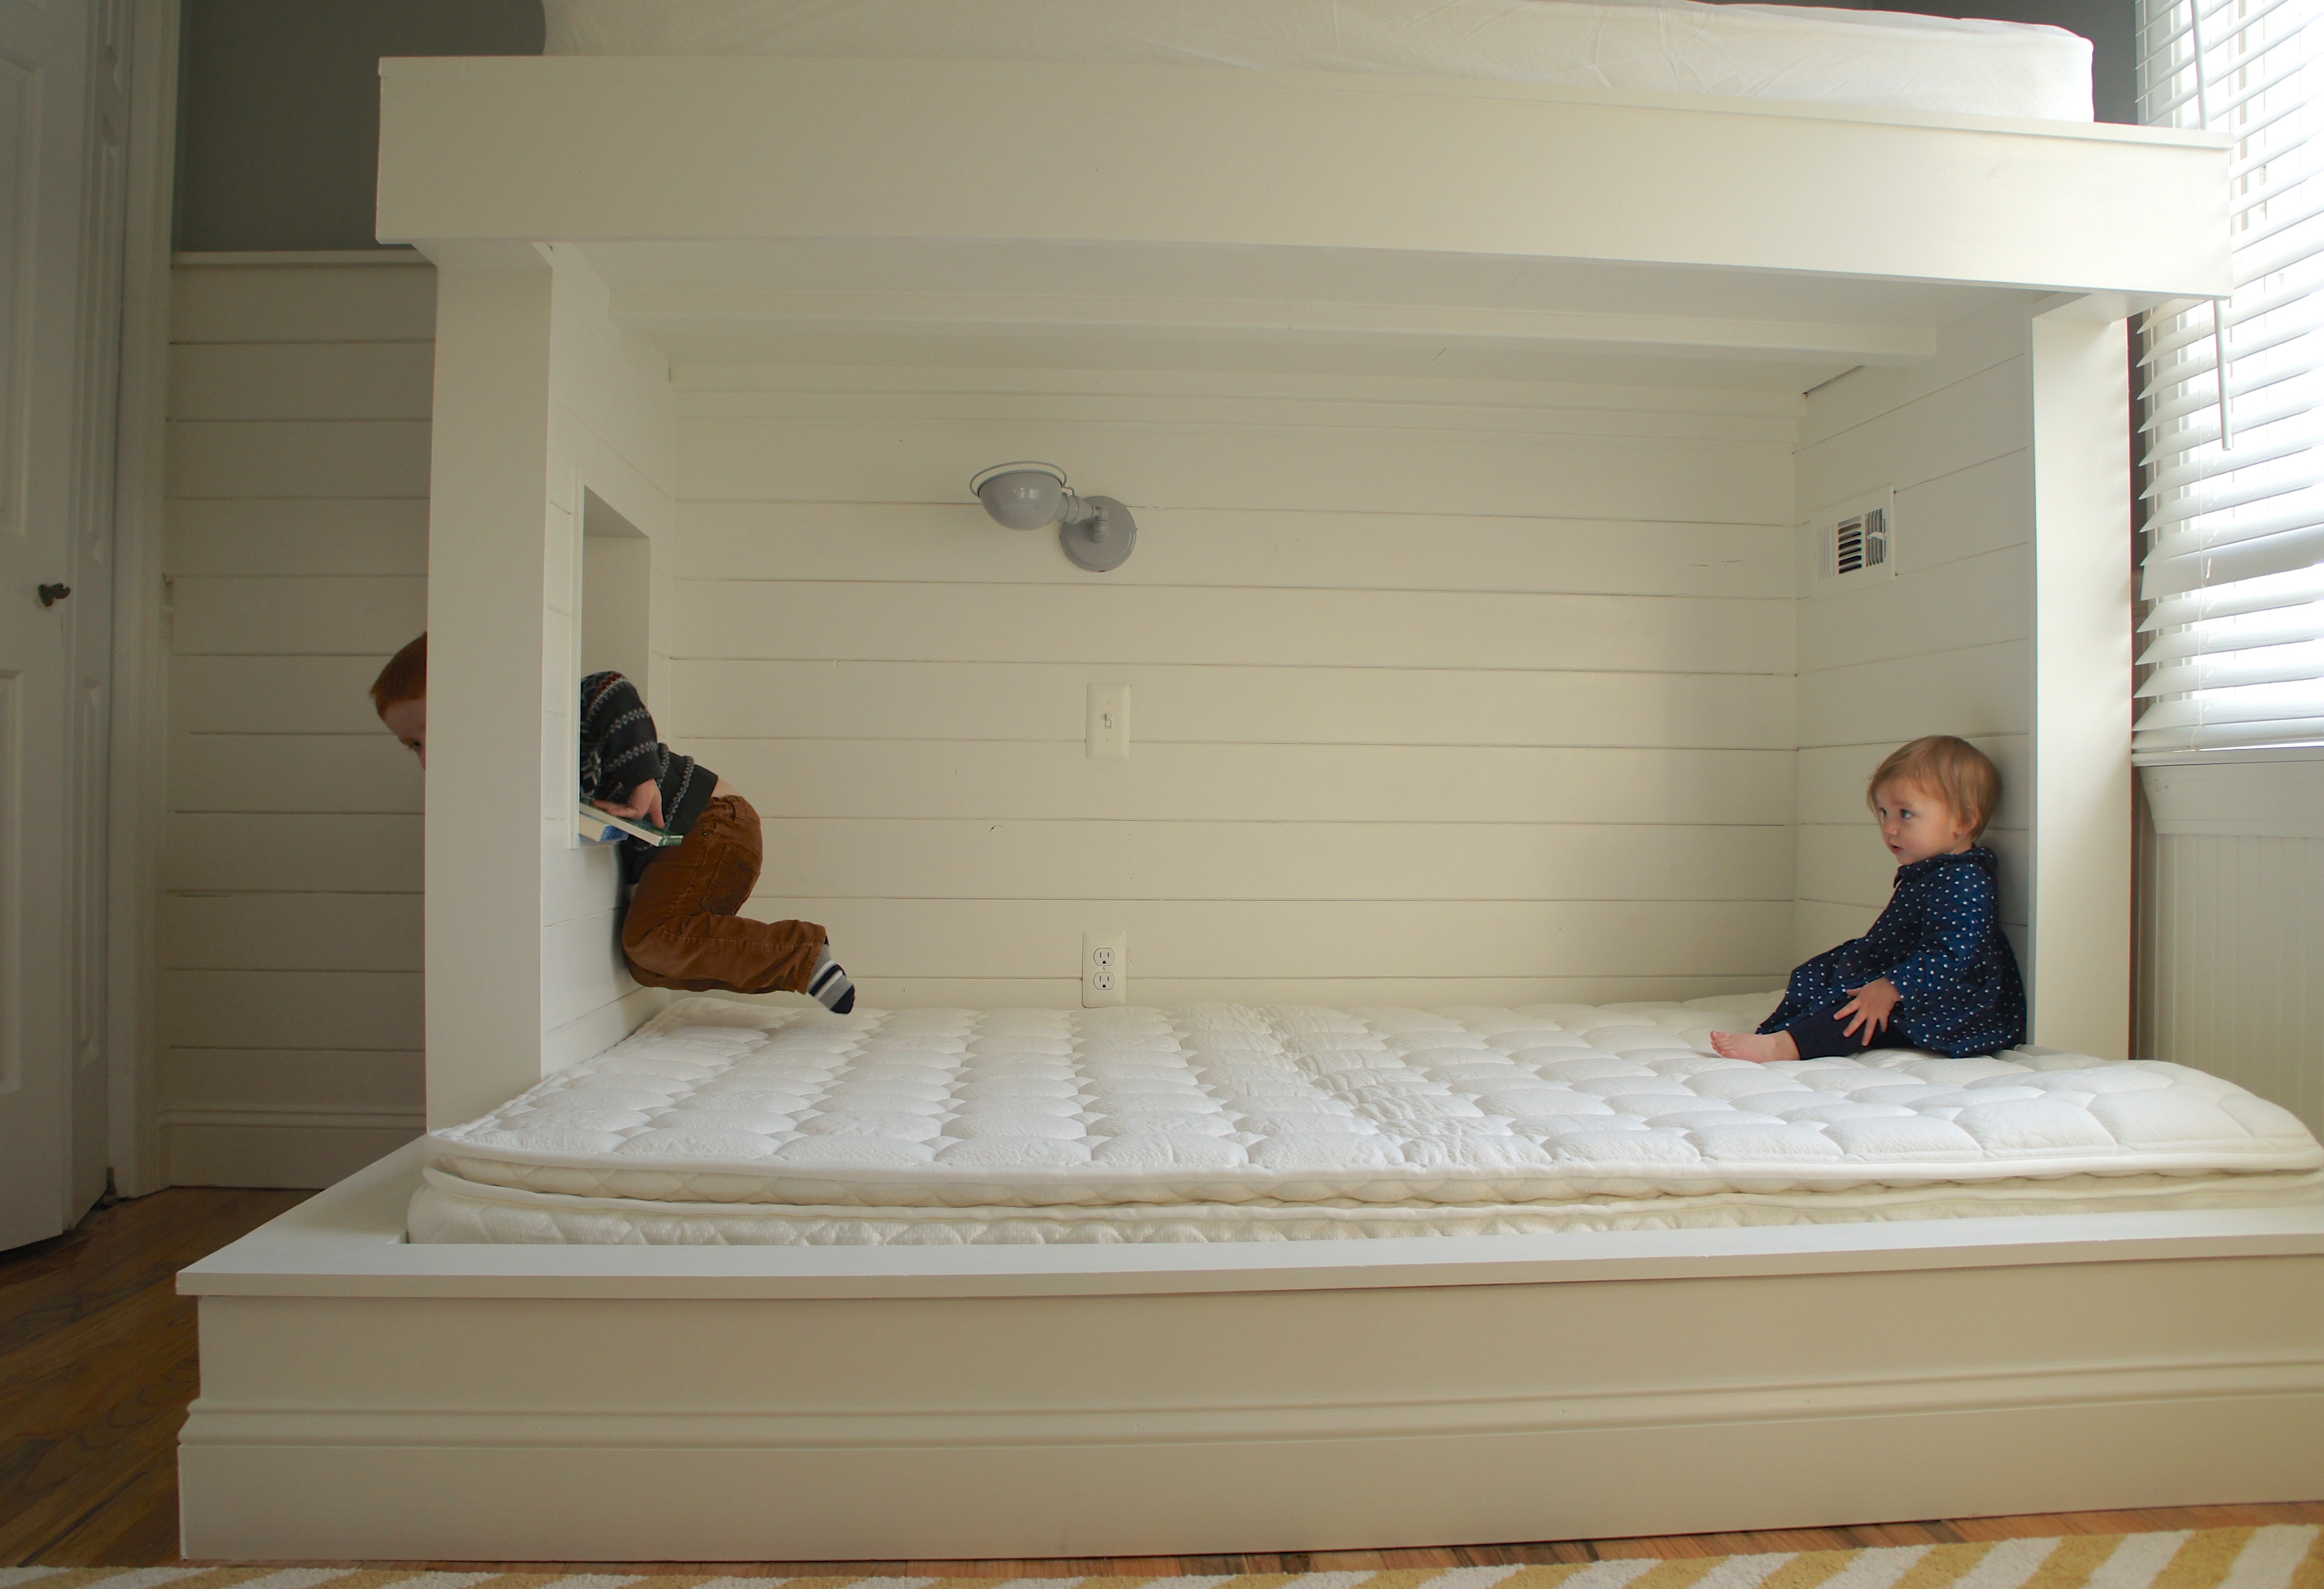
Grant couldn’t be happier, which is what it’s all about, so I would definitely call this project a success. After a little sanding and painting, this is what things are looking like now:
I can’t wait to finish decorating and put this bed to bed!
