When we first finished Grant’s bunk beds we decided to hold off on adding a ladder.
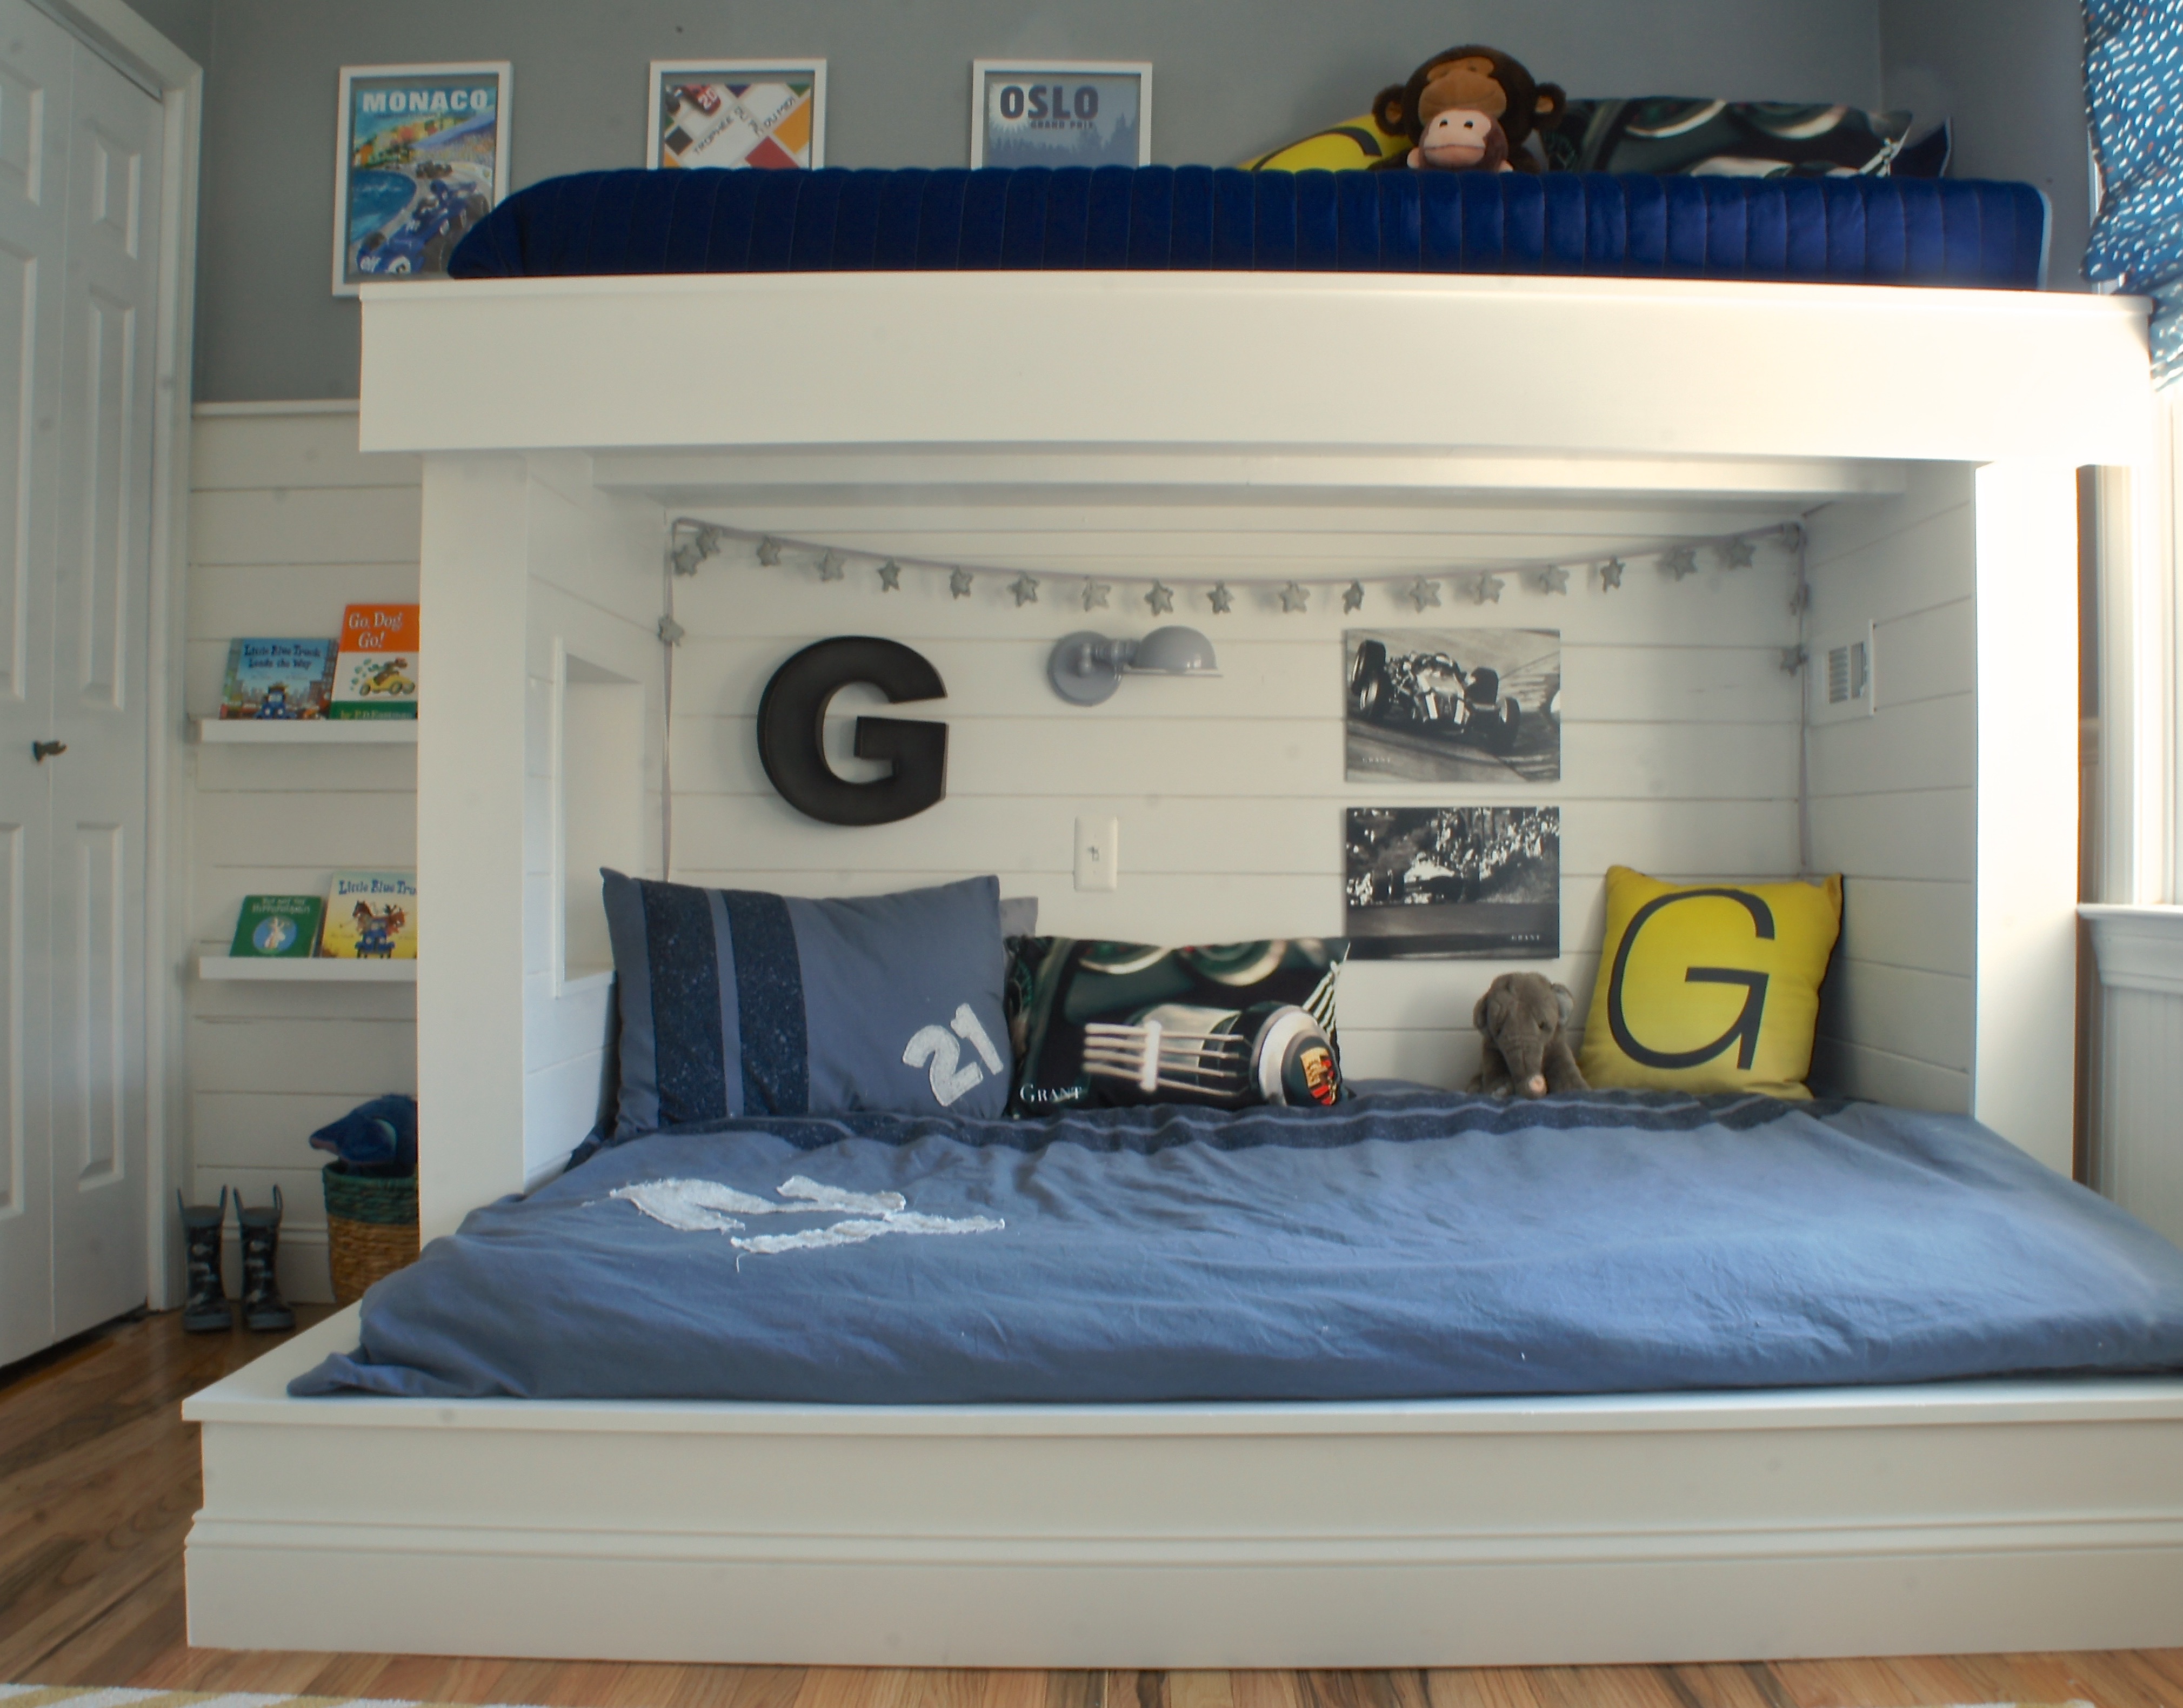
It eliminated any concerns about him climbing up at night when we weren’t in the room, and because we weren’t starting on the ladder yet, we decided to hold off on the railing as well. Now that he and Georgia are old enough to safely navigate the ladders at the playground, though, I feel comfortable finishing this project.
A couple of years ago Jason and I made a shelving unit out of gas pipes in our dining room that can hold the weight of anything you throw at it:
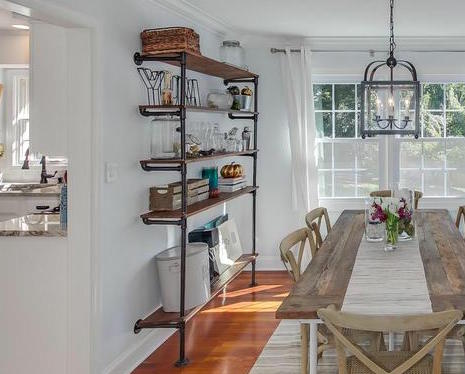
So, pipes immediately came to mind when I wanted something sturdy enough to handle two ambitious climbers. As an added bonus, it’s by far the easiest option. We bought the pipe parts from Home Depot for our shelves, but it ended up being pretty expensive, so this time I shopped around online and found much better pricing at Essential Hardware.
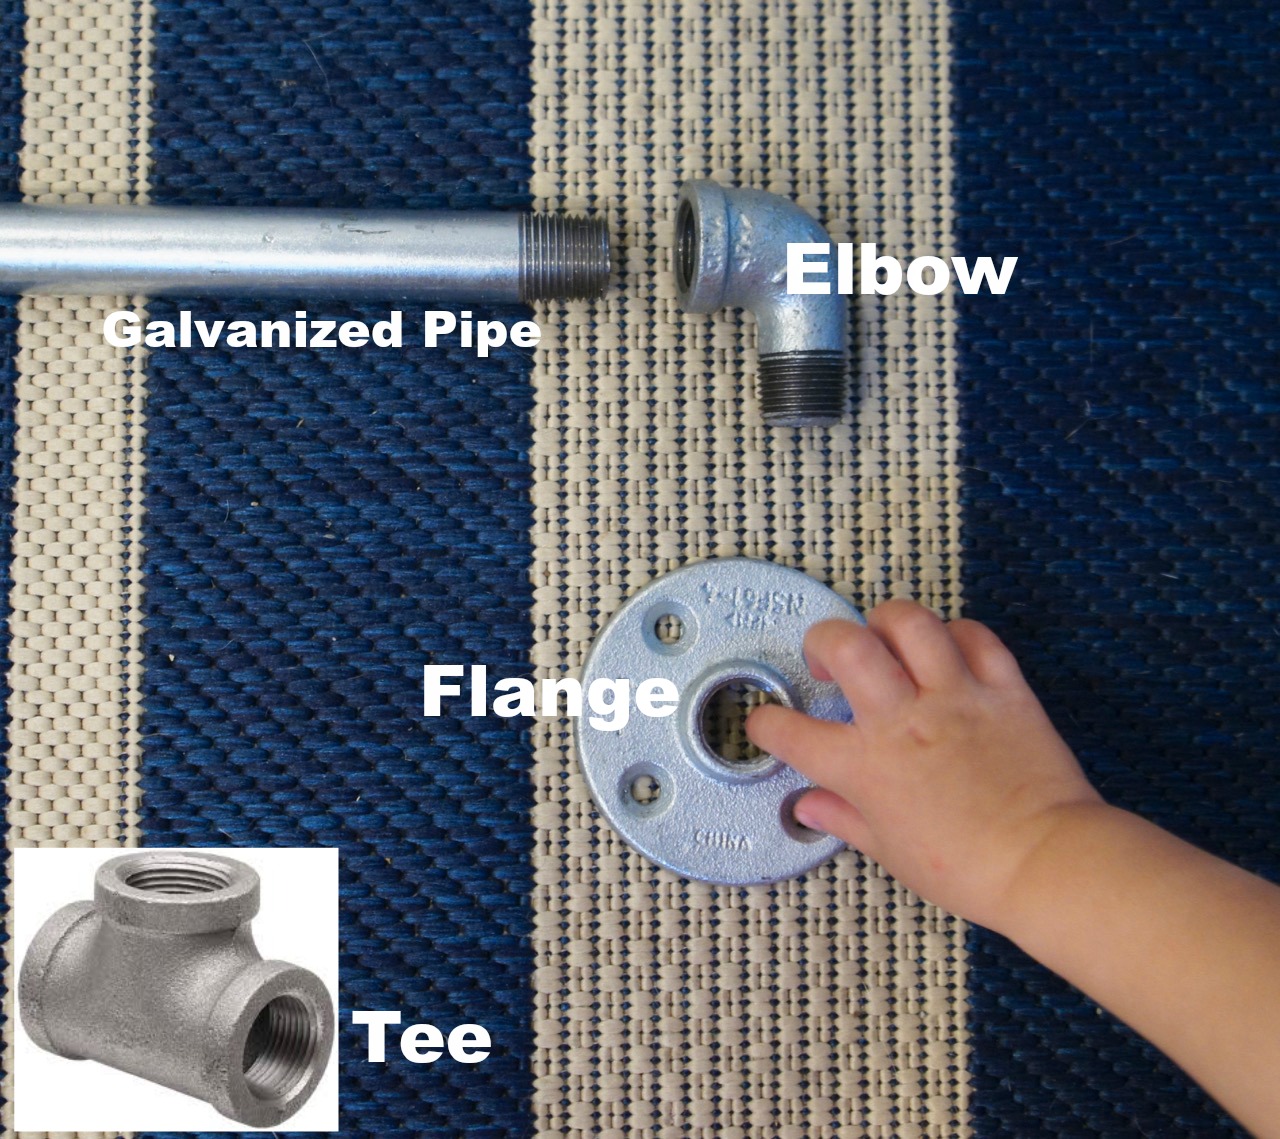
The four key pieces to any pipe project are the flange, tee, elbow, and pipe length. The diameter of the pipes goes up to 3″, but I’ve always used 1/2″ pipes, which are fairly economical. The flange is the base that is drilled into the wall, floor, or (in our case) the bunk bed. Everything is pre notched when you buy it, so it all screws together without the need for tools. In fact, the only tool we needed to finish this was our trusty Makita drill, which makes any project easy.
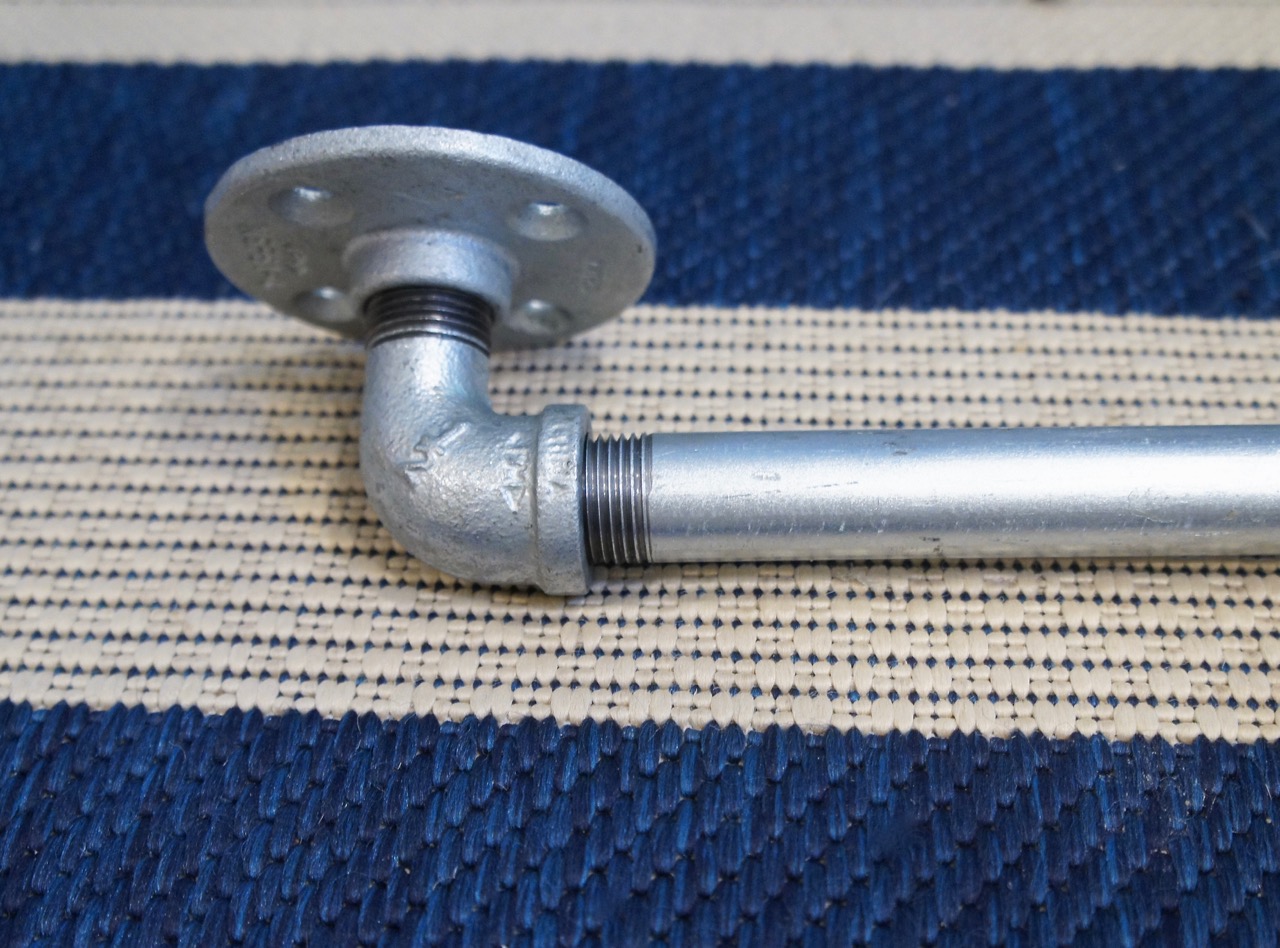
Once the ladder rungs were assembled, using the elbows to attach the flange to the rungs, it was only a matter of drilling them into the bed.
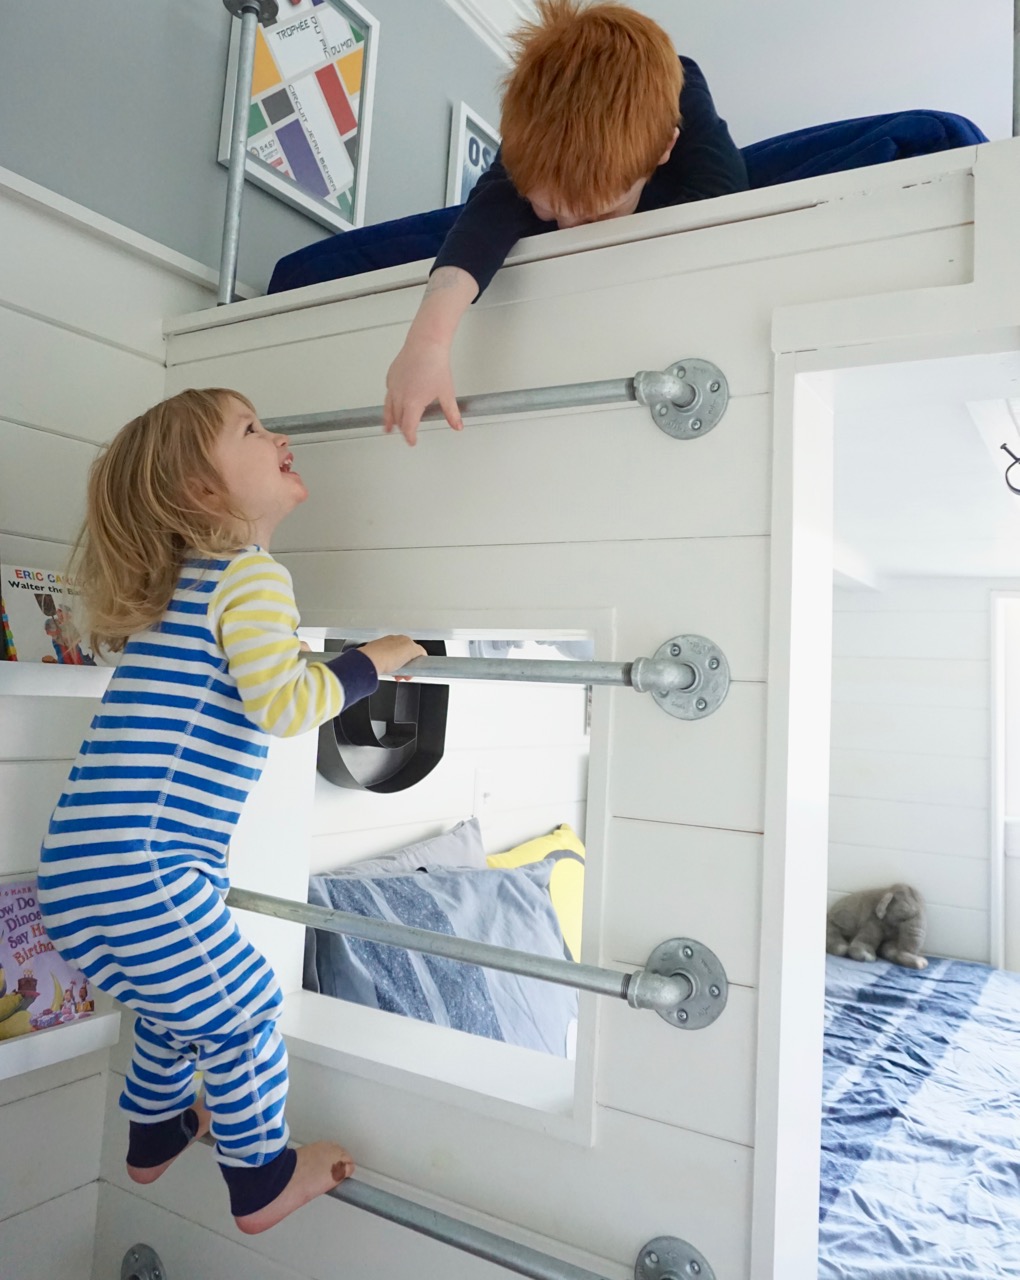
For the railing, I drilled four flanges into the edge of the bed, and used tee pieces to attach the longer sections of pipe.
Measuring (and remeasuring, and remeasuring again, and then realizing I had measured incorrectly and had to go buy three extra pieces at Home Depot once the parts arrived…) took awhile. The installation was a breeze, though.

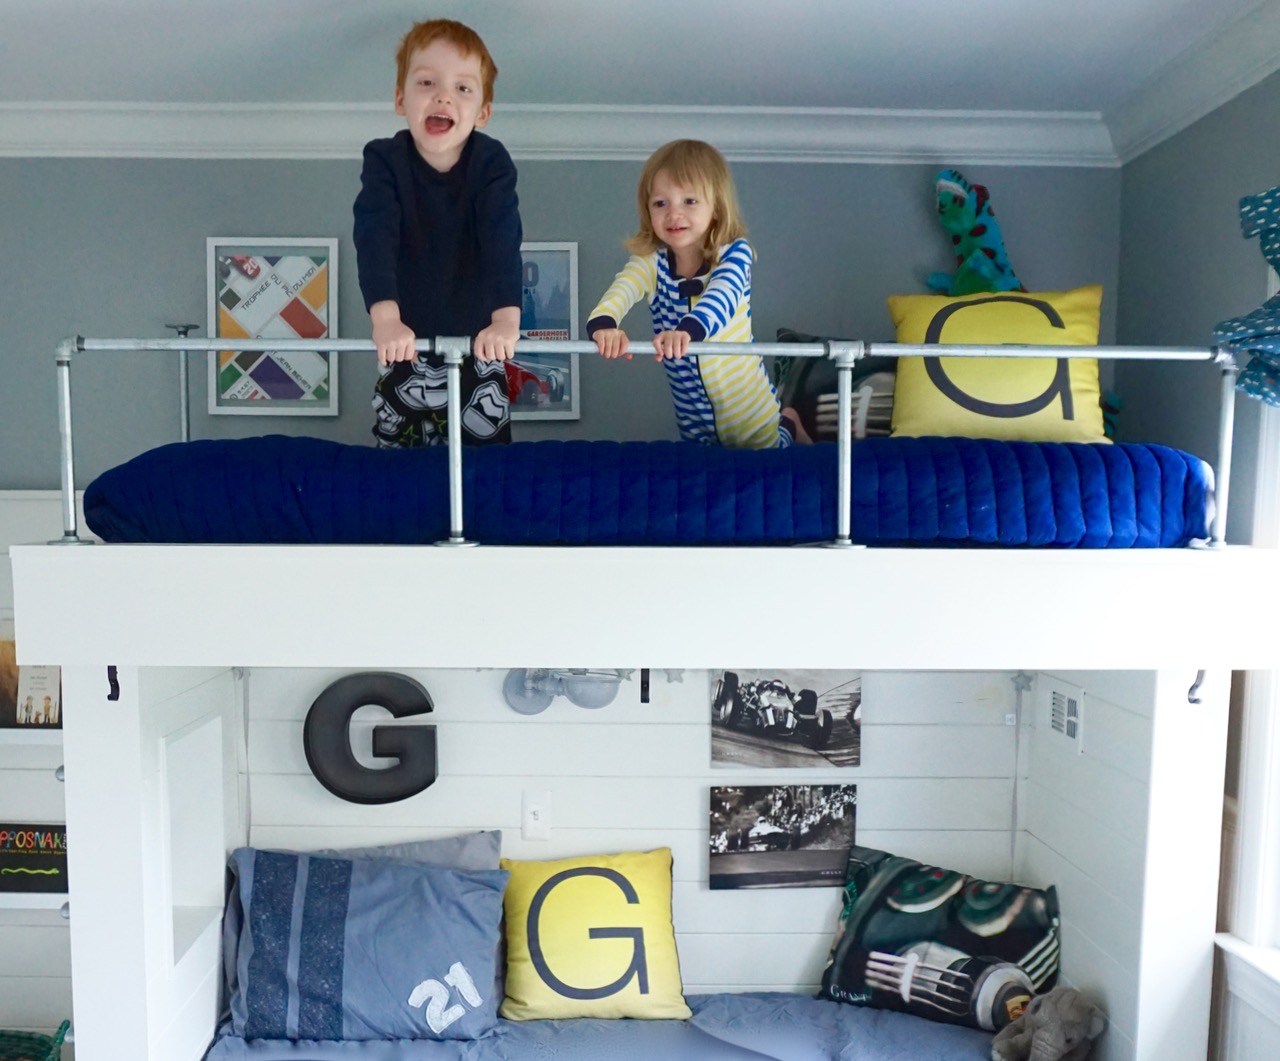
The finished look is industrial, which really fits the racing theme in Grant’s room. Although, looking at these photos it’s getting decidedly more nautical in there. I guess that’s inescapable in Annapolis! In any case, it’s sturdy, stylish, and was a super easy fix. All of which are pluses in my book.
