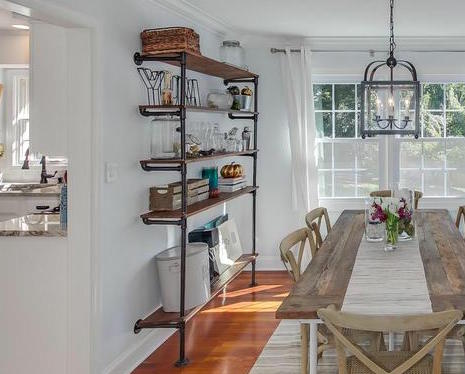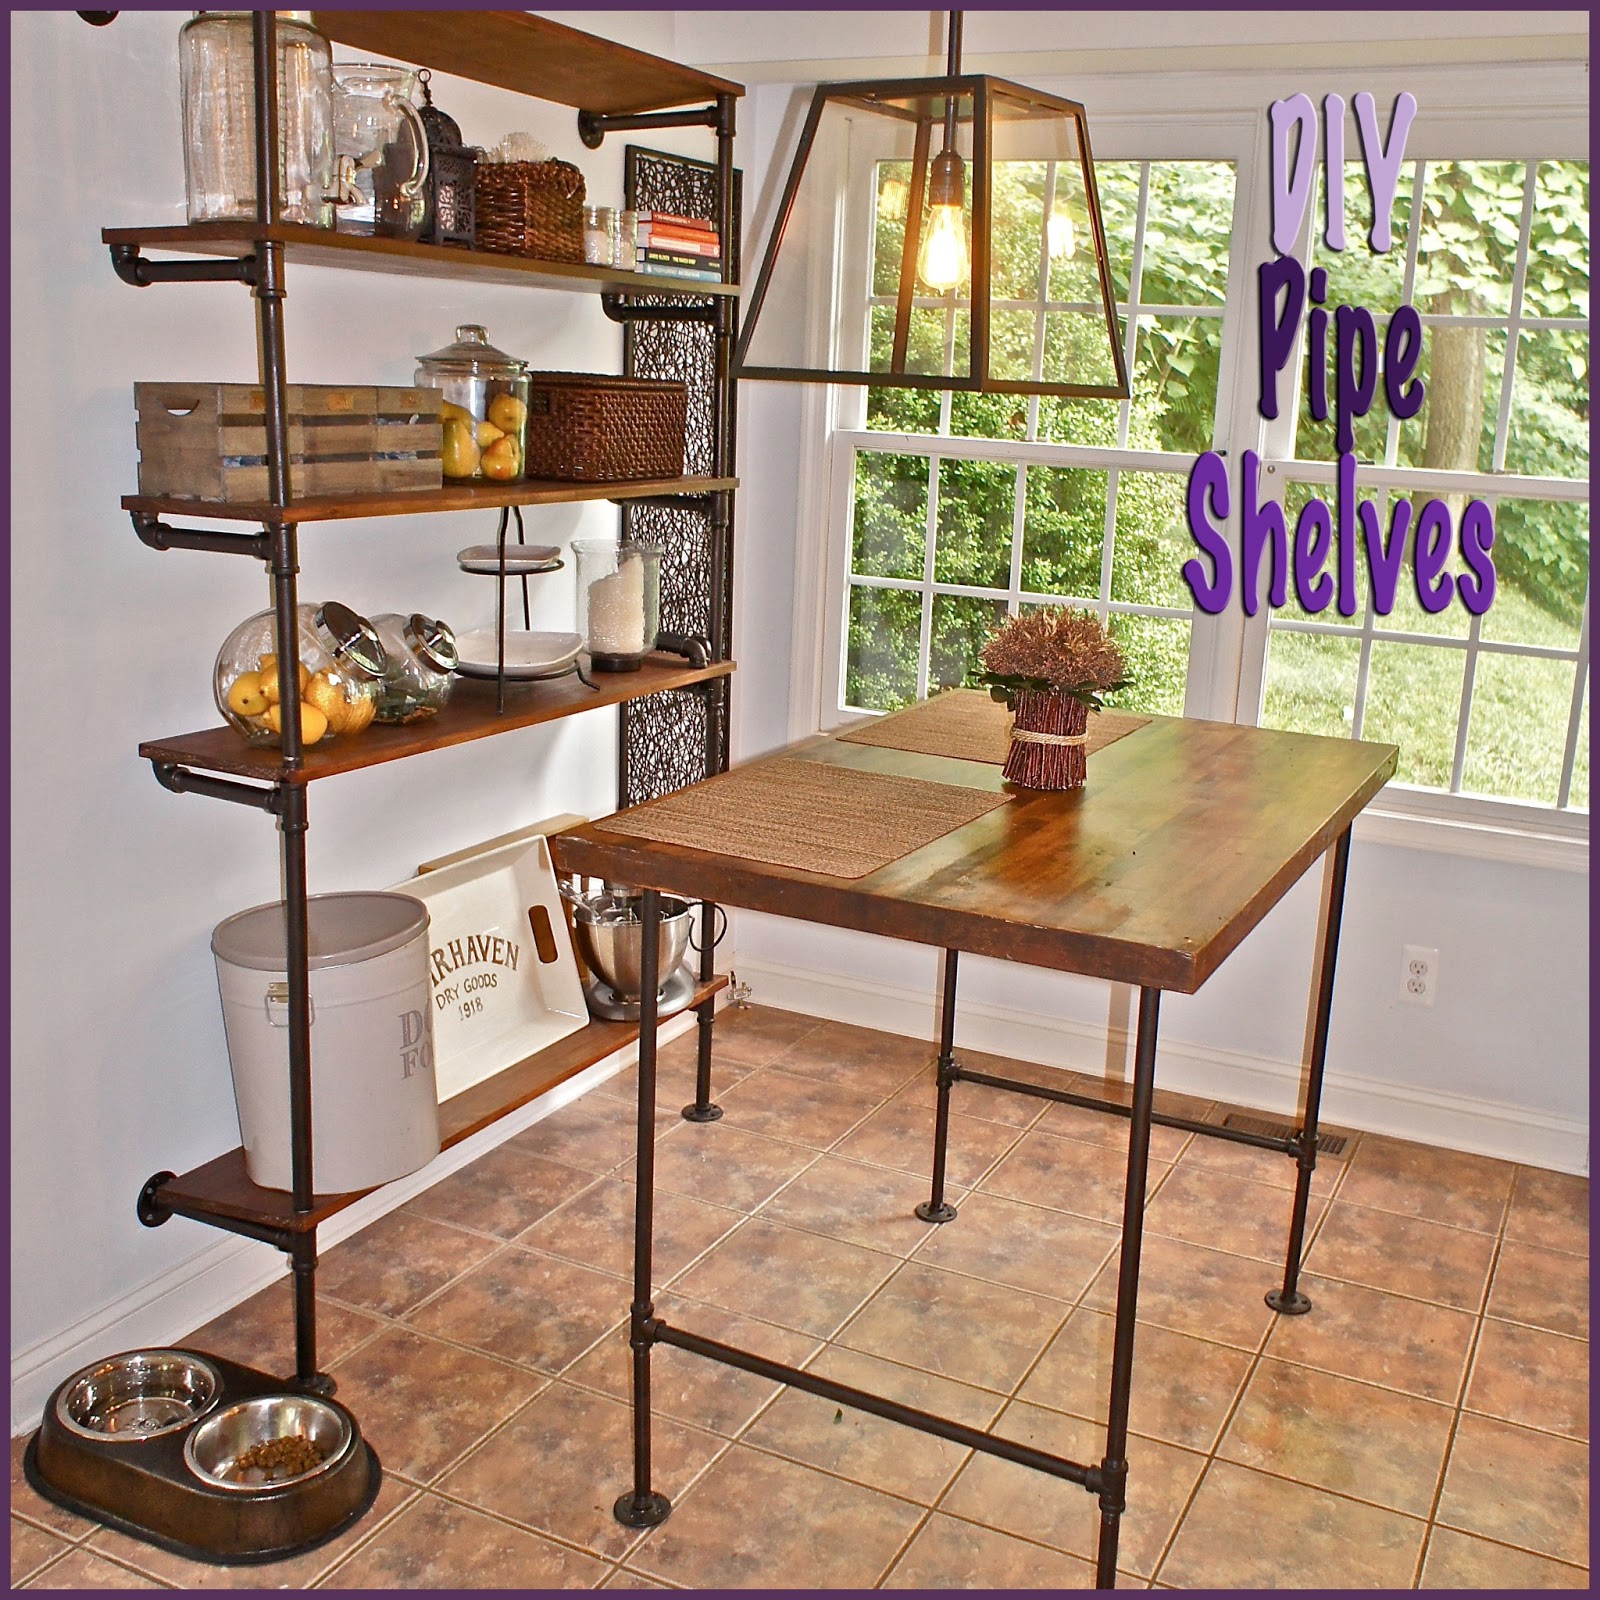
I have been desperately trying to find a way to cram some extra storage in our small kitchen. We really need a customizable system to fit the bigger items that won’t go in cabinets, like the big glass drink dispensers that my son loves to play with, and specifically our dog food container.
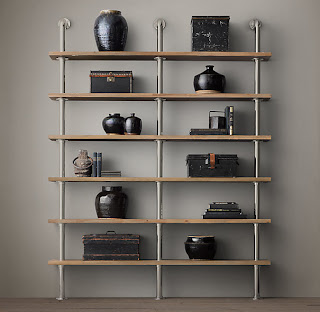
When I came across this in this Maritime Shelf System in the Restoration Hardware catalogue, it seemed like the perfect solution, plus it looked easy enough to figure out on my own.
The Brick House has an amazing pipe shelf tutorial that served as my guide. So, while Jason was busy cutting trim for our half bath remodel (more on that later), I told him I was running to Home Depot for caulk and came back with all the supplies. Luckily I’m married to a very kind and patient man.
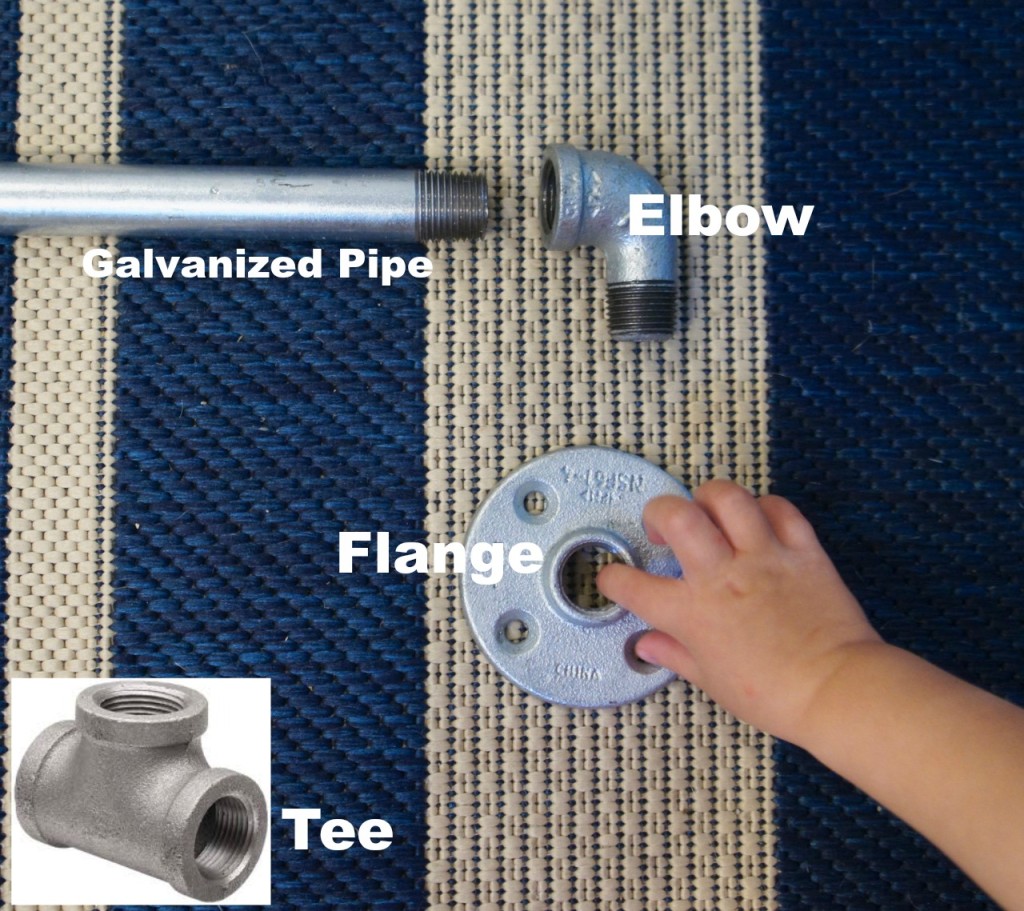
We used stock pipes so that we didn’t have to wait around to find someone to cut them, but Home Depot will custom cut pipes for free. These are the pieces we used:
After giving my pipes a good scrubbing with dish soap (they have a solid layer of grease on them in the store) I spray painted them with Rust-oleum Oil Rubbed Bronze. Pipe shelving is incredibly easy to finish once you get past the tricky issue of measuring. Everything just screws together.

Jason used a paddle bit to drill holes in the 1×12, I stained and poly-d, and low and behold we had shelving.
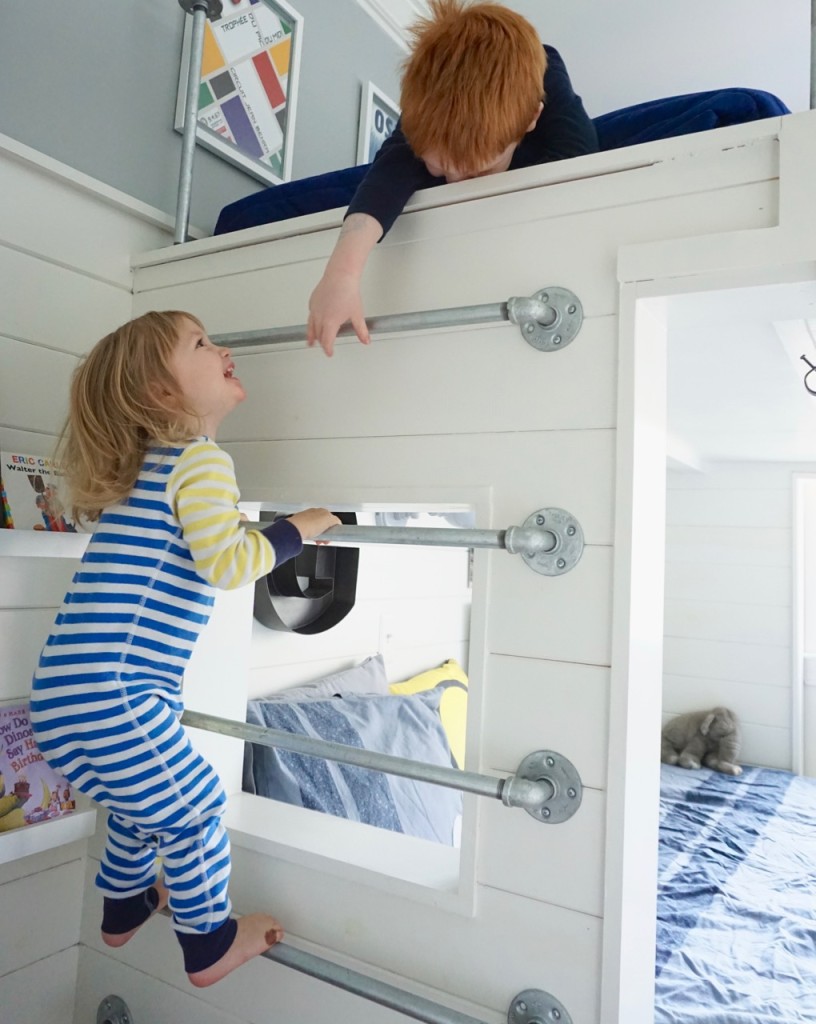
We’ve been so happy with it, that after we made Grant’s built in bunk beds we used pipes to create the ladder and railing.
Every piece of pipe cost between $5 and $11 at Home Depot, which easily added up to over $250, so when we worked on the bunk beds I shopped around online and found much better pricing at Essential Hardware. The fact that I could customize every shelf to the height of my odd shaped kitchen items was really nice, though, and this was still significantly less than the Restoration Hardware version.
