Home improvement Framing in our TV over the Fireplace July 8, 2013

Look back at this post to see how we built our mantle. 
And here for a final view of our built in media project.  

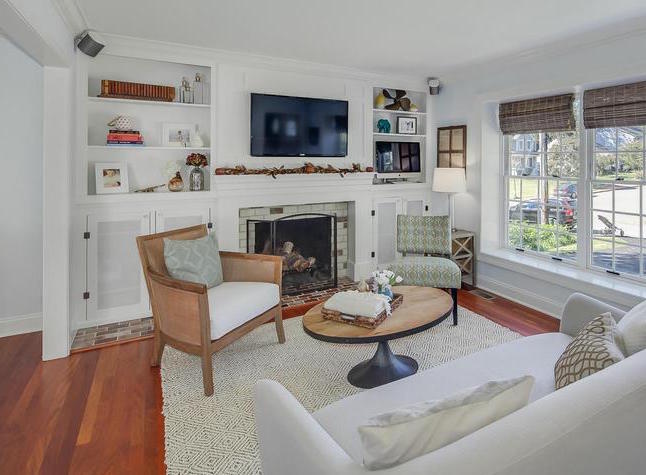
We had a surprise party at our house for my friend’s 30th (that’s right, folks, Jason and I had a baby-sitter!)  so we had to get this baby moving.  There’s nothing like throwing a party to set me in motion. This is what our living room looked like on Thursday:

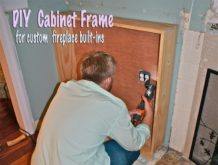
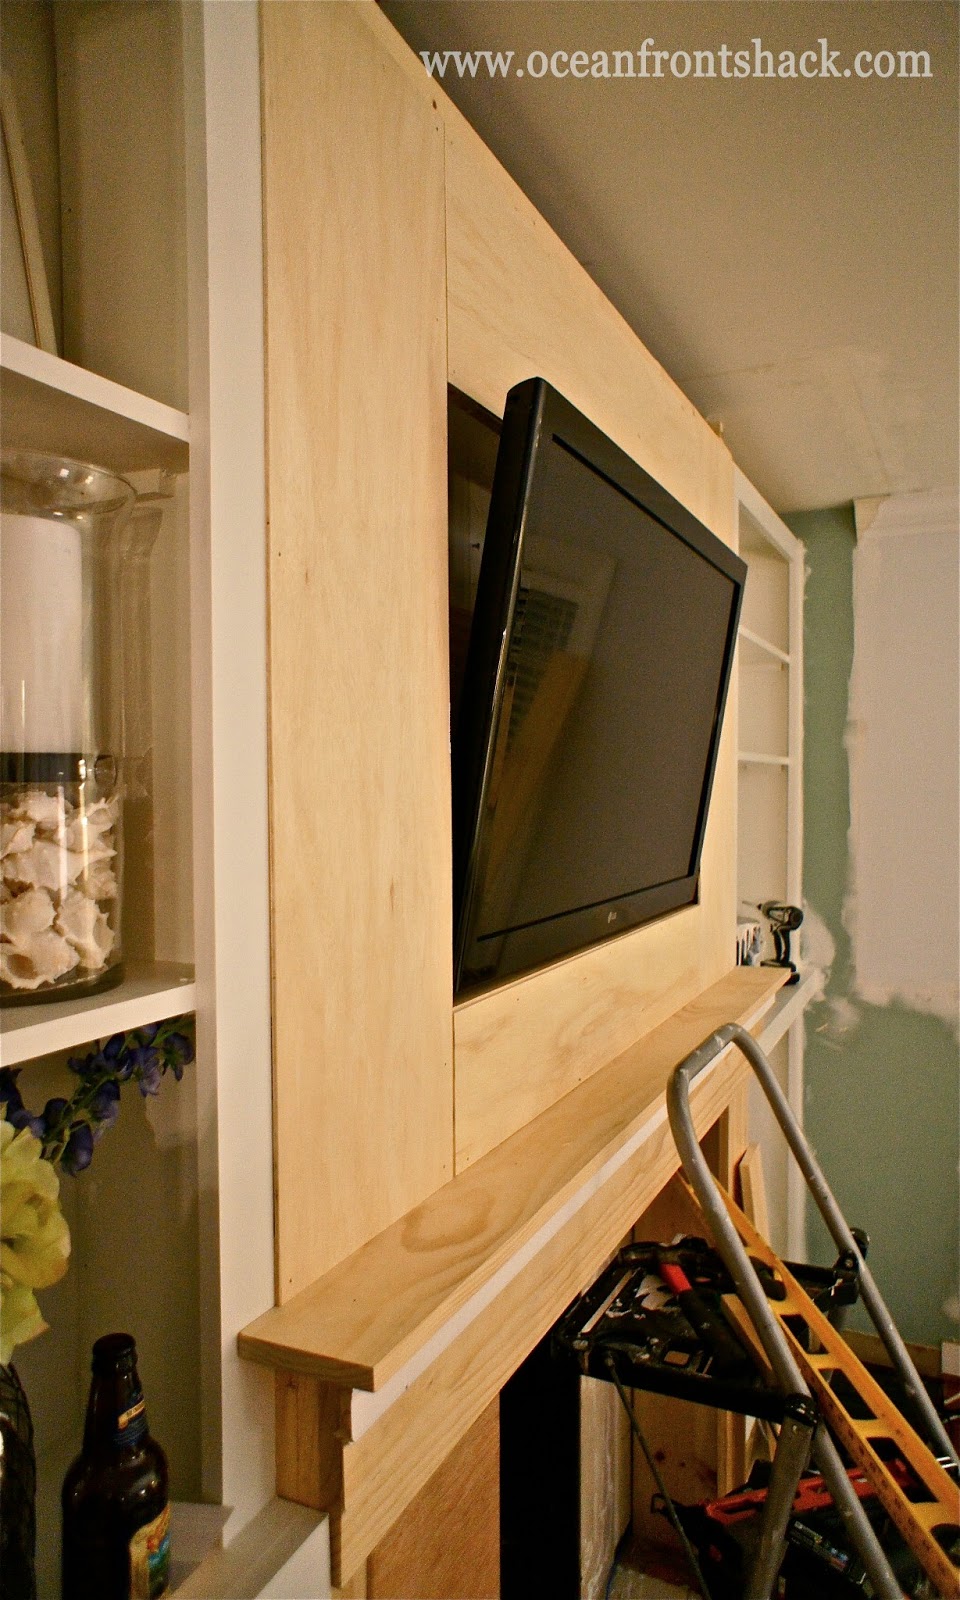
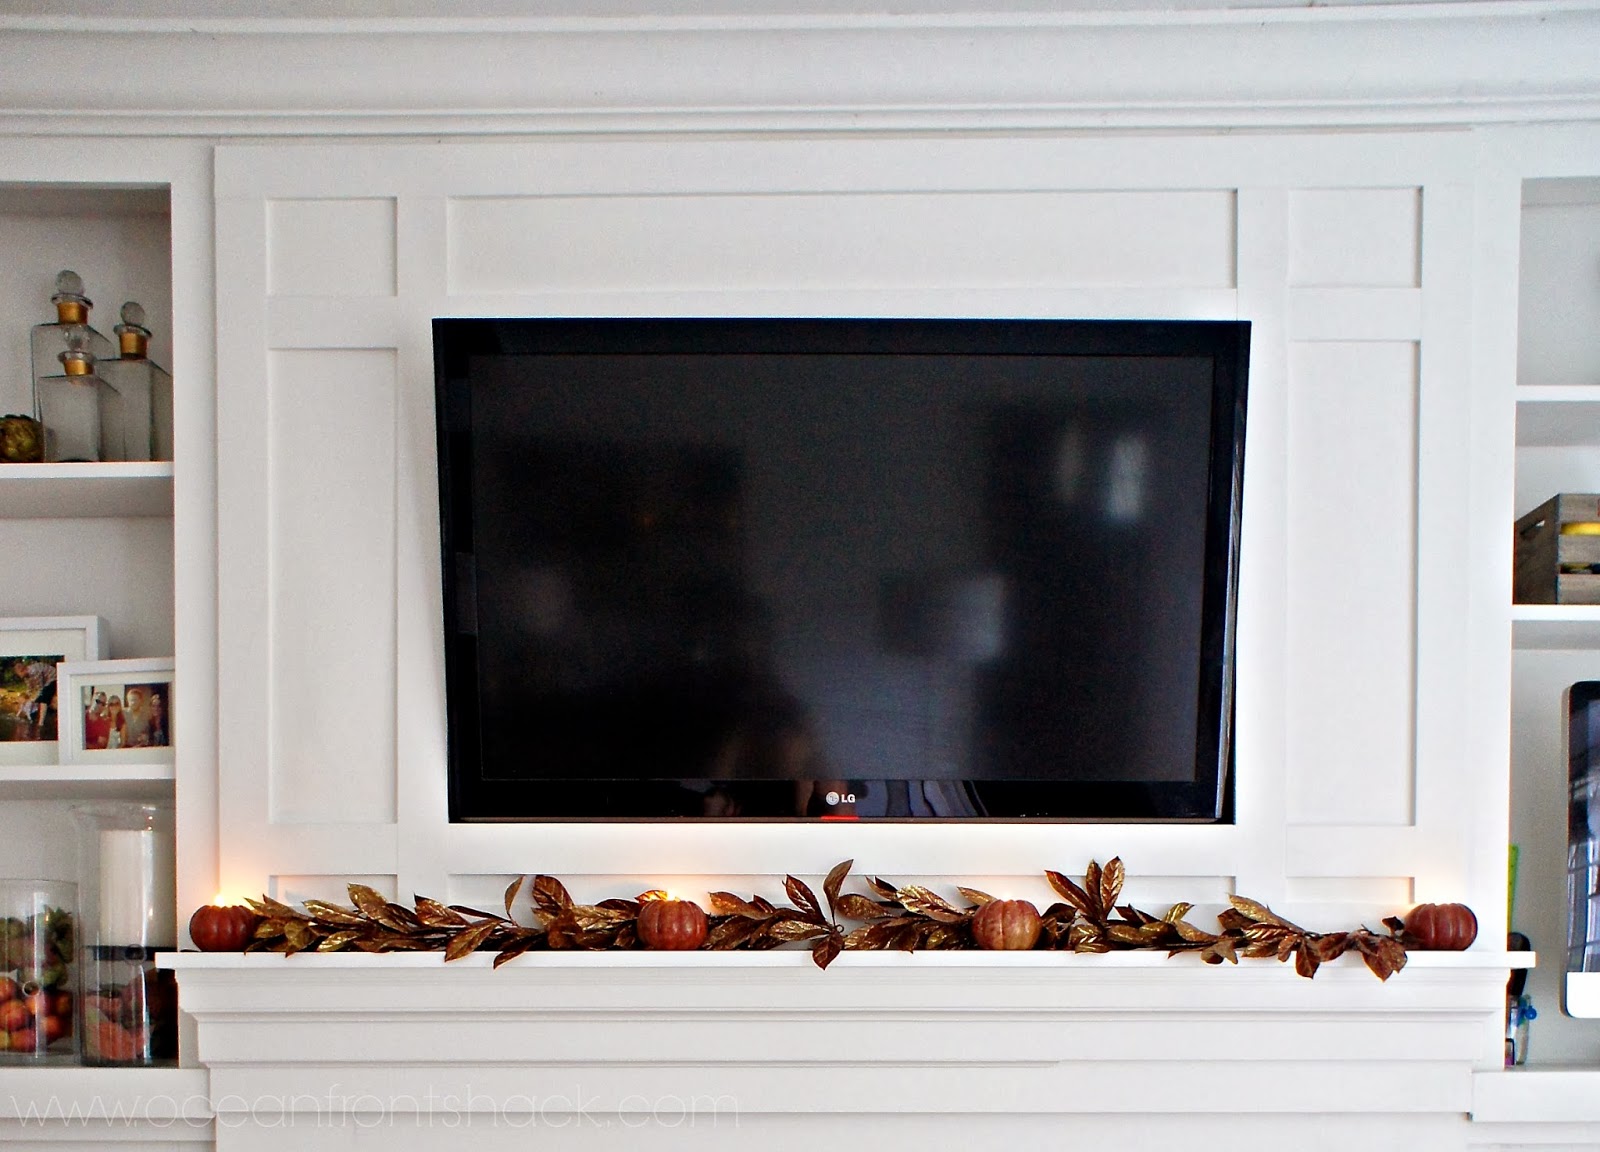
After building the mantle Friday (I’ll write a post on that later), we framed the television Saturday, before everyone showed up.  If you already have a mantle this can still be done by routing your cables through the side of the tv frame.

Materials

1. Nail Gun (We use a Rigid Rechargeable)
2. level
3. plywood
4. 7/16 x 2 &5/8 poplar trim
5. plywood
6. Drill with paddle bit attachment (we also used an oscillating multi-tool, but that was specific to our set up)
7. 1 x 4 lumber
8. caulk
9. paint

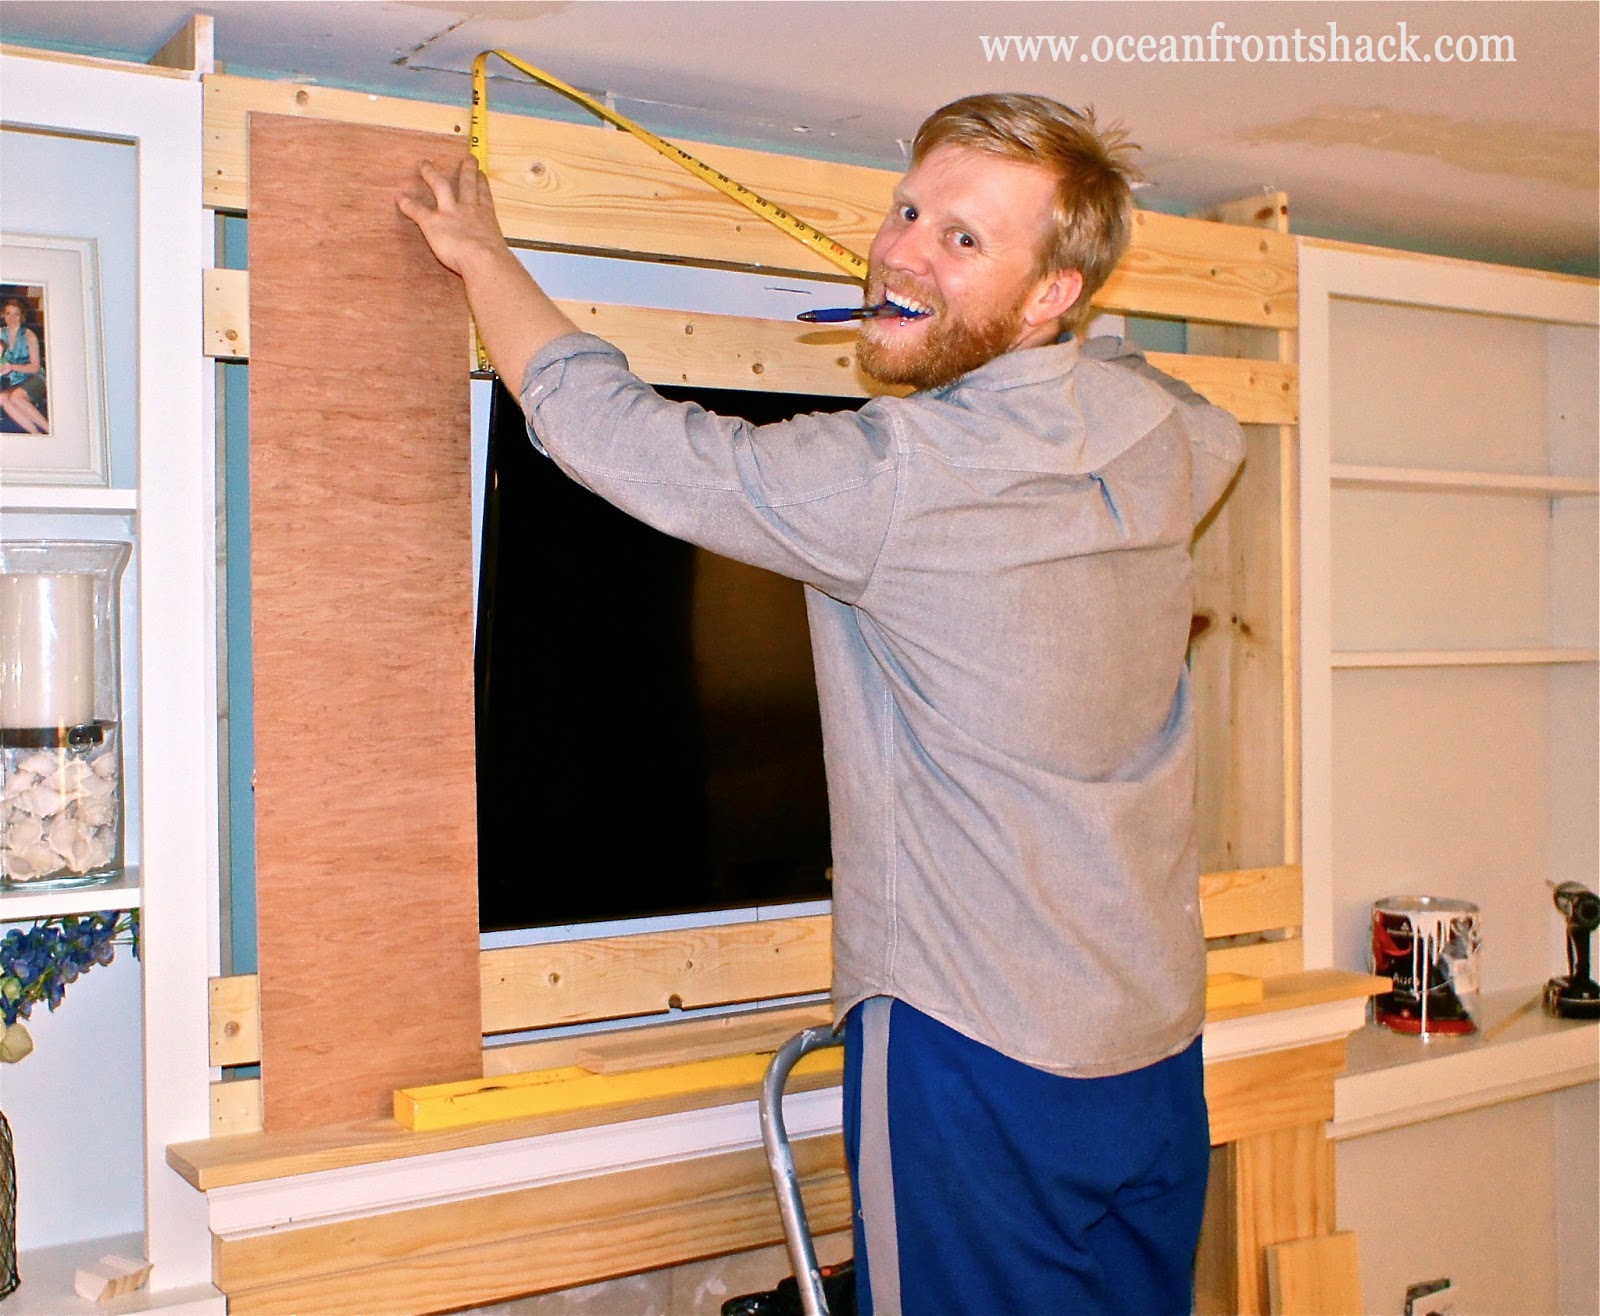
We started out by nailing 1 x 4s into the framing of our built-ins.  If you don’t have built-ins, this can still be done by building a frame above the fireplace out of dimensional lumber (1×6, probably), like so:

Dimensional lumber is never true to size, it’s always a little under, so a 1 x 4 is really .75 x 3.75, which allowed the plywood to fit flush with our built in frame.  Jason cut the plywood on a table saw, however you could substitute a circular saw.  The cuts don’t have to be perfect because the seams will be covered by trim.

We fit the plywood to frame in the tv without much of a gap.  Our tv mount pivots three ways, which helps when framing with the tv in place.
We nailed the plywood in with our nail gun before cutting our 7/16 inch poplar with the mitre saw, no angles, everything is 90 degrees.   Jason used the 7/16 poplar trim to cover the seams and edges.
The trim fit like the picture above, and then Jason cut smaller pieces to extend the horizontal lines to the end of the frame, like below:
Our mantle wasn’t in place yet (if you already have a mantle, you can route your cables through the side of the frame), so we routed our cables through it.
A drill fit with a paddle bit will work for this, but we didn’t have a paddle bit big enough and our holes will be hidden inside the built in cabinets, so we used an oscillating multi-tool to cut a hole for the cables.  I then sanded everything with my orbital sander until the seams were no longer visible, added some caulk and paint, and (in the words of Emeril) Bam!  We had a tv frame:
If you have some basic DIY skills this project is super easy, the framing only took about two hours.  There are tons of seams, so the caulking and painting took another four.  I’m biased, but I think it’s pretty sweet.  Even Oscar the Grouch will look spiffy in this thing.
The living room is looking fresh and pretty:
AA8771711 - Living Room

Tags : , ,