Now that the dust has settled and our son’s second birthday is over, we can finally share what we’ve been up to for the past two weeks. We have had a good bit of lumber sitting on the side of our house with the intentions of building a fence, but a few months ago the property next door to us went under contract with a developer, so we put our fence plans on hold until we know a little more about those plans. Not wanting the lumber to sit for another six months, we decided to build a deck in time for Grant’s second birthday party-a mere ten days from our start date. Jason did a ground level deck for Habitat for Humanity a few years ago, but something attached to the house that required footings was a whole different ballgame. Decks.com was our go to resource for everything.
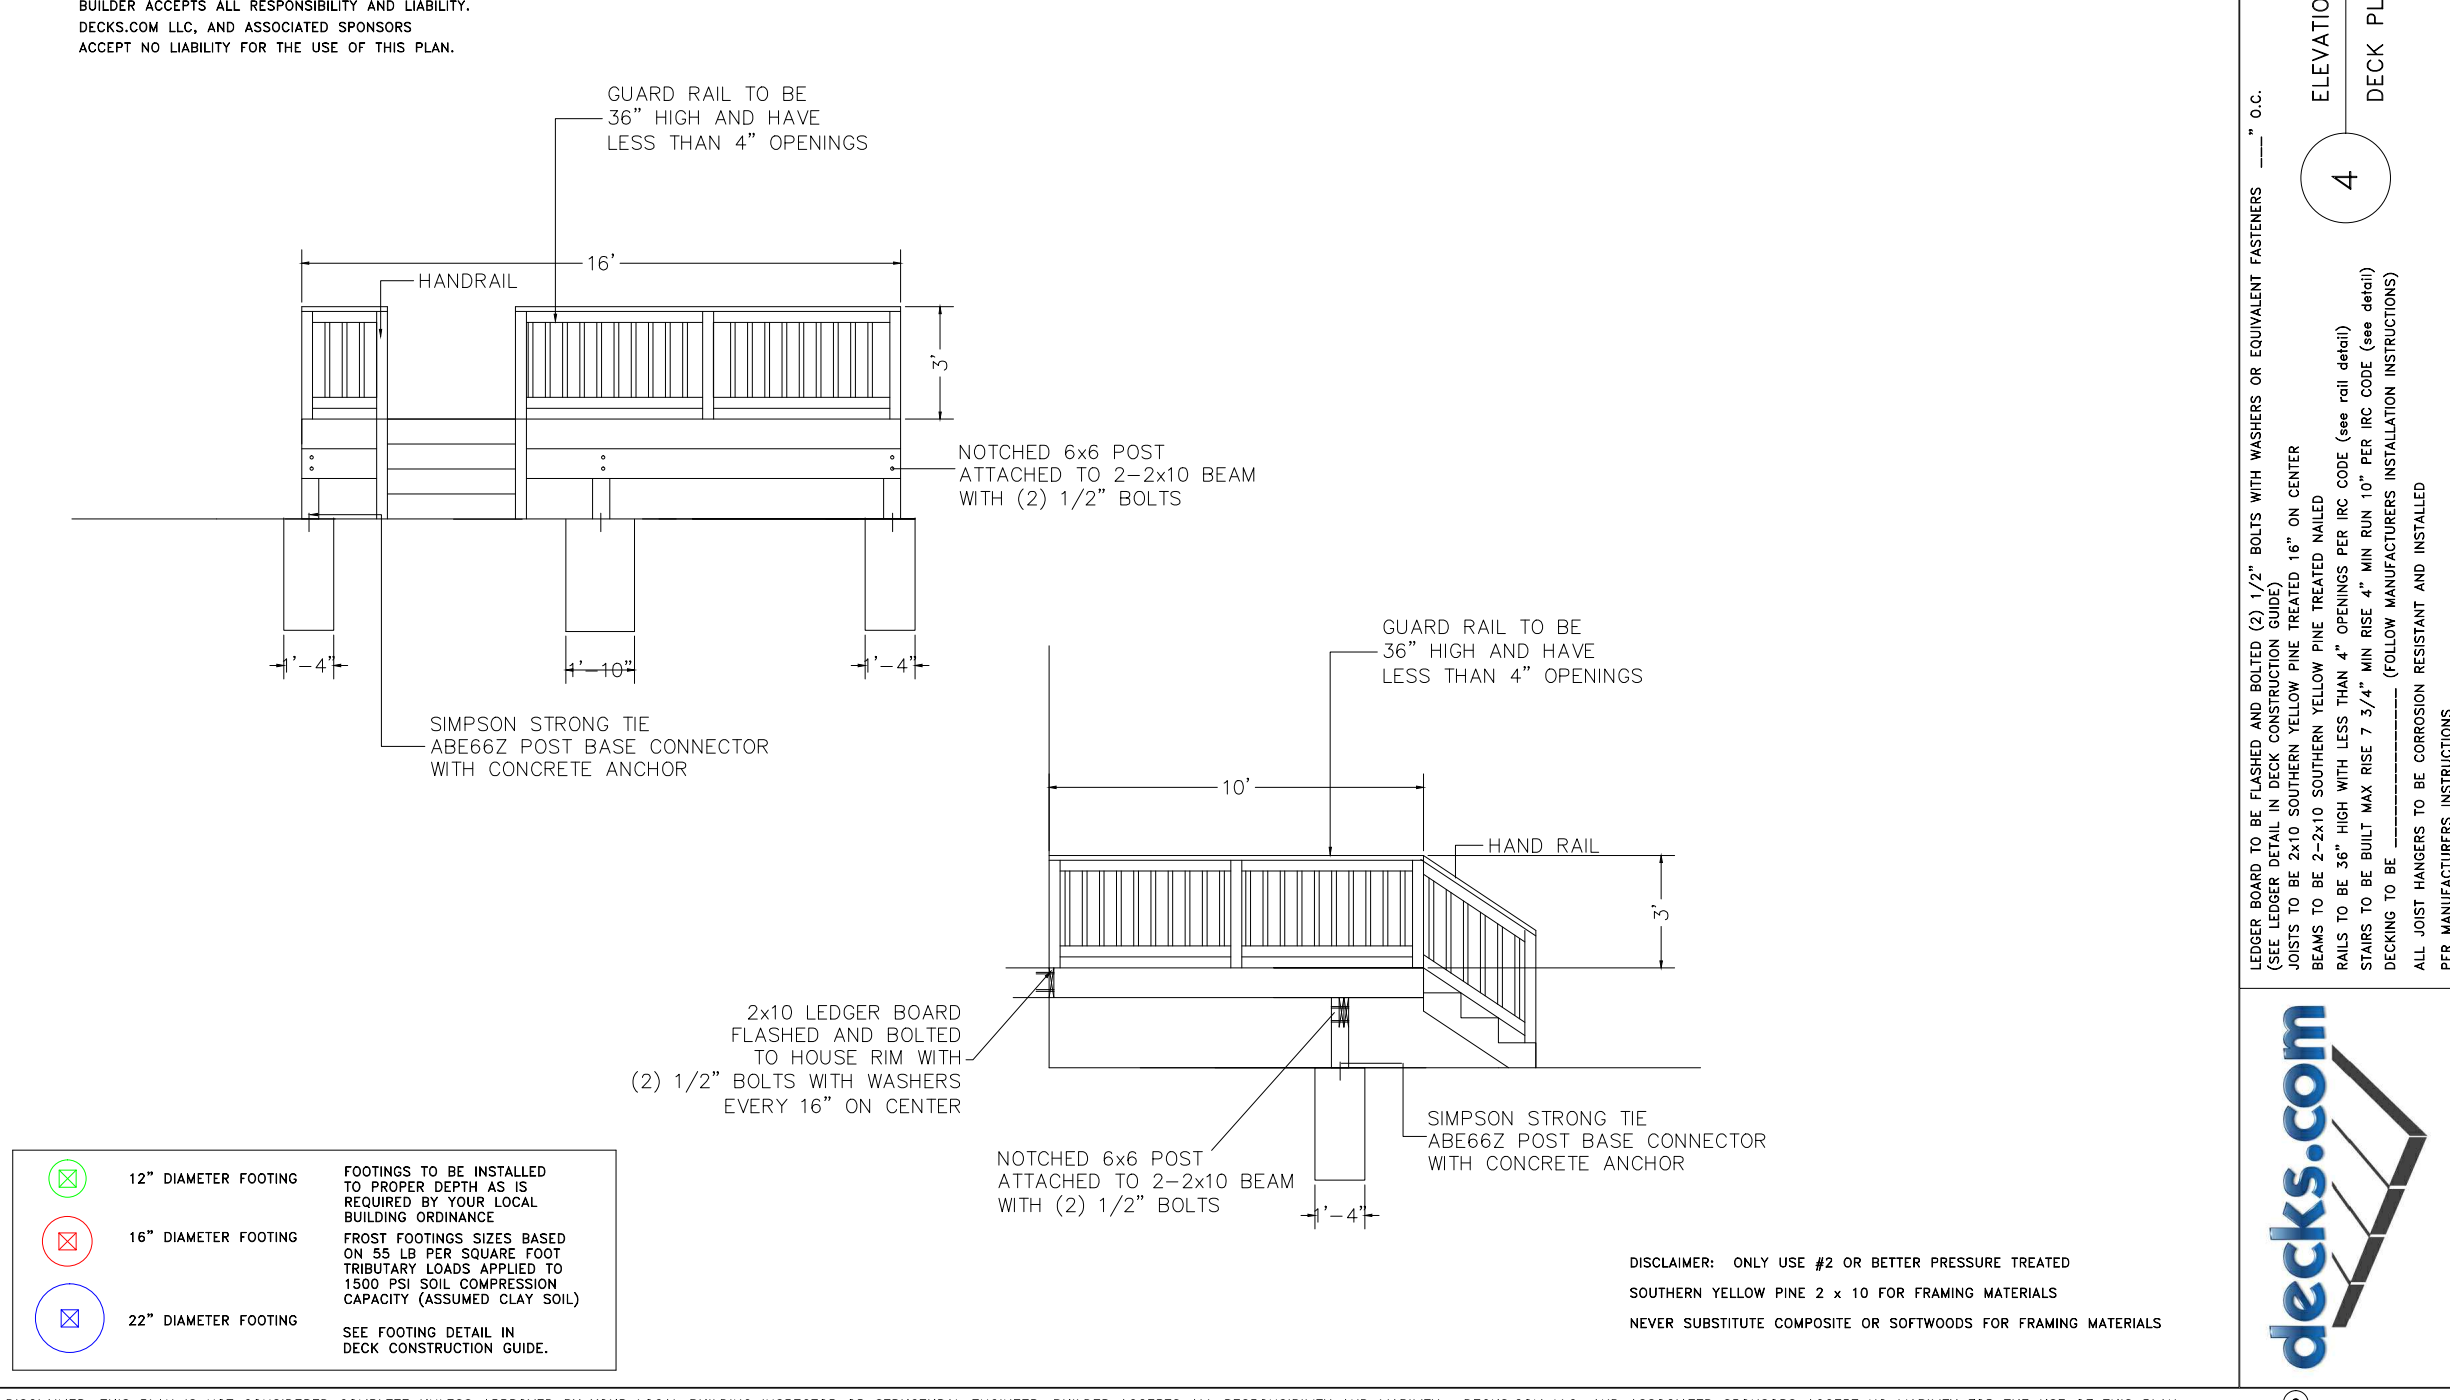
They have free plans you can download and tons of help for every step of the process. Our 16 x 10′ deck is fairly small, but big enough to fit Grant’s outside toys and a patio table, so it’s perfect for us-and was more than enough work to complete.

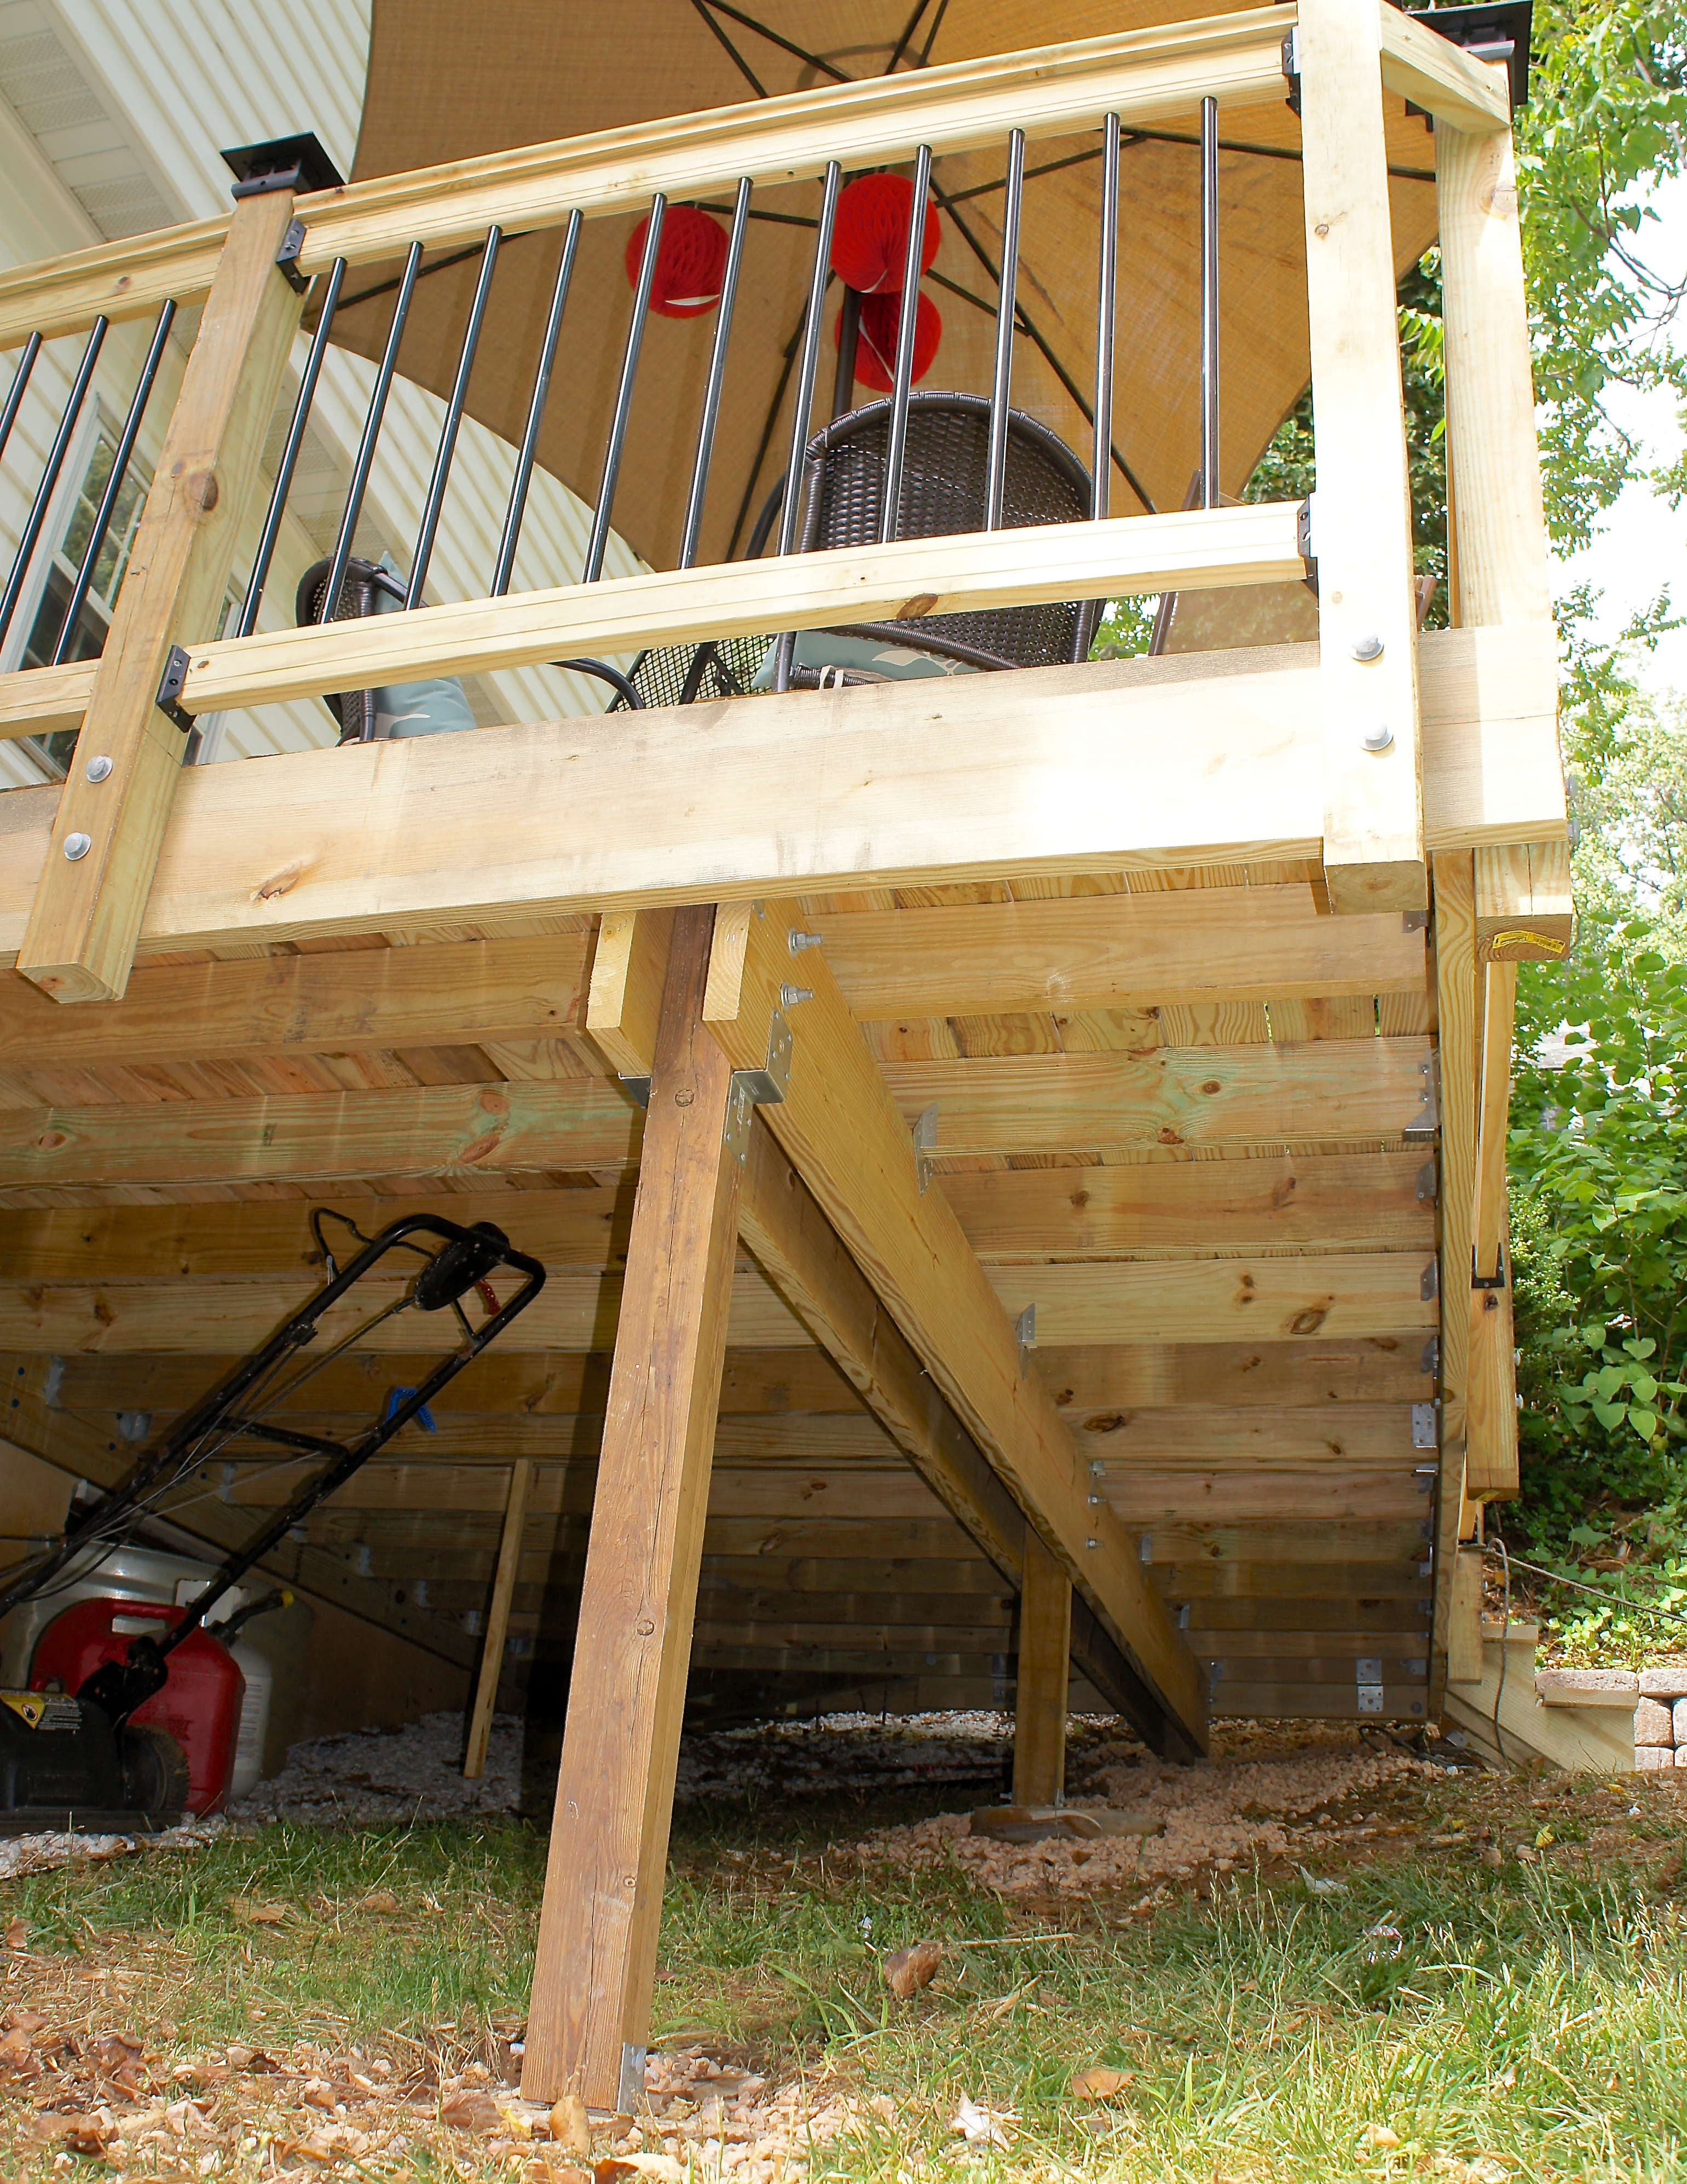
We started by digging 30″ footings that we placed 16″ diameter cardboard tubes in and filled with concrete. Digging was the worst part of the entire project, we probably would have made the deck larger if it hadn’t required another post, but we were wiped after spending an entire day carving out space for the three footings. At the top of the concrete a galvanized steel post base is embedded for our 4 x 4″ posts.
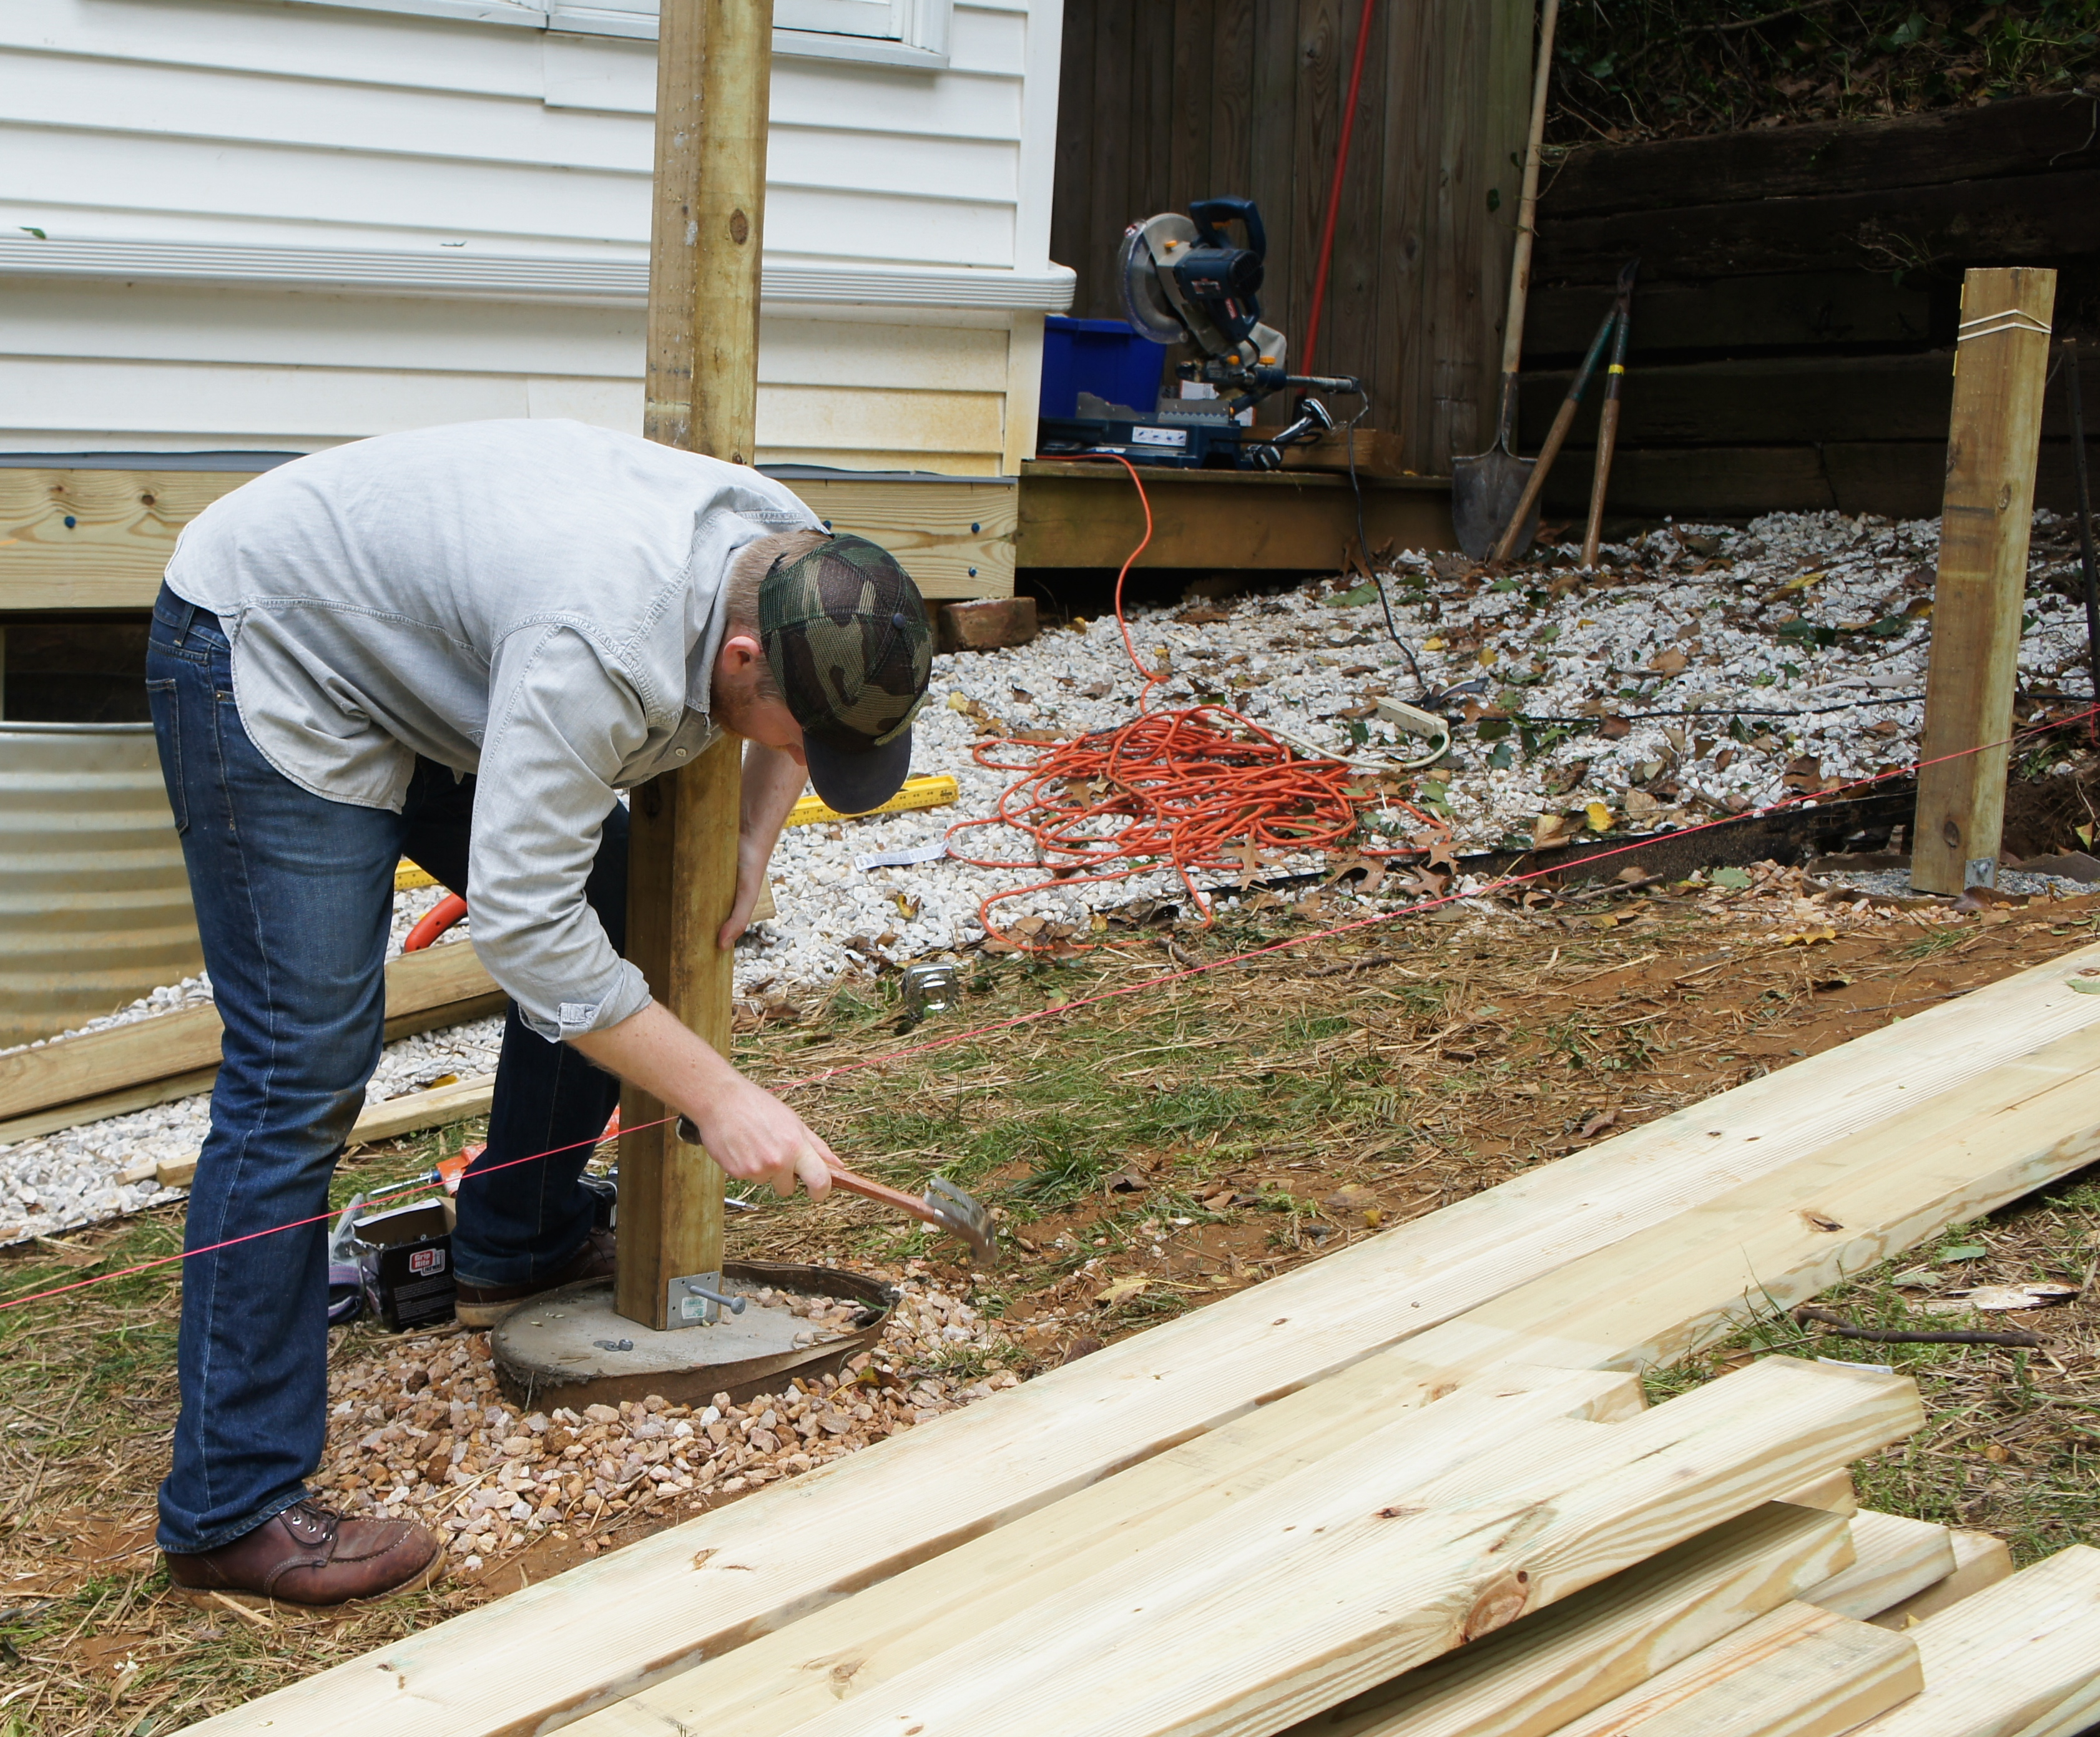
The next step was attaching a ledger board to the wall of our house and two 2 x 10’s on either side of the posts to serve as a beam. The ledger and the beam are the main source of support for the deck and had to be perfectly level because everything else was built off of them. Jason used string to mark everything and bought three different types of levels to make sure this part was perfect.

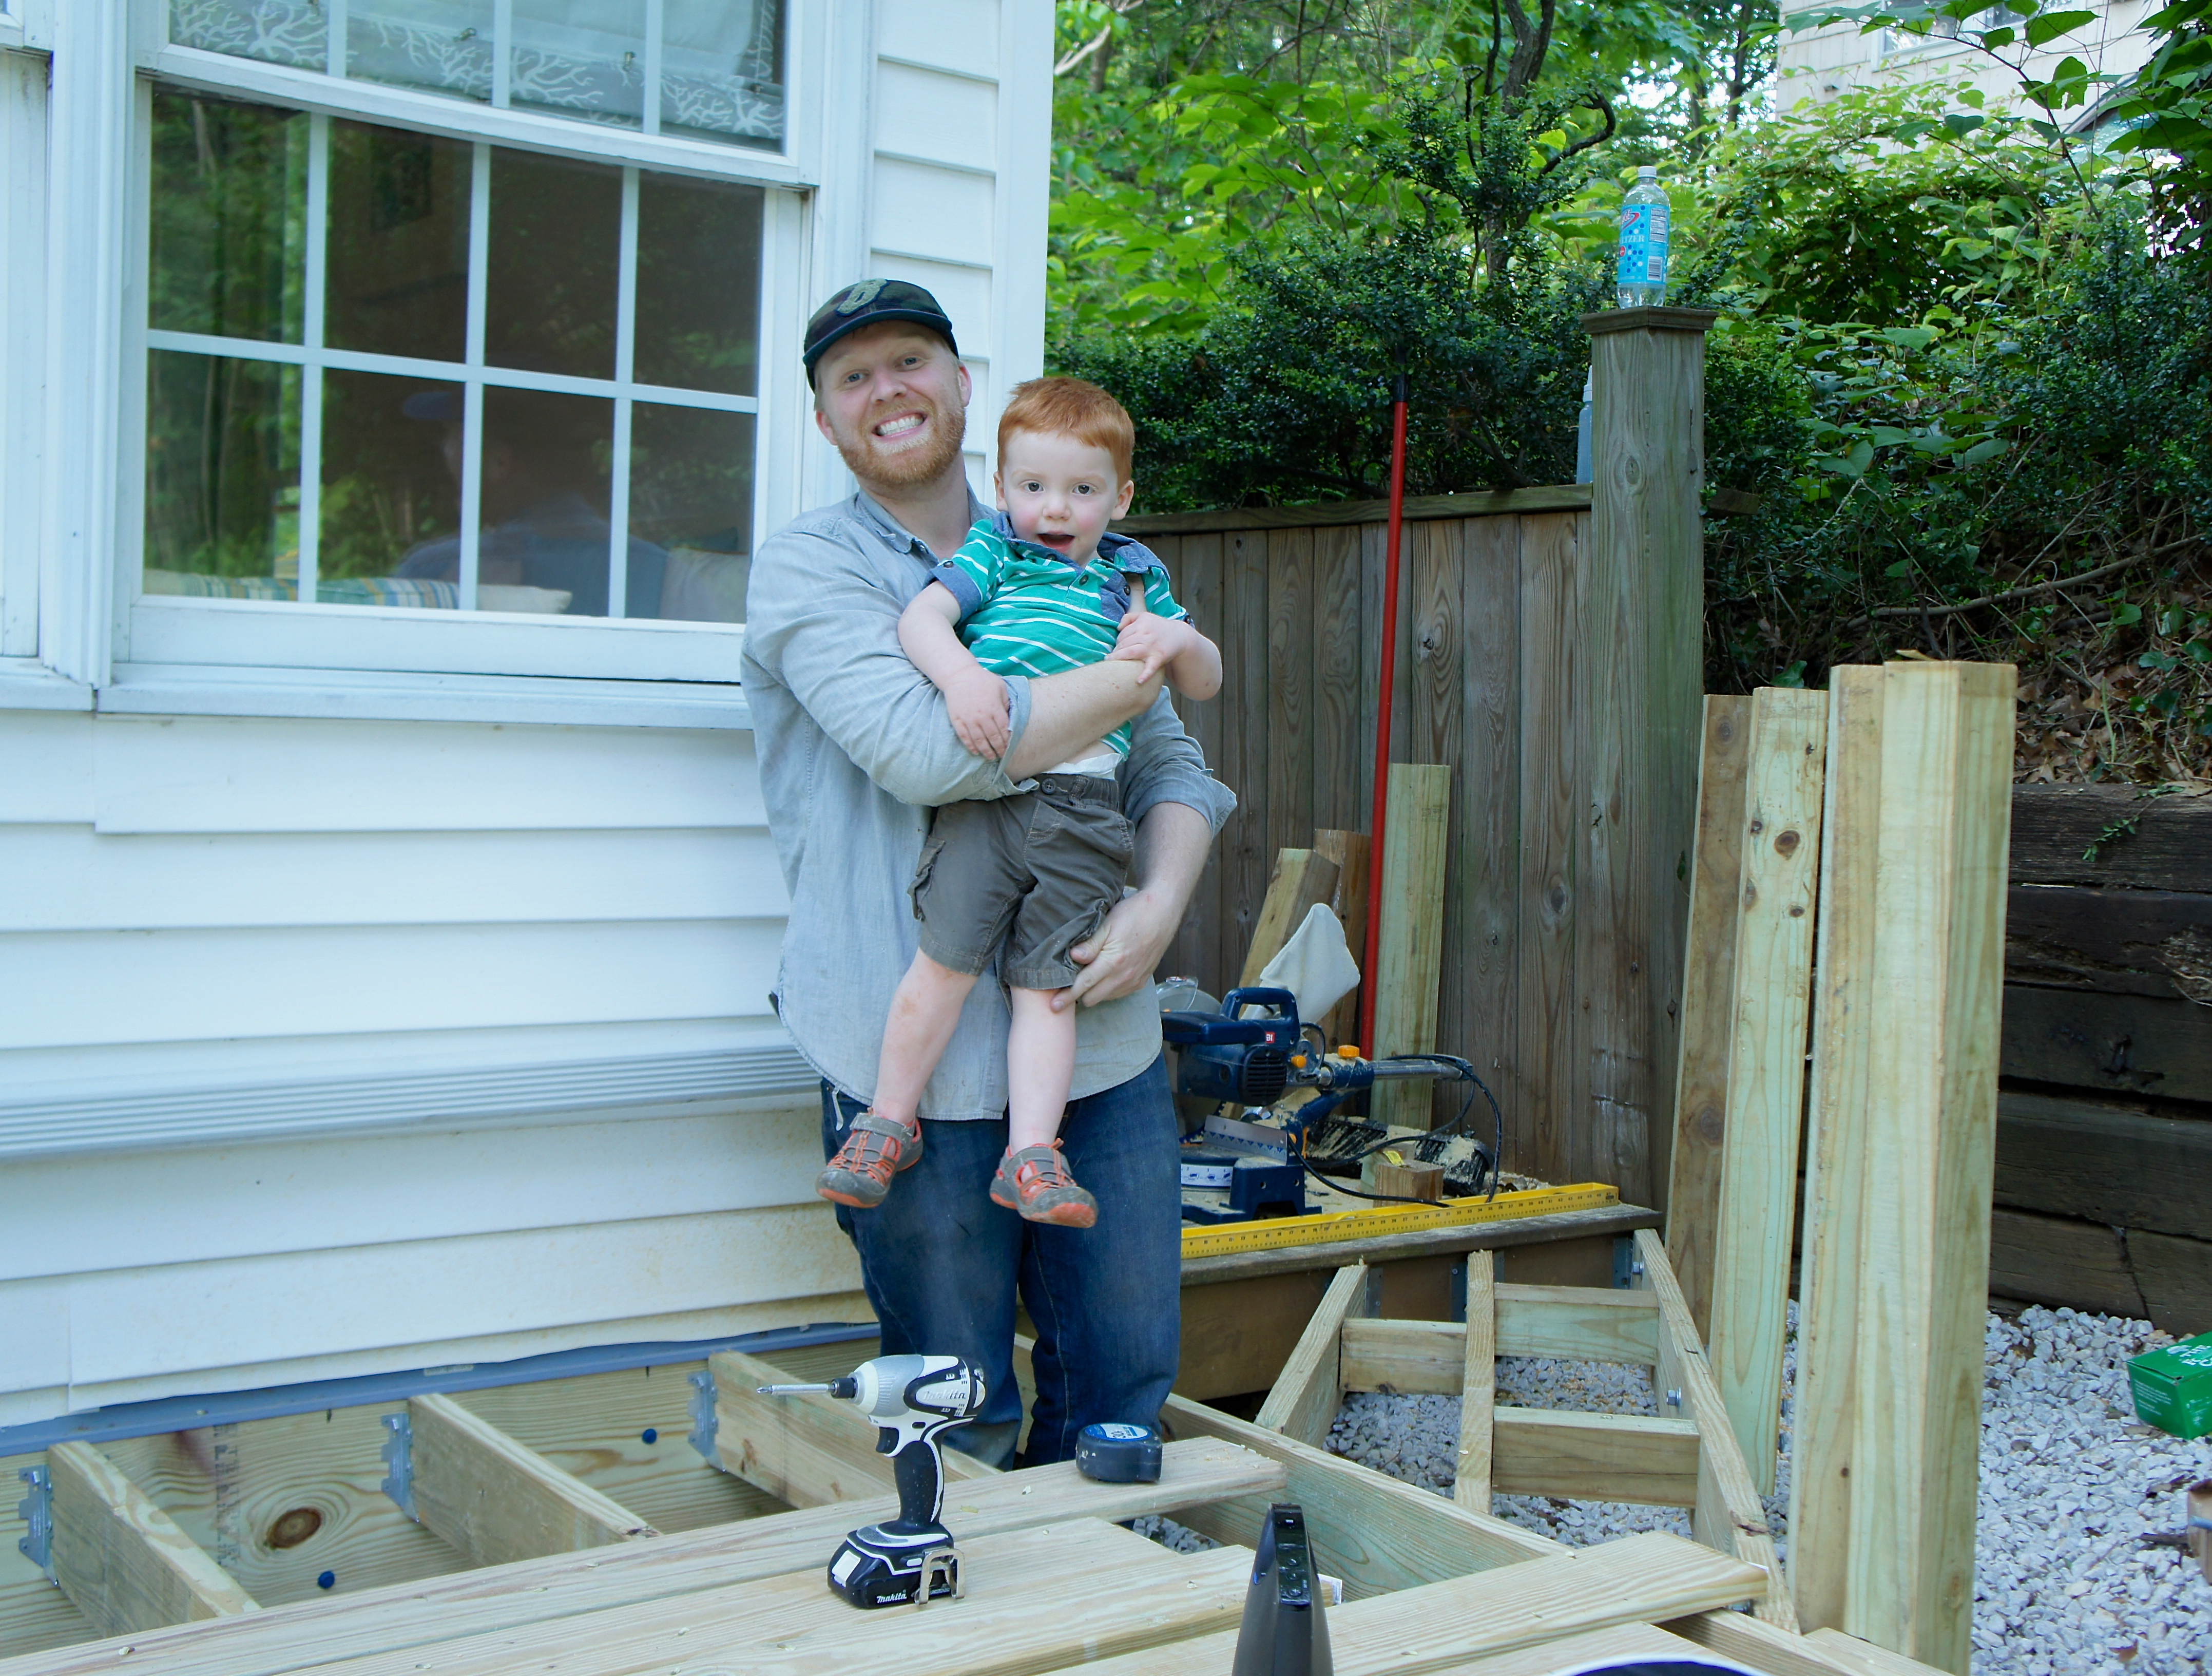
The next step was using metal joist hangers to install the joists that our floorboards are drilled into. We have a side deck off of our kitchen, so Jason built a triangular section of decking to connect the two areas:
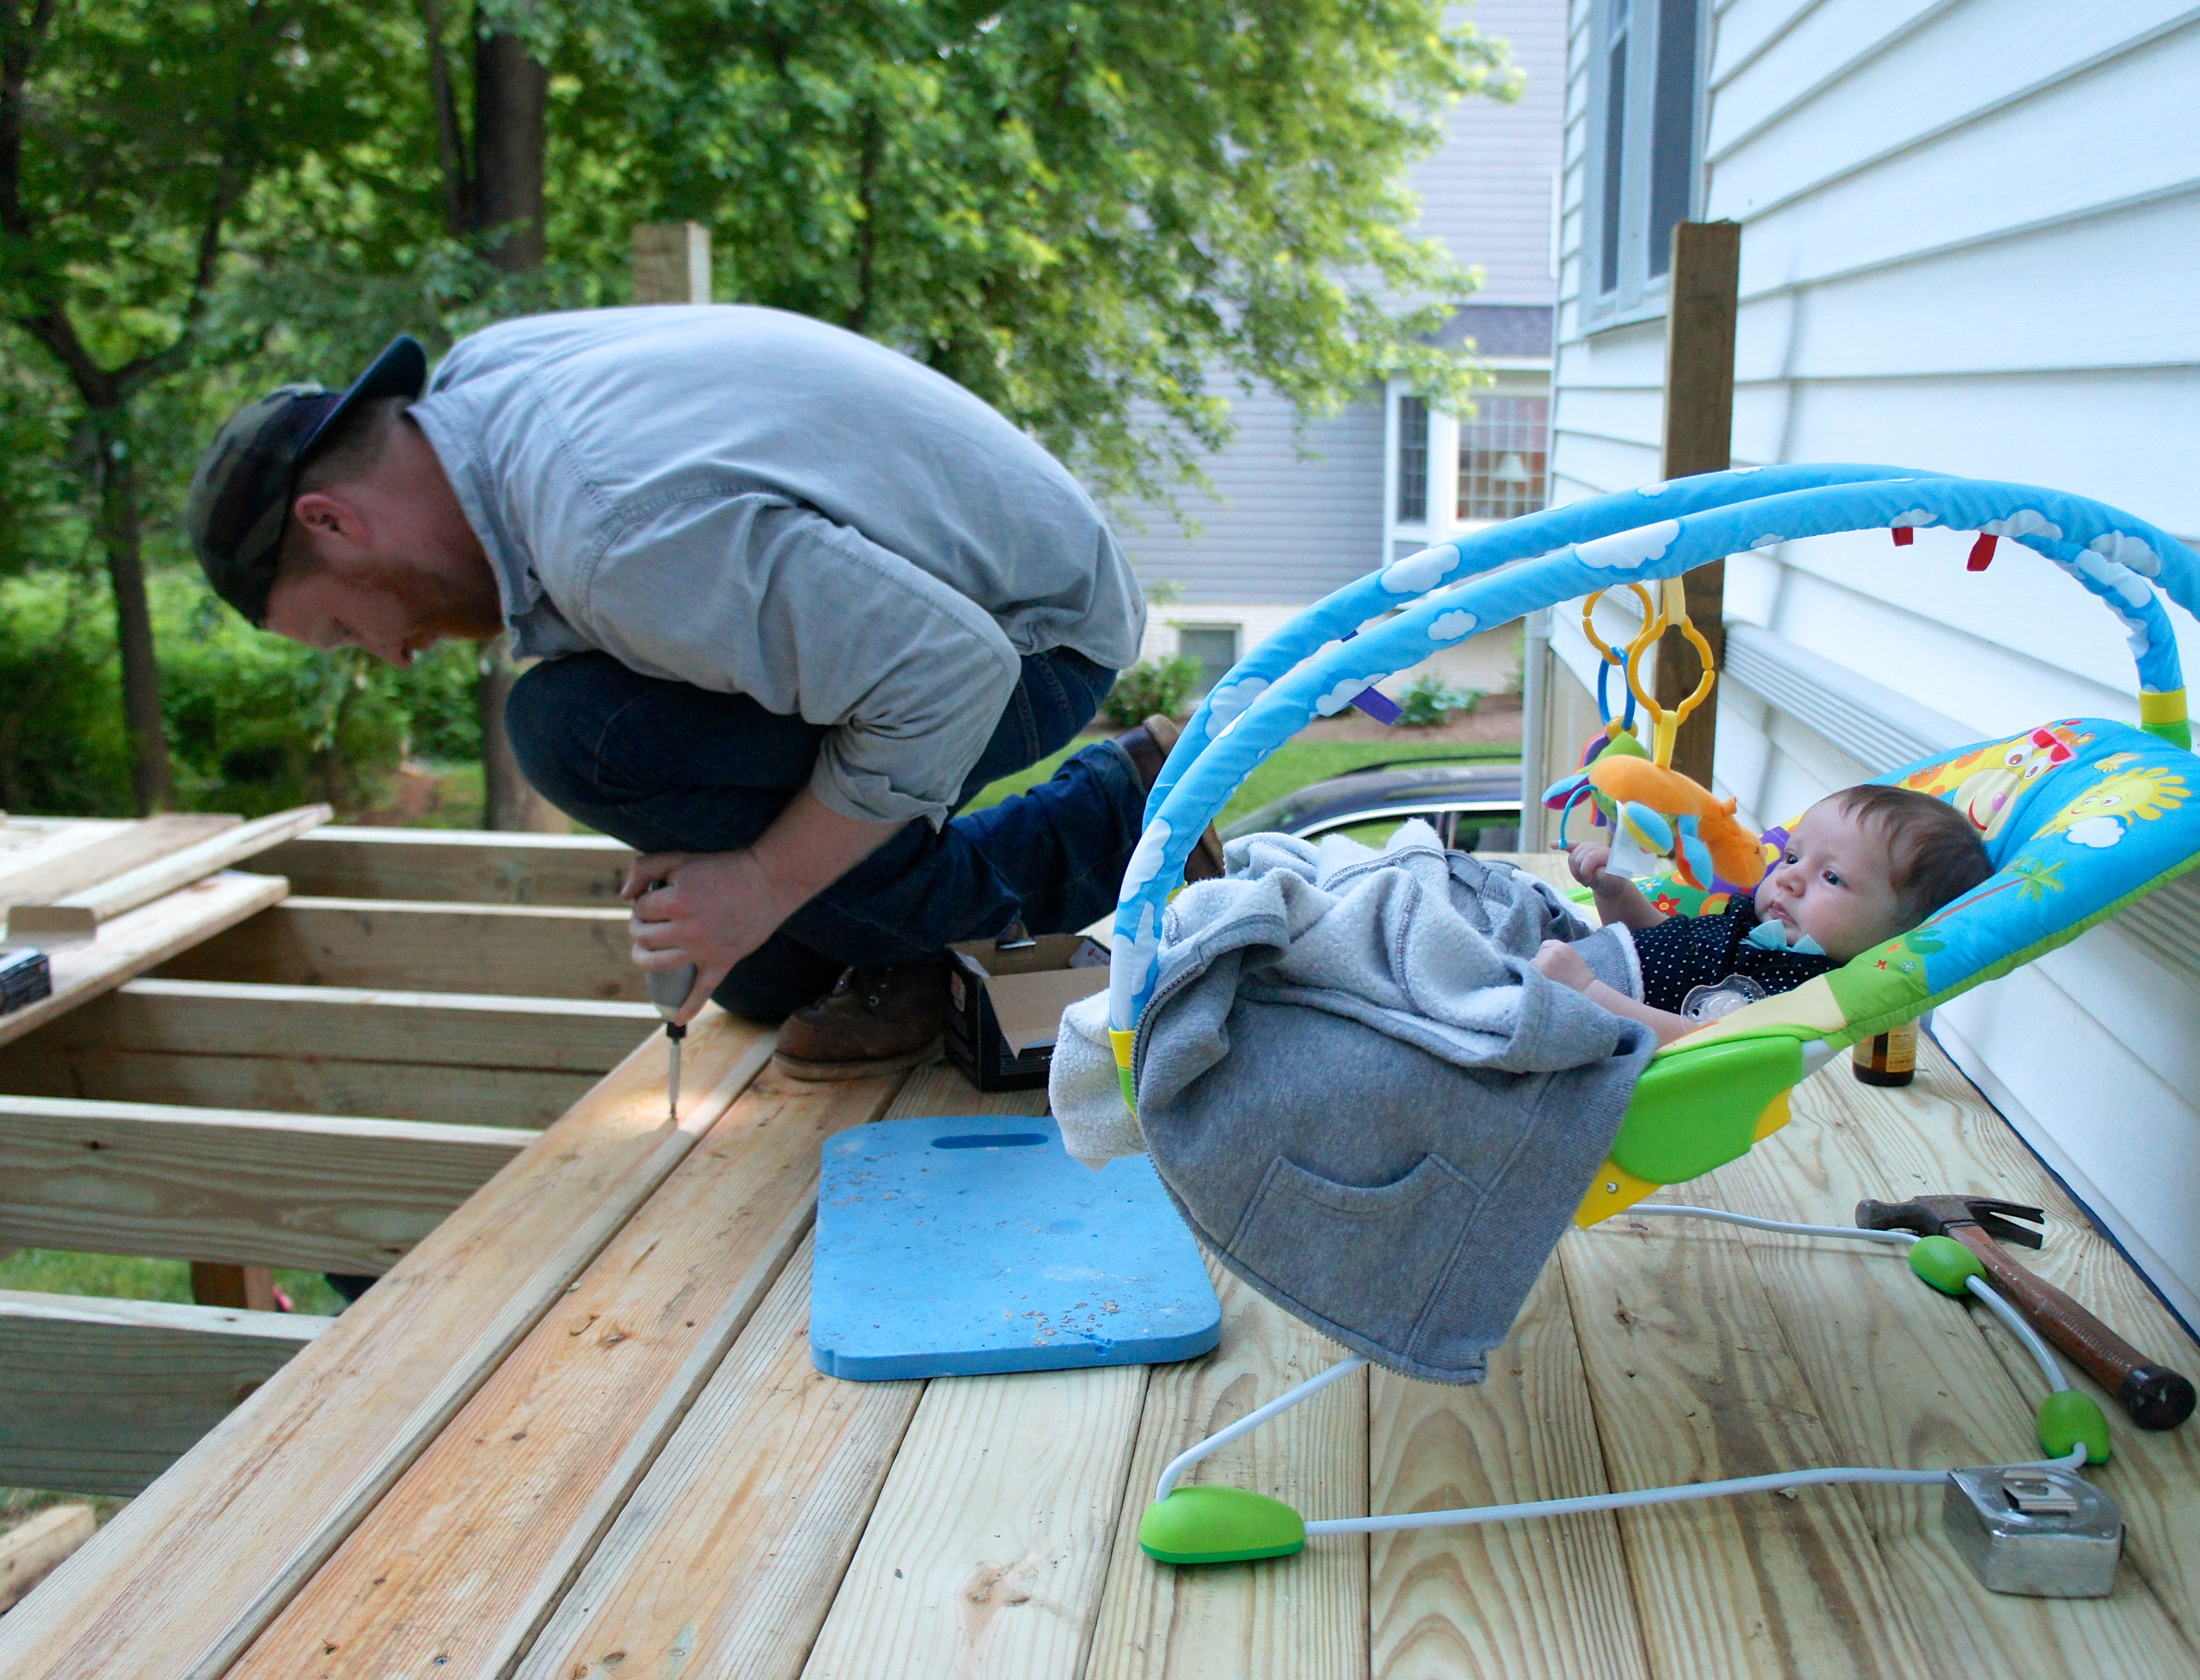
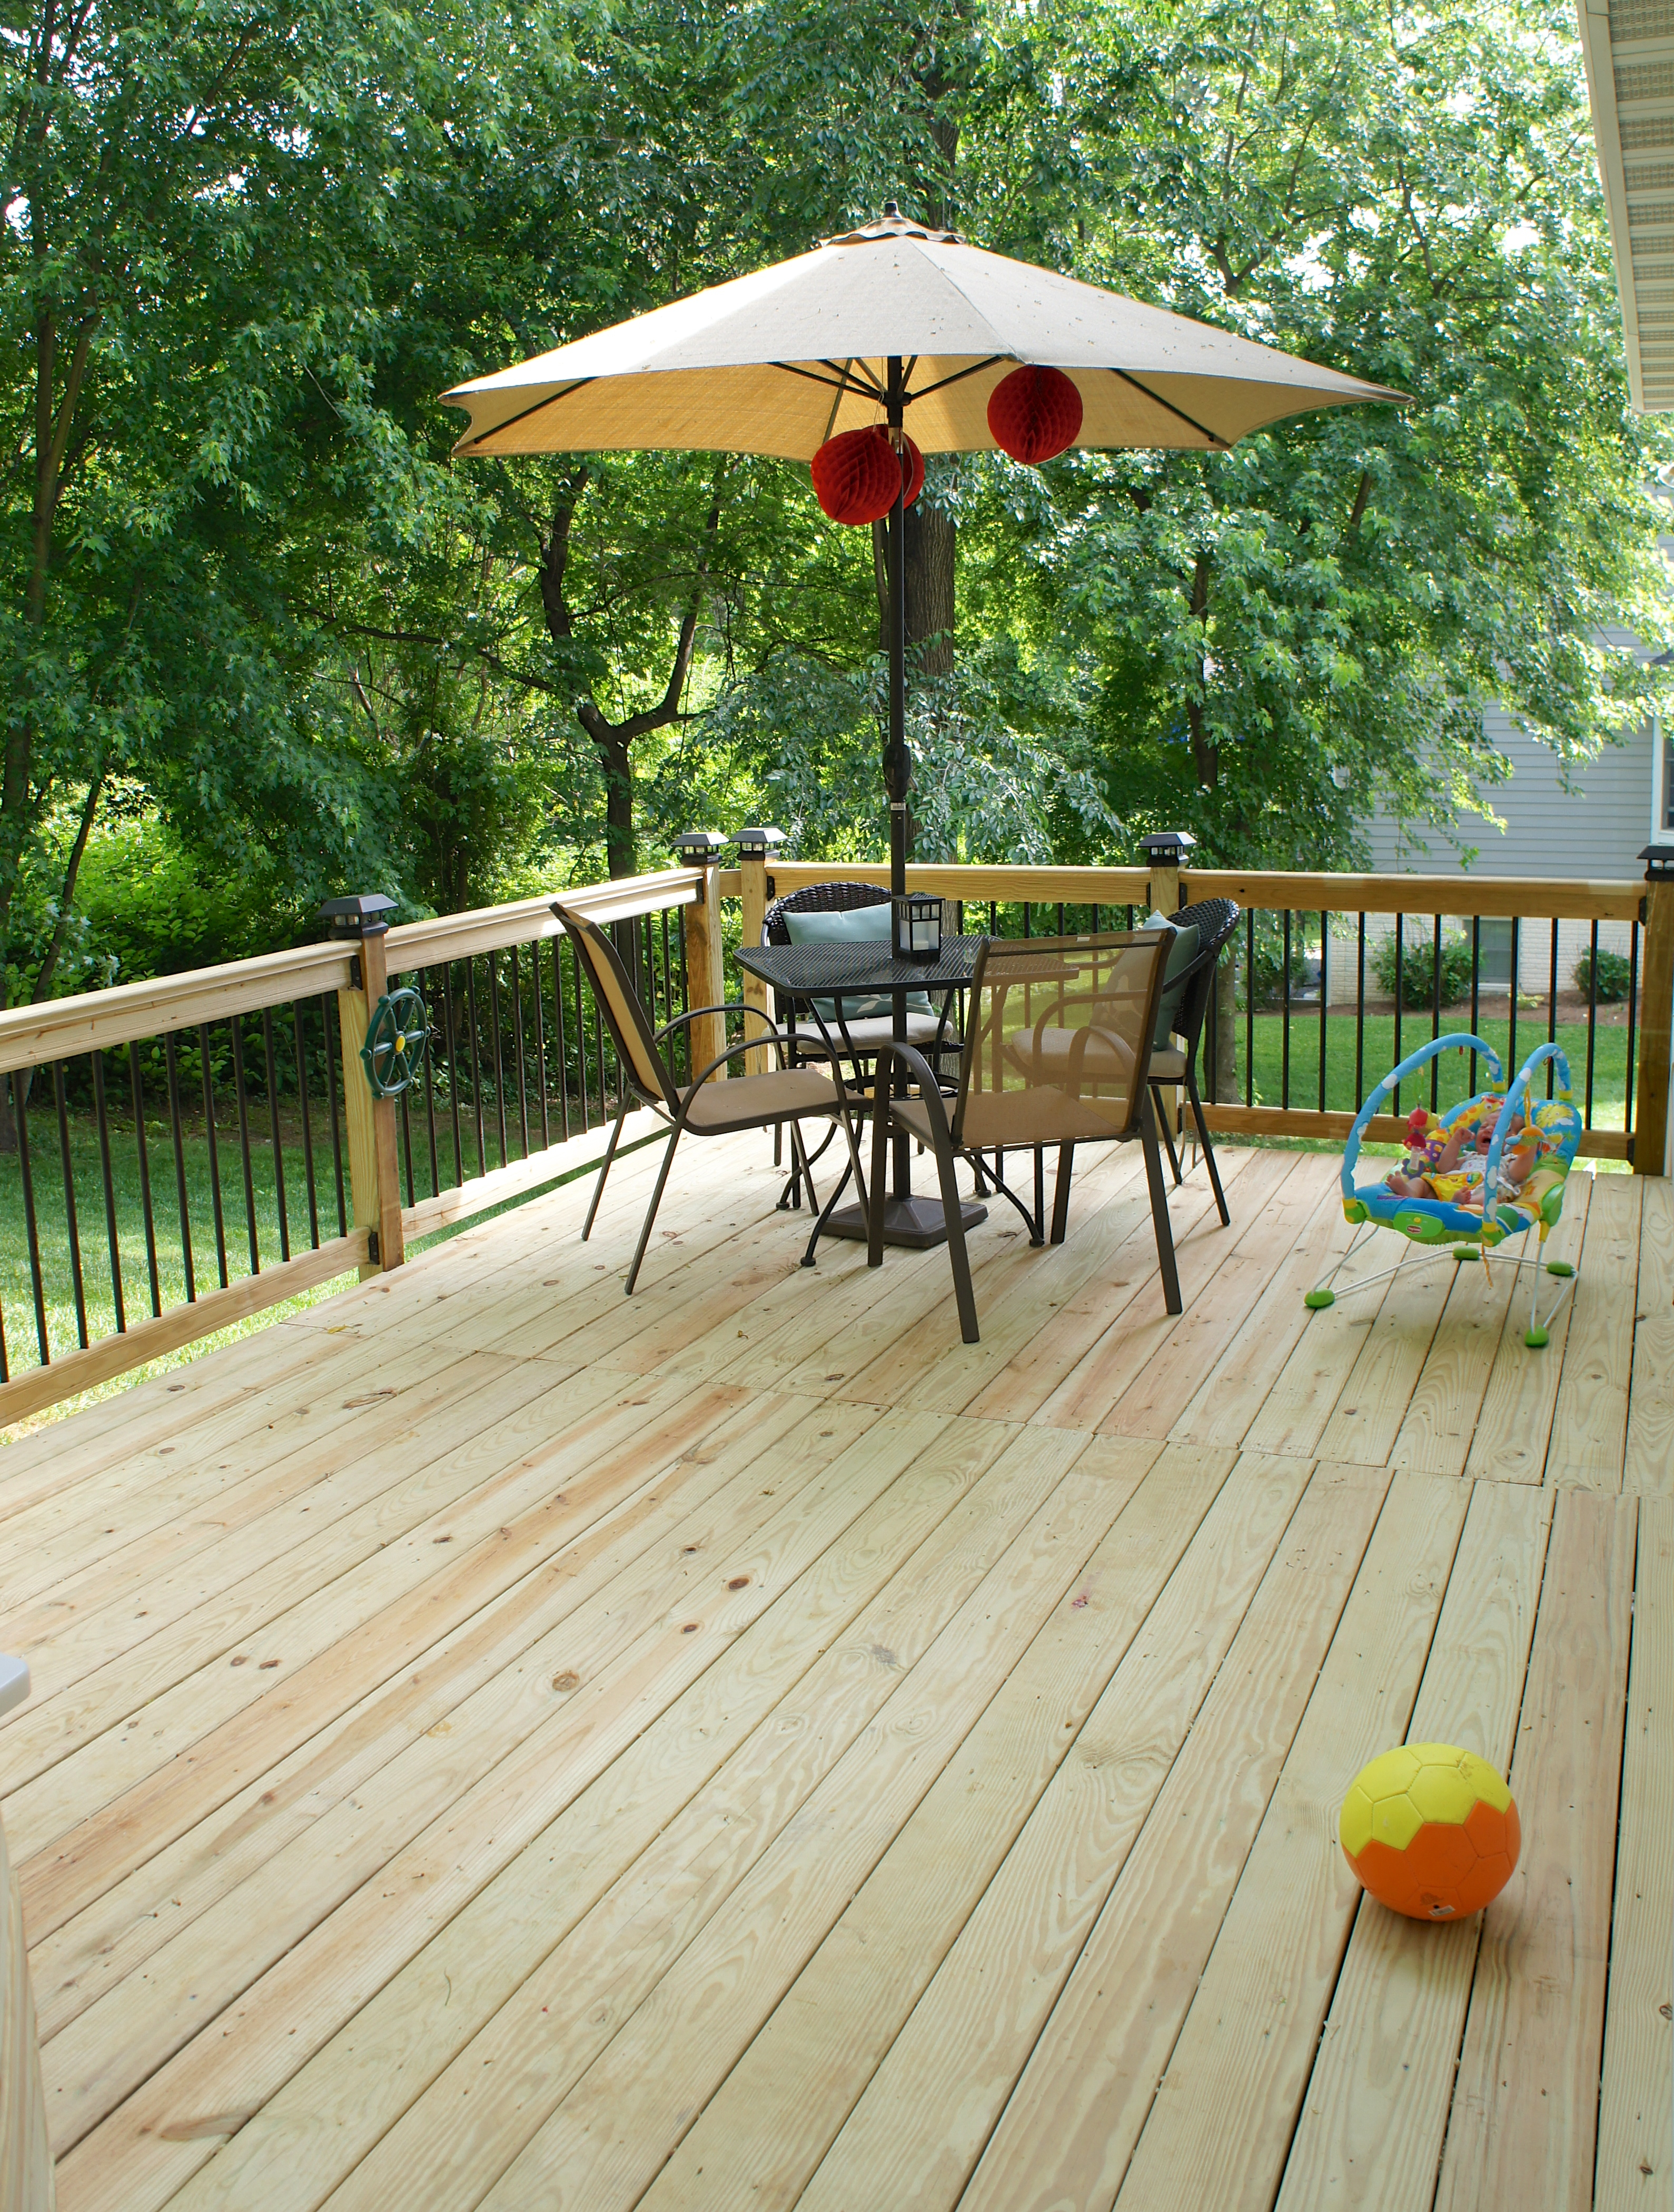
The last step before we could install floorboards was bolting in the posts for the railings. Then we were ready for the fun part (or at least the part where it finally started feeling like a deck)! We had 8′ long sections of 1 x 6″ boards for our fence, so that was what we used for the flooring. Single 16′ sections would have been ideal to create a seamless look, but at least we were able to use the lumber we already had.
The railings were pre-made sections from Home Depot that we bought for $60 each, about $20 more than buying everything separately and building them ourselves, but well worth the $80 in the time and effort we saved.
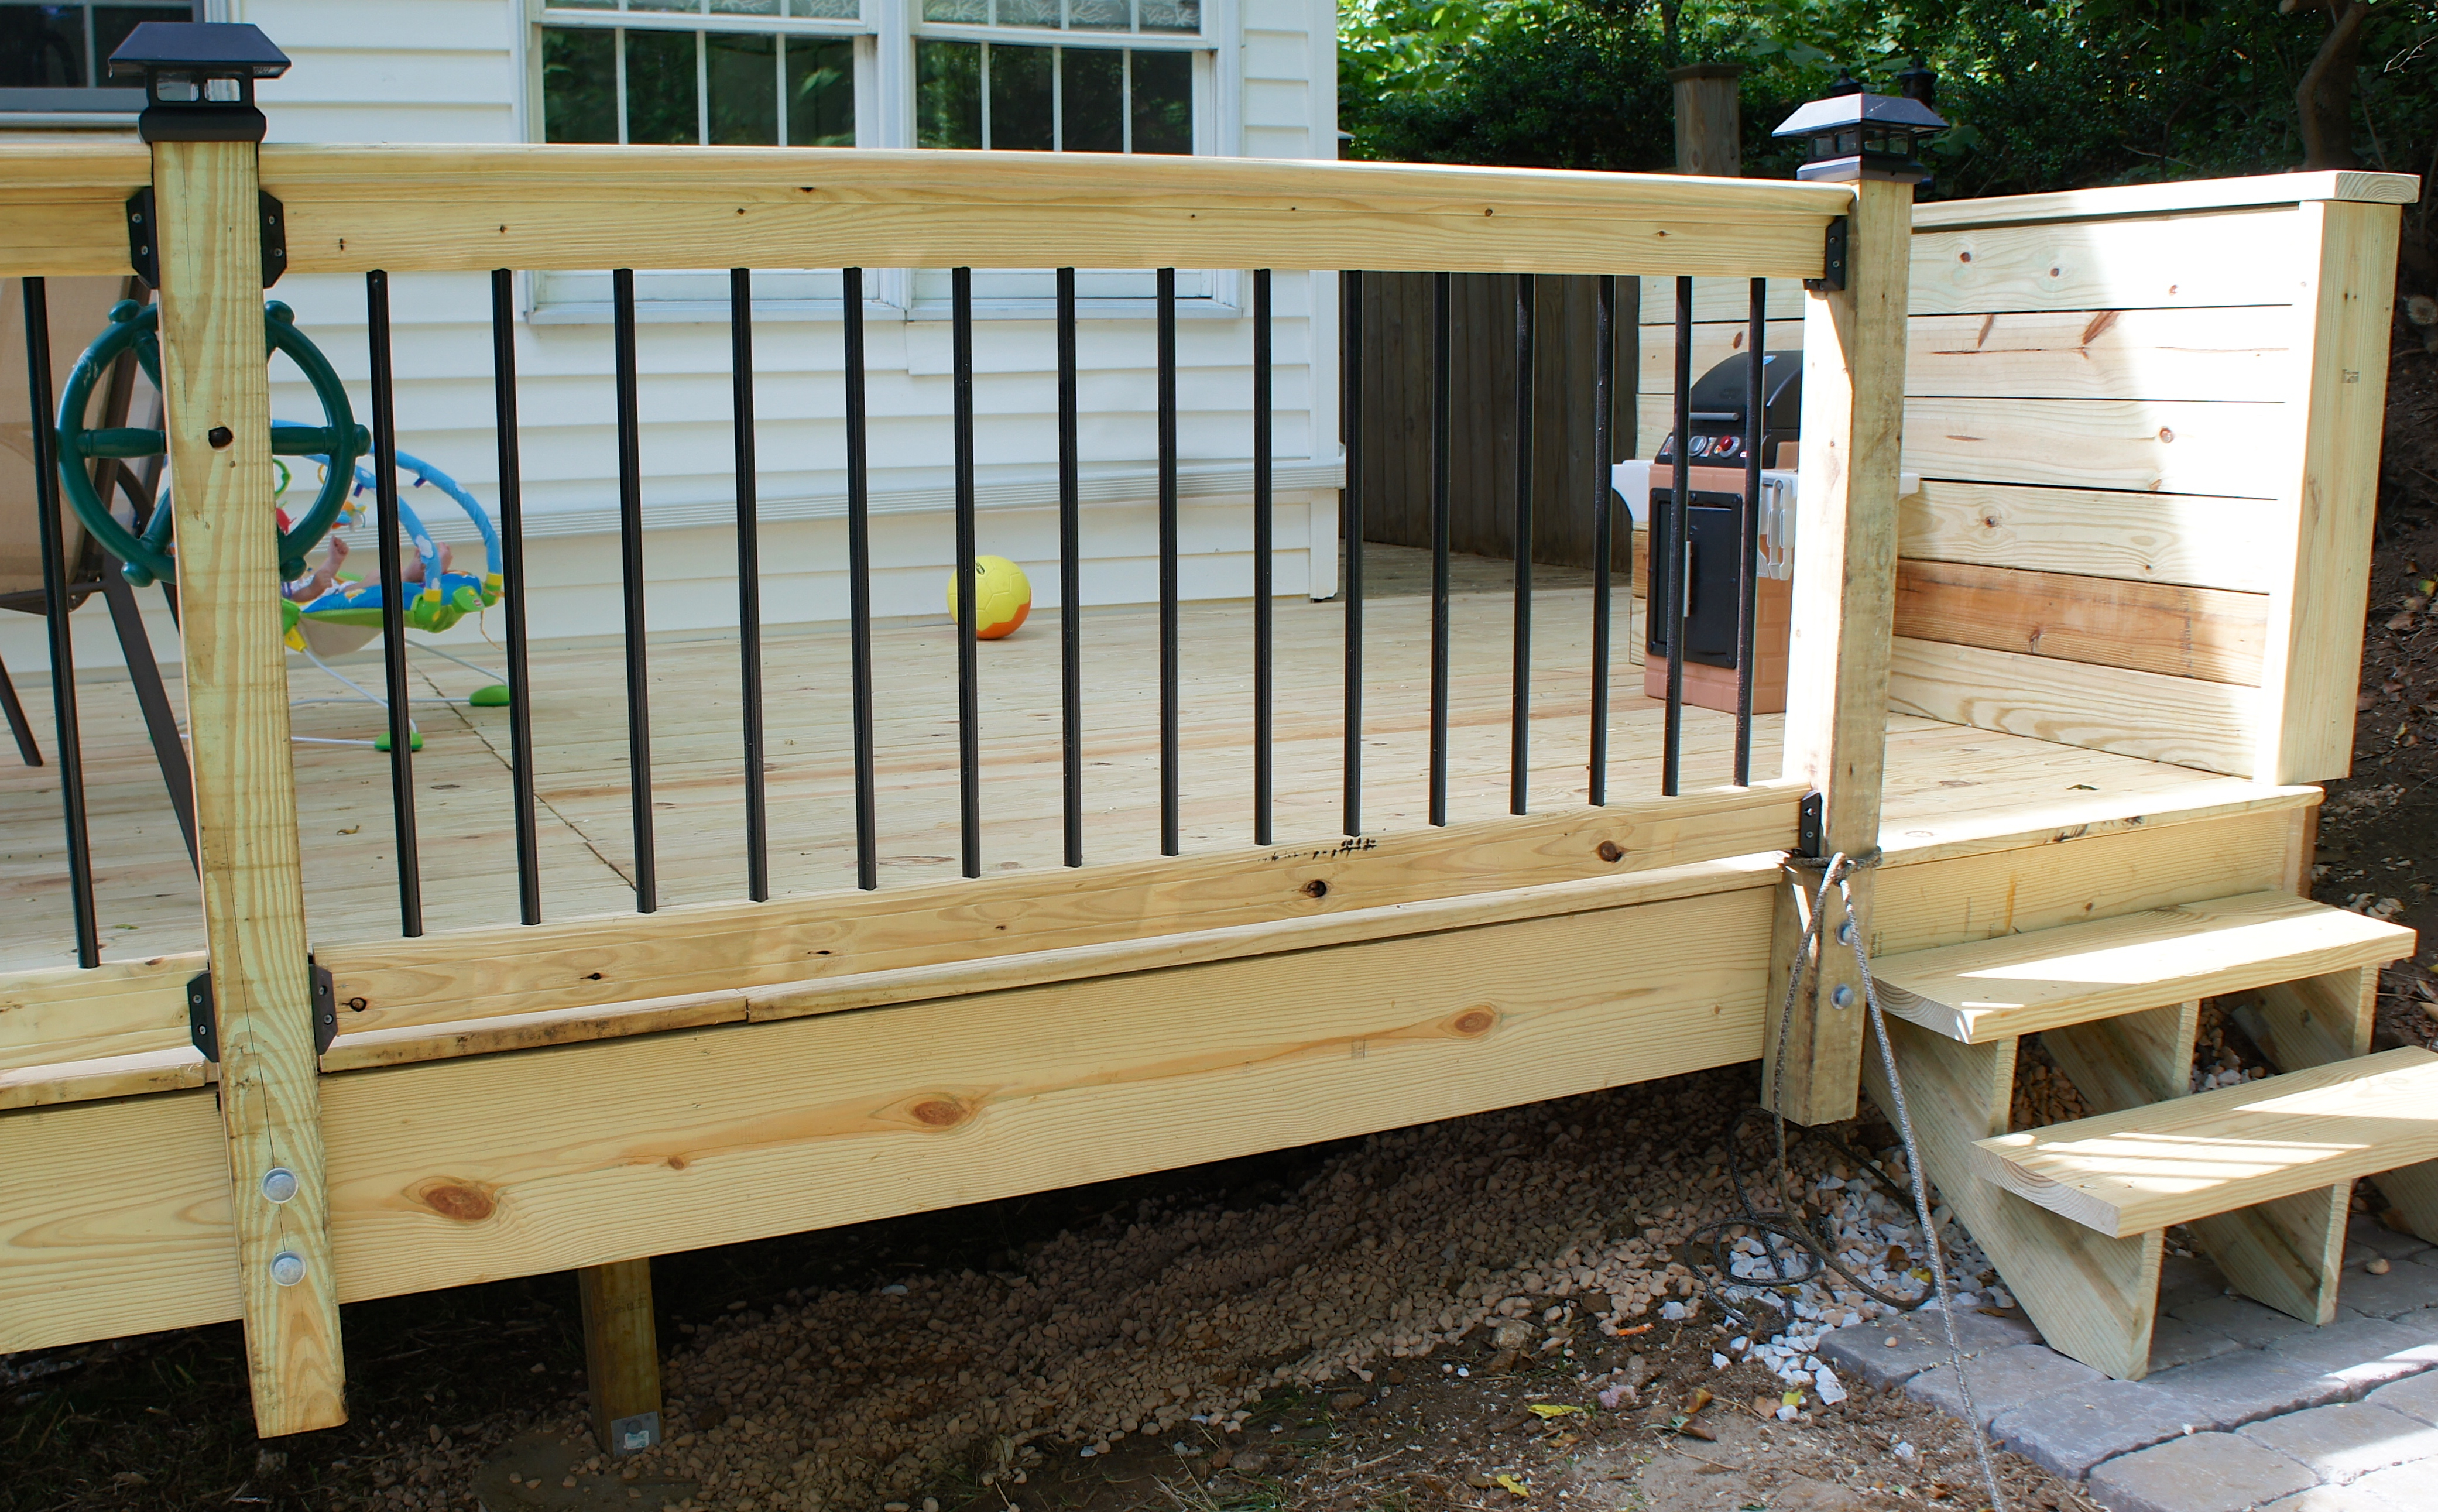
I attached the railings using plastic rail connectors and cut them down to size with a Saw-Zall. It was pretty simple and took me about an hour to do all four sections.

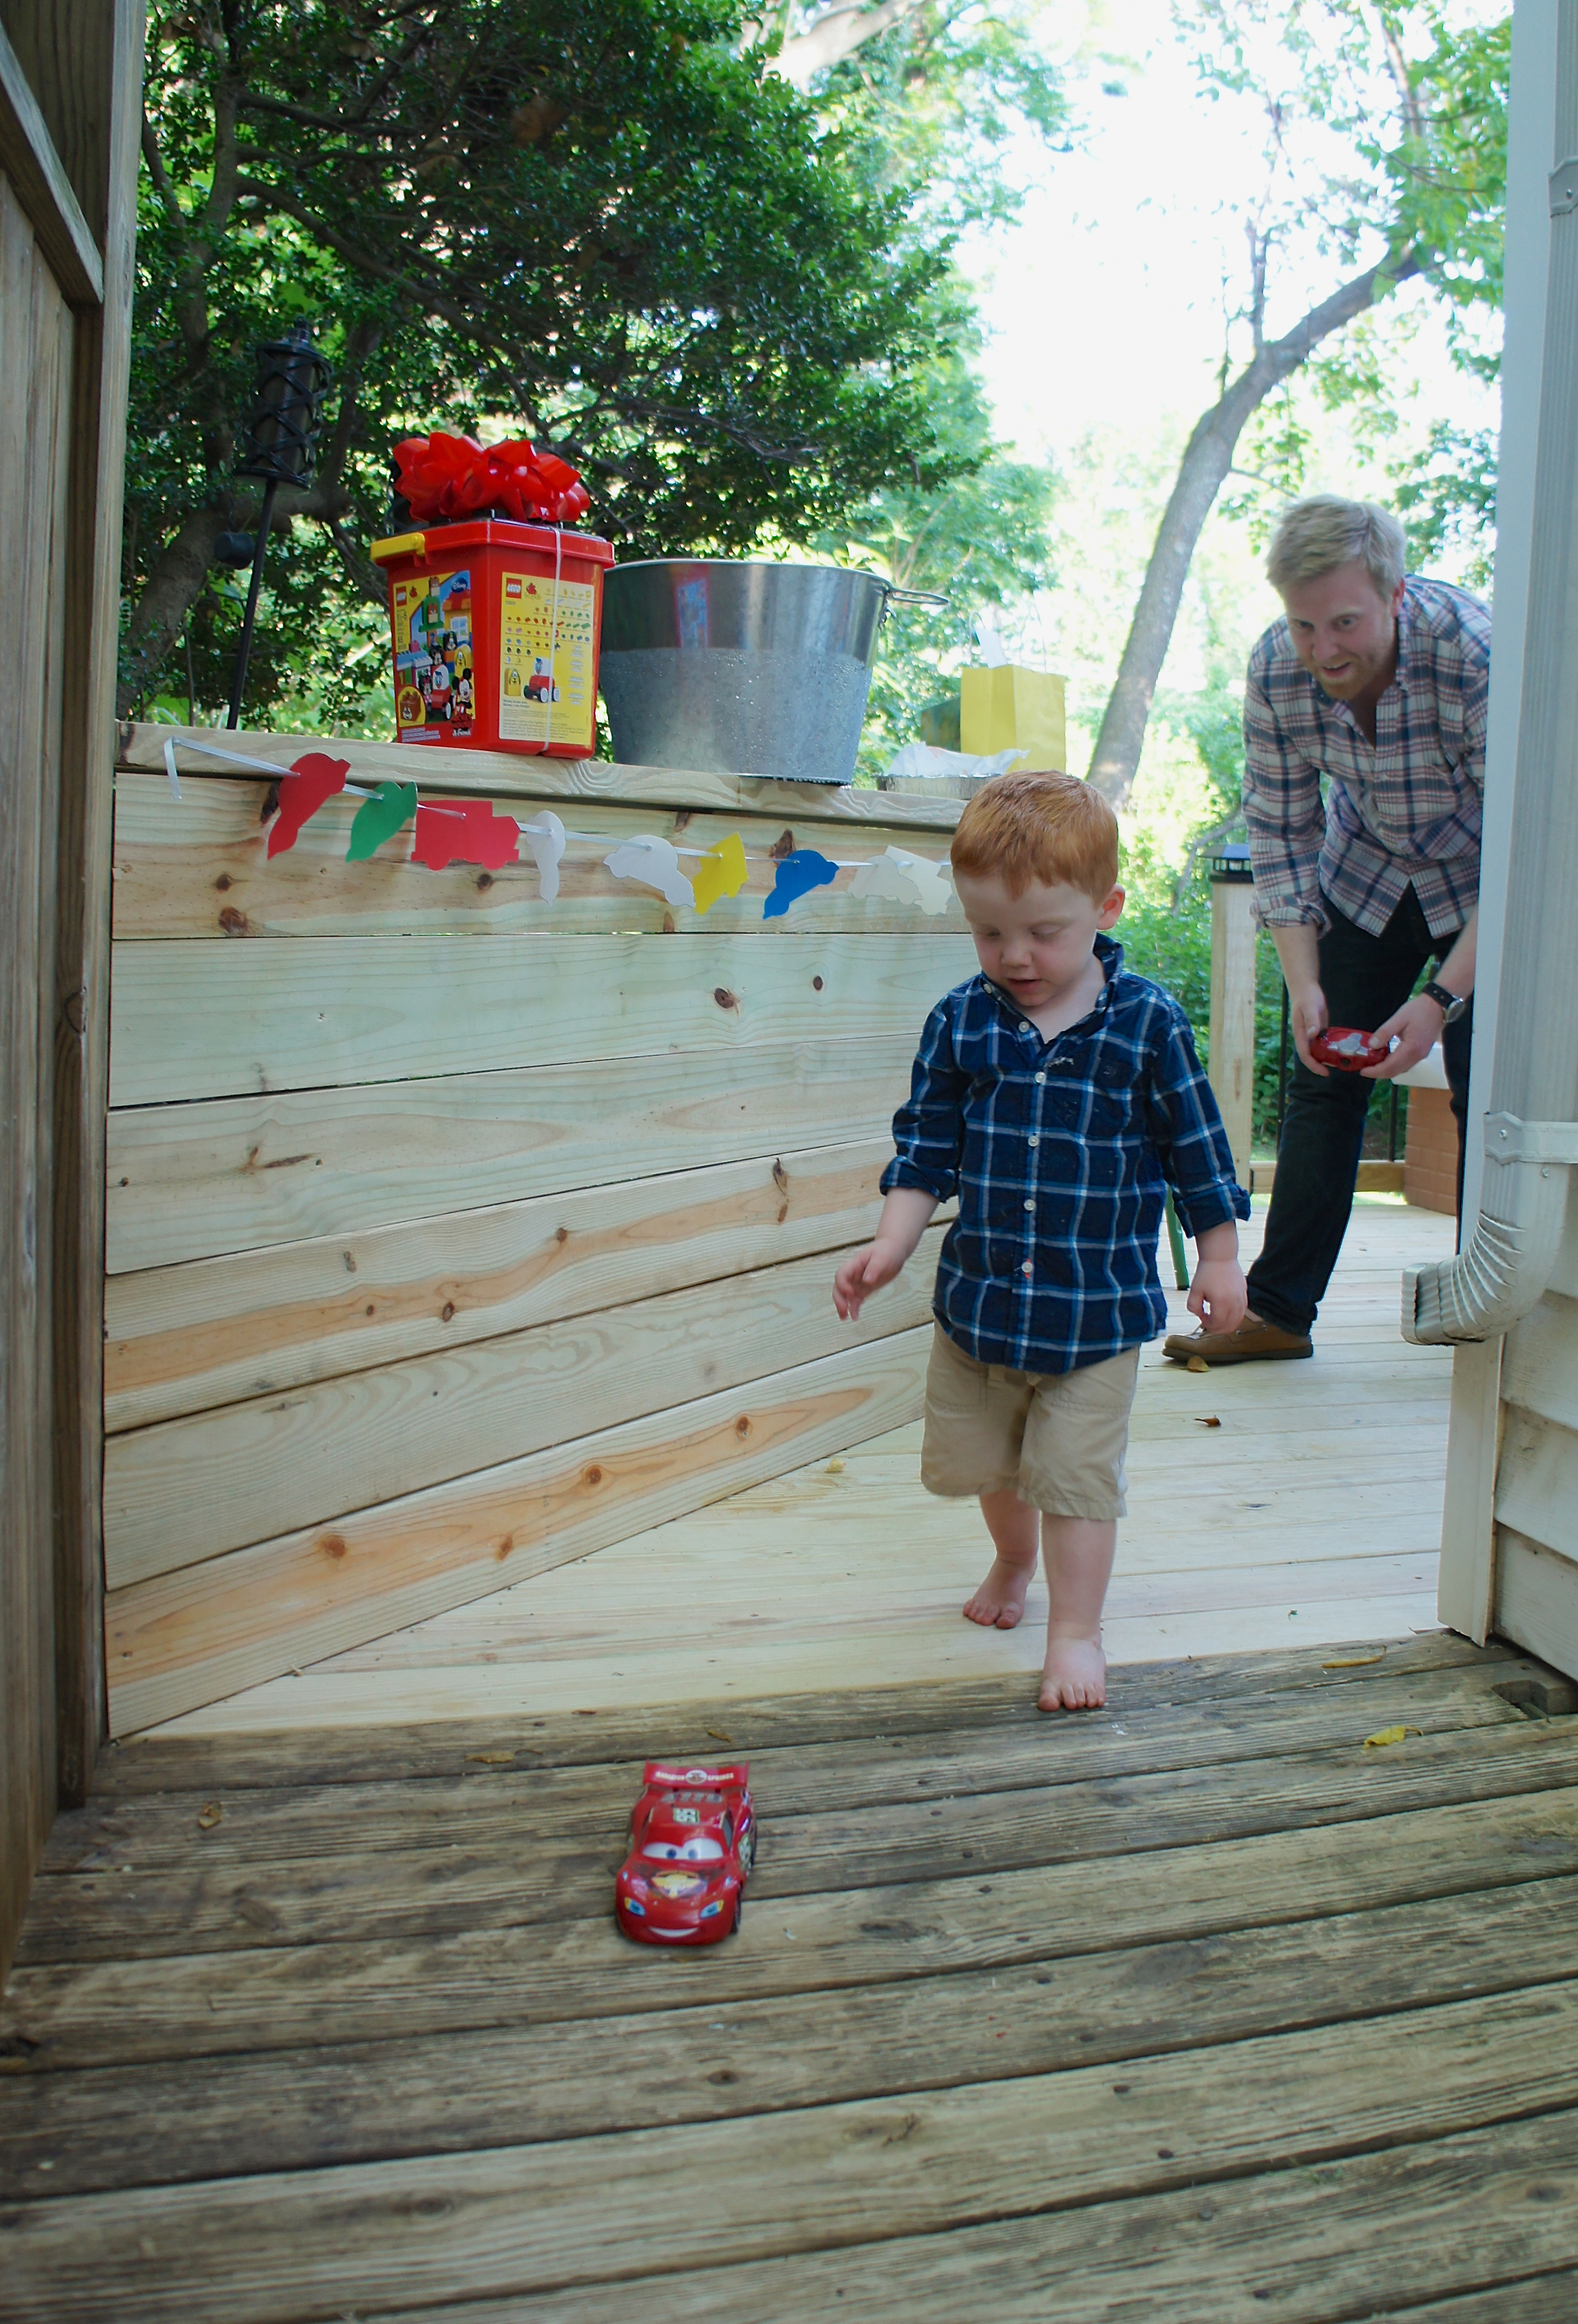
Jason built a wall on one side of the deck out of 1 x 6″ boards to hide some unsightly landscaping issues we haven’t attended to yet. It has the added bonus of creating a nice ledge to set drinks on.
I haven’t gotten around to staining everything yet, as you can see in the photo above, but a couple coats of stain will smooth out the transition between the old and new deck. The absolute worst part of this project was digging out a space for the steps. Our yard is on a steep slope, so we had to dig a level area for the stair landing. We bought stones to create a retaining wall so that when it rains the landing doesn’t become a mud pit. This was my main part of the project and was downright awful, but on the upside I lost 4 pounds of remaining baby weight.
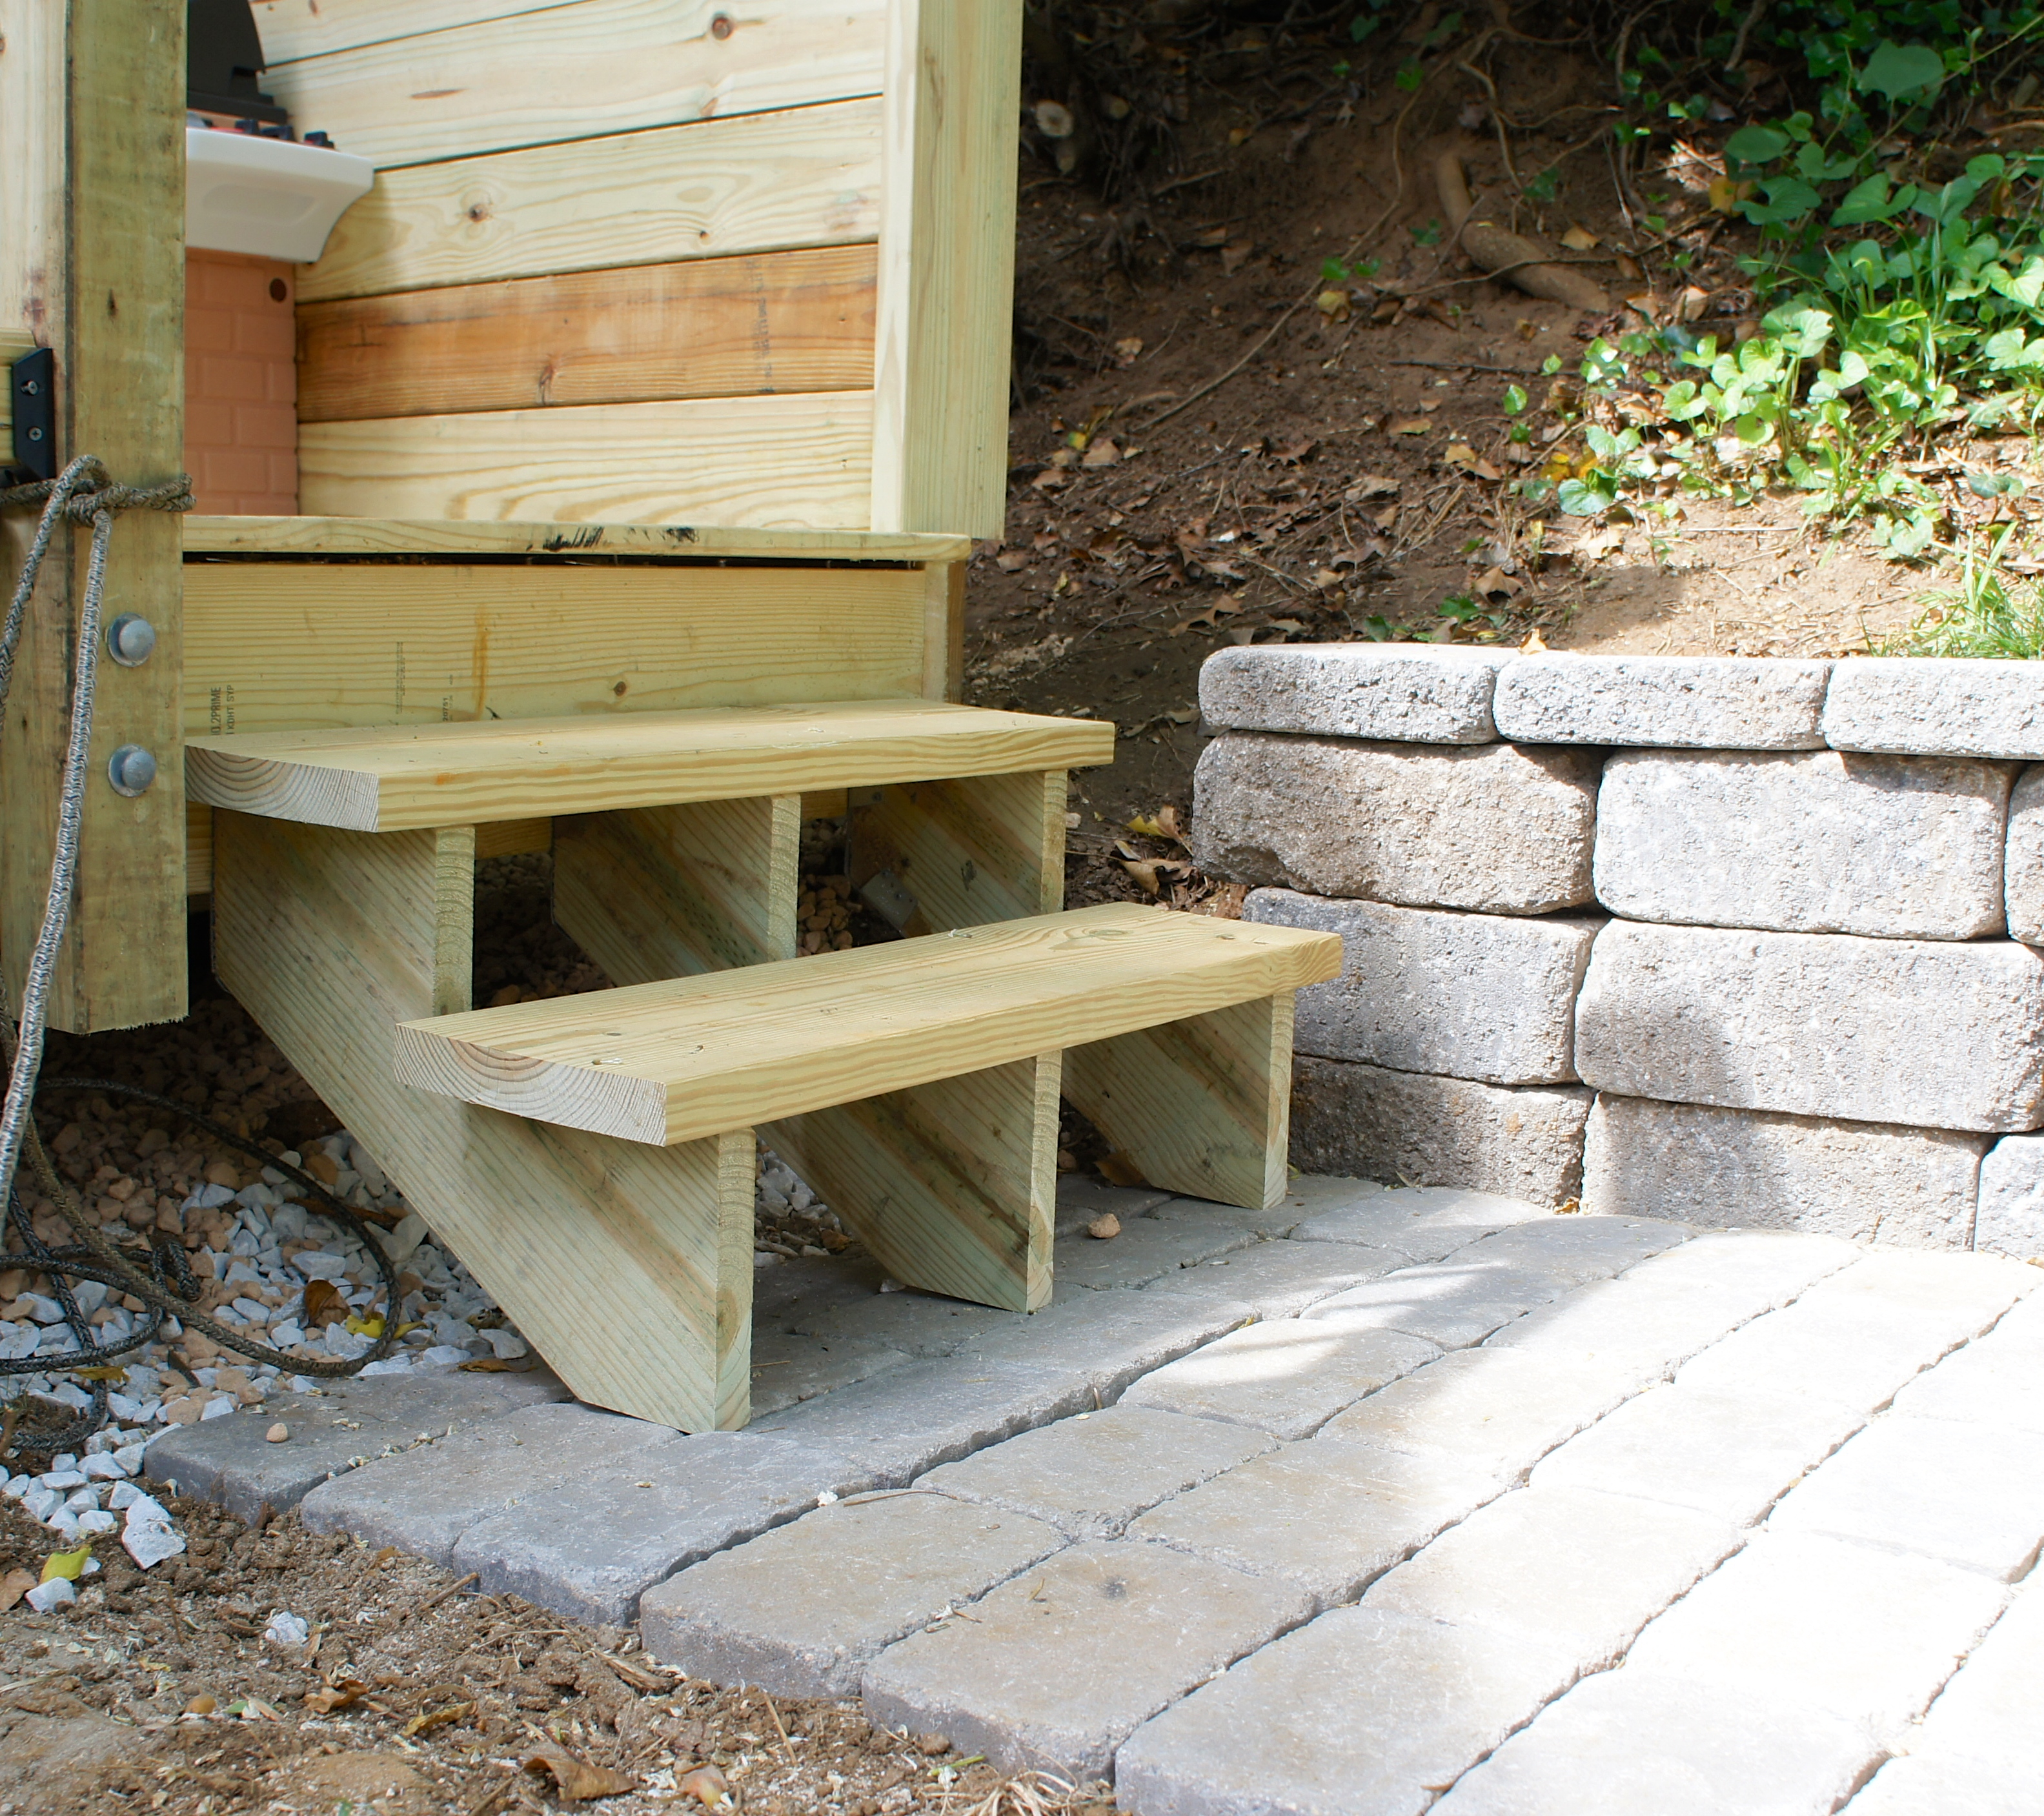
Thankfully, the stairs themselves were easy. We bought precut stringers at Home Depot, attached with galvanized stringer hangers. Then Jason cut down a 2 x 12″ to create treads.
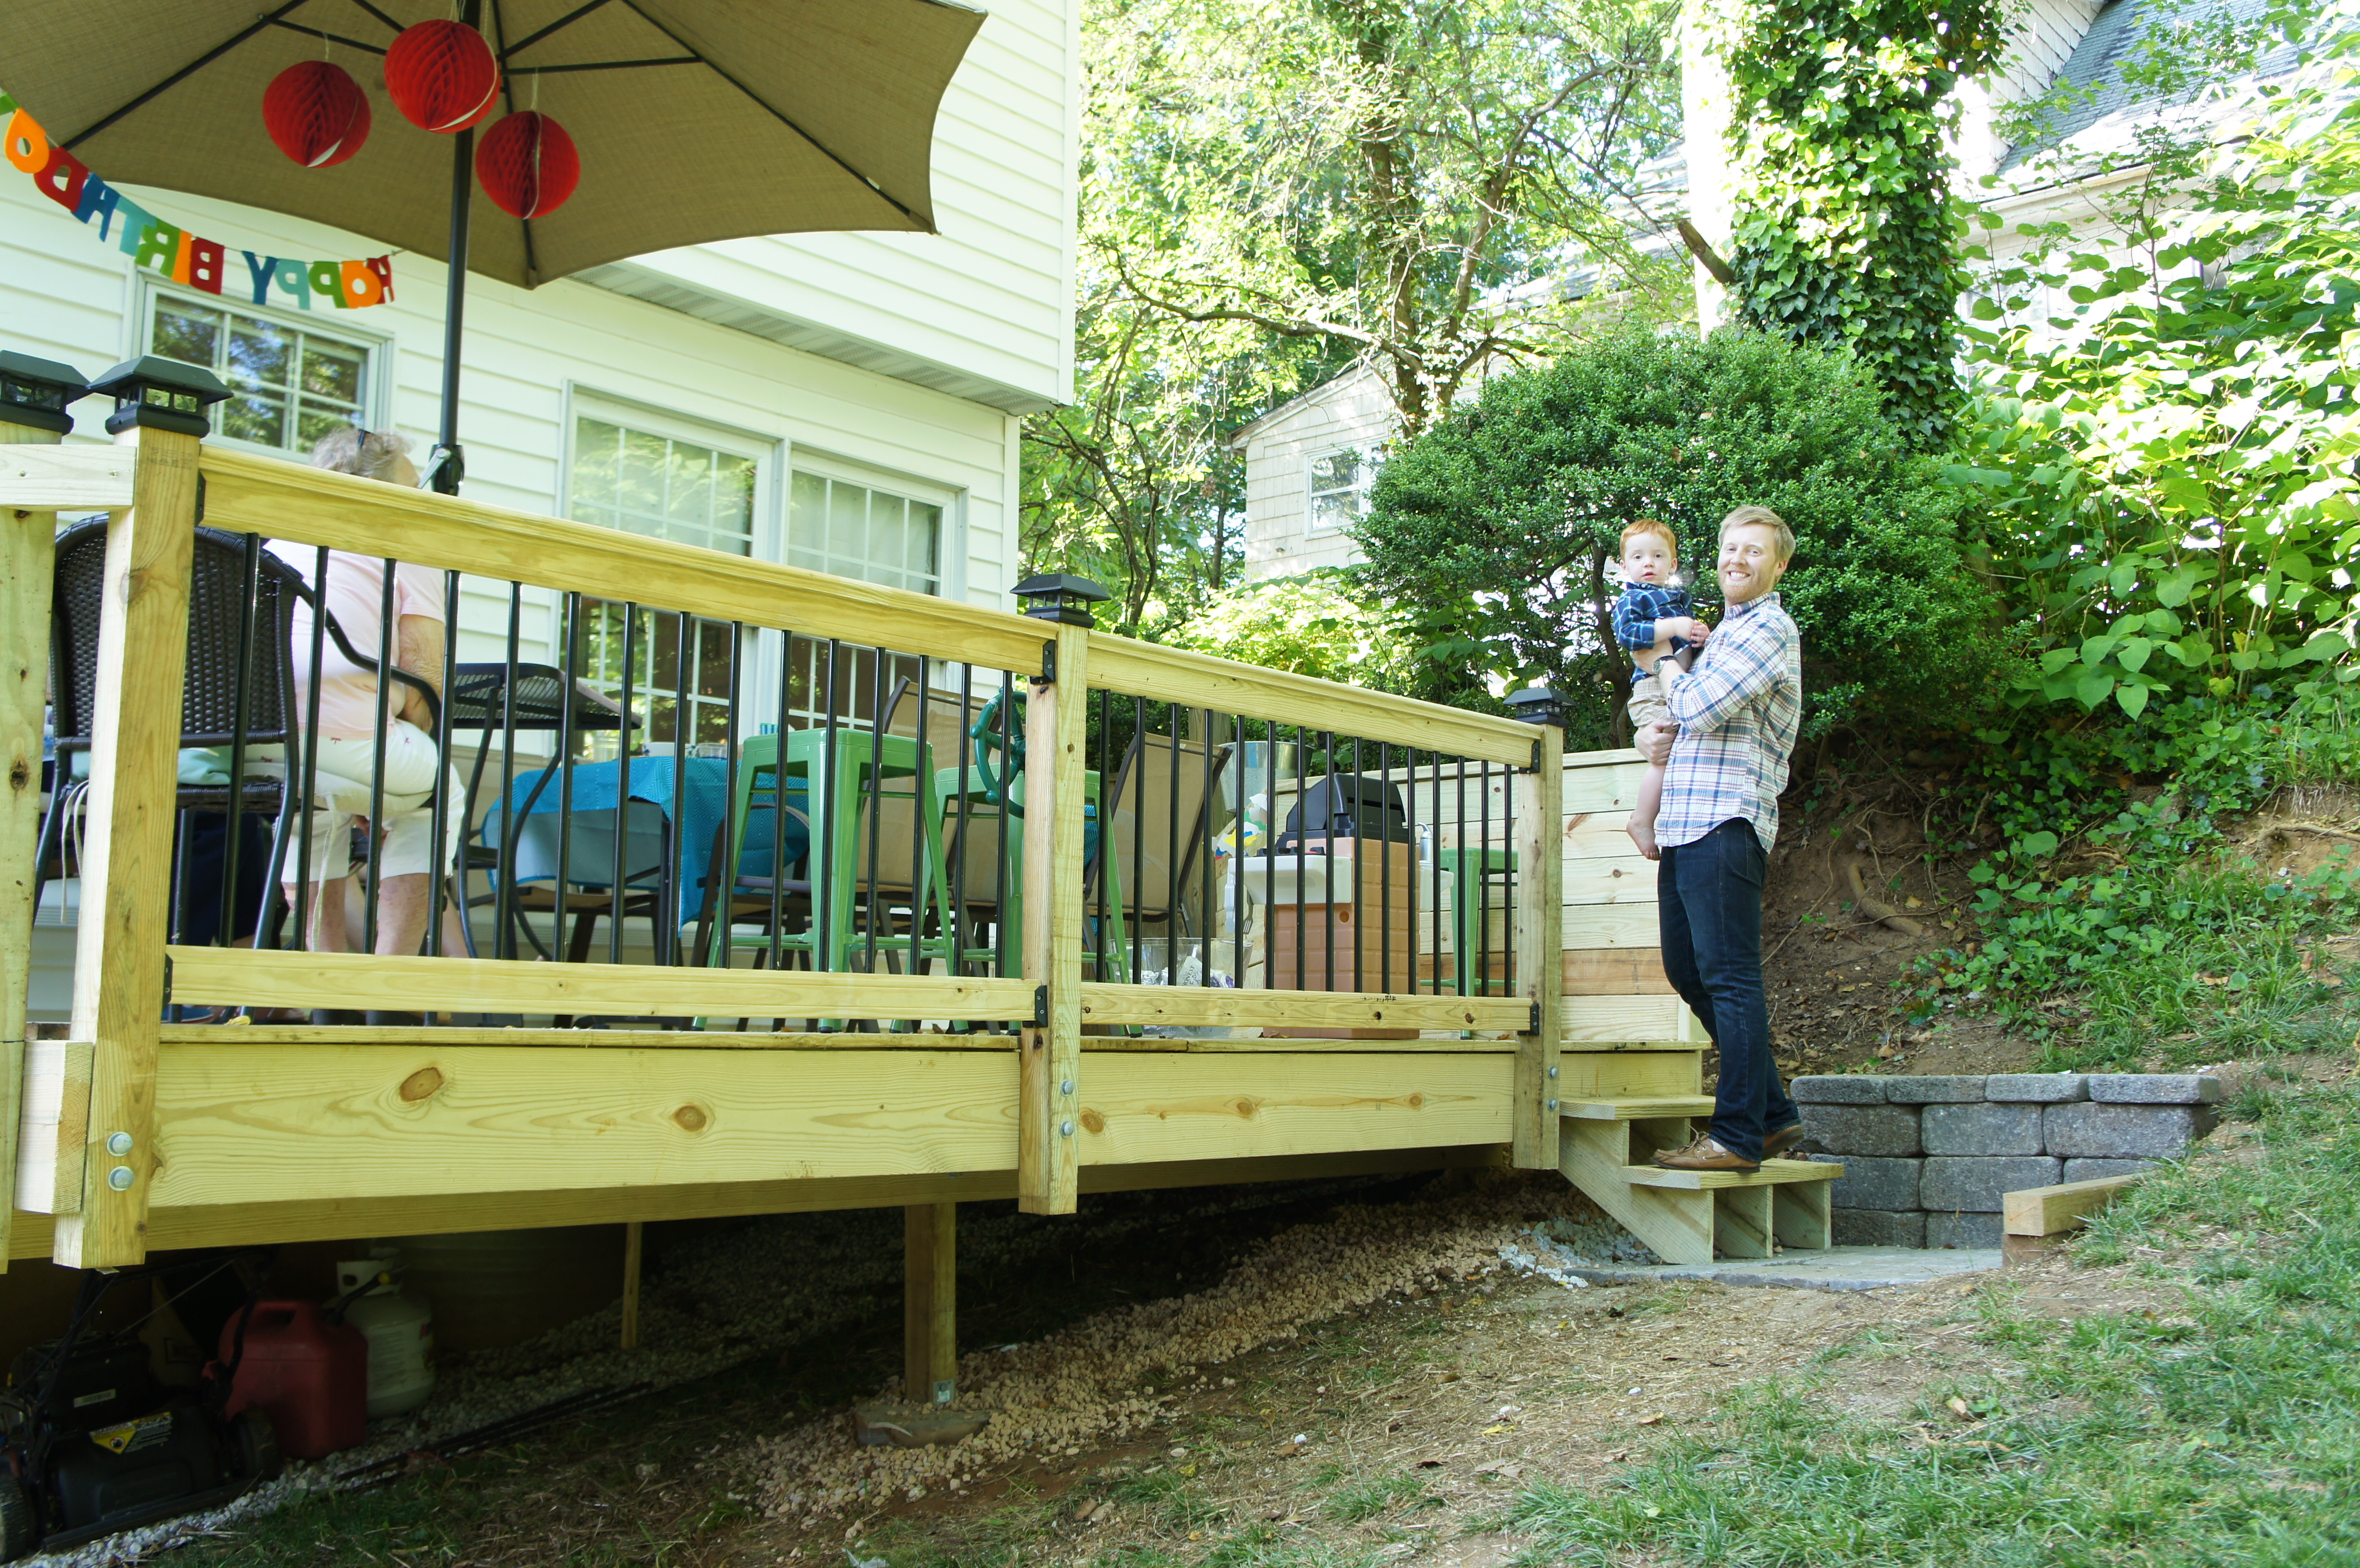
At long last, here is our finished deck:
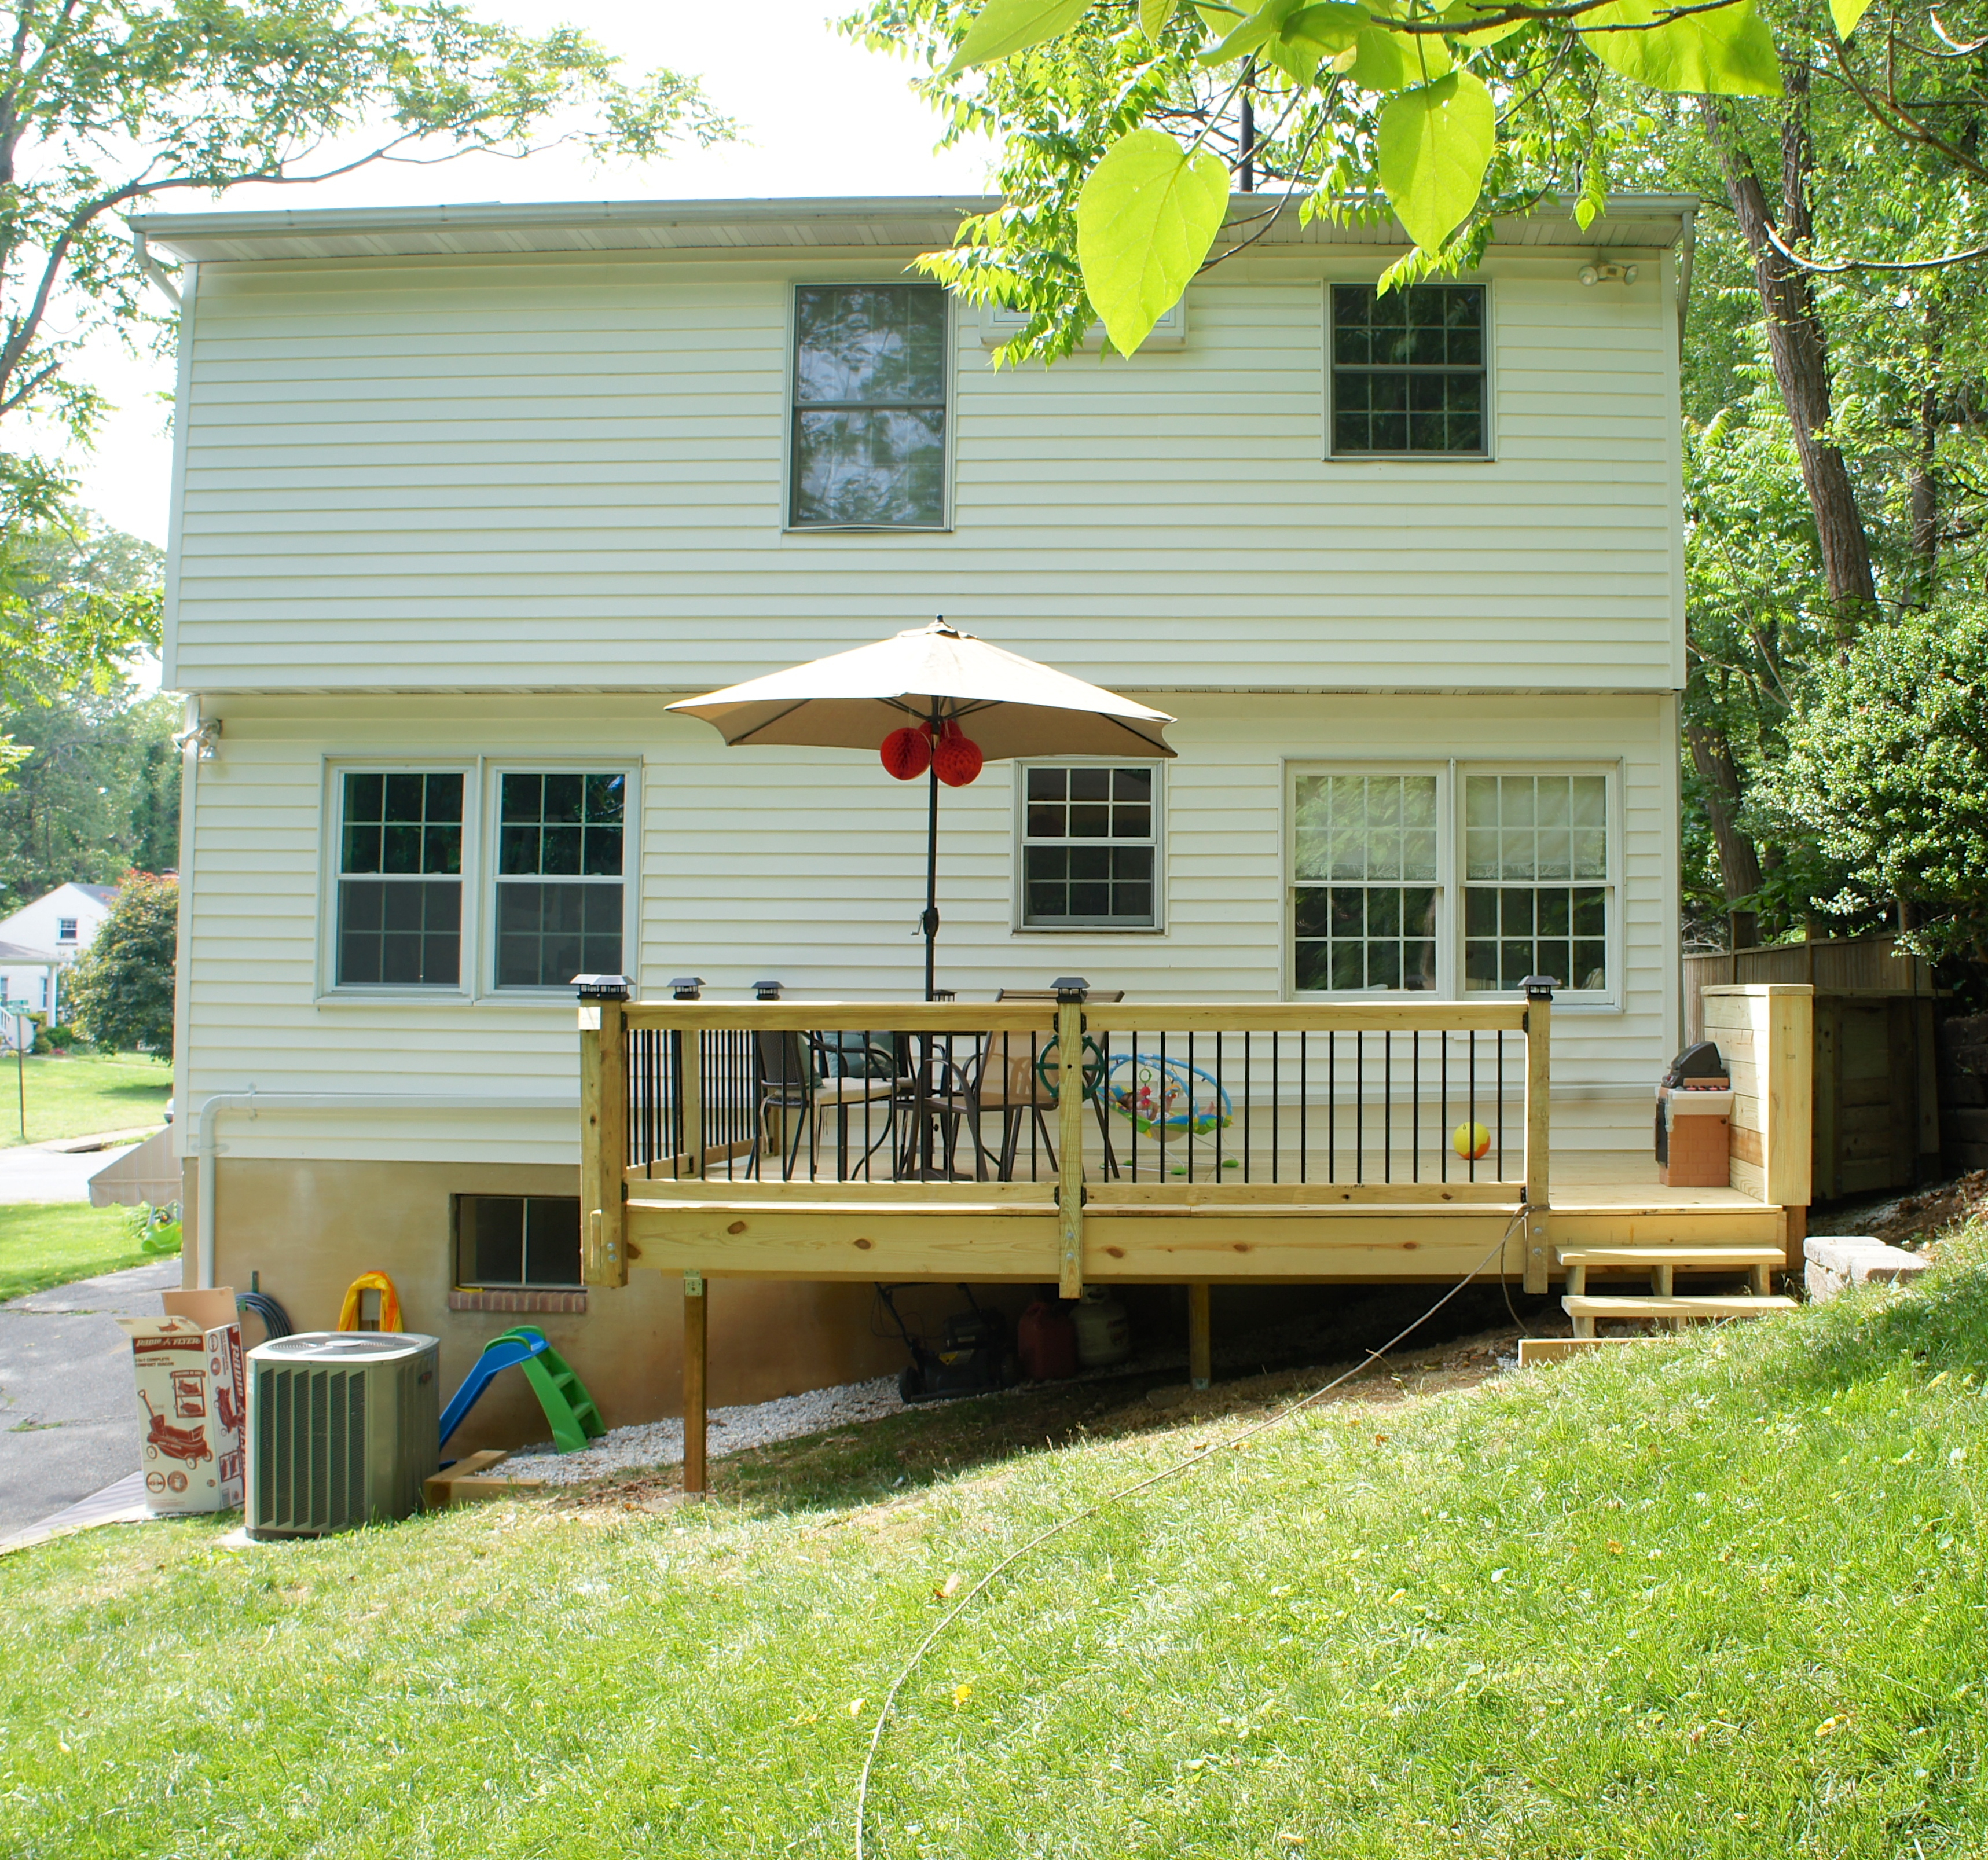
We finished two days before Grant’s birthday party, giving us just enough time to clean up and get ready for the fun!
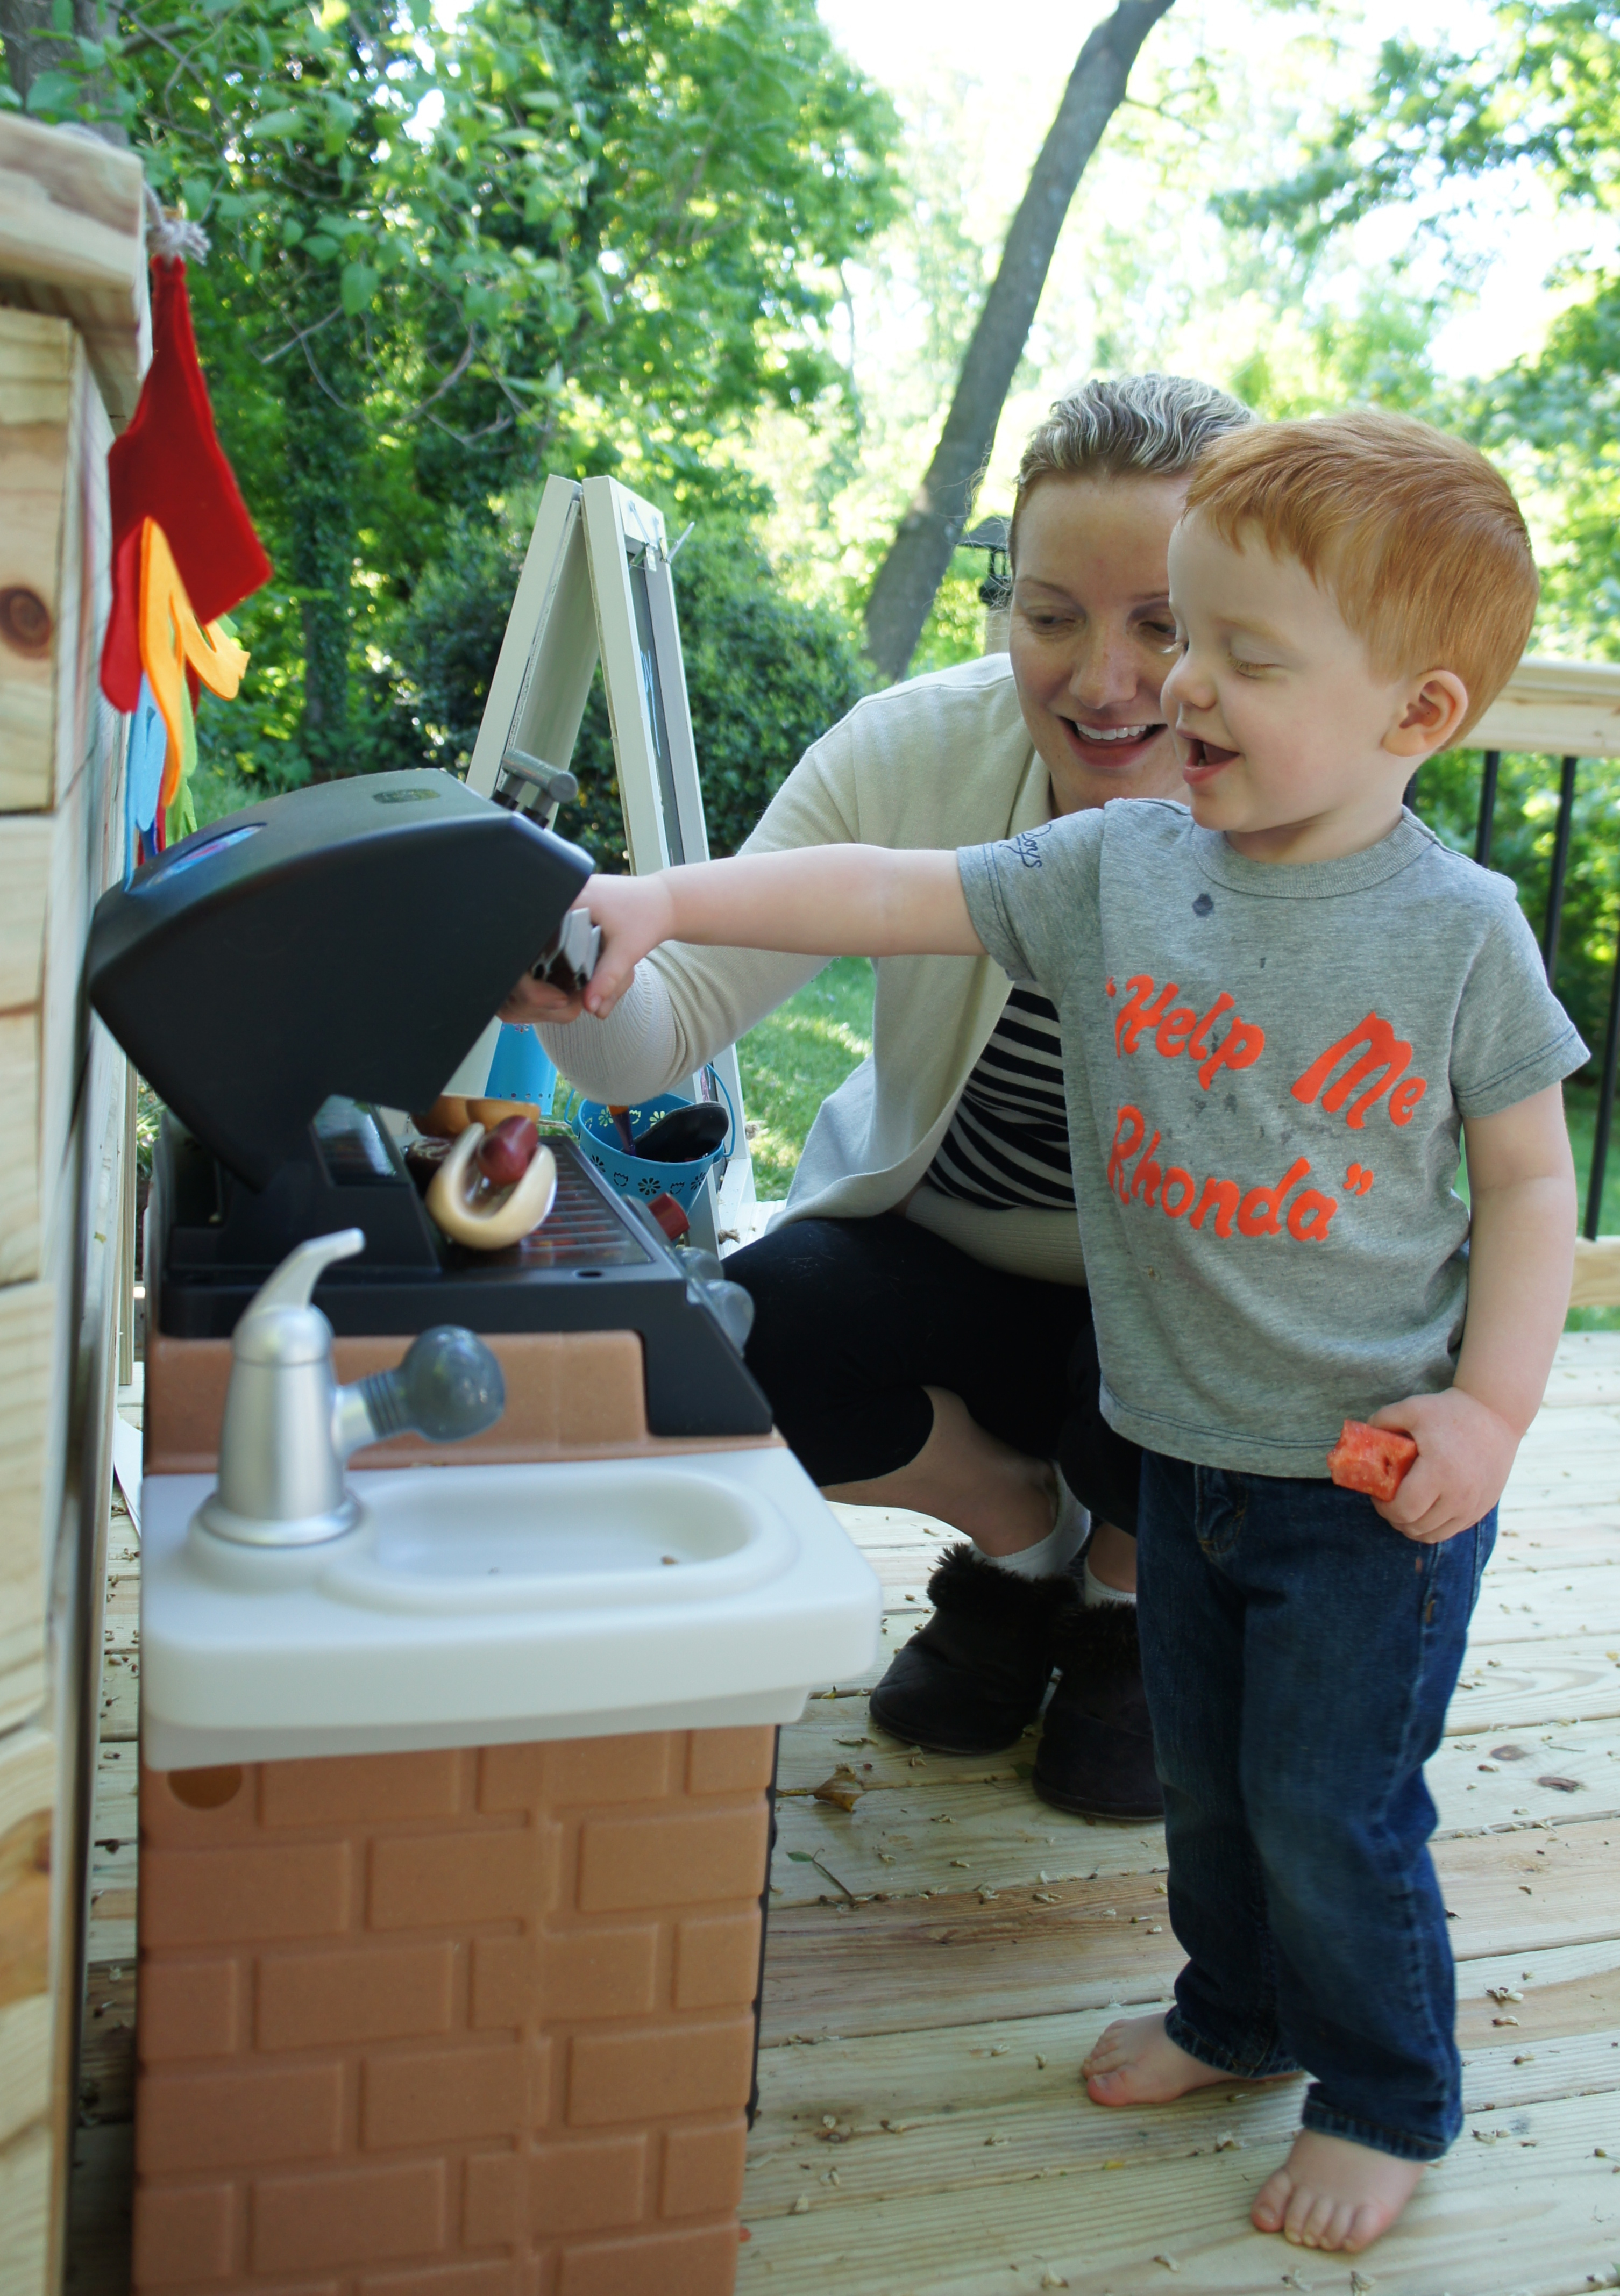
It was a mad rush, but the kids were awesome during the whole process. Grant was more than happy to get to play outside (and in the car) for the better part of two weeks:

And thankfully the sound of power tools is a lullaby to Georgia. Now we can relax and enjoy having our new outdoor space all summer!