This is part I of our bunk bed project, jump ahead to part II to see how we trimmed it out, or part III for the big reveal.
It’s 8 below zero with wind chill in Annapolis and my kids have made an effortless transition from stomach viruses on Thursday to hacking coughs and dripping noses Friday. Nothing says “Happy Valentine’s Day” like a toddler reaching out to take your hand only to wipe his runny nose into it. As a public health service we aren’t going on any fun family outings this three day weekend, which has given us plenty of time to get started on our next big project-transitioning to the big boy bed.
I’ll admit-I’m less than excited about this milestone. I’m envisioning my son sneaking into my bed every night until he’s a teenager once he realizes he is no longer confined by the prison rails of his crib.
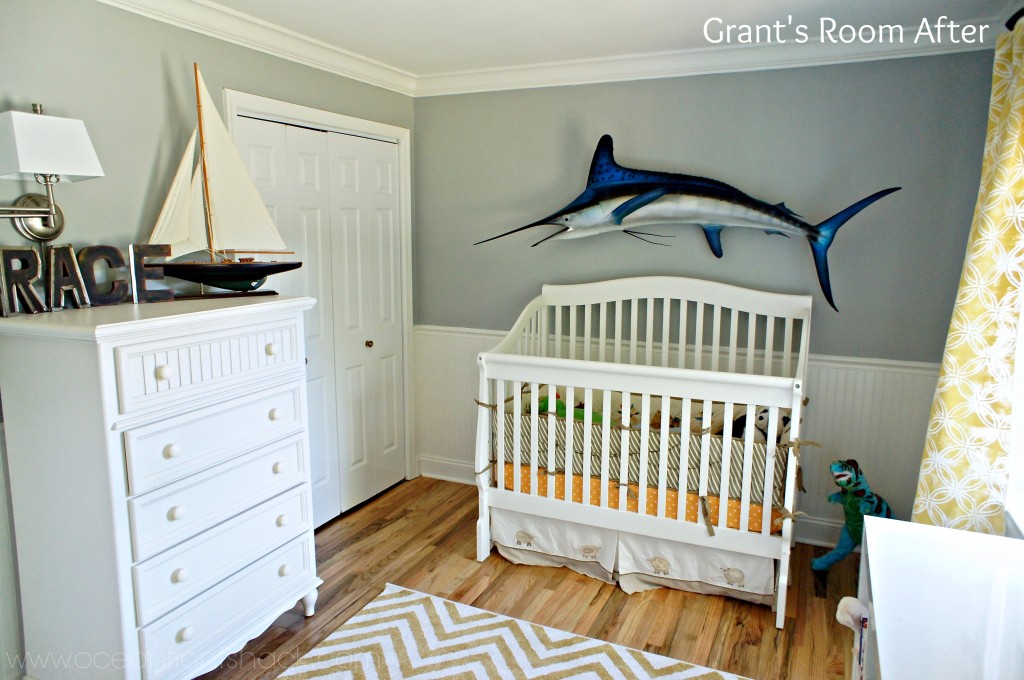
Grant’s room is tiny and I was having trouble working a layout that would still give him space to play. The only way to fit a full sized bed would be to push it sideways against the wall where the crib currently sits. I was leaning towards building a full sized day bed, which is the only way to put a bed sideways into a room without looking completely haphazard, when I came across this picture:
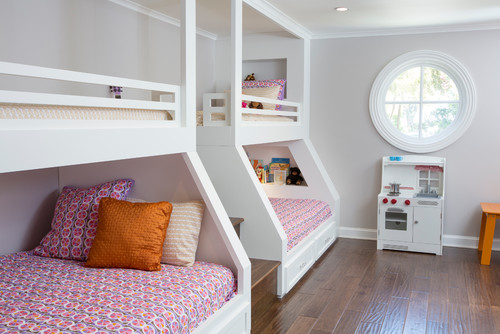
We have a few hurdles (like windows and doors) that will keep us from getting things as seamless as my inspiration, but it’s a starting point. I found a photo on Pinterest that helped us plan the framing:
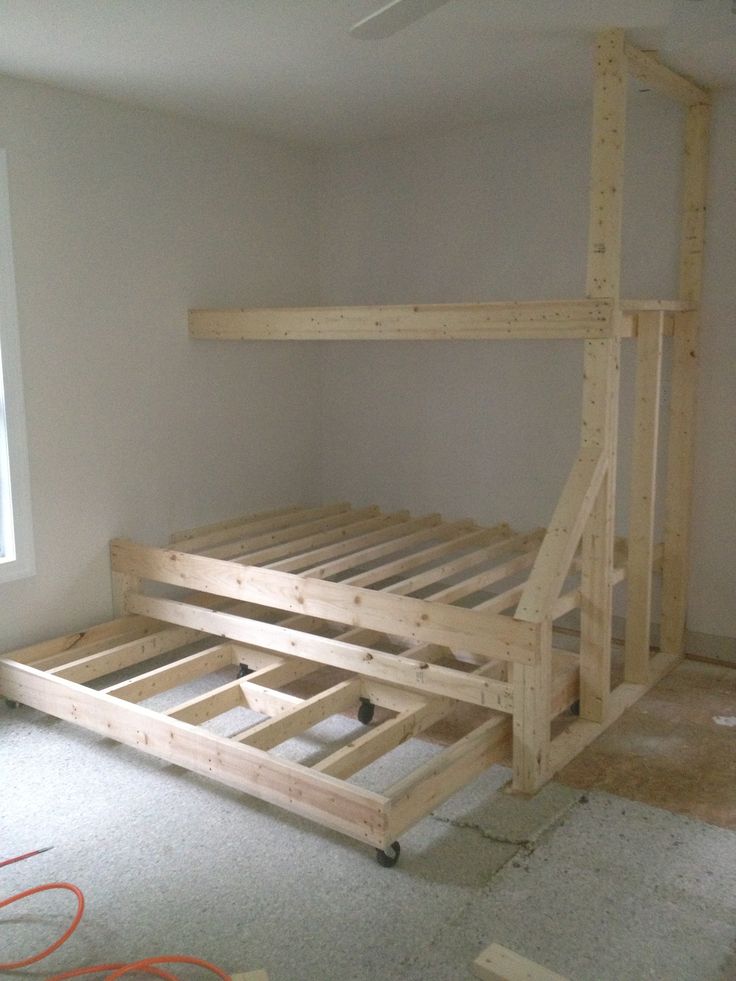
We don’t have any corners in the room that the bed will fit into without covering part of a window, but we decided to address that problem when we got to it. So, Jason made his way to Home Depot on Saturday and came home with a car full of 2 x 4s.
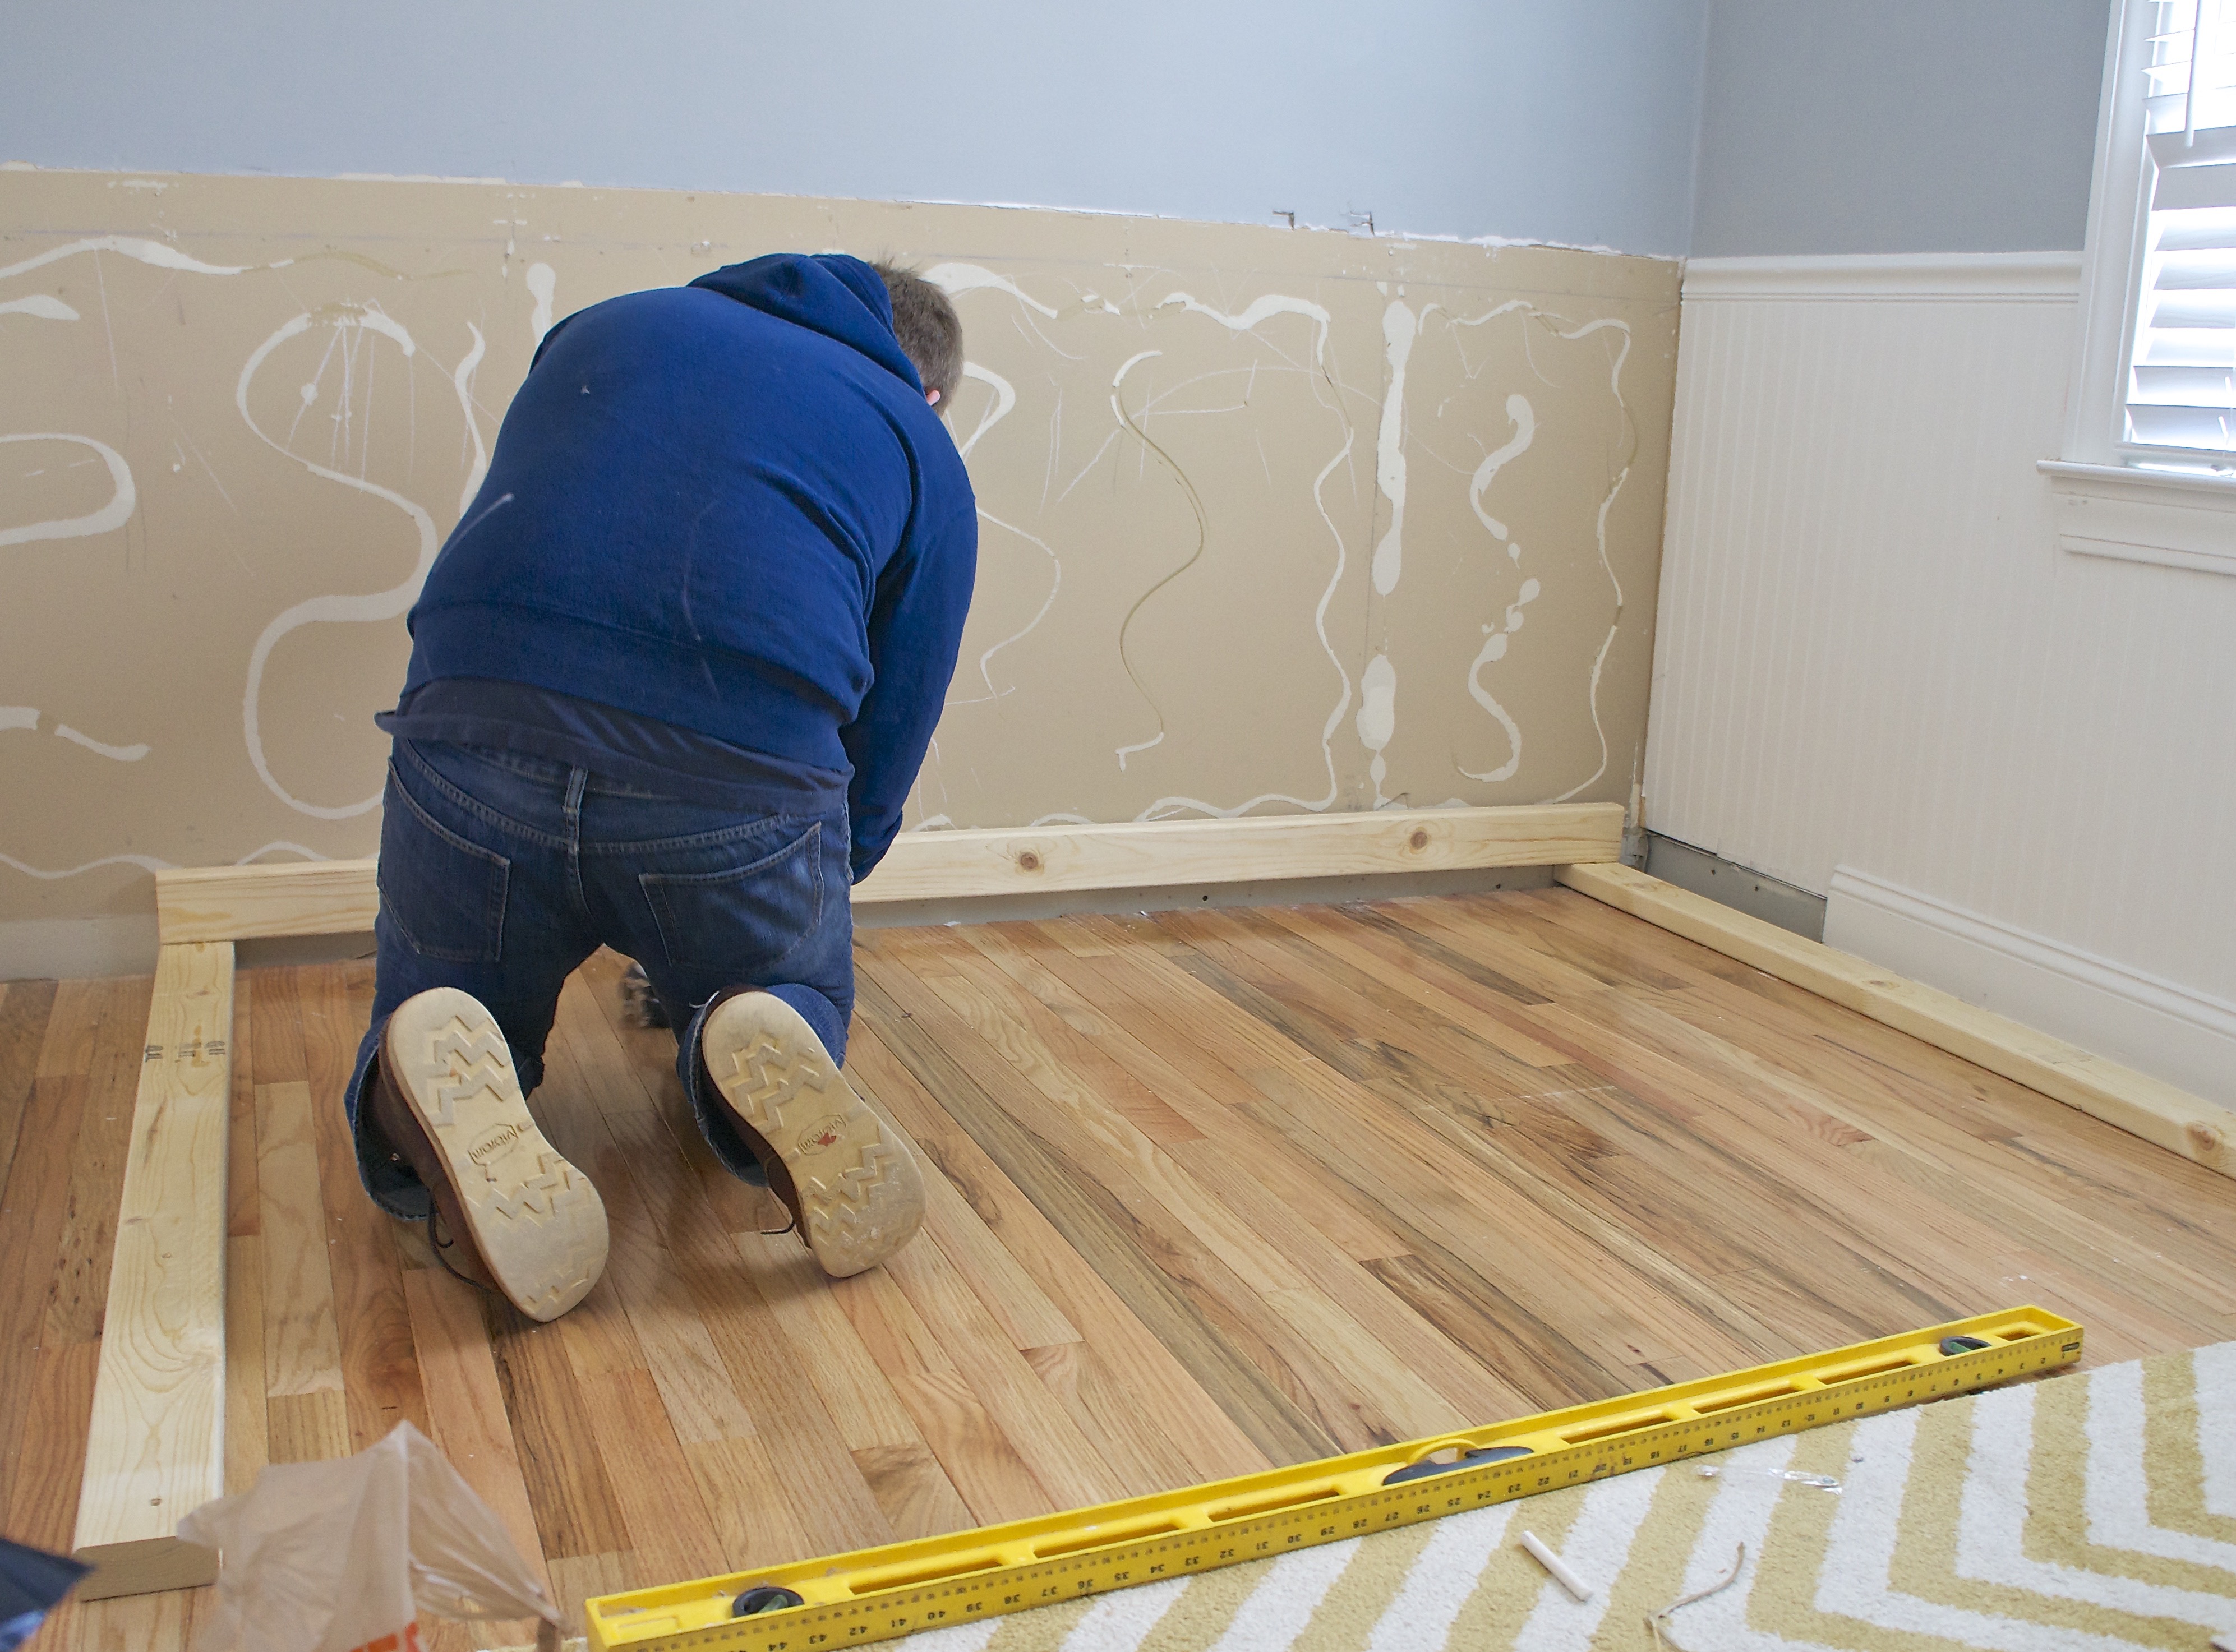
Ugh-the beadboard. I almost took it off all of the walls, but I’m not quite prepared to start on drywall repair right now. I didn’t remove the baseboard from the right wall because a vent in the floor won’t allow us to build the bunks completely flush, so we’re going to get as close as possible, then extend the venting so that it reaches above the bed and trim everything out.
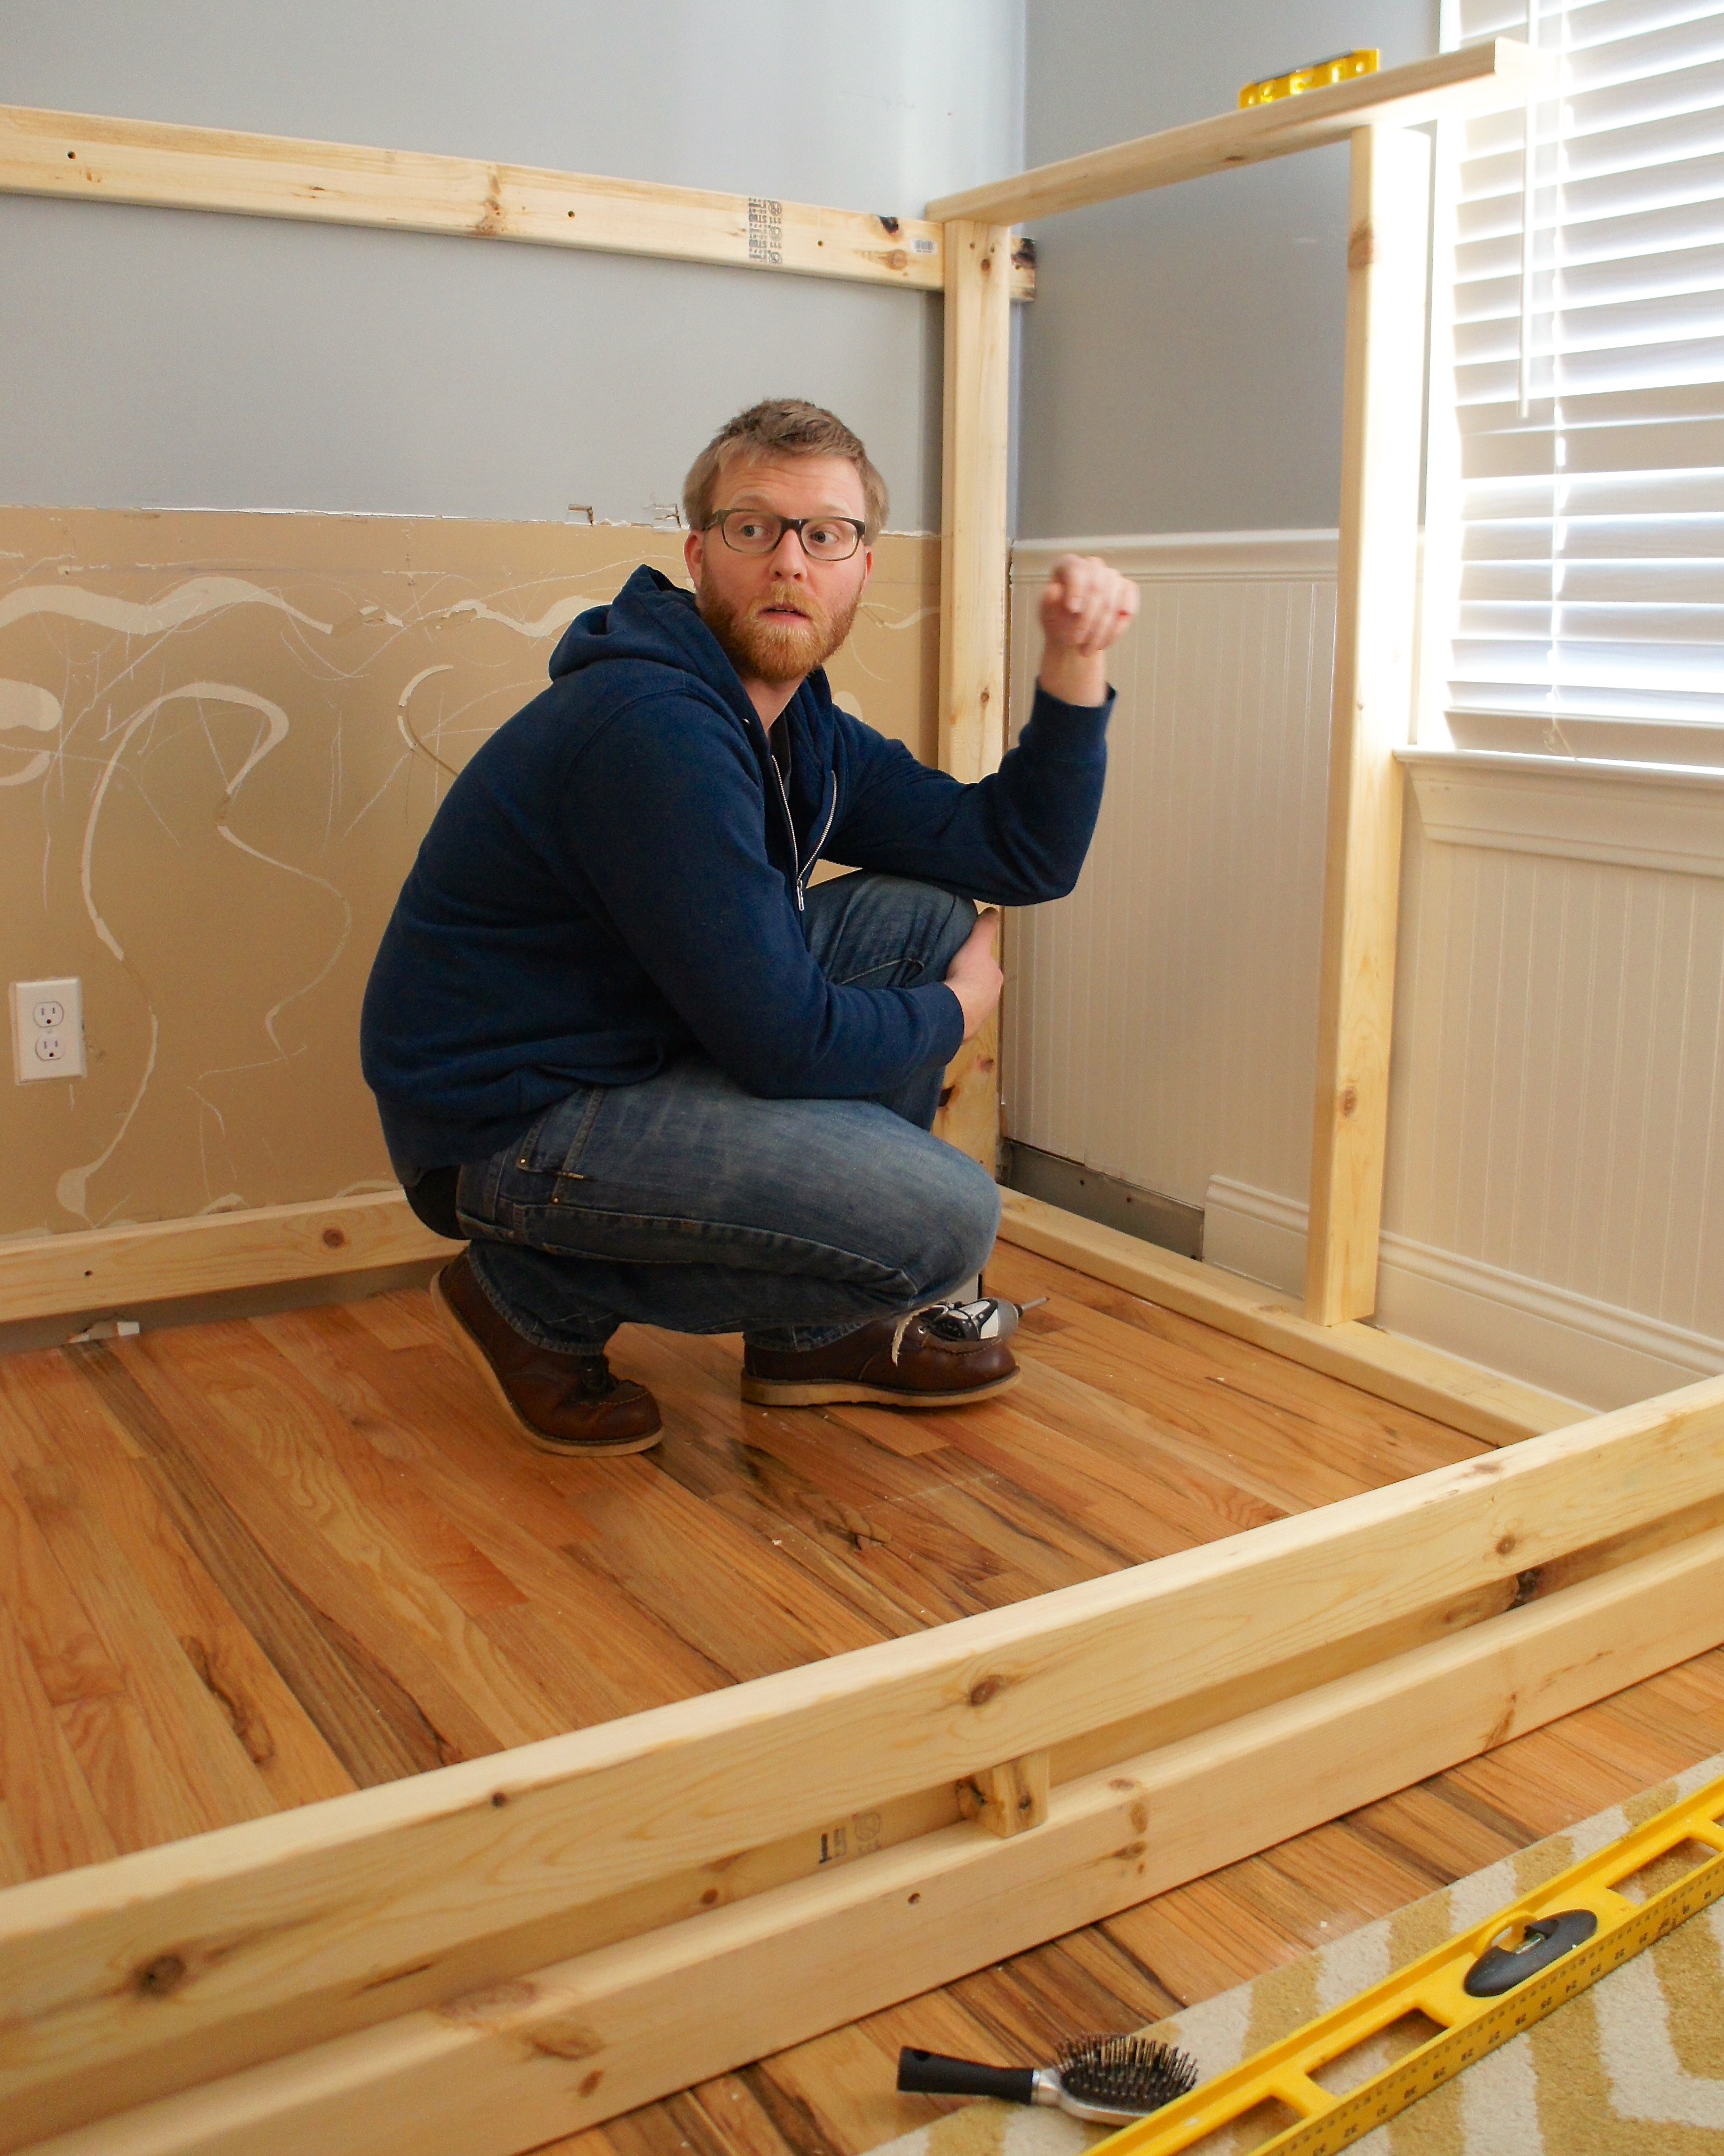
As for the window, Jason built the framing right up to the casing, then the top bunk will extend six inches over.
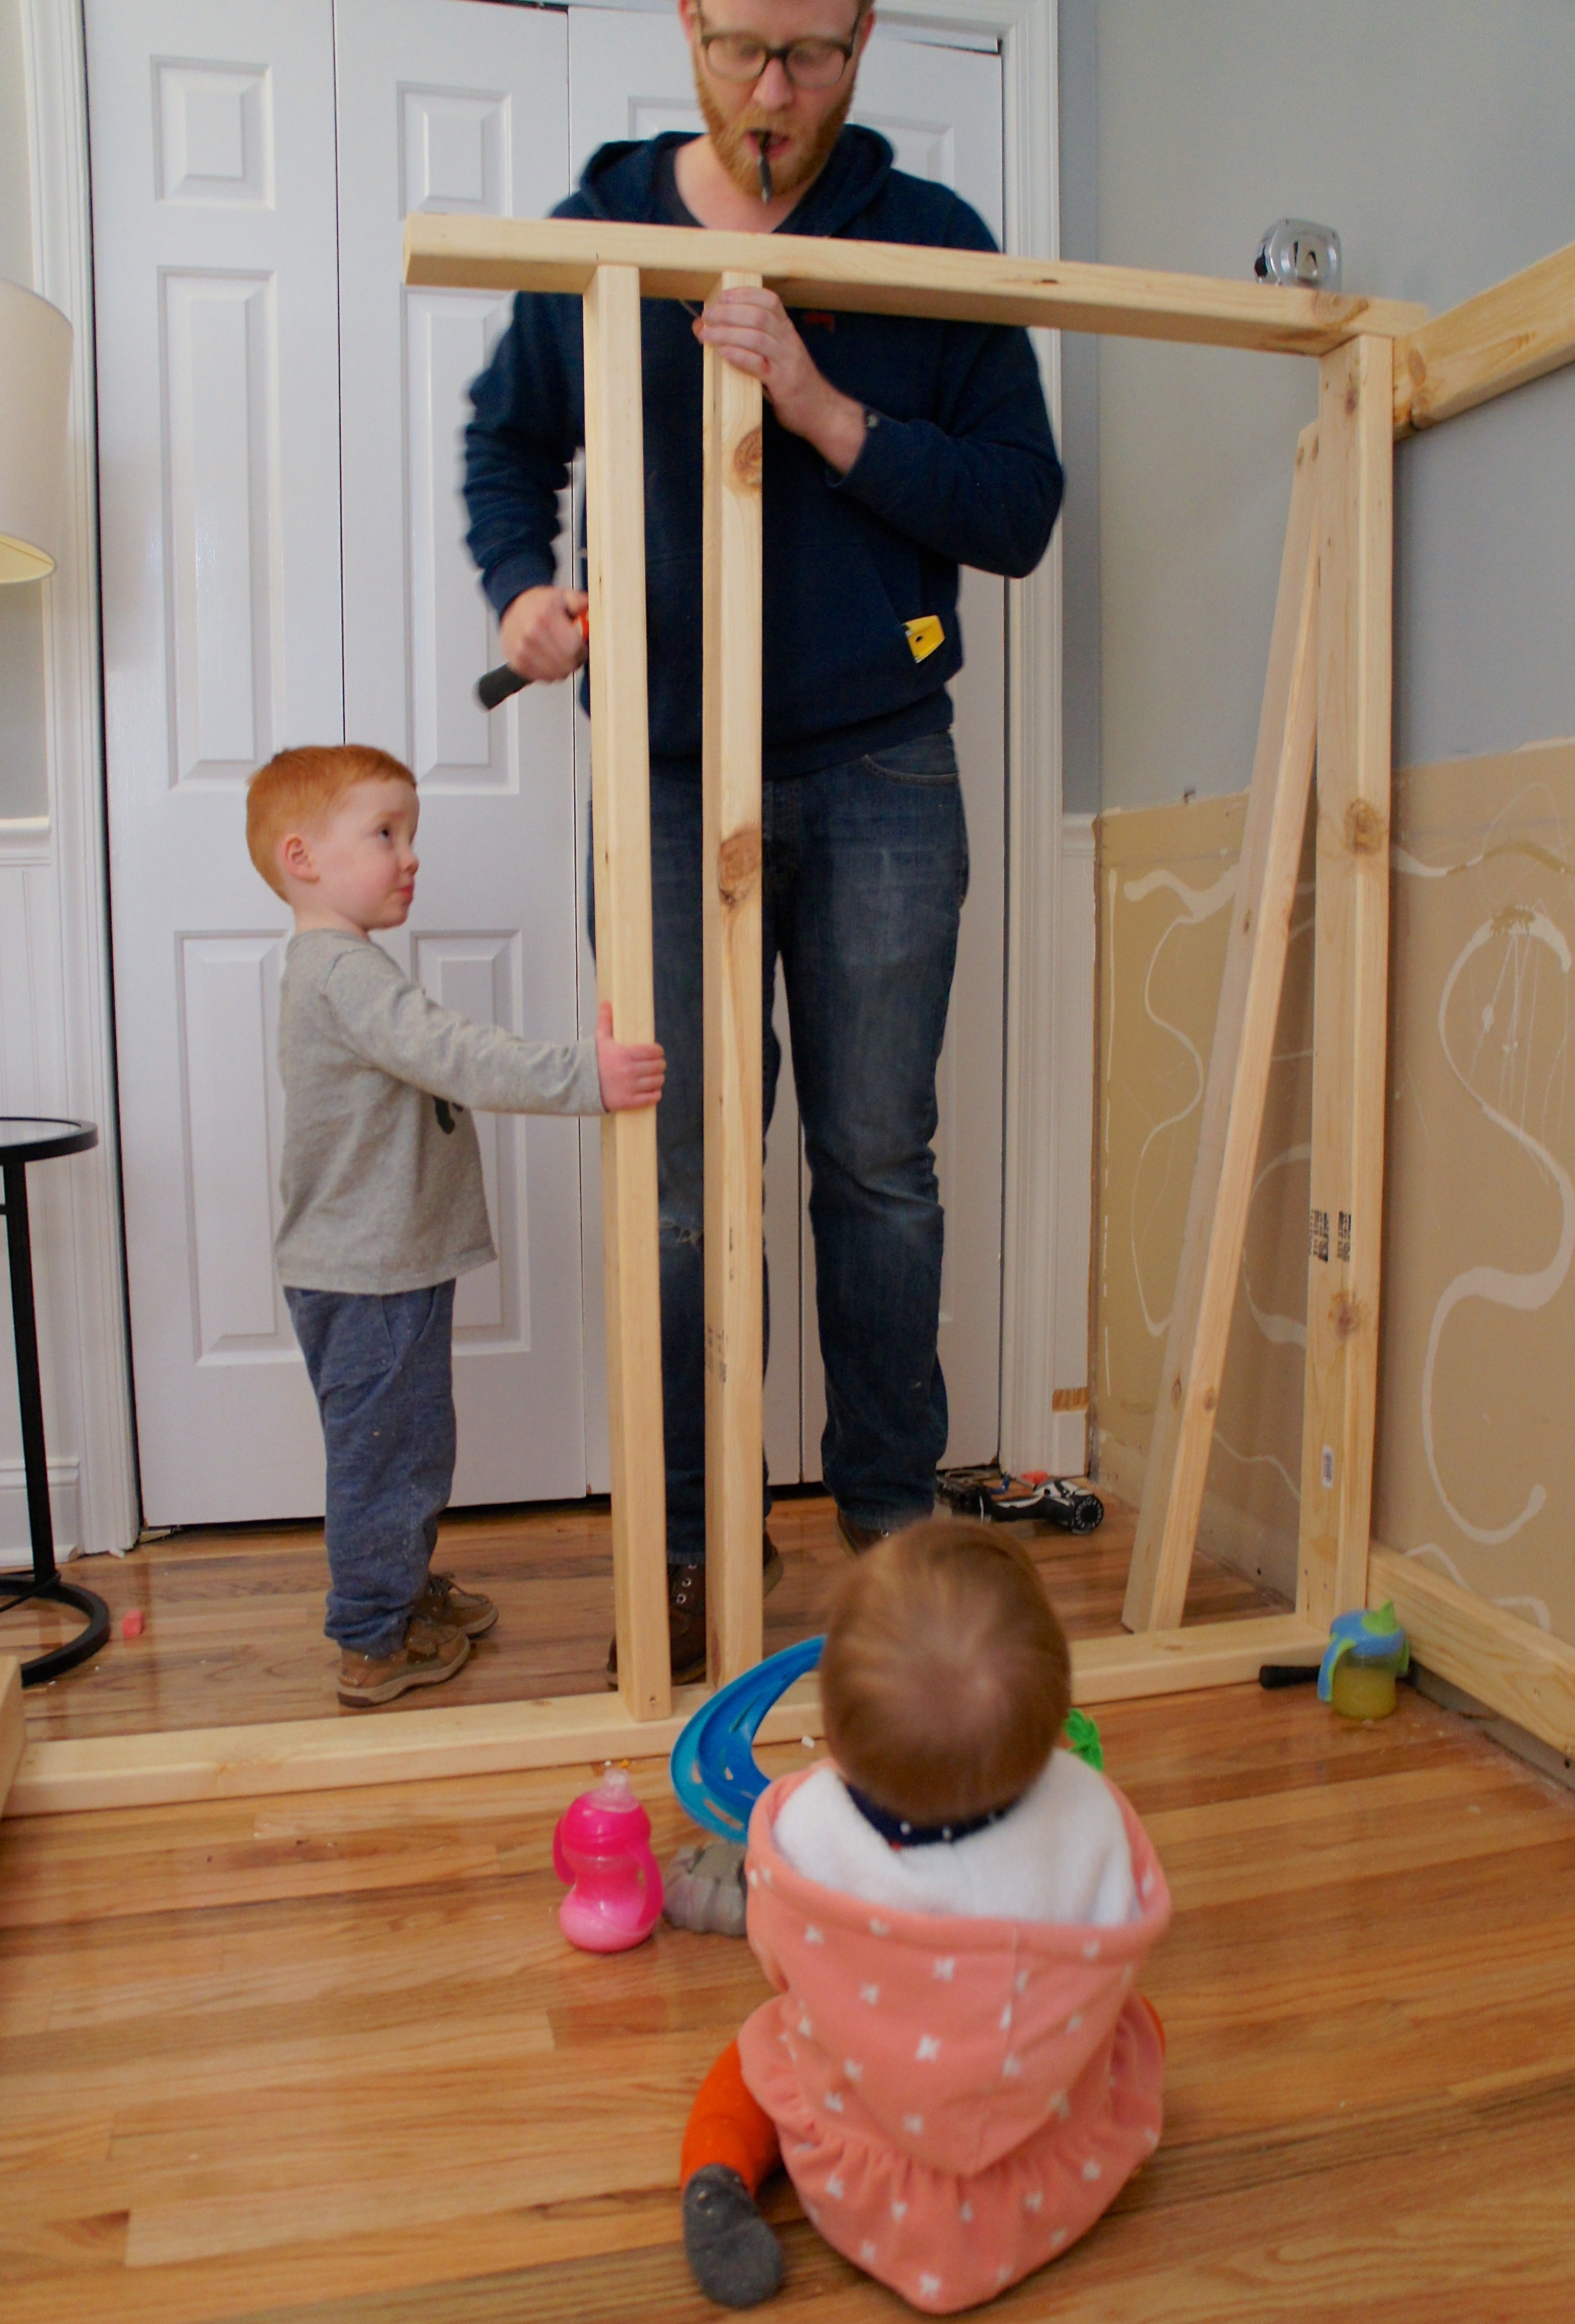
The collection of toys in our construction zone continued to grow throughout the day.
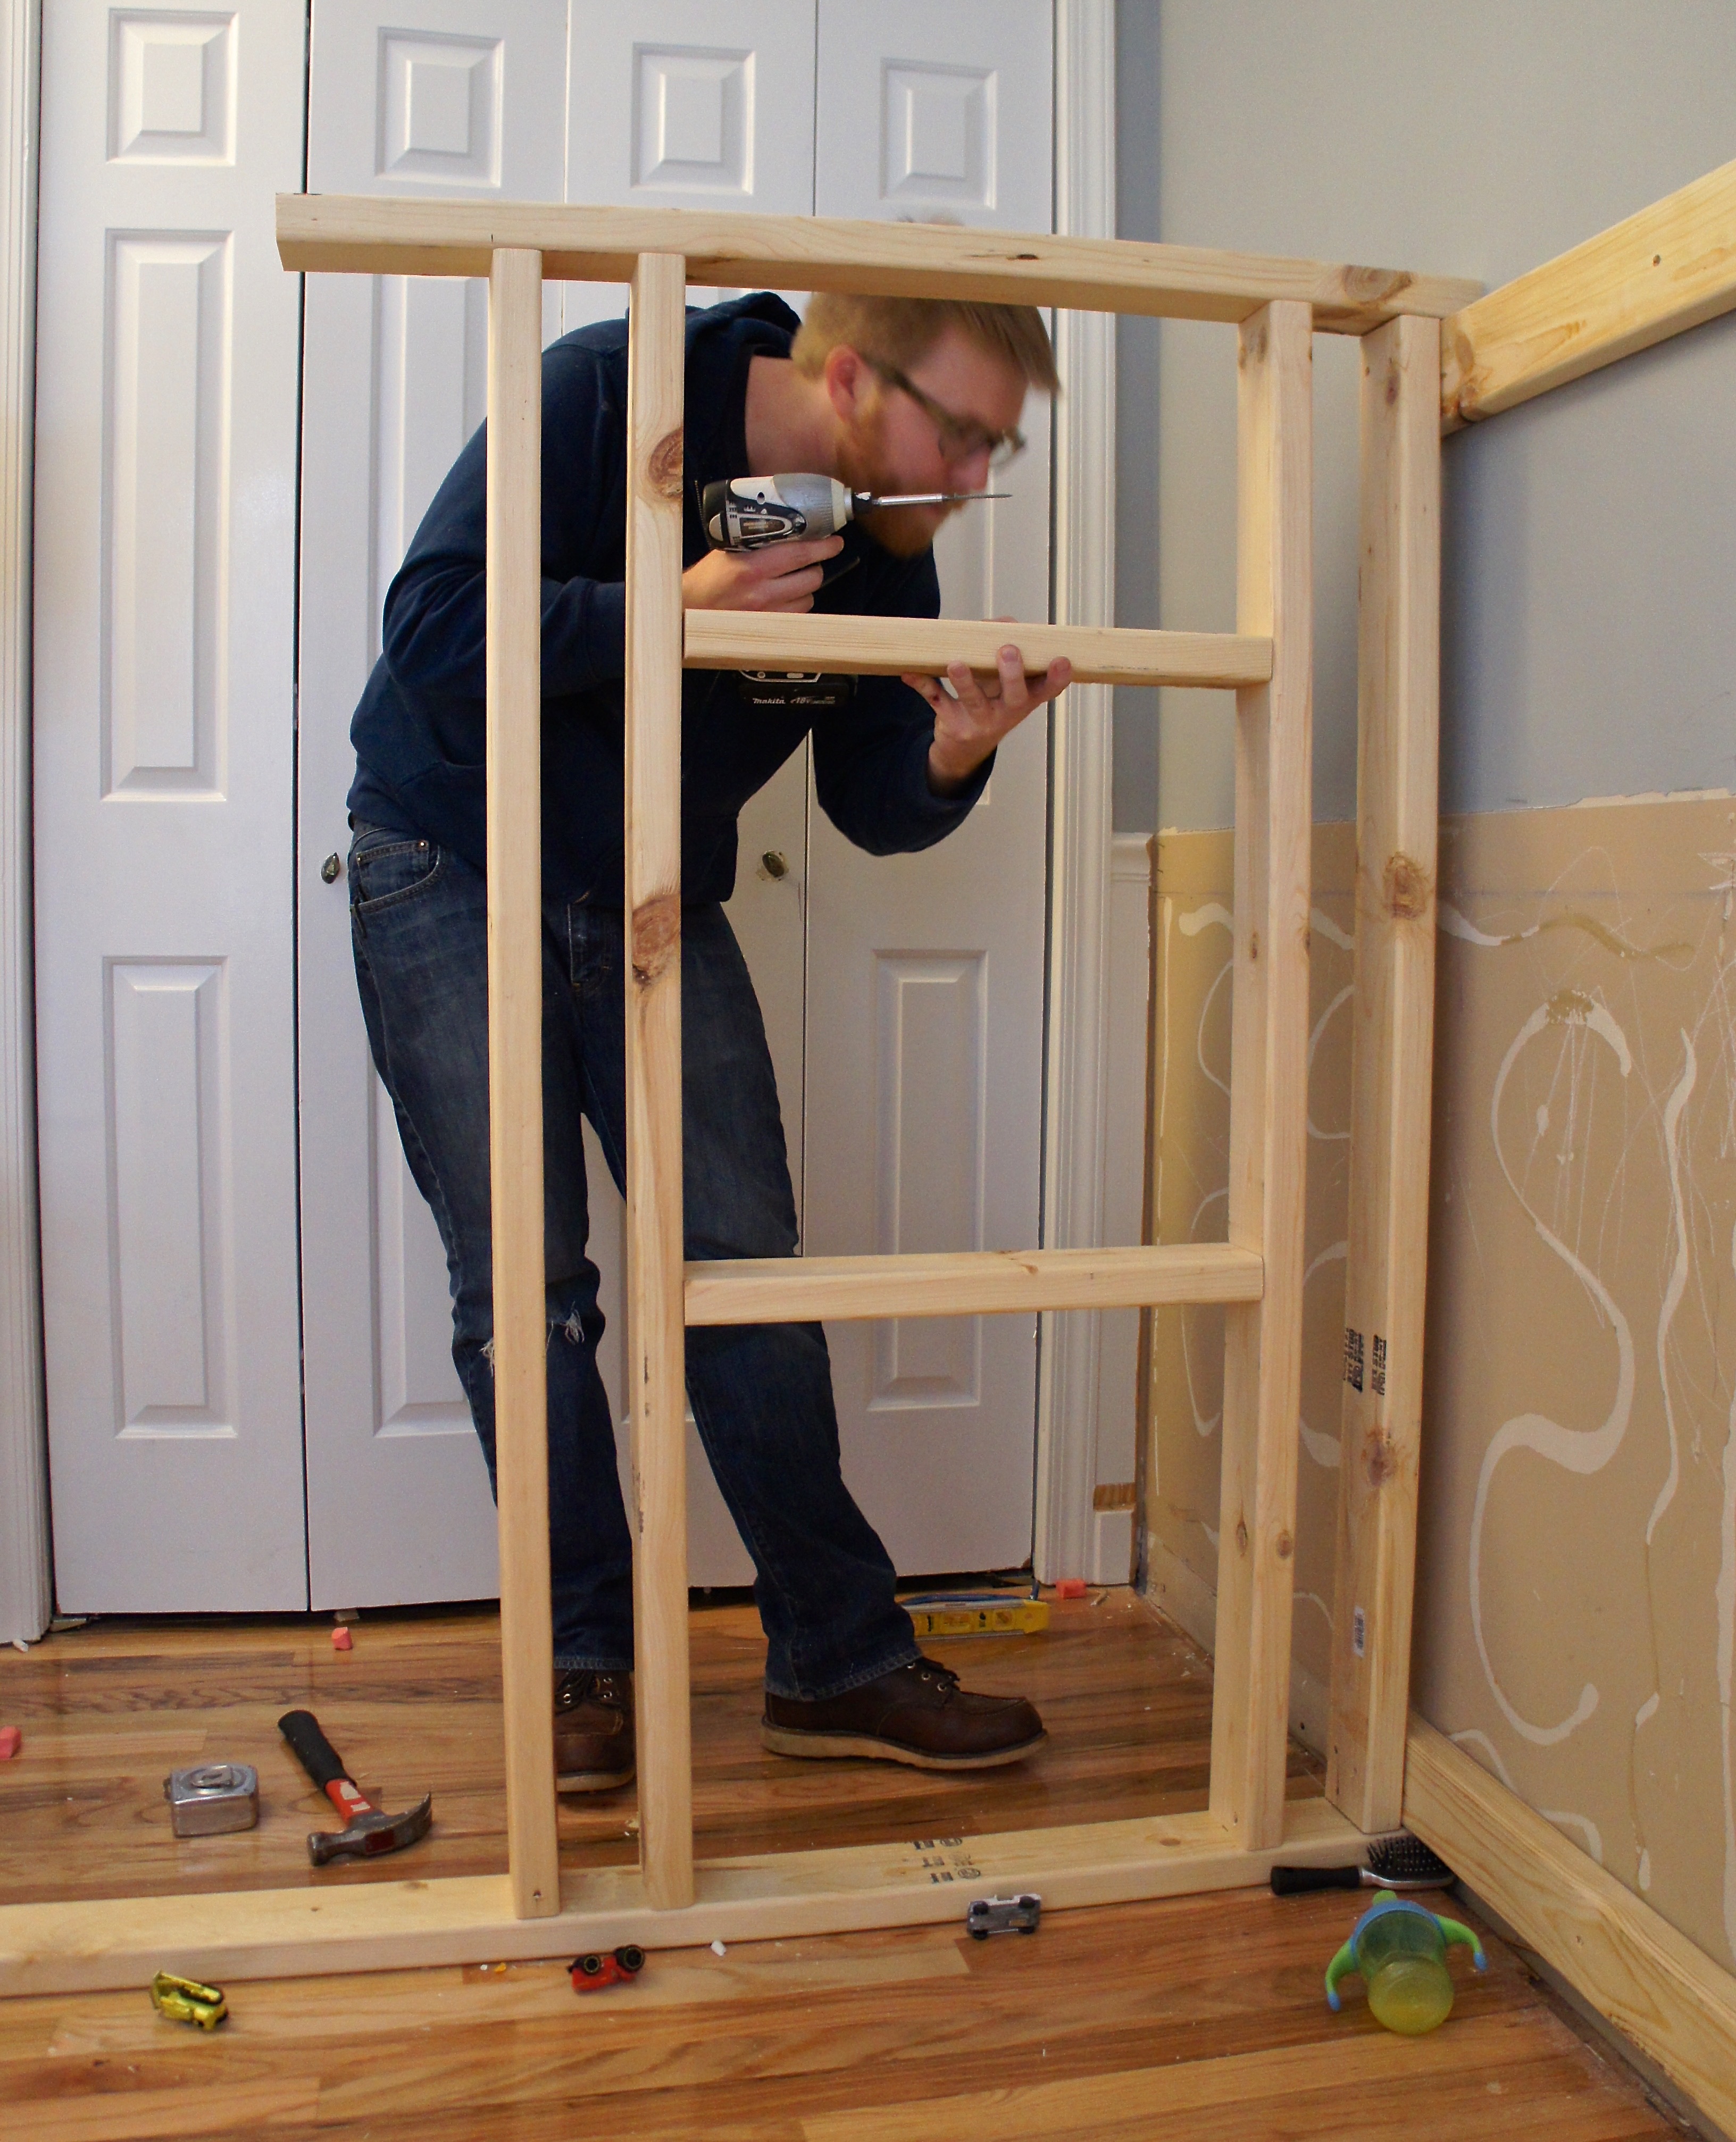
Jason added a box into the framing of our side wall that should serve as a nightstand. It will be wide enough for a glass of water and a couple books.
By the end of day one, we made quite a bit of progress.
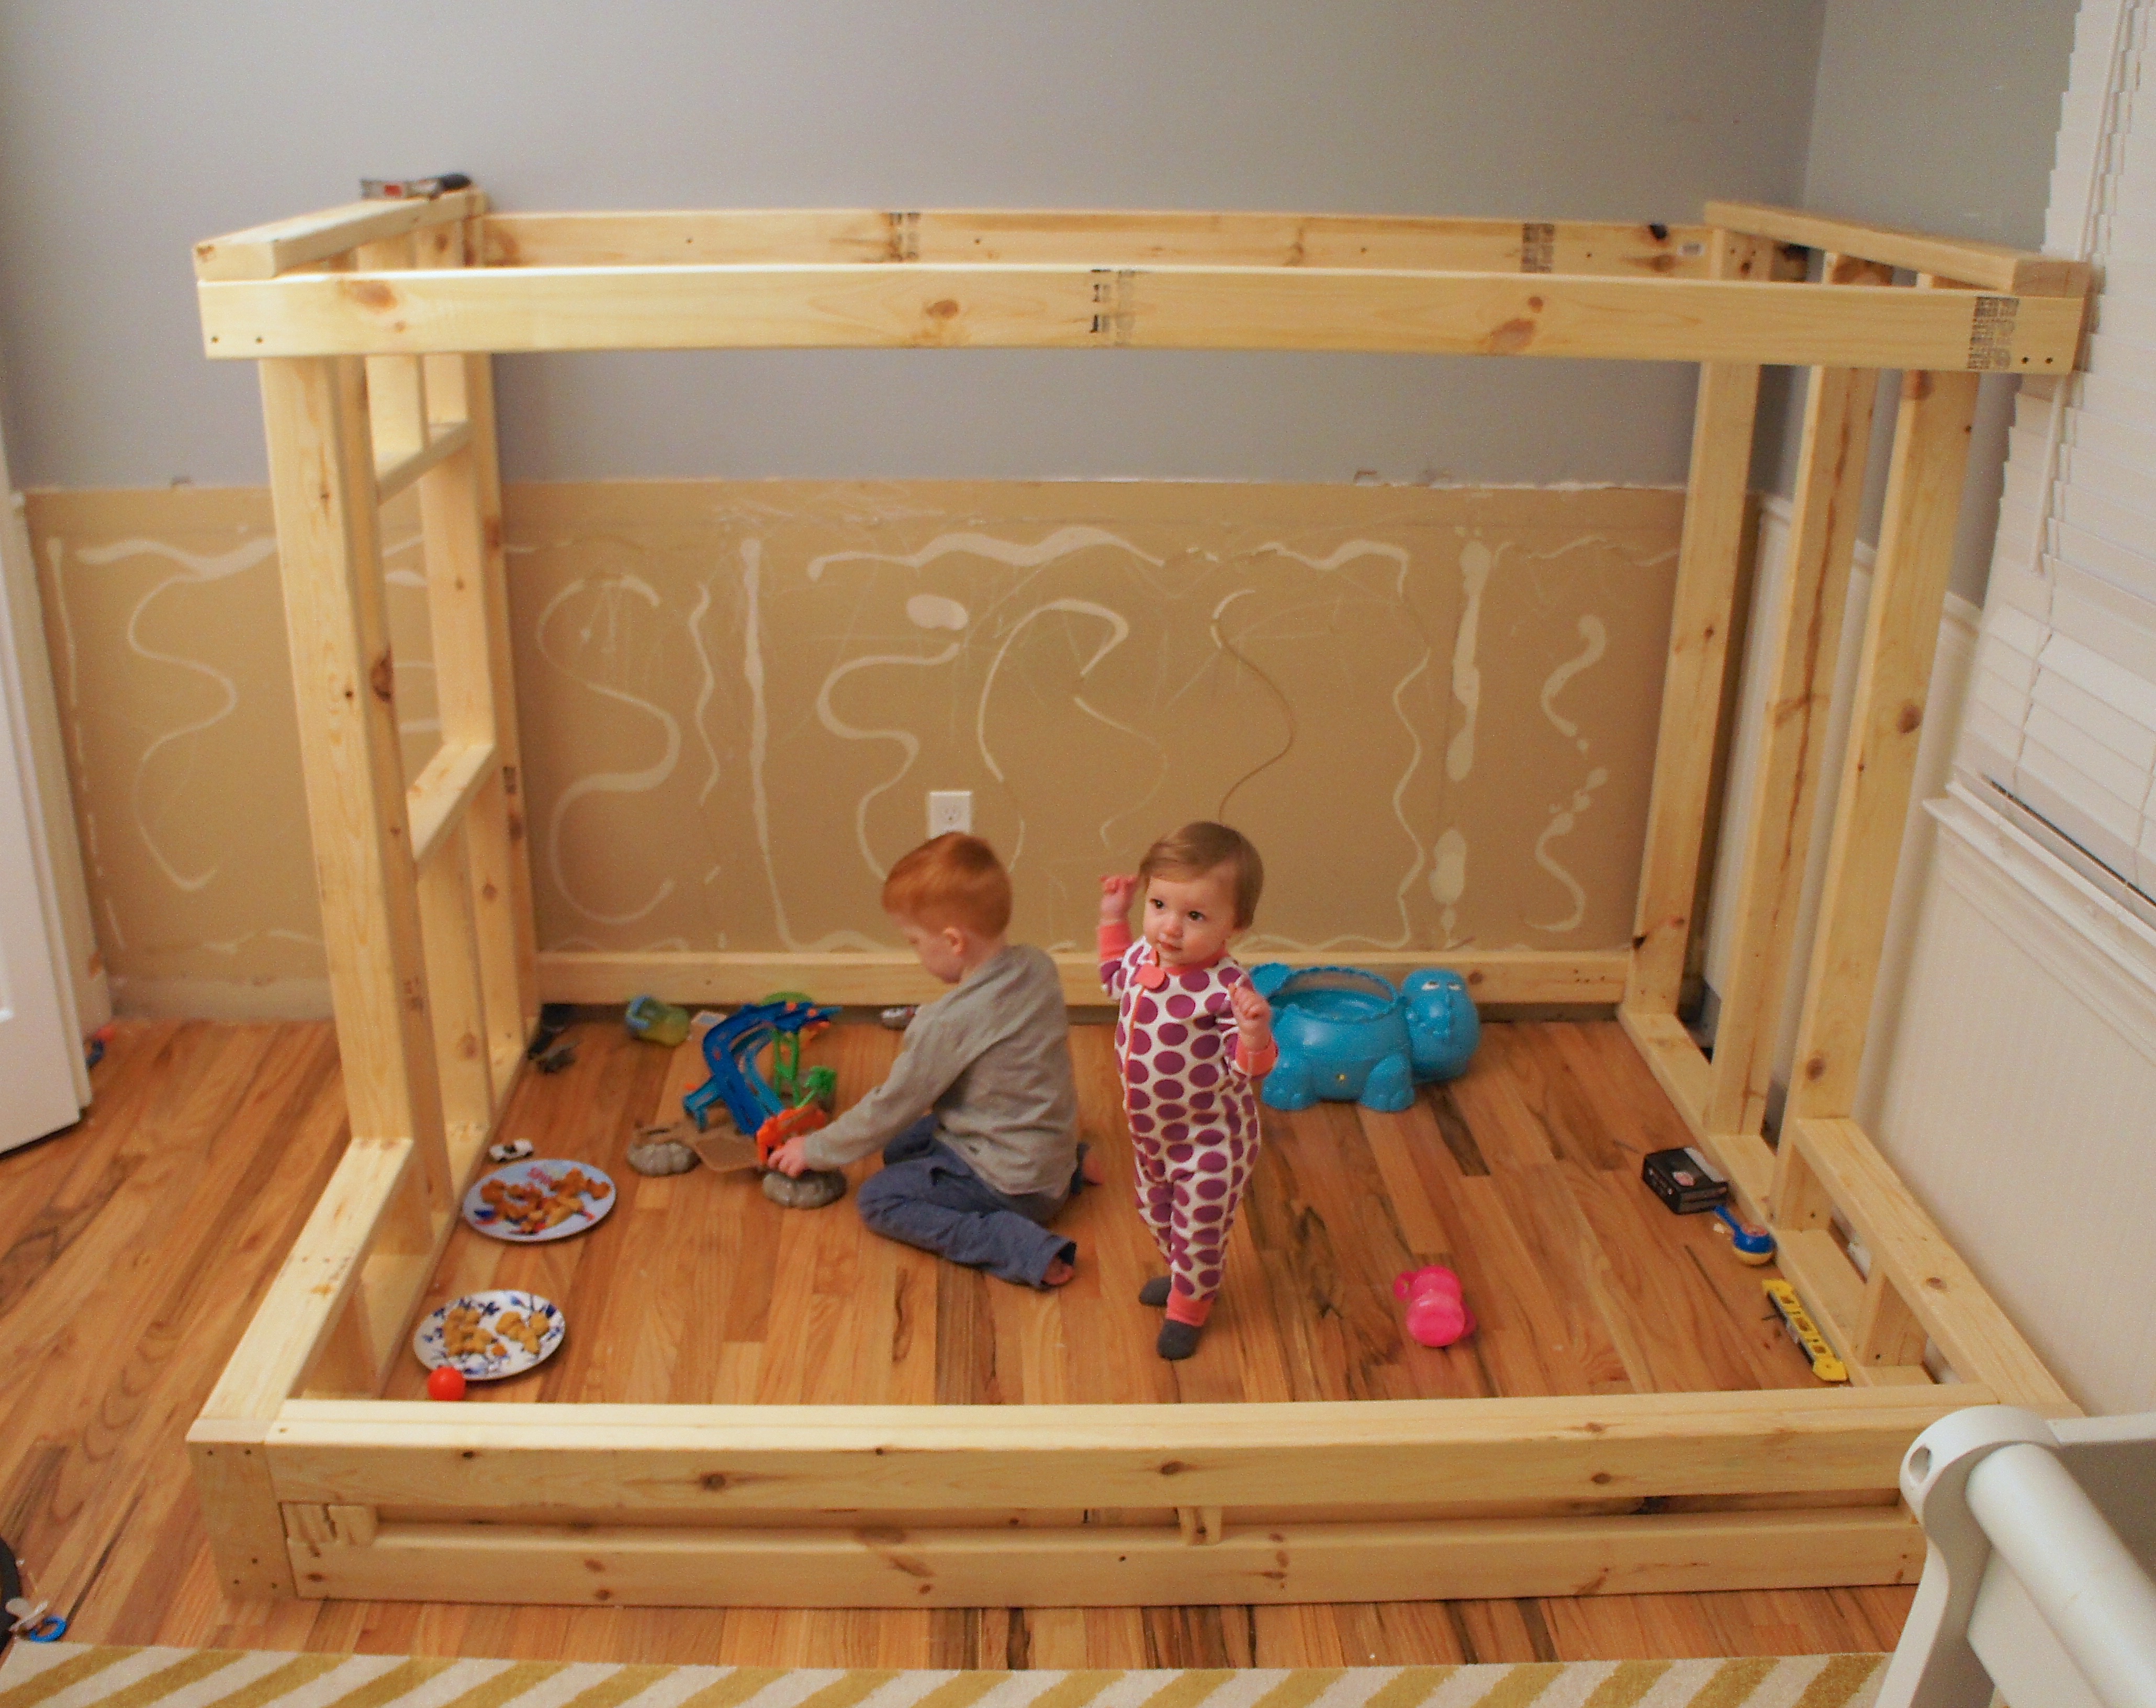
My construction crew enjoyed having a picnic on the floor. I can’t wait to enjoy the new space with them, hopefully we have more to share soon!
Check out part II, here.
