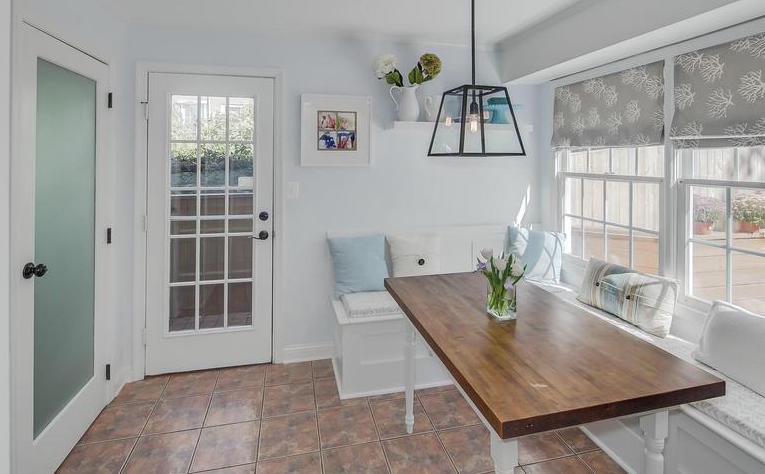
I’ve been pretty excited to share this, because at long last, the final piece of our kitchen renovation is complete! When we first moved in we painted the cabinets, put in granite countertops, and replaced the microwave with a range hood, but the eat-in area of the kitchen has been a mess for the past nine months. Originally, we wanted to add more cabinets to the space, but a large window would have to be replaced to accomplish that. So, we decided to live with it as is until we got a feel for how the area would work best for us. Eventually, we came up with the idea of a bench to provide extra storage without the structural cost of reframing a shorter window.
The design is modified from this storage hutch from Ana White. Honestly, figuring out the measurements to make something that fit our space was the trickiest part.
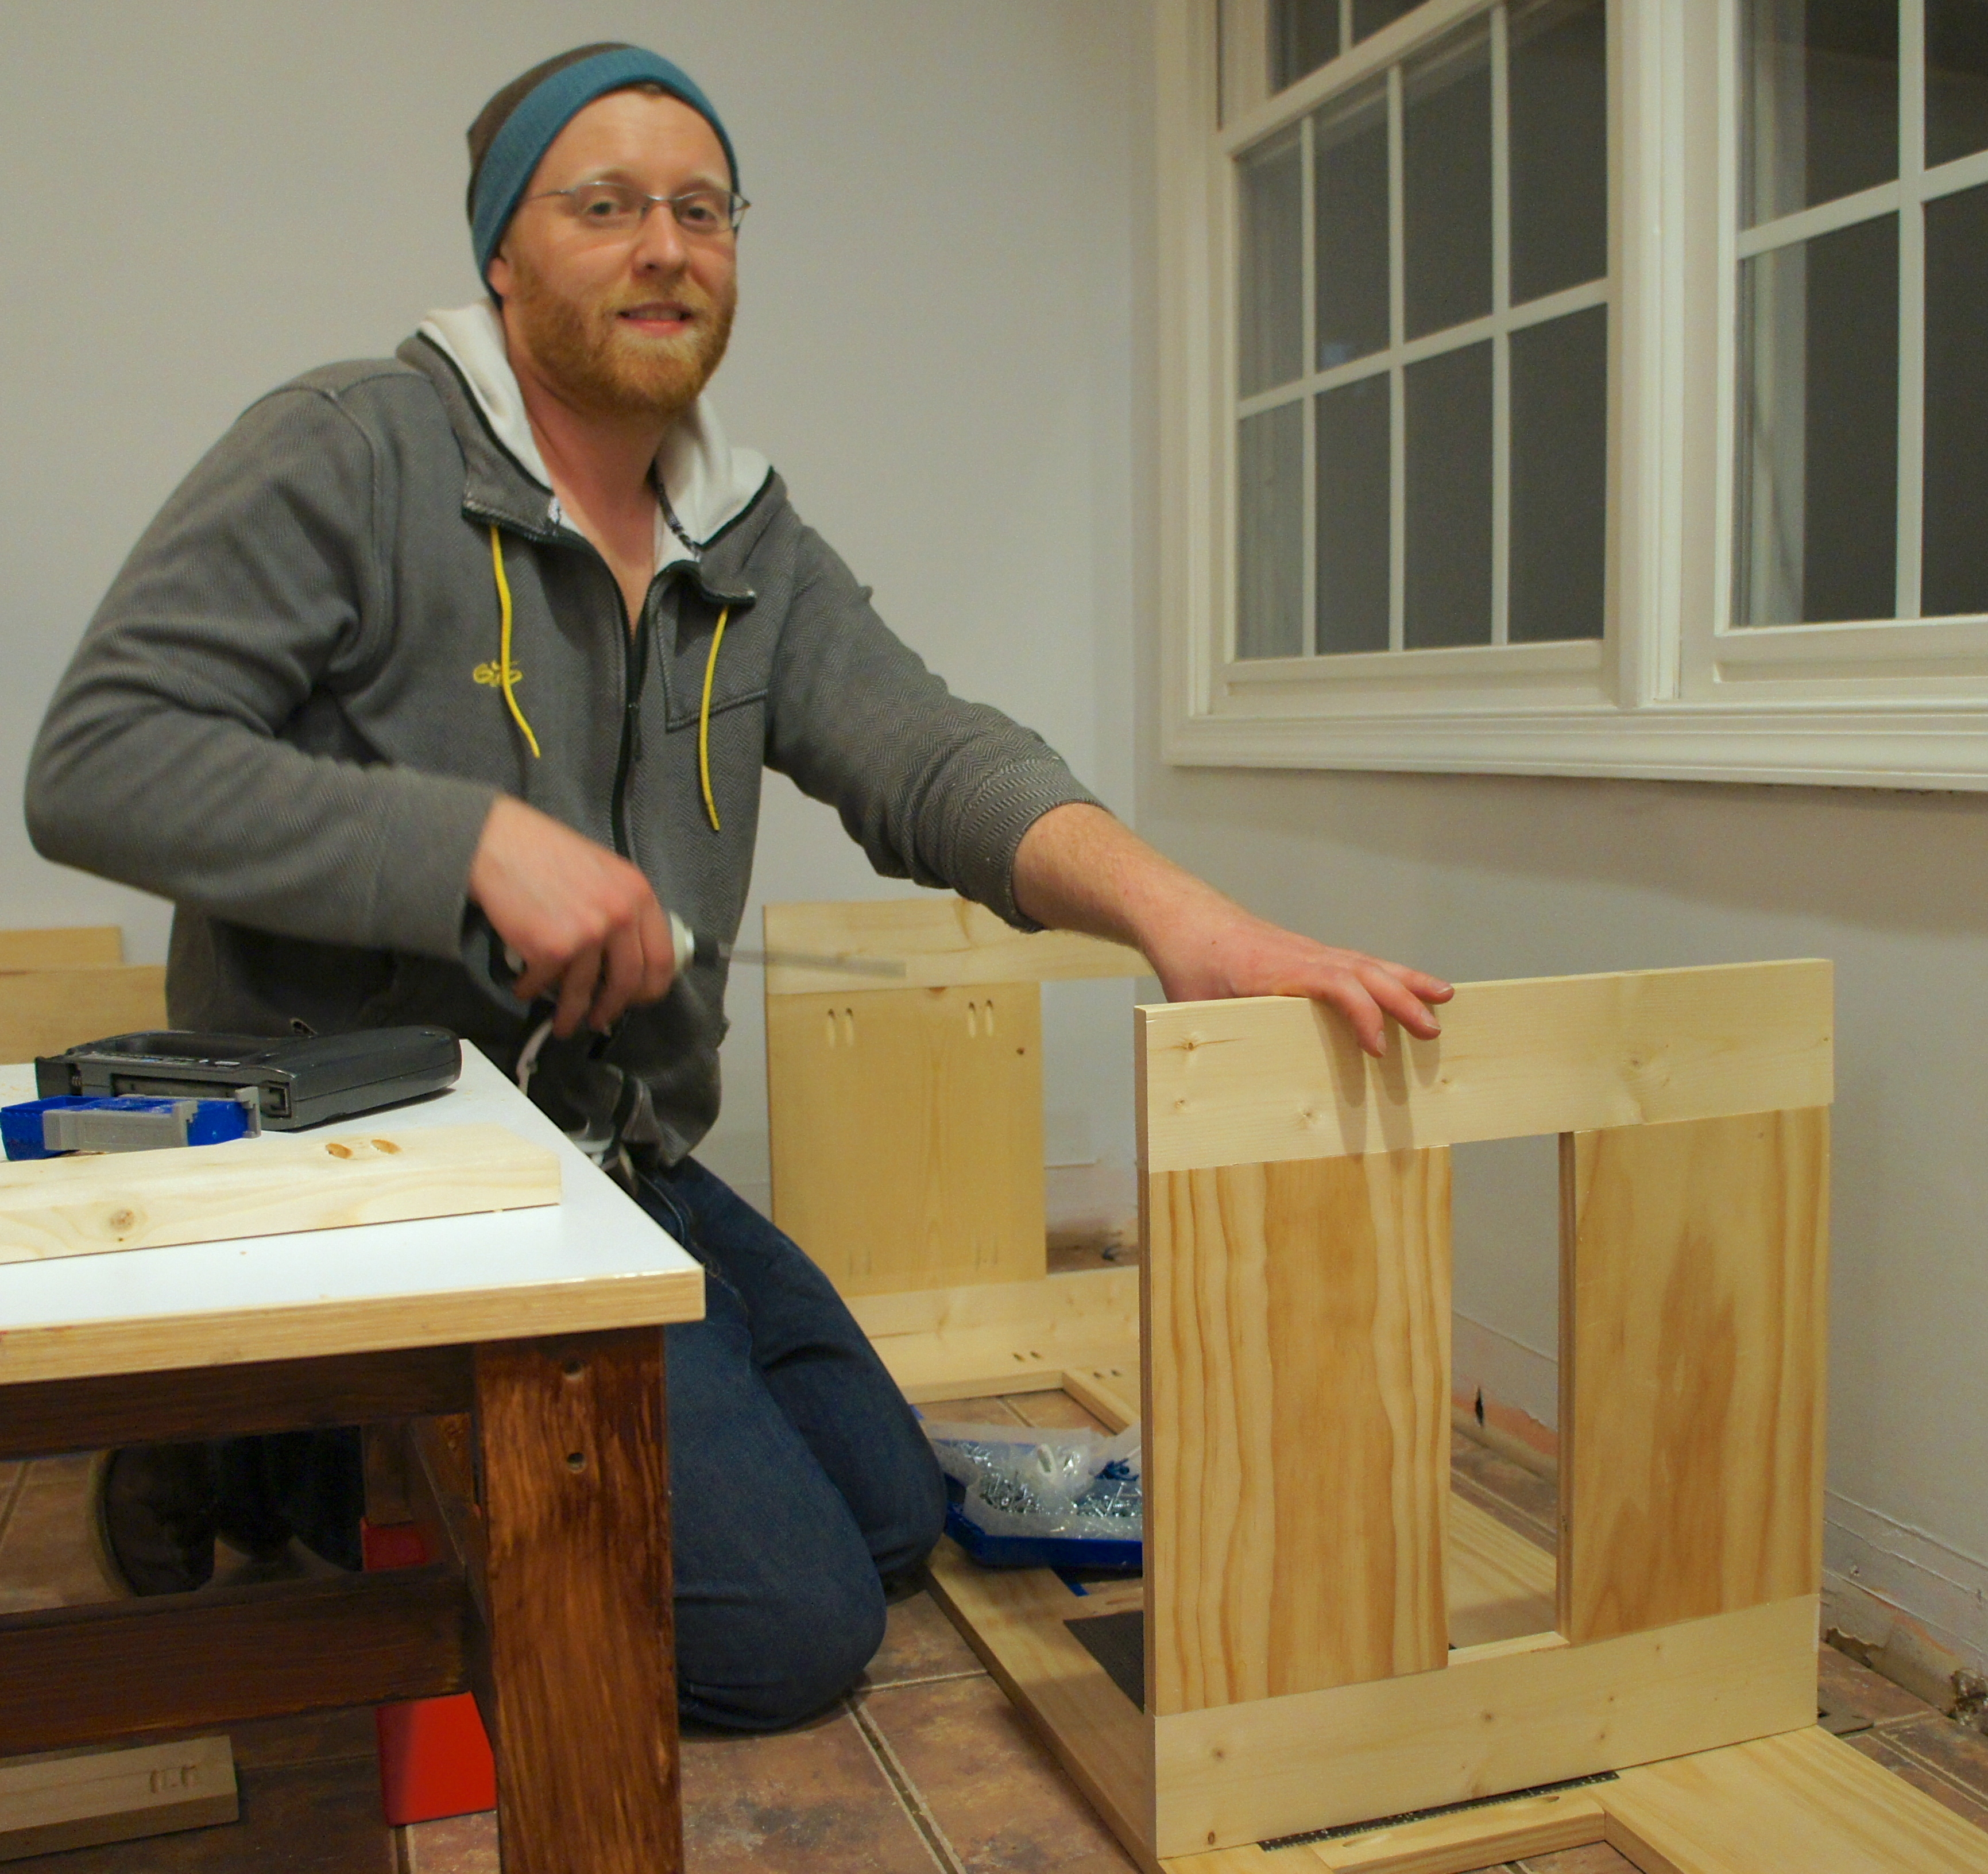
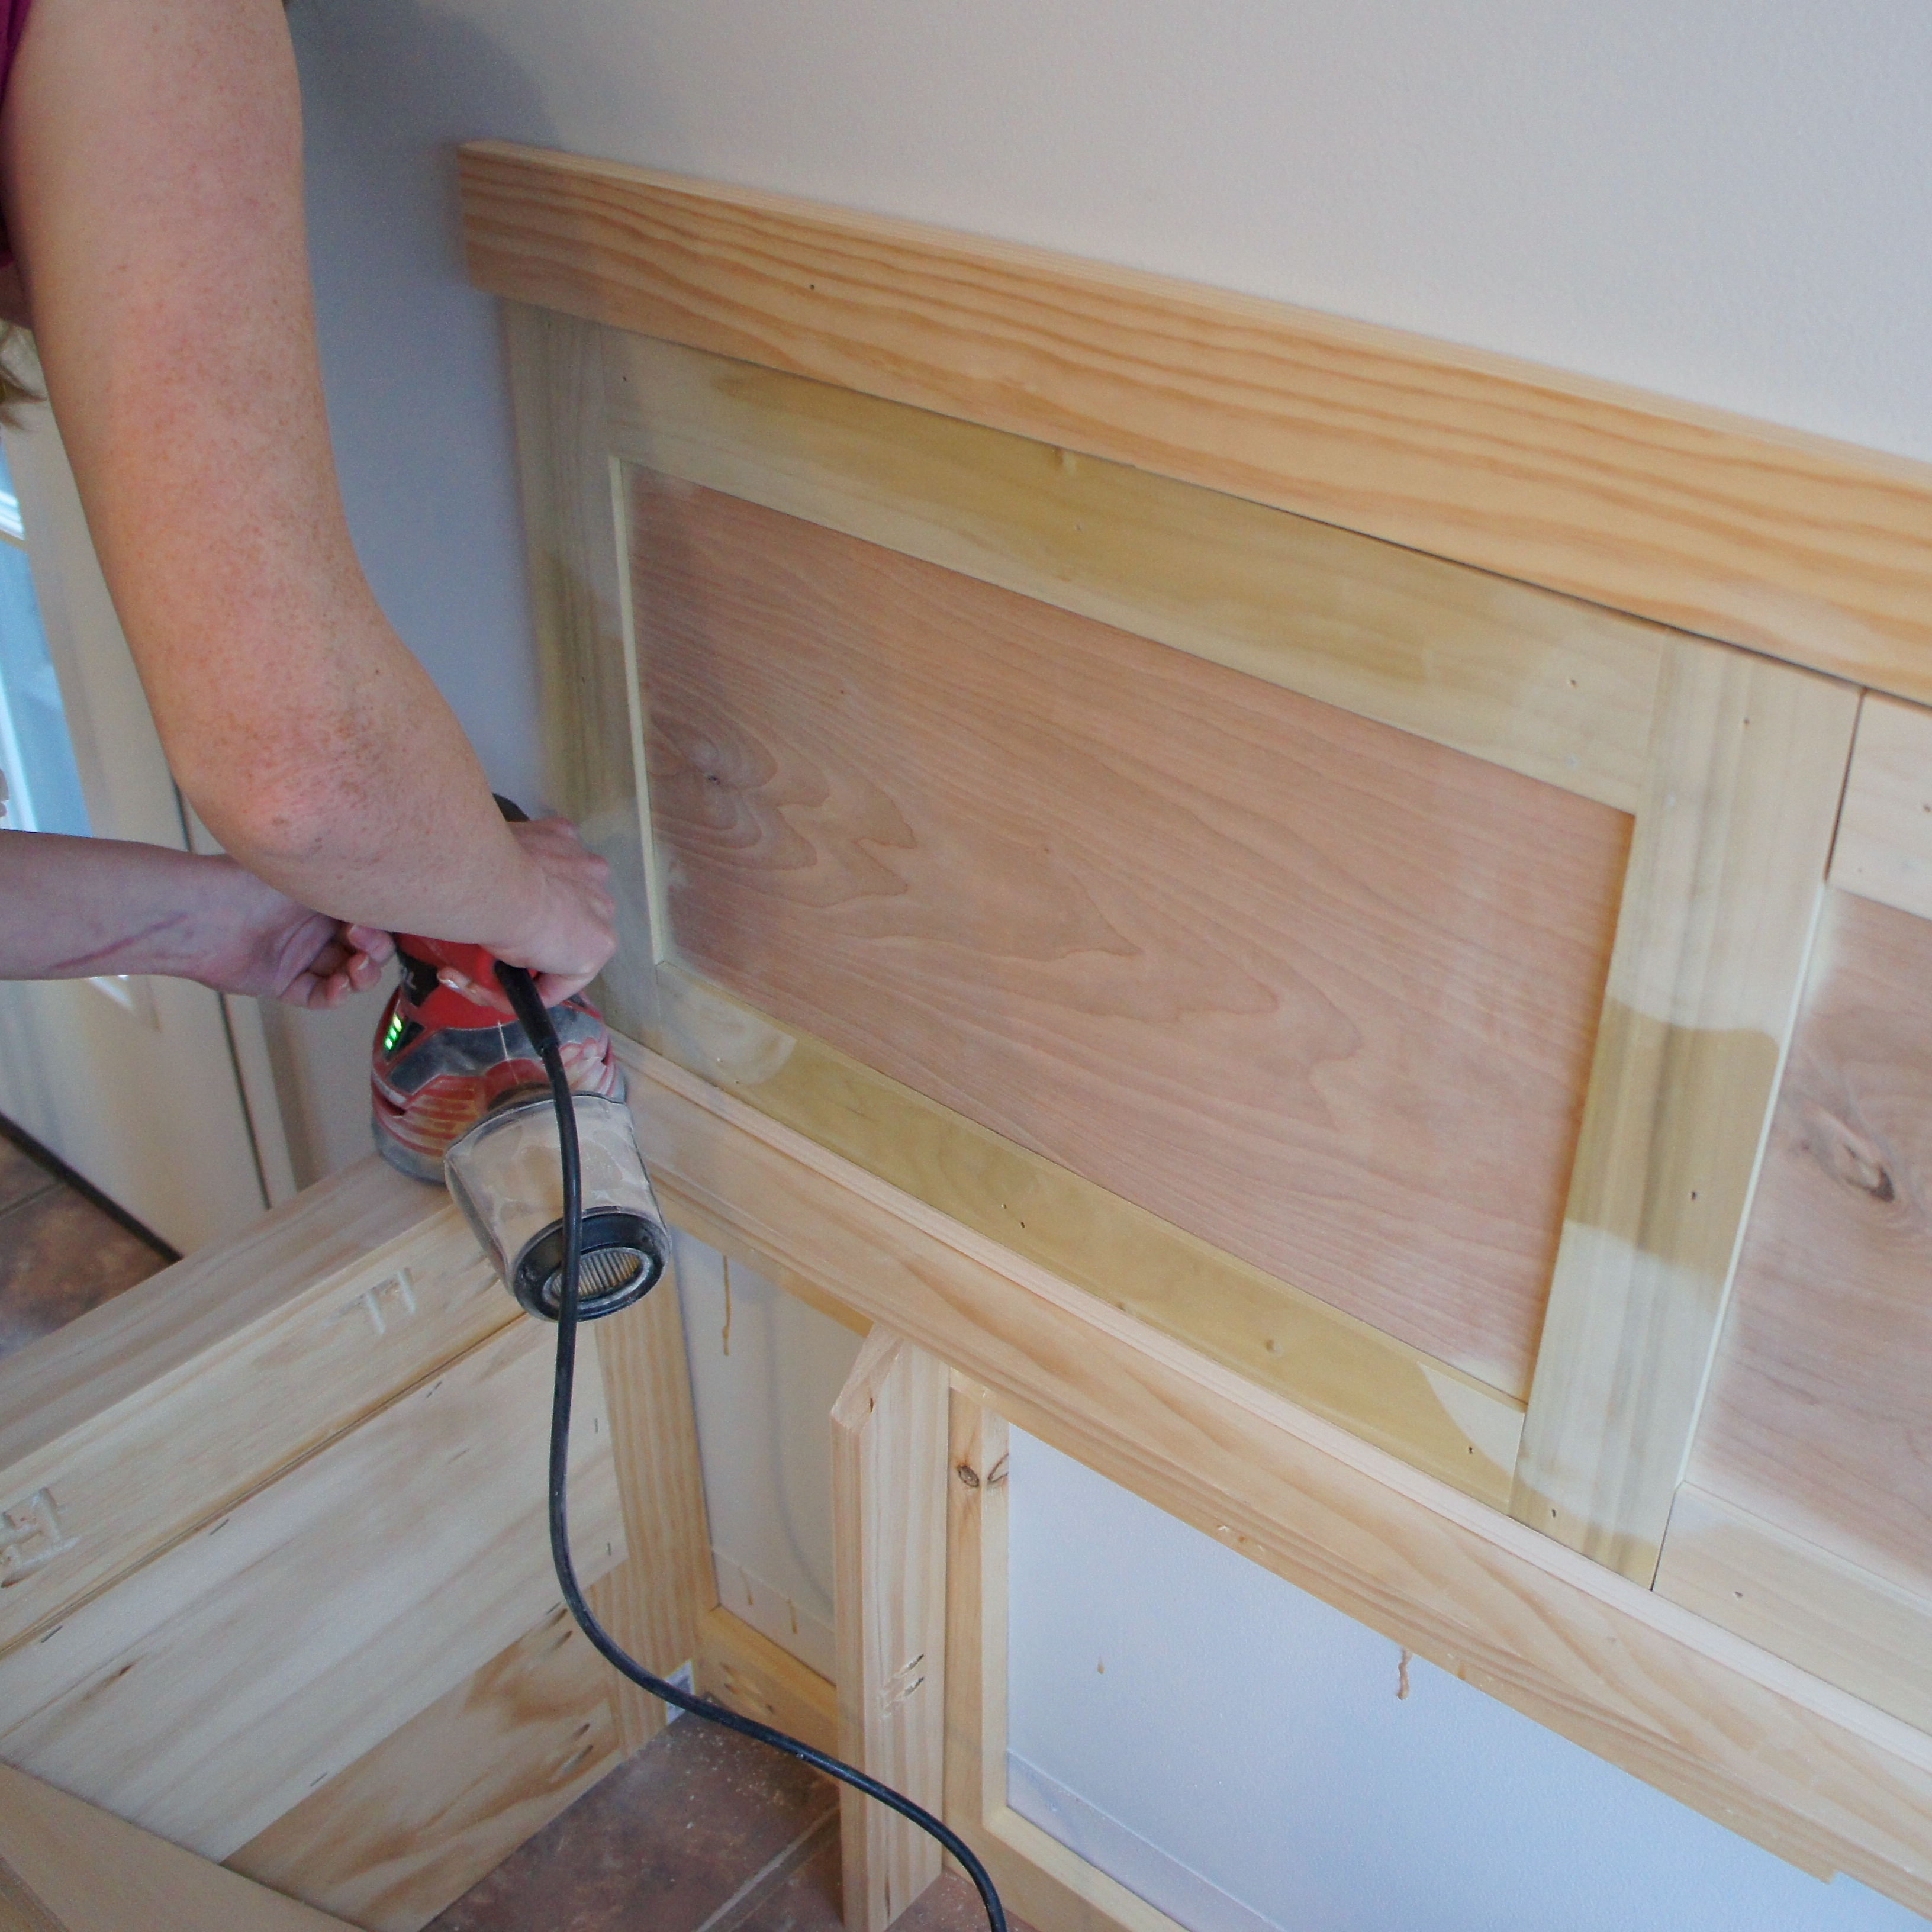
This entire project was only possible because of our new Kreg jig, which allowed us to drill pocket holes.
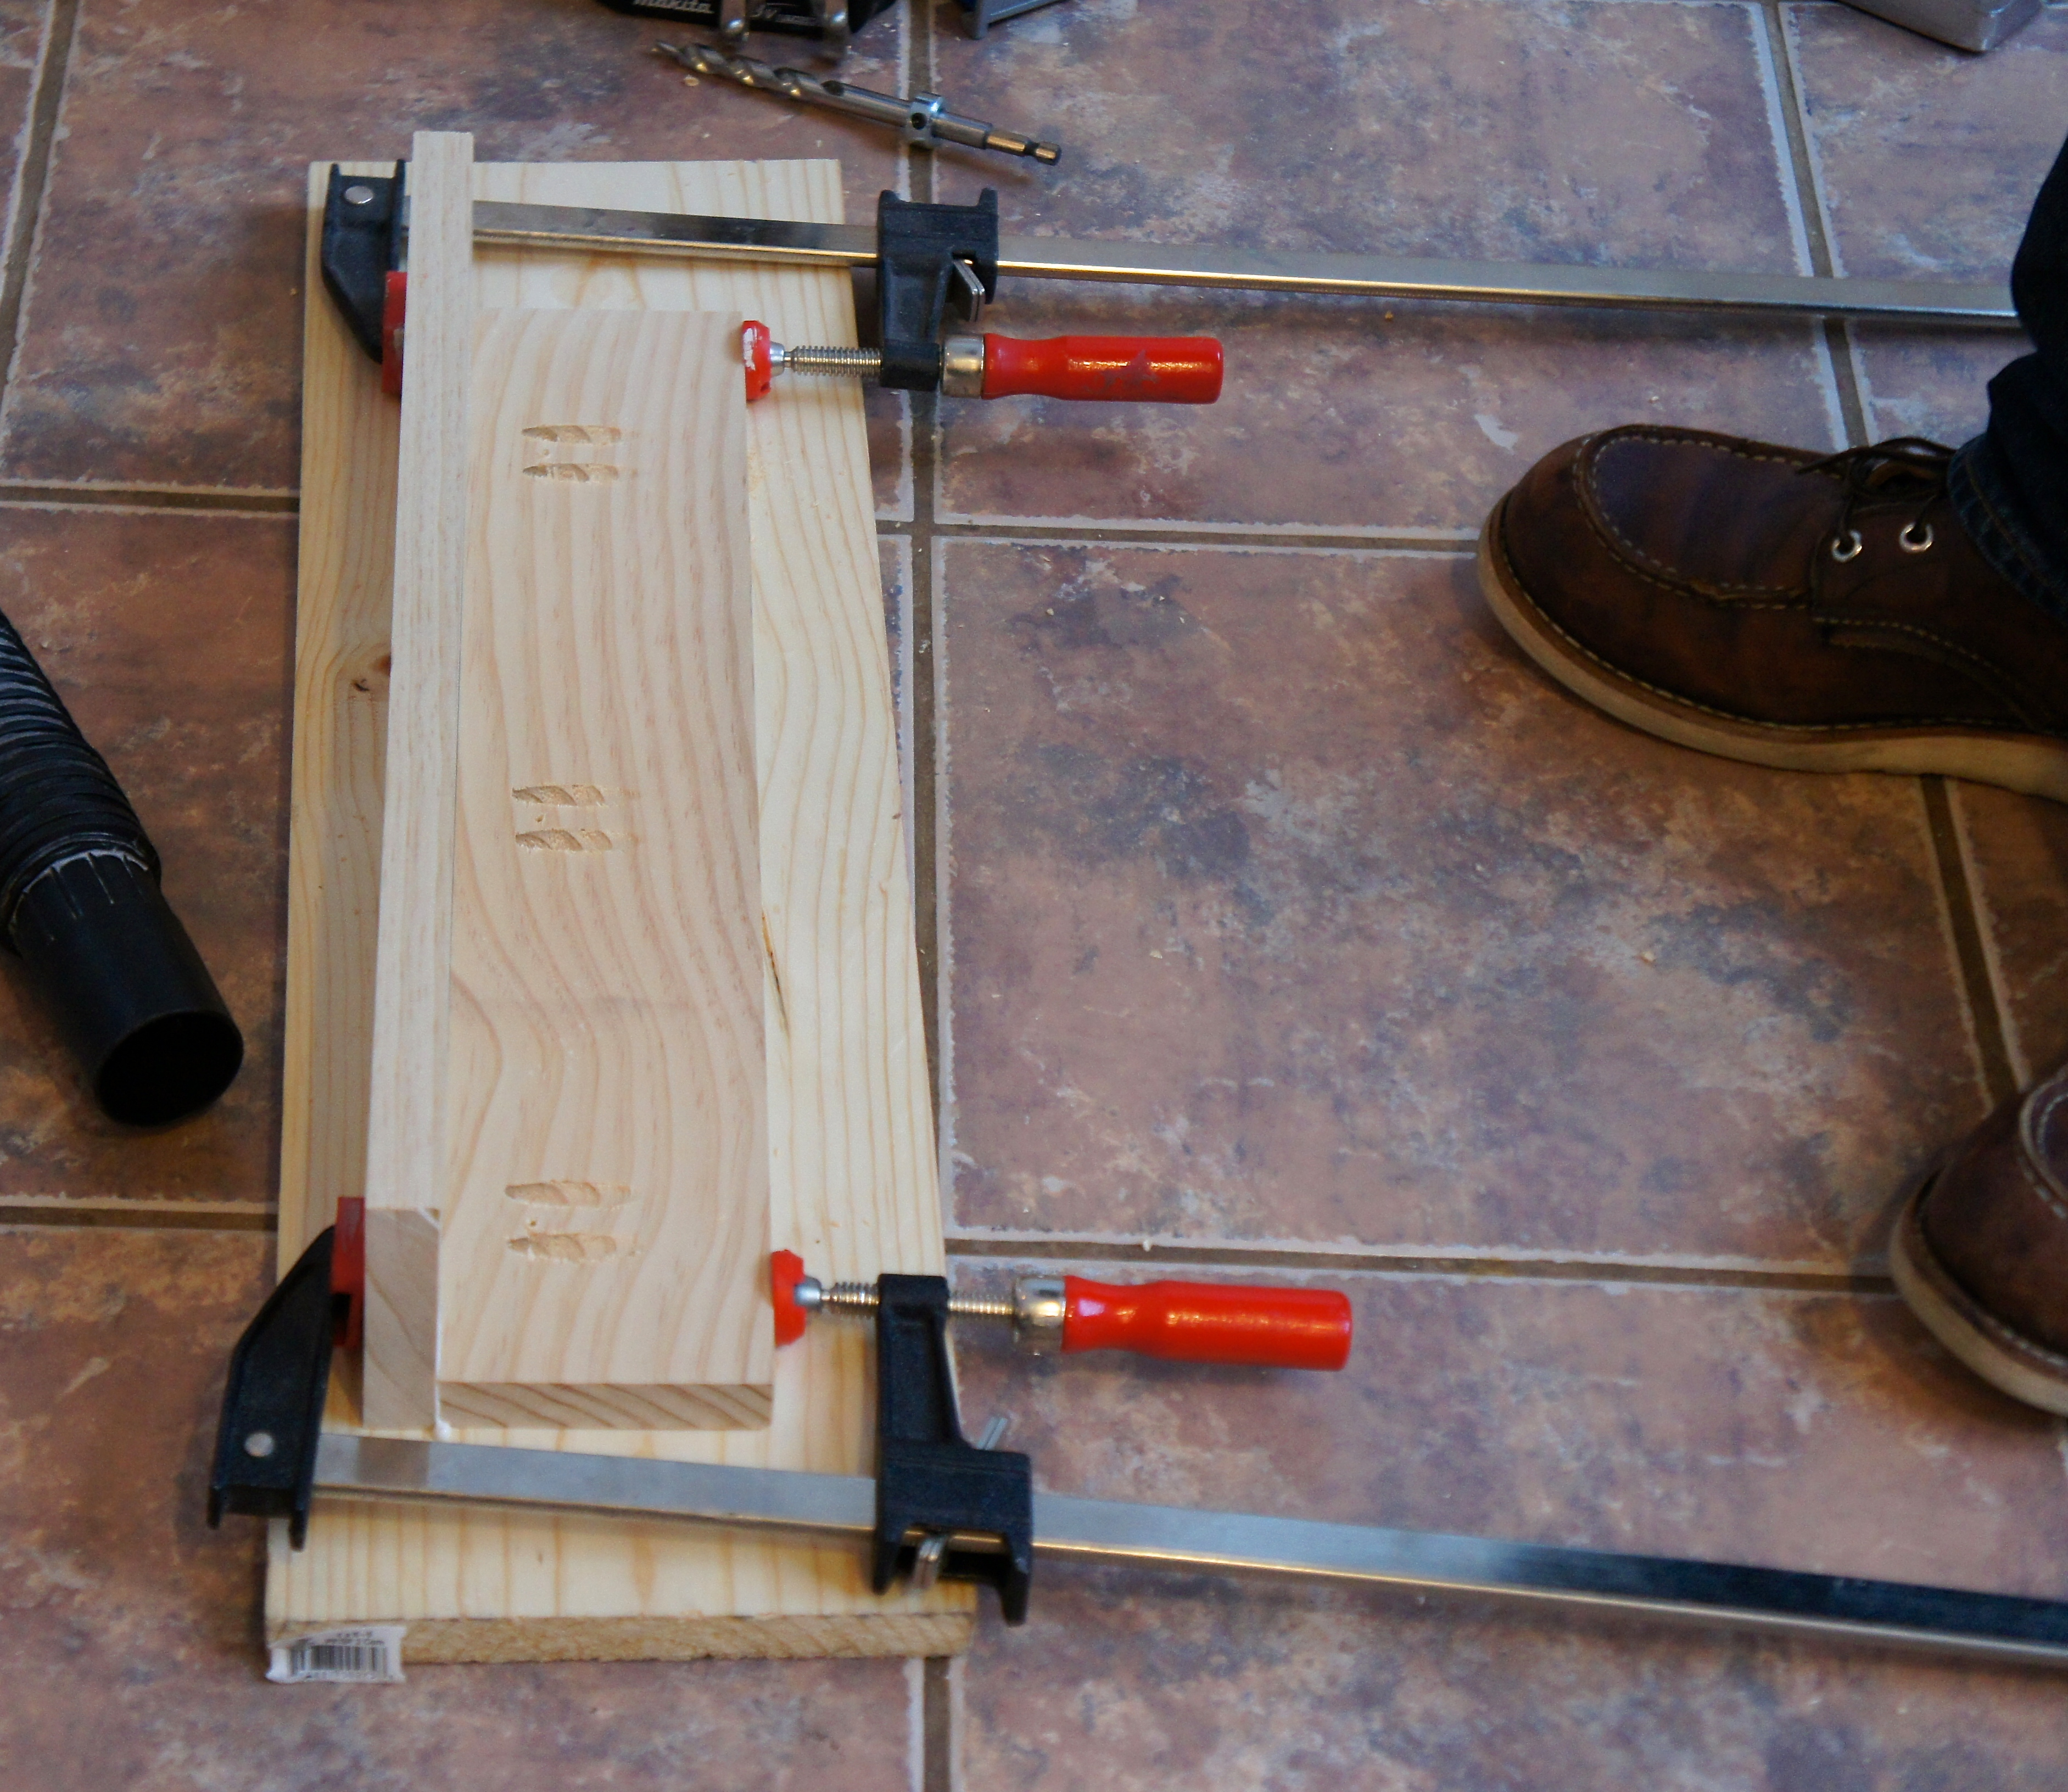
The picture above show the pocket holes inside of the bench. They make all of the joints extra tight so the bench is really sturdy.

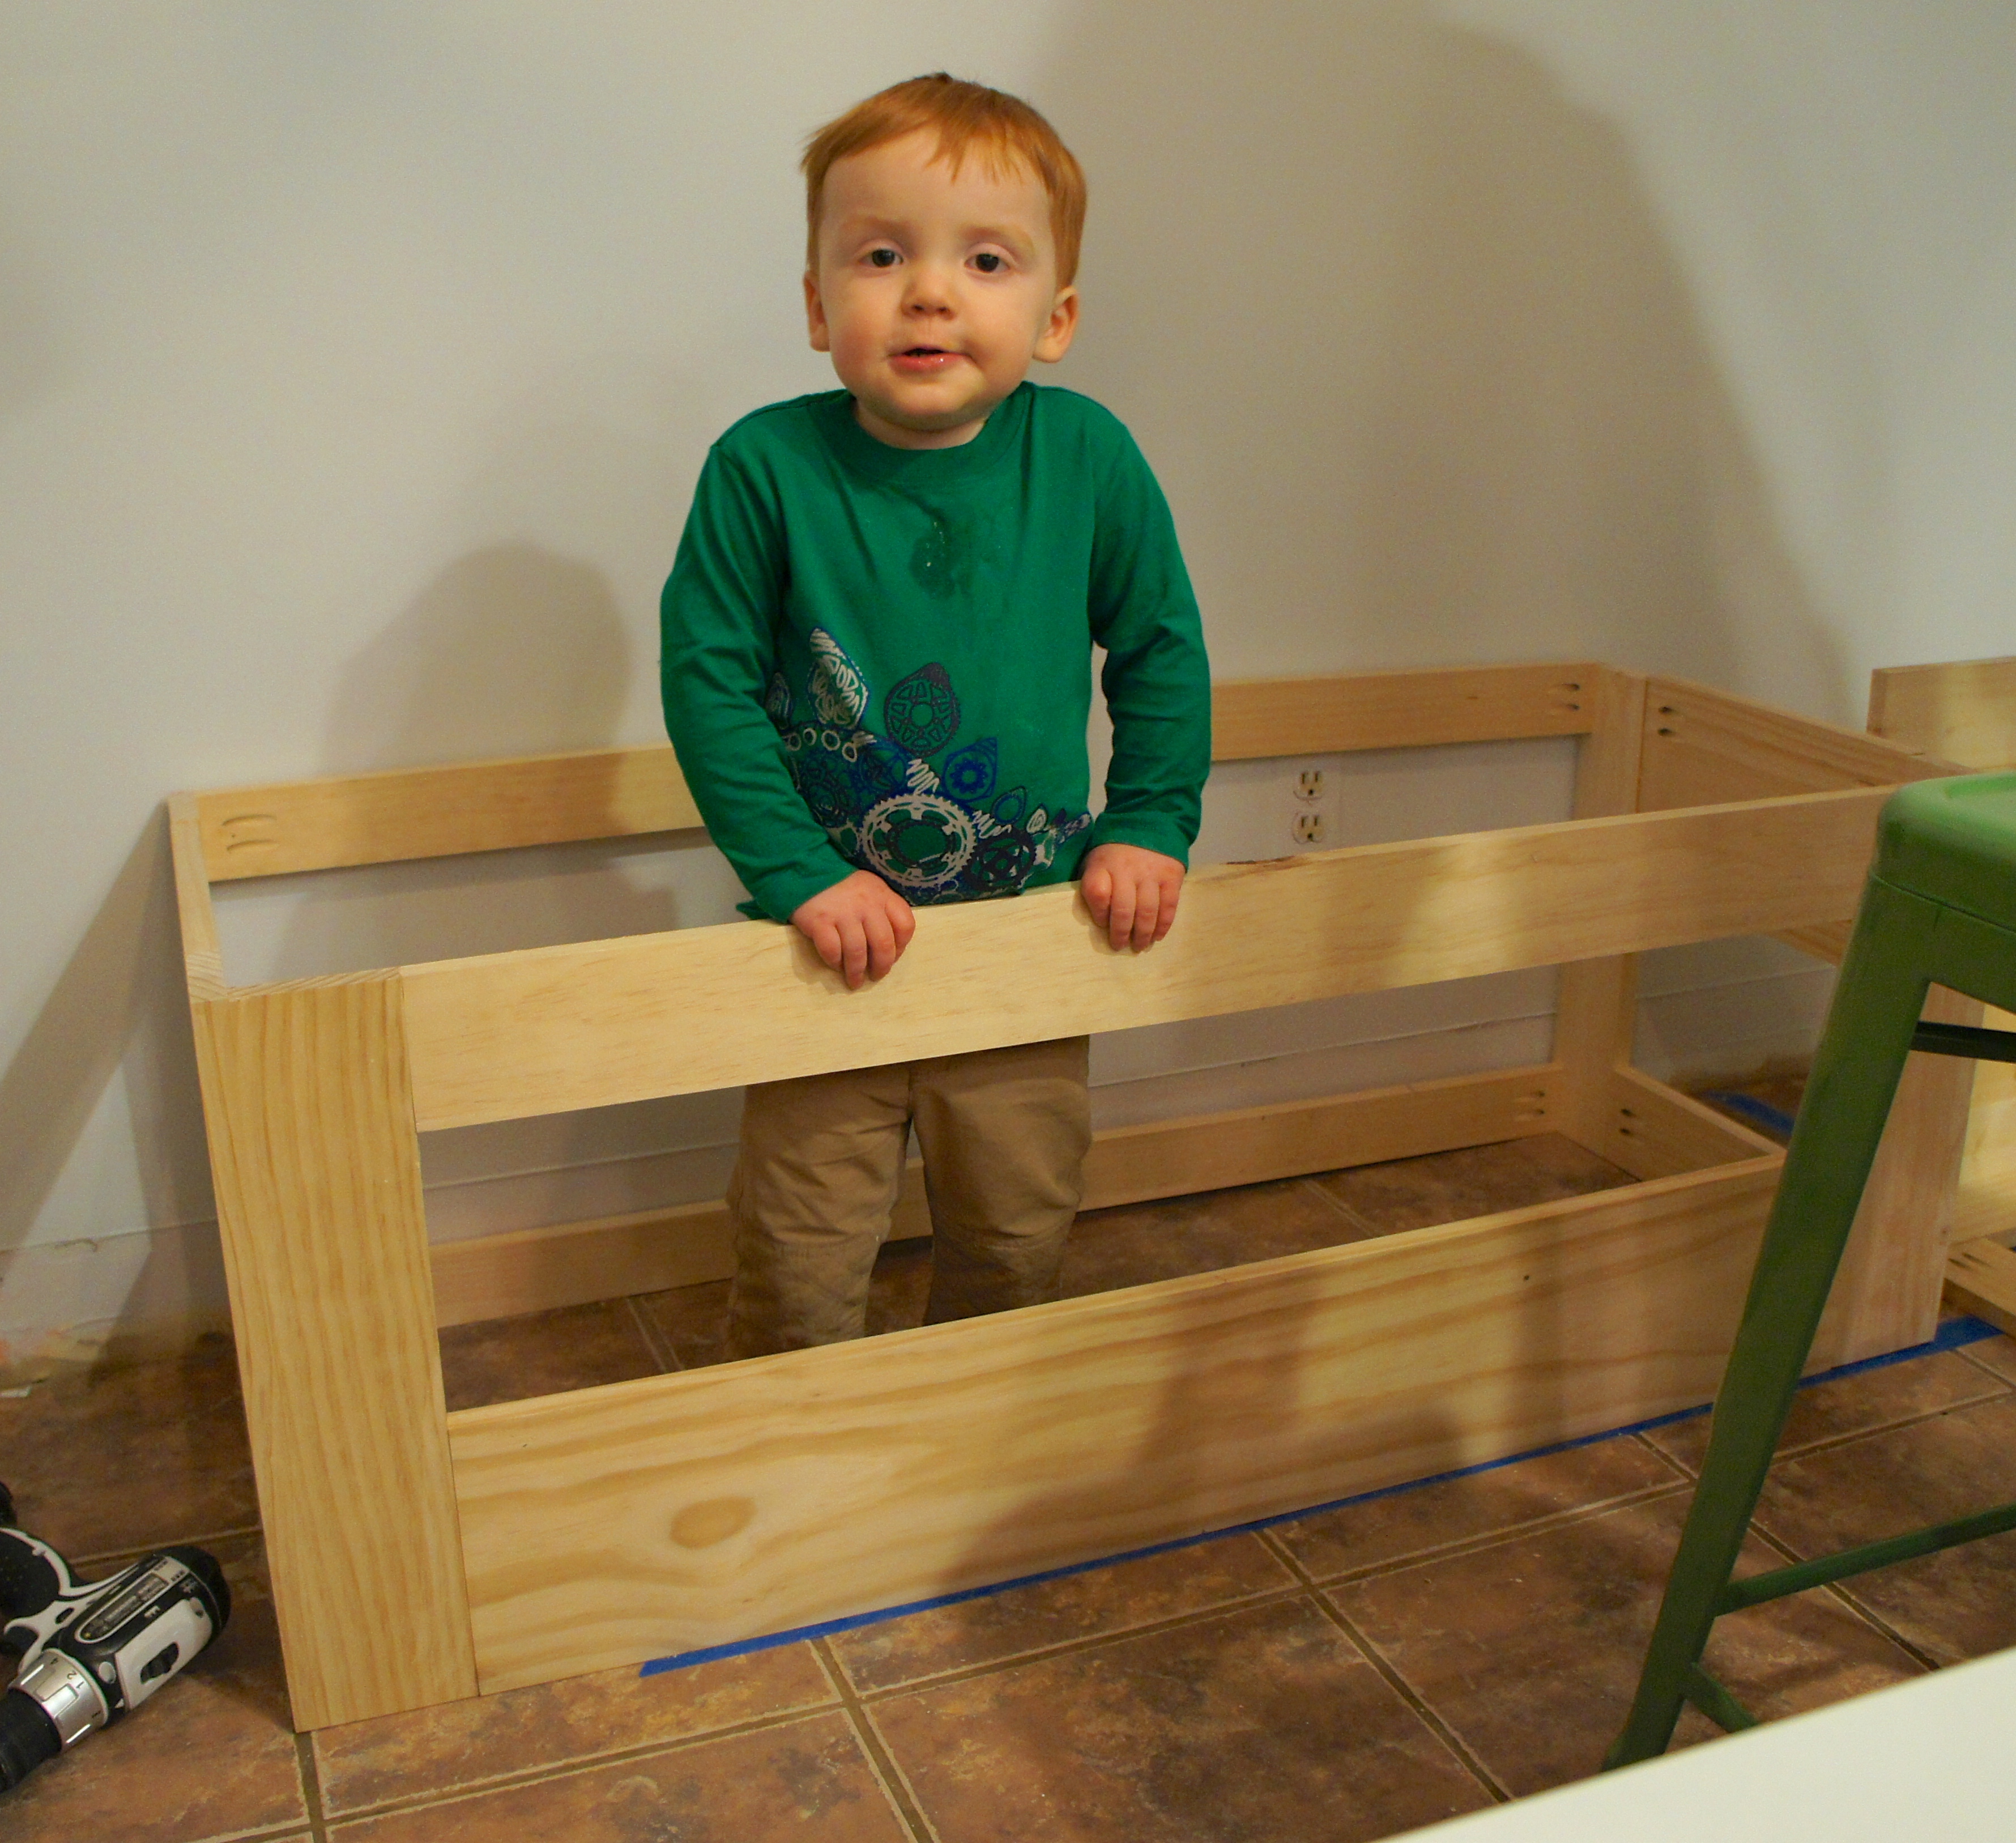
The base, pictured above, is made from 17″ L shaped legs cut out of 1 x 4″s, and connected with a 1 x 8 piece of lumber on the bottom and a 1 x 4 on top.
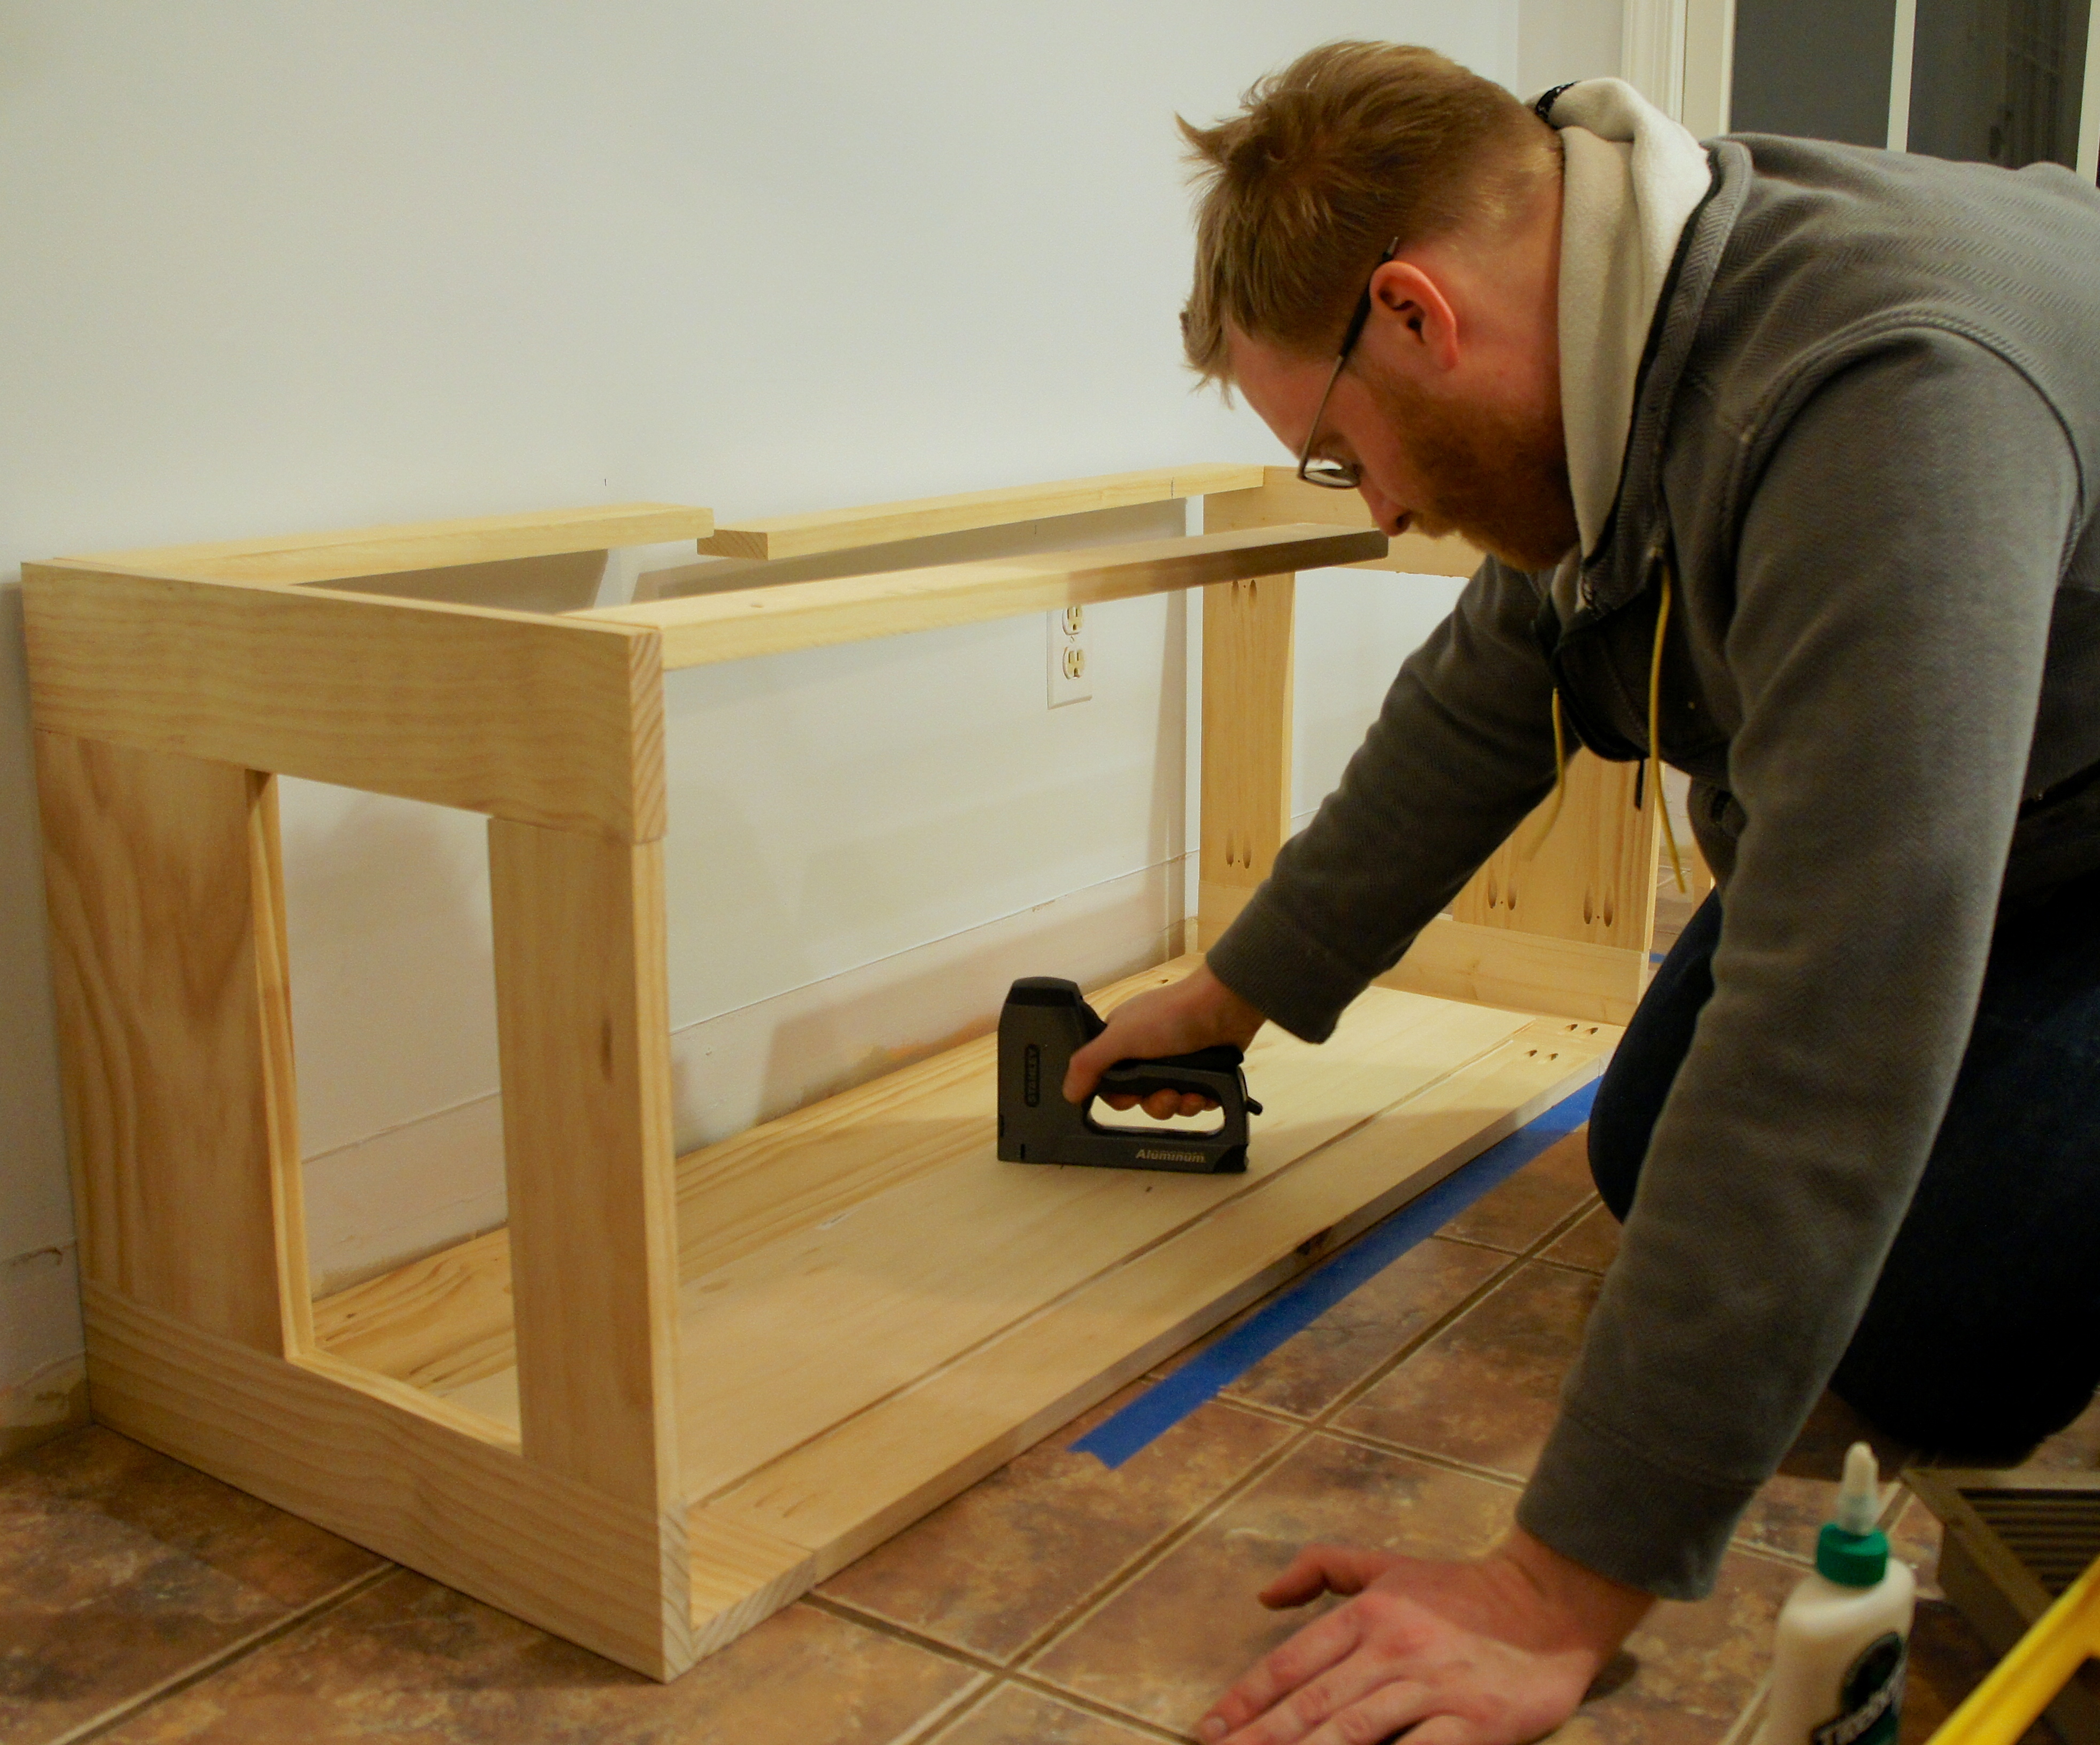
The face is 1/4″ plywood, attached with wood glue and a staple gun.
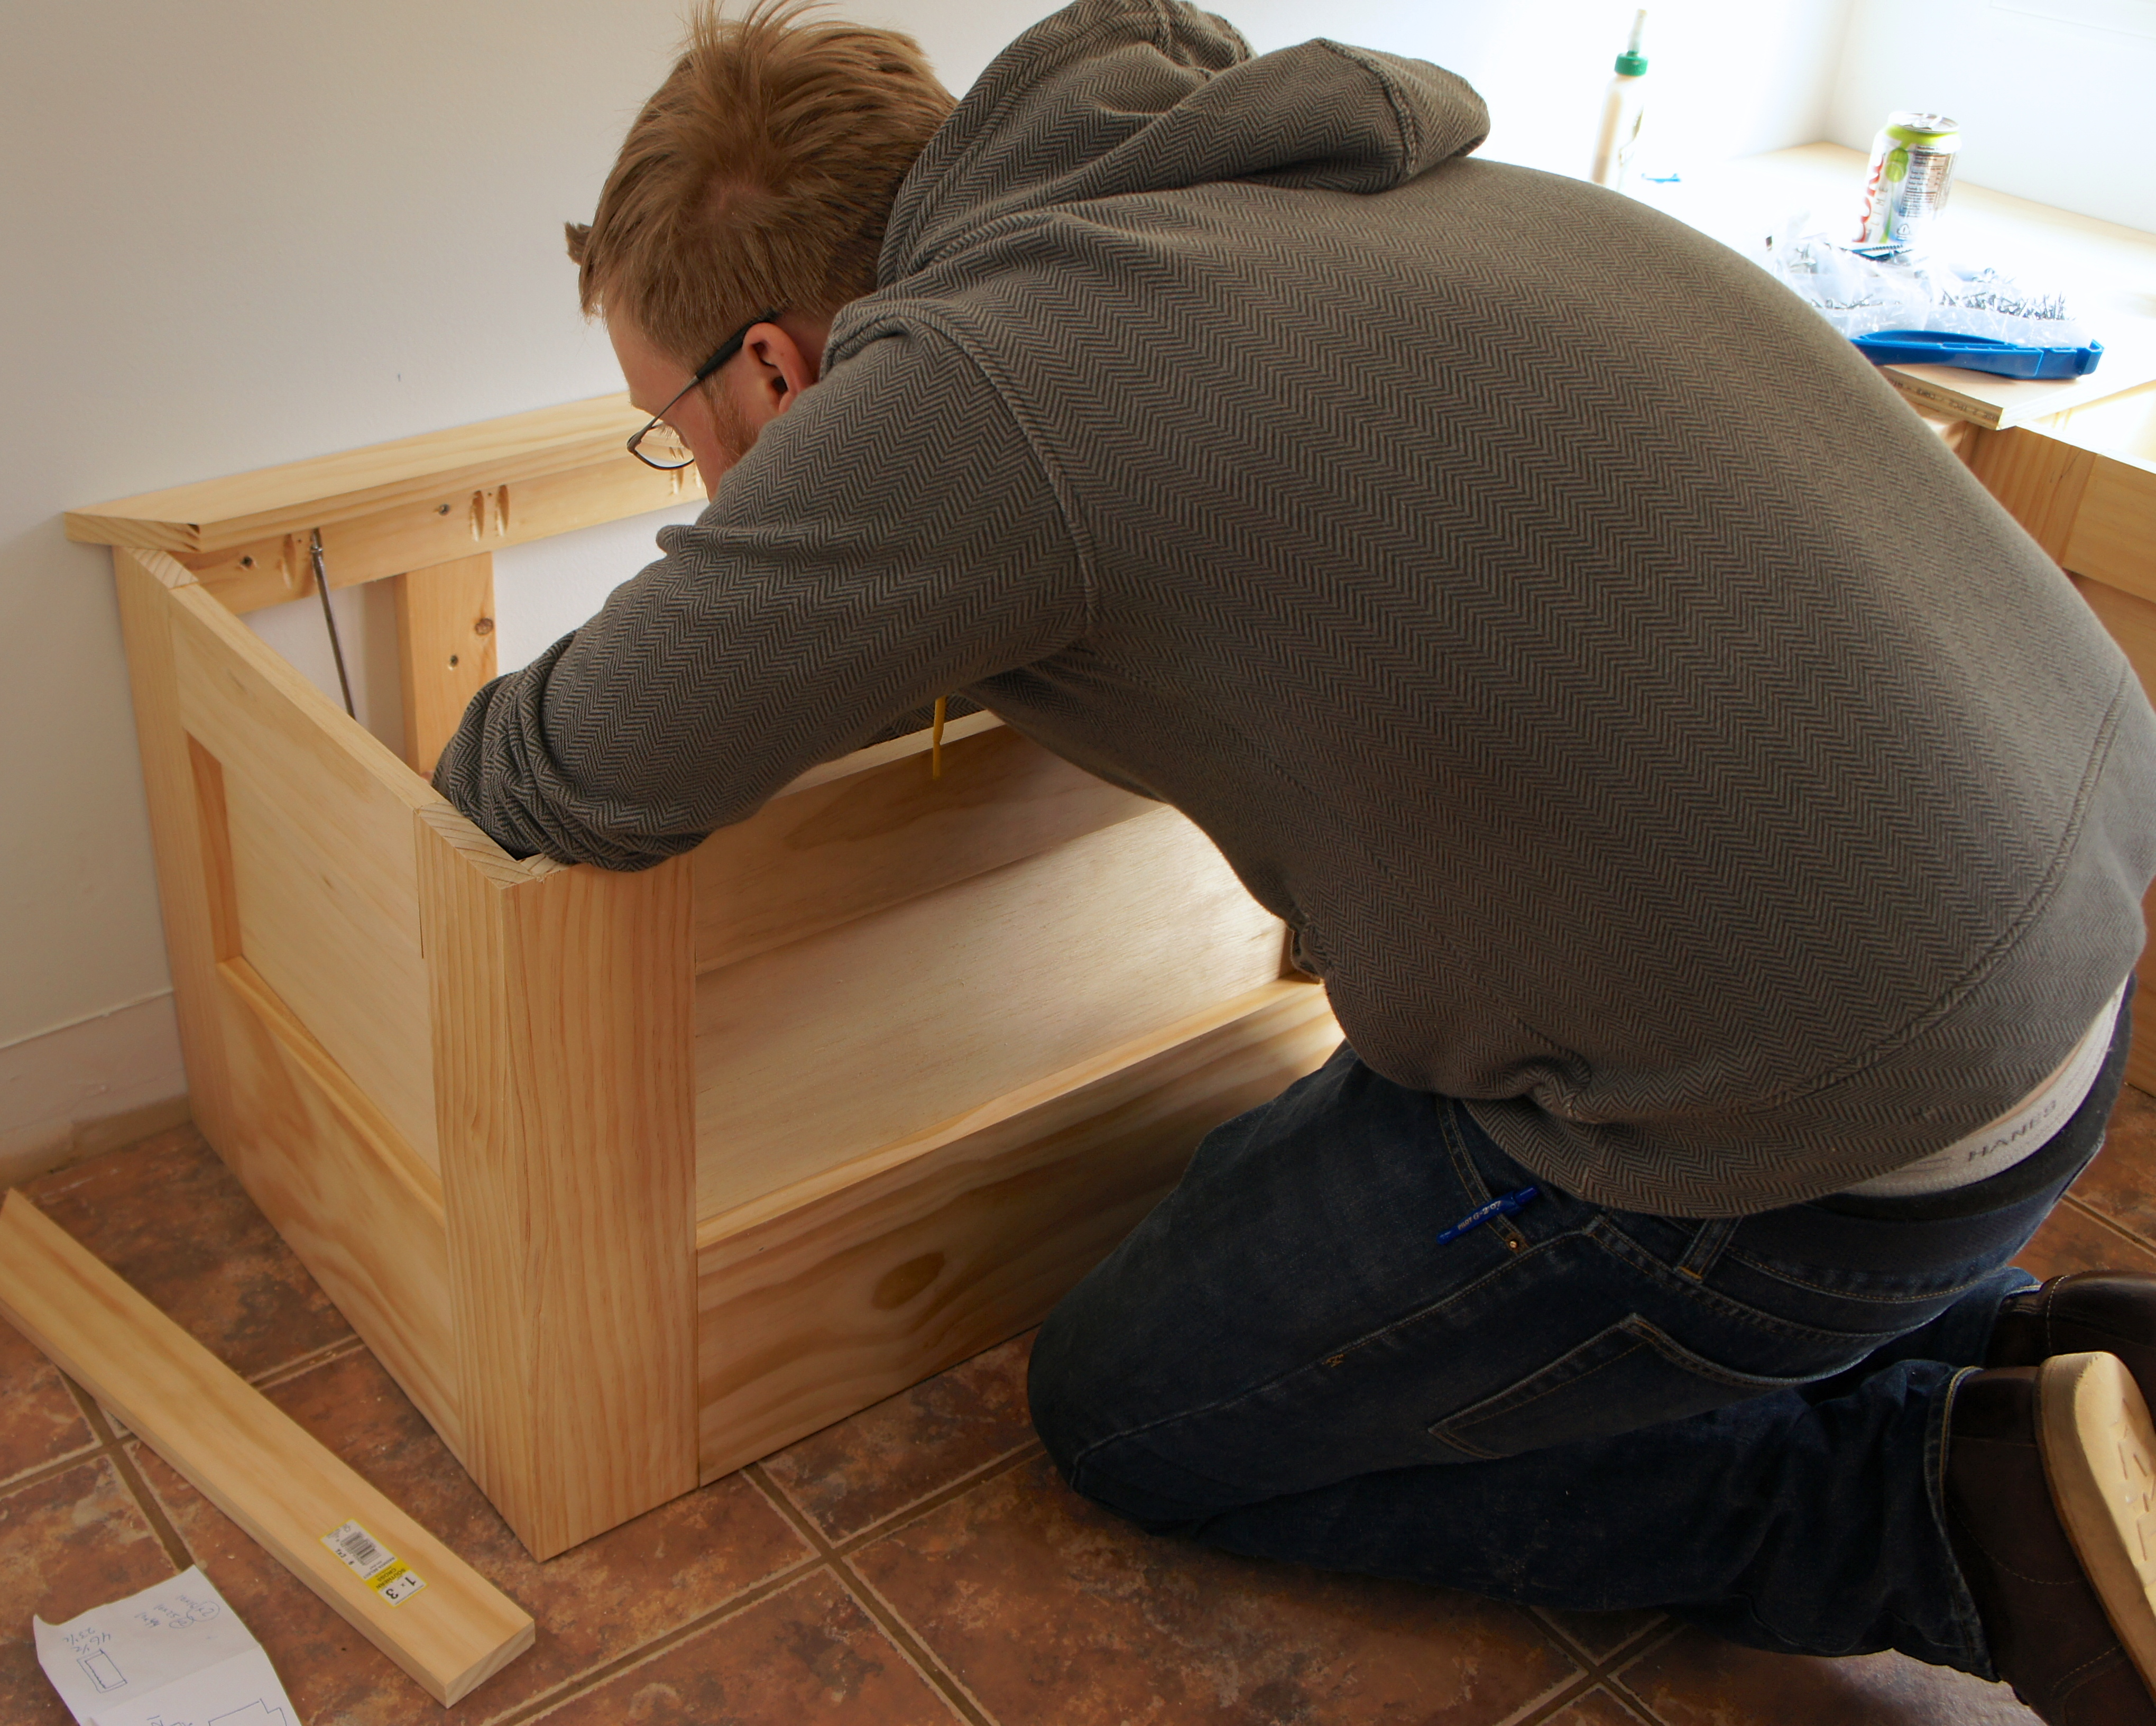
Our bench is 66″ on the longest side, which we were worried would need extra support with a hinged lid, so Jason built extra supports on the inside for stability. They’re basically two additional end pieces of the boxes that sit on the inside.
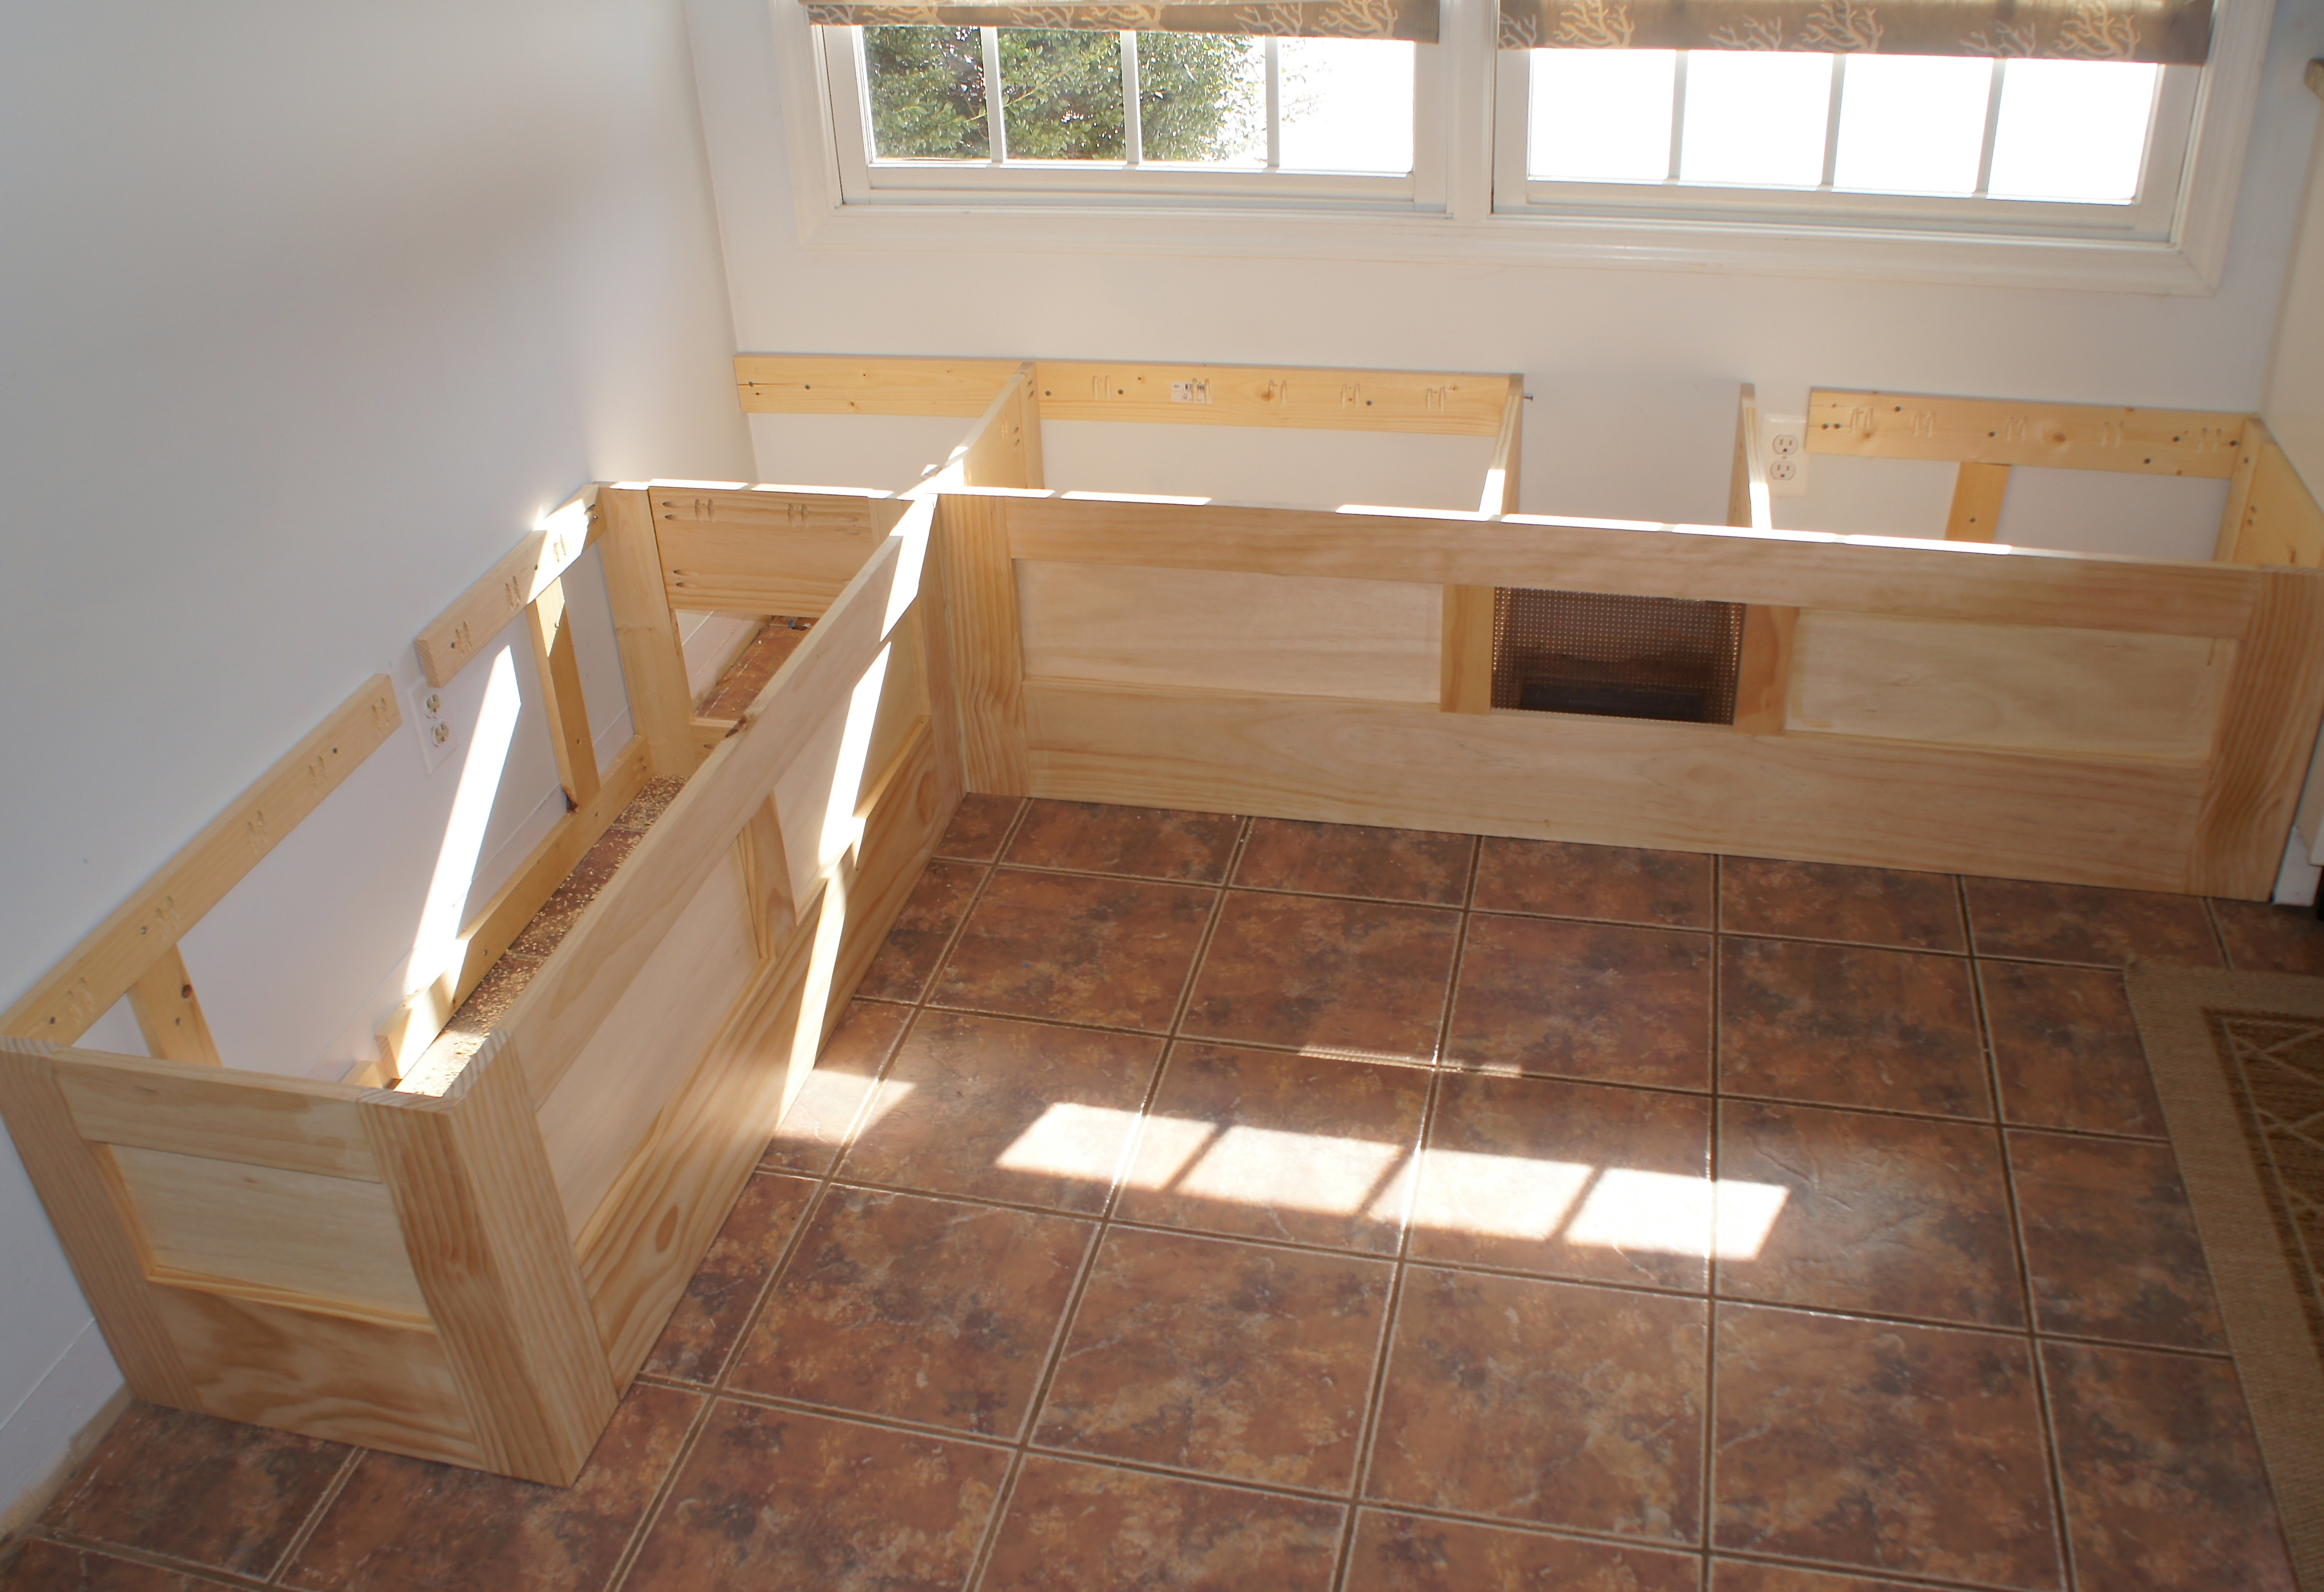
After we made the two benches, we drilled them into the studs with 1 x 3s. The hole in the center of the photo below is where we used a piece of metal sheeting to box in a floor vent. Jason then angled some plywood inside to direct the airflow into the room.
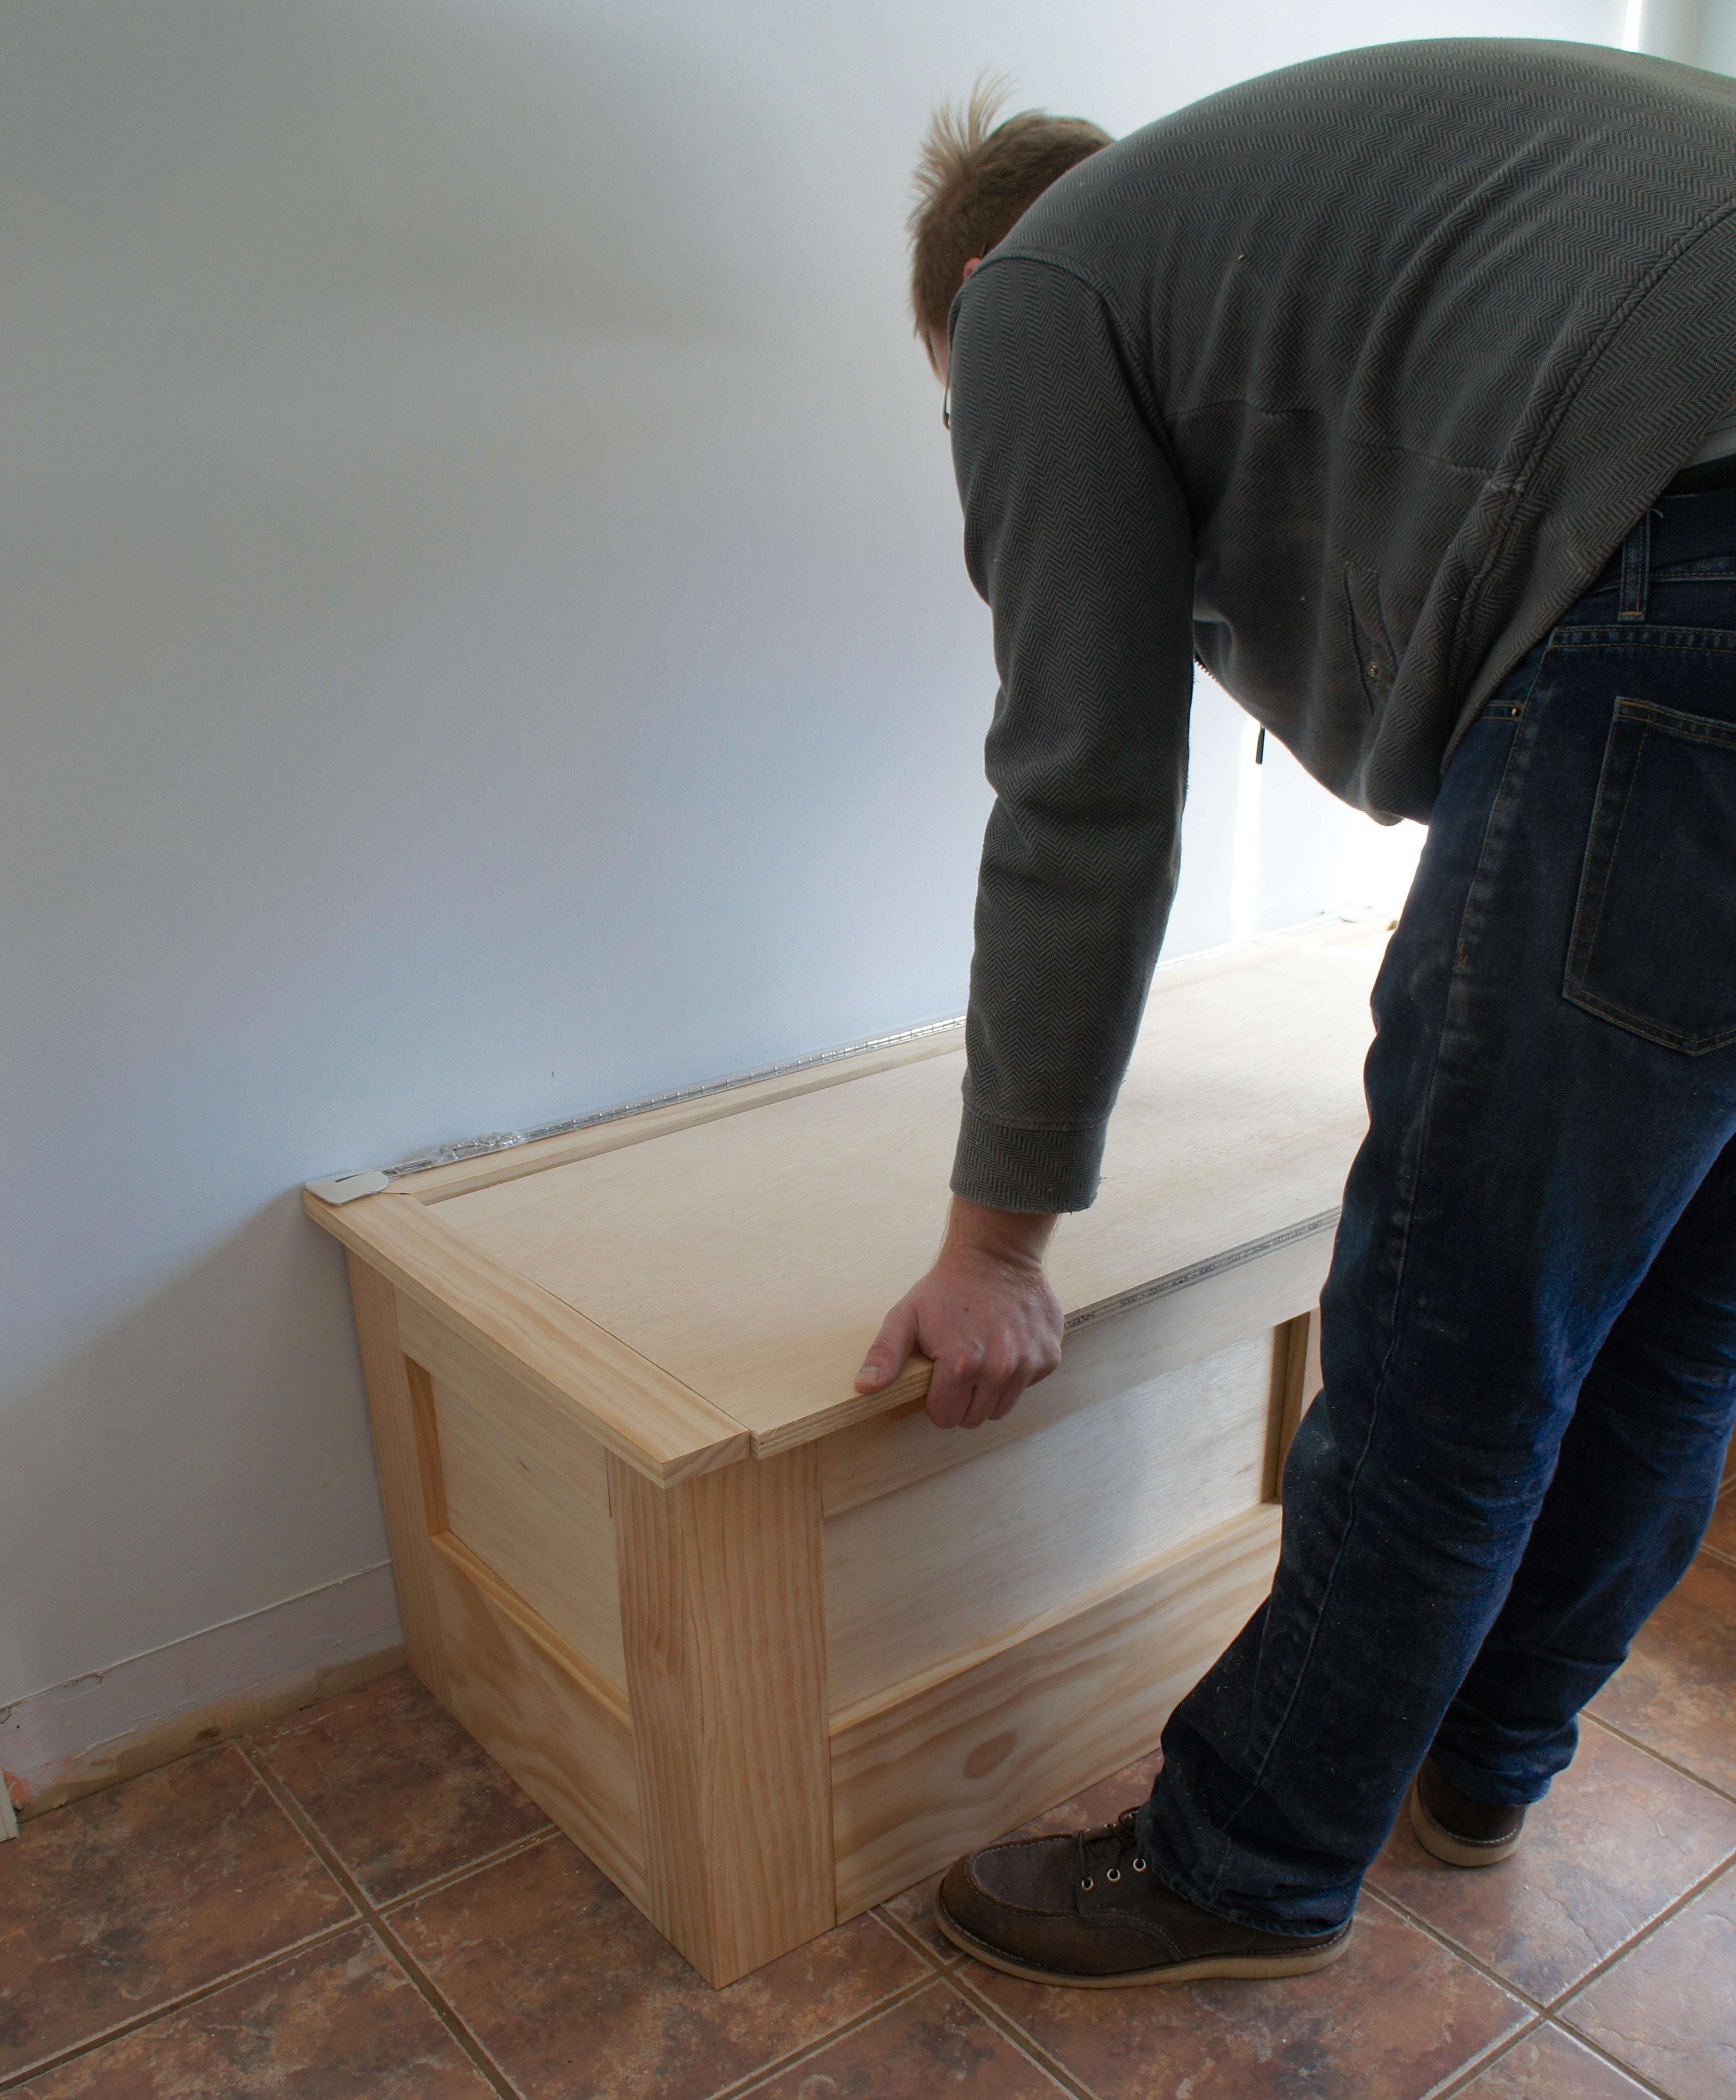
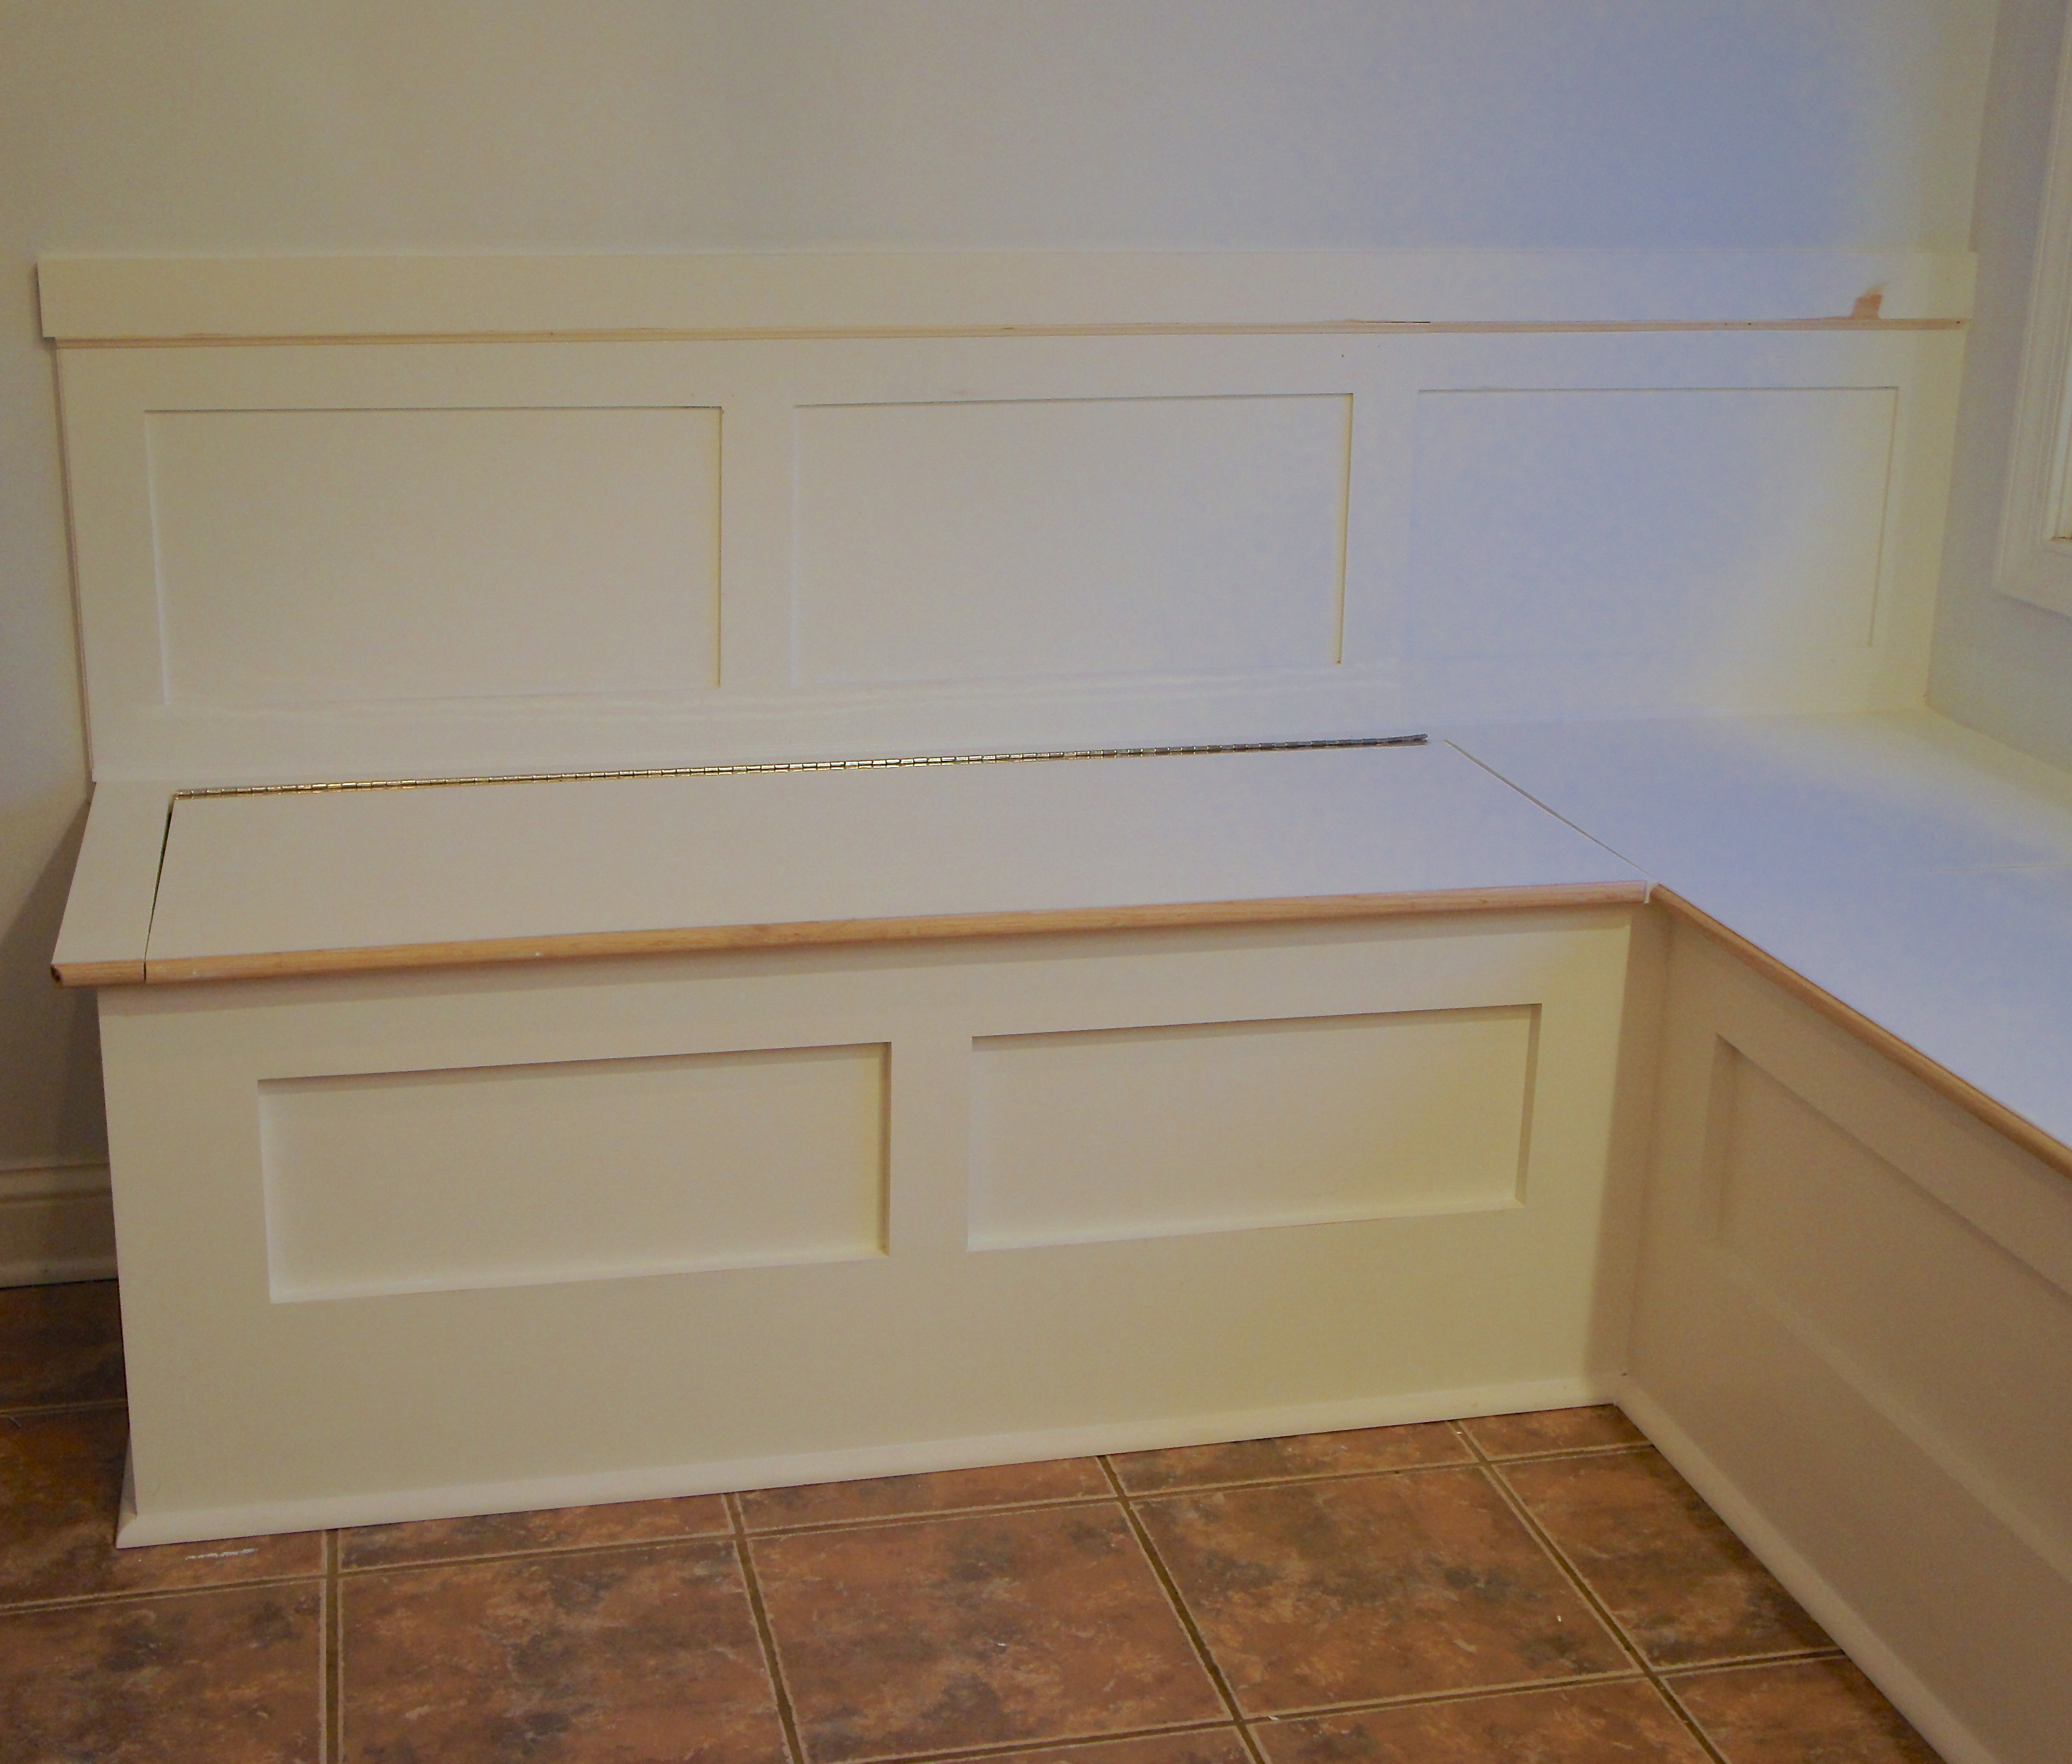
On top, Jason attached 1 x 3 boards around the frame:
The lids themselves are made out of 3/4″ plywood, cut with a table saw and attached with piano hinges-extra long hinges to give a little more stability when the 48″ lids are opened.
Originally we were just going to put pillows against the wall, but I thought the bench looked naked without a back, so we added some extra trim to finish it out. It’s made of 1/4″ plywood connected with .5″ x 3 lumber that we glued and nailed to the wall. I filled all of the seams on the bench with wood filler and then sanded them down with my orbital sander.
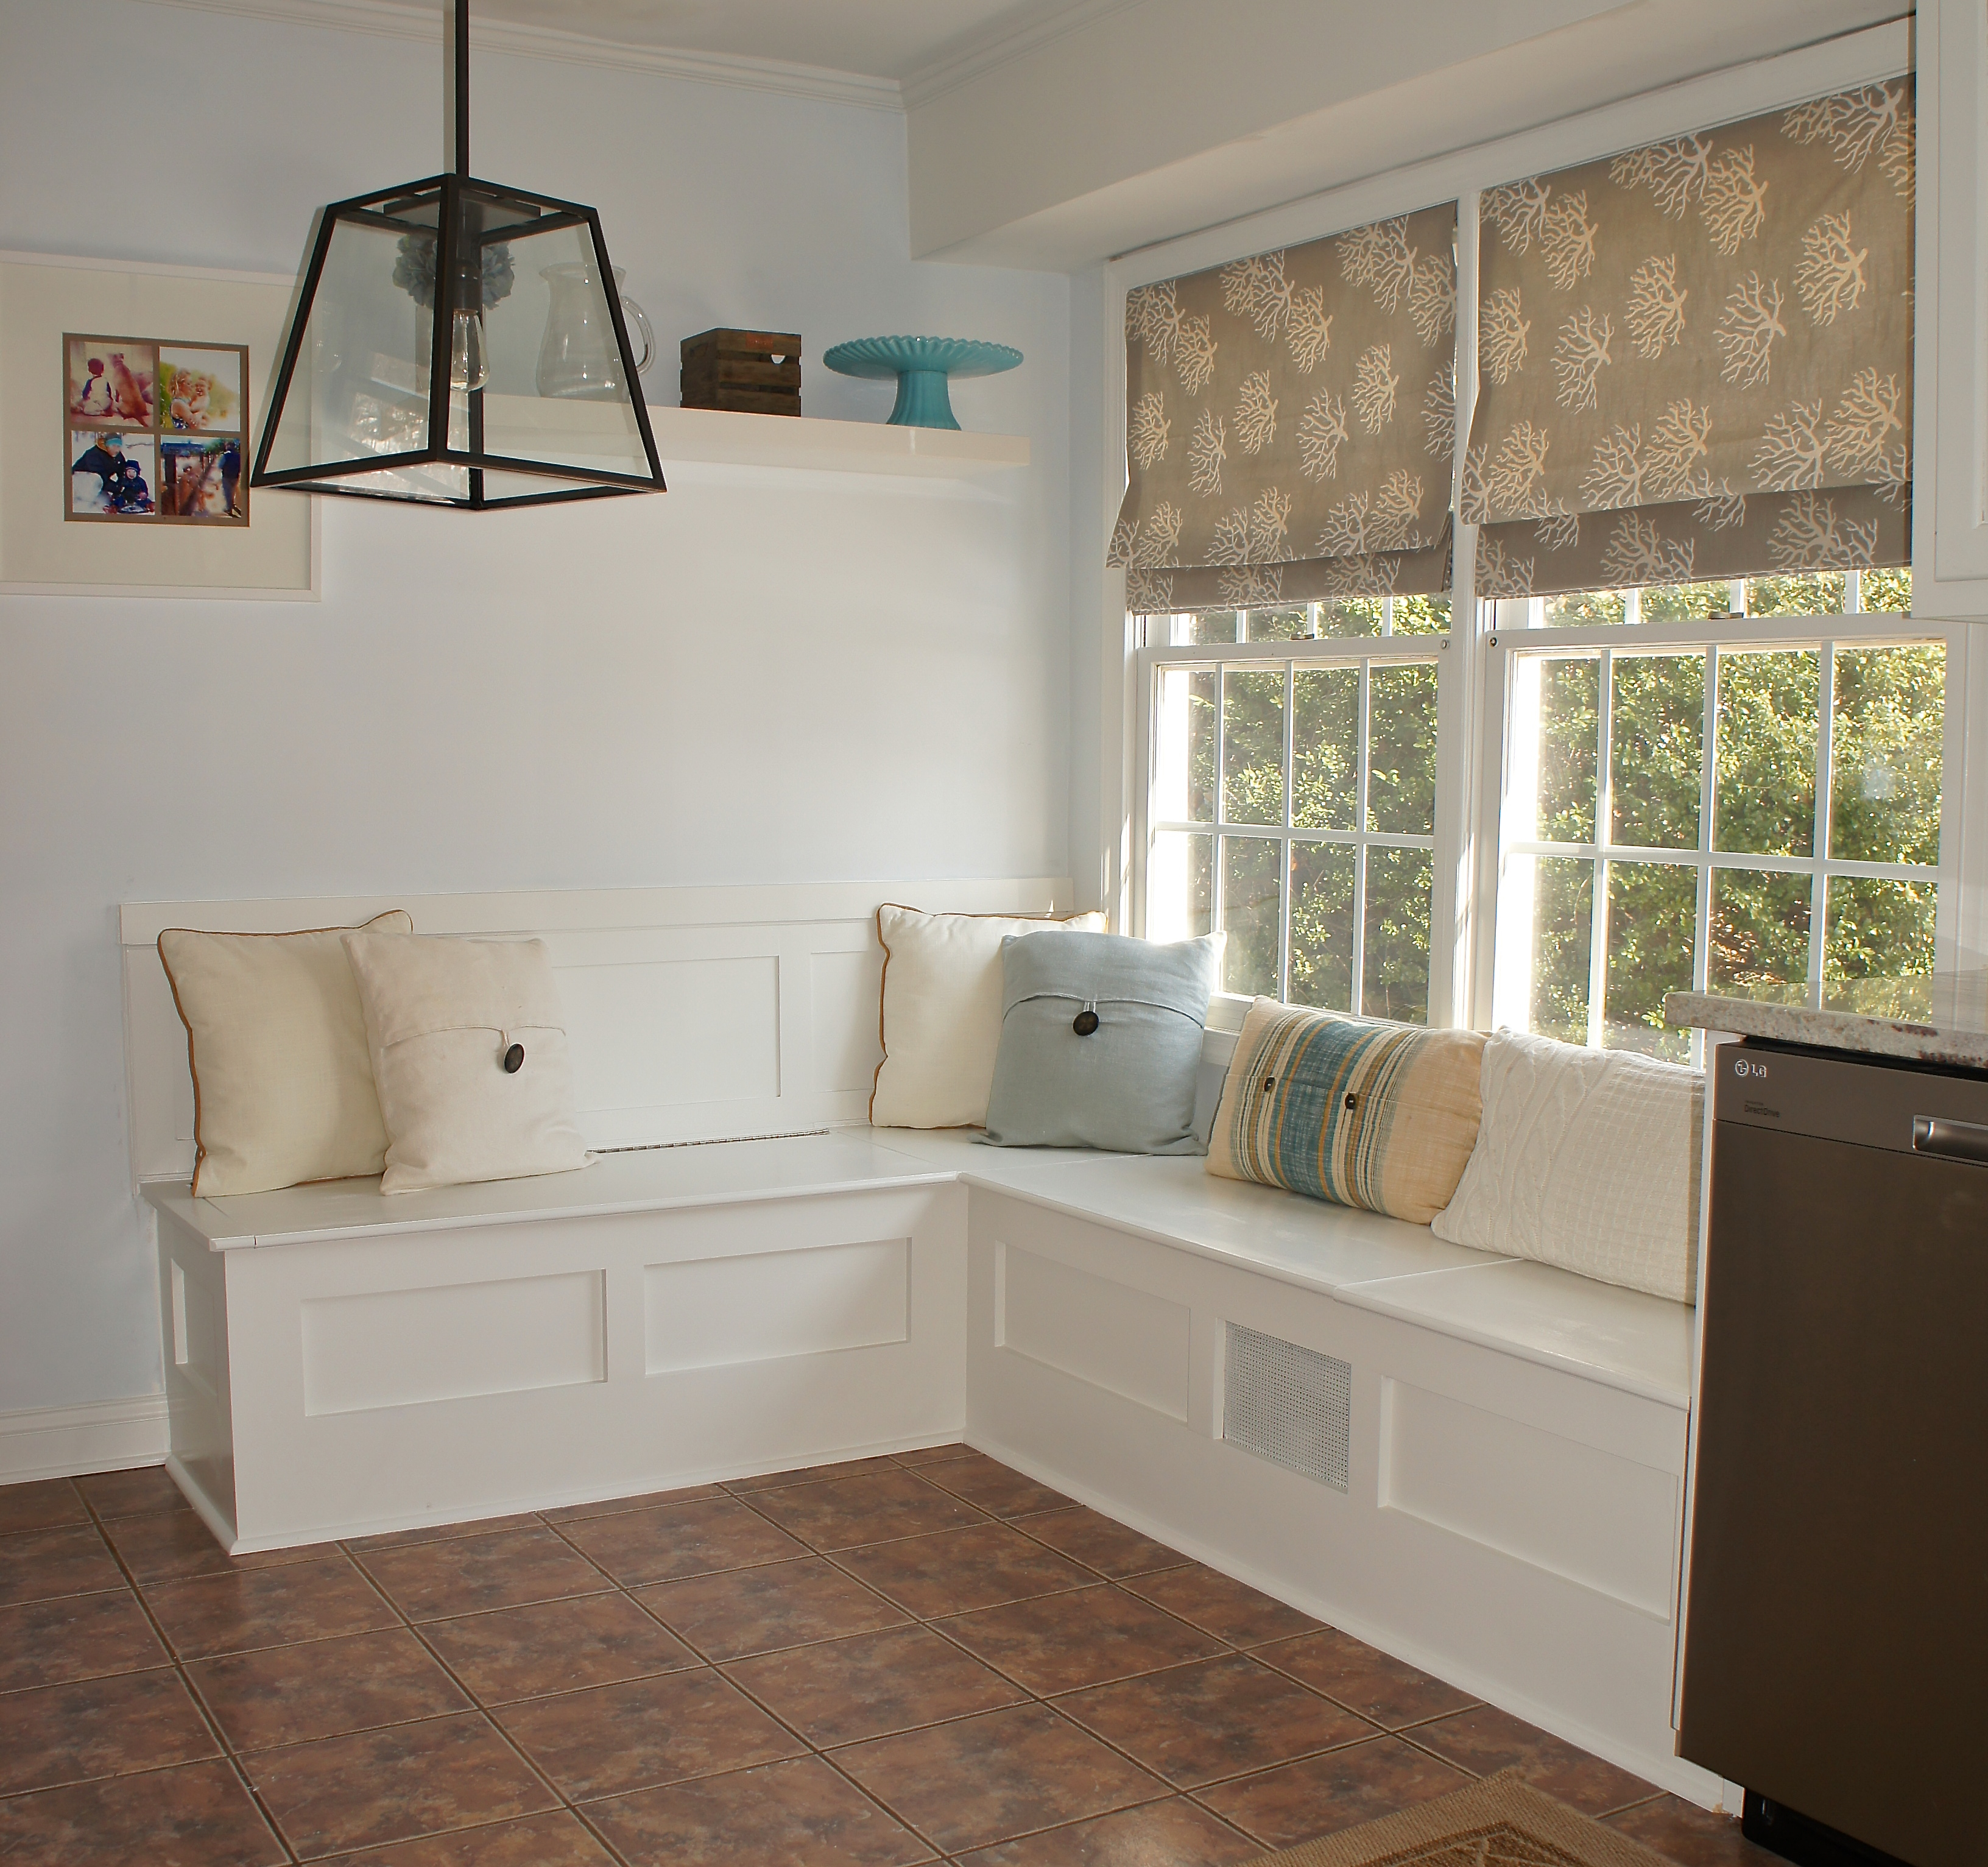
Just like all the other furniture and cabinetry in our house, we painted this with Benjamin Moore’s Satin Aura in White Dove. It doesn’t need a primer and creates an enamel like finish. It also dries in 30 minutes, so I was able to put two coats on pretty much immediately. Then I sanded over everything with a sanding block to get it extra smooth. The finishing touches were adding shelf edge to the front of the plywood and quarter round around the base.
Finally, after our third and final coat of paint, this is the finished product:
It was a ton of work, but we couldn’t be any happier with the results. Here’s a look at our before:
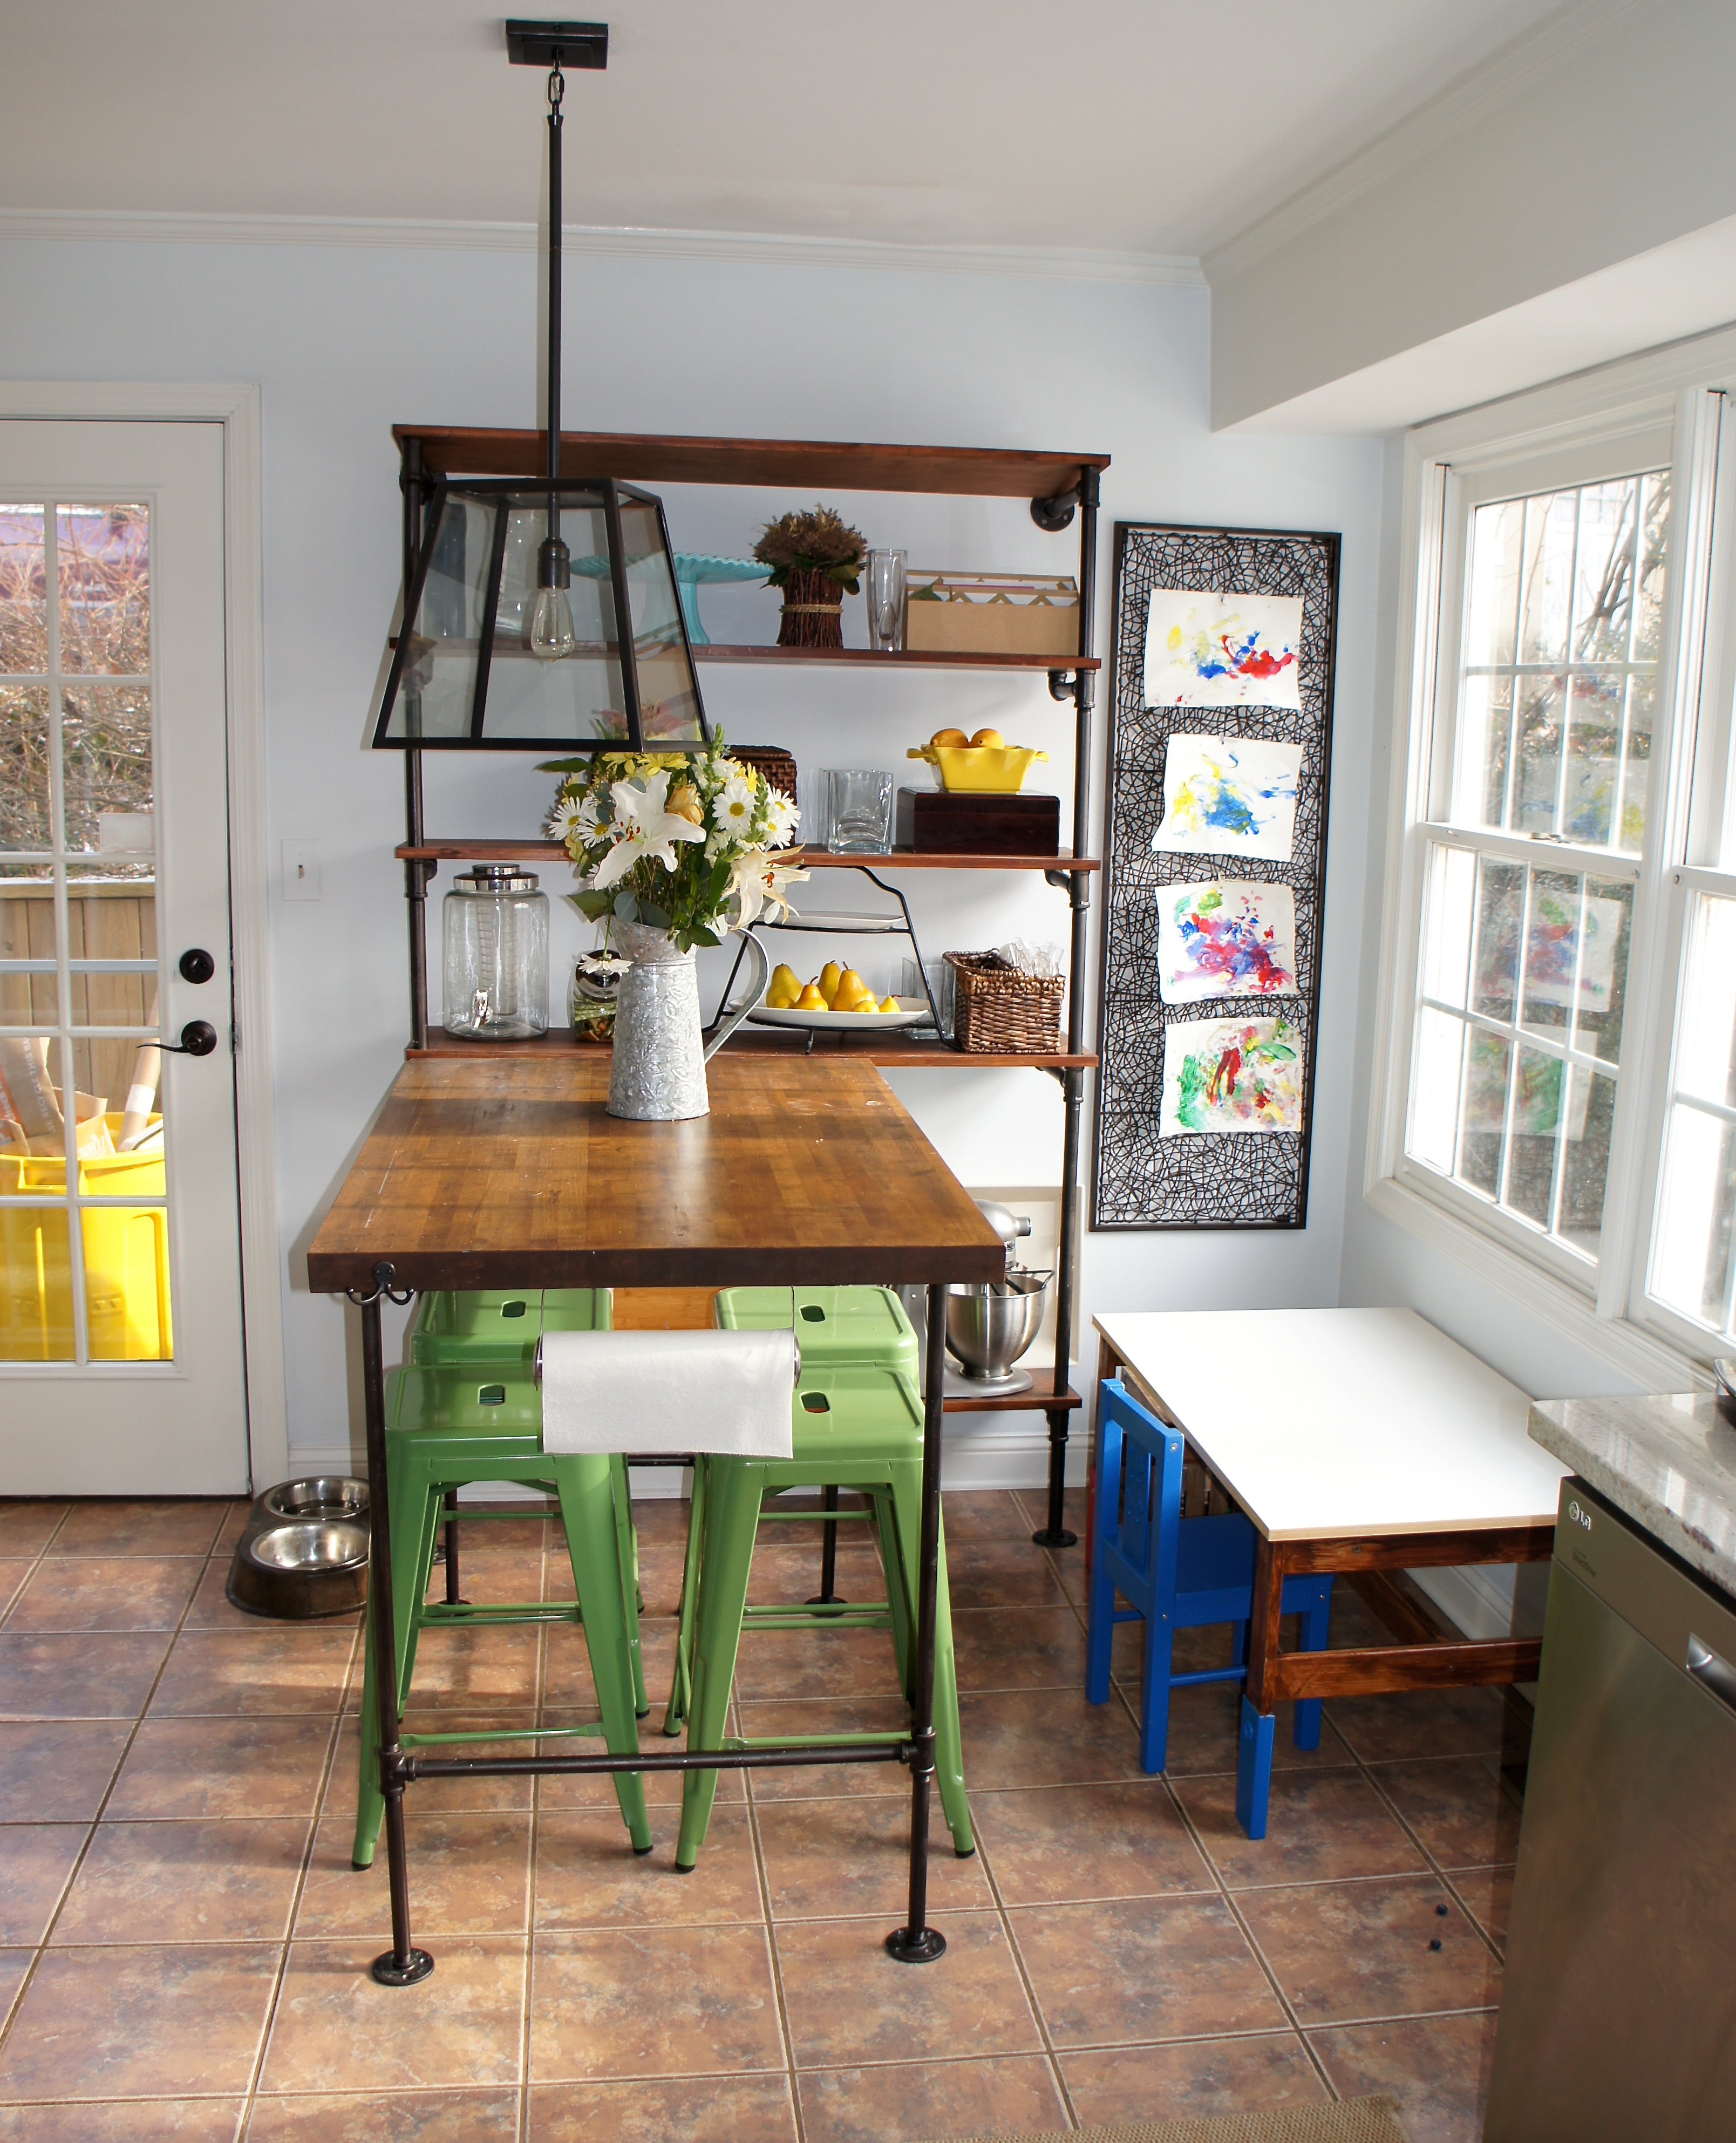
Things were getting seriously cluttered. The pub height table was too tall for Grant to sit at, so we had added that awful Ikea kids set to the corner. Before we started on the bench, I moved the shelves into the dining room and put G’s tiny table on Craigslist. J is going to center the light fixture this weekend, but otherwise this is our new breakfast nook:
Our first breakfast in the new space of blueberry waffles was sunny and perfect, and Grant has been playing at the window and doing puzzles on the bench while I write. The total costs in lumber and supplies came to about $300. We also had a enough scraps to make a fun chalkboard easel for the little guy, which has probably been his favorite part of the entire project. I think the new bench makes the room feel significantly bigger by expanding the flow of the kitchen into the eat-in area and it’s something we will use everyday, so money well spent.
