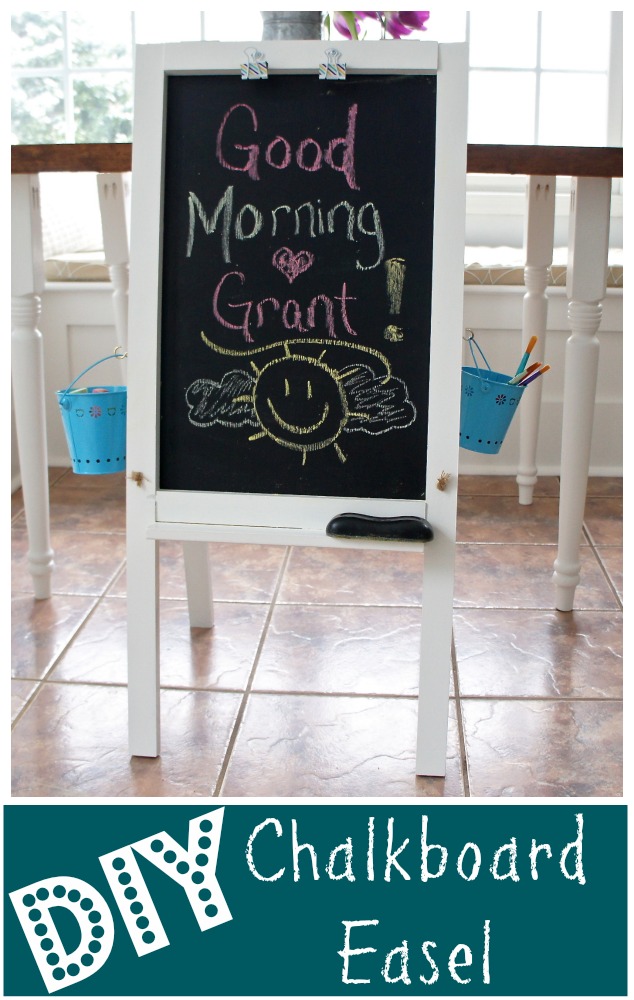
I’ve been wanting to find a special “big brother” gift for Grant, and with the new baby less than a month away, there’s no time like the present. Since we removed the kids table to make room for our new breakfast nook bench, G no longer has a good place to work on his art projects. Fortunately, the pile of scrap lumber in the basement proved the perfect solution to our problem.
Materials
- Four 36″ long pieces of 1 x 2 premium pine lumber
- Four 15″ long pieces of 1 x 2 premium pine lumber
- Two 24″ x 16″ pieces of 1/4″ plywood
- Two 15″ pieces of door casing
- Rope
- 2 Hinges
- 4 Binder Clips
- Sanding Block
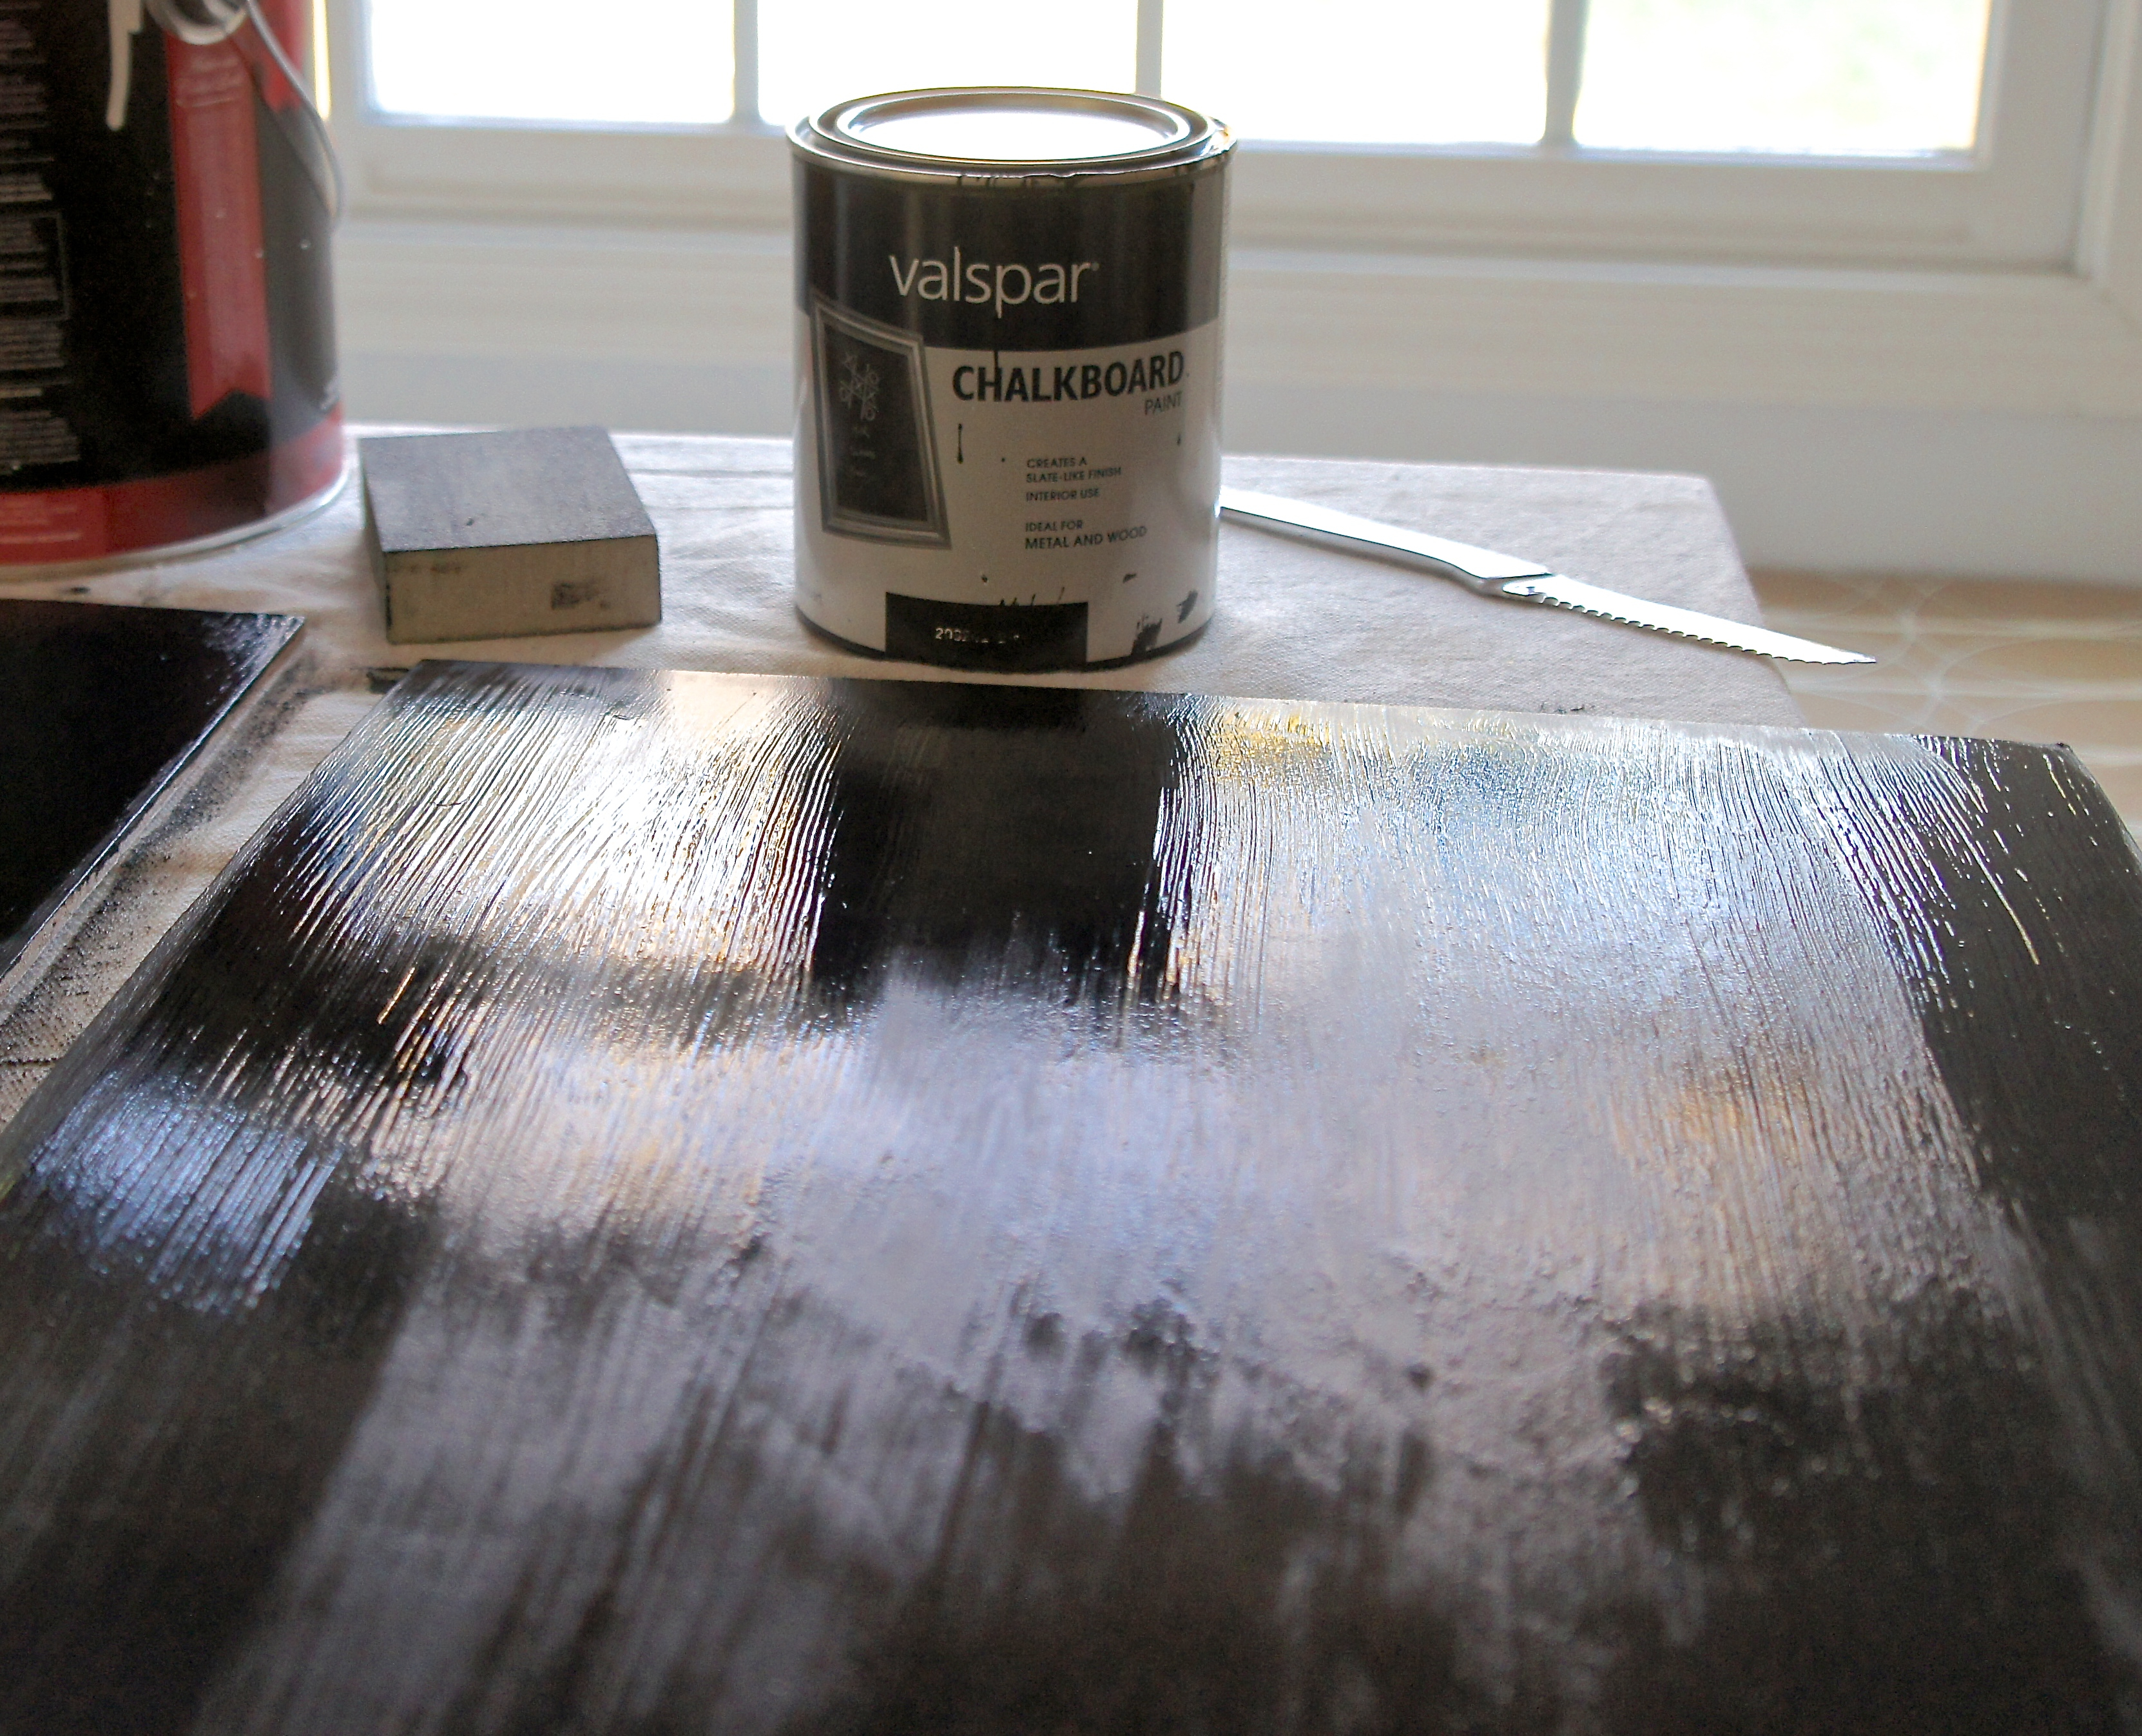
- Chalkboard Paint
- Benjamin Moore Aura Paint (White Dove)
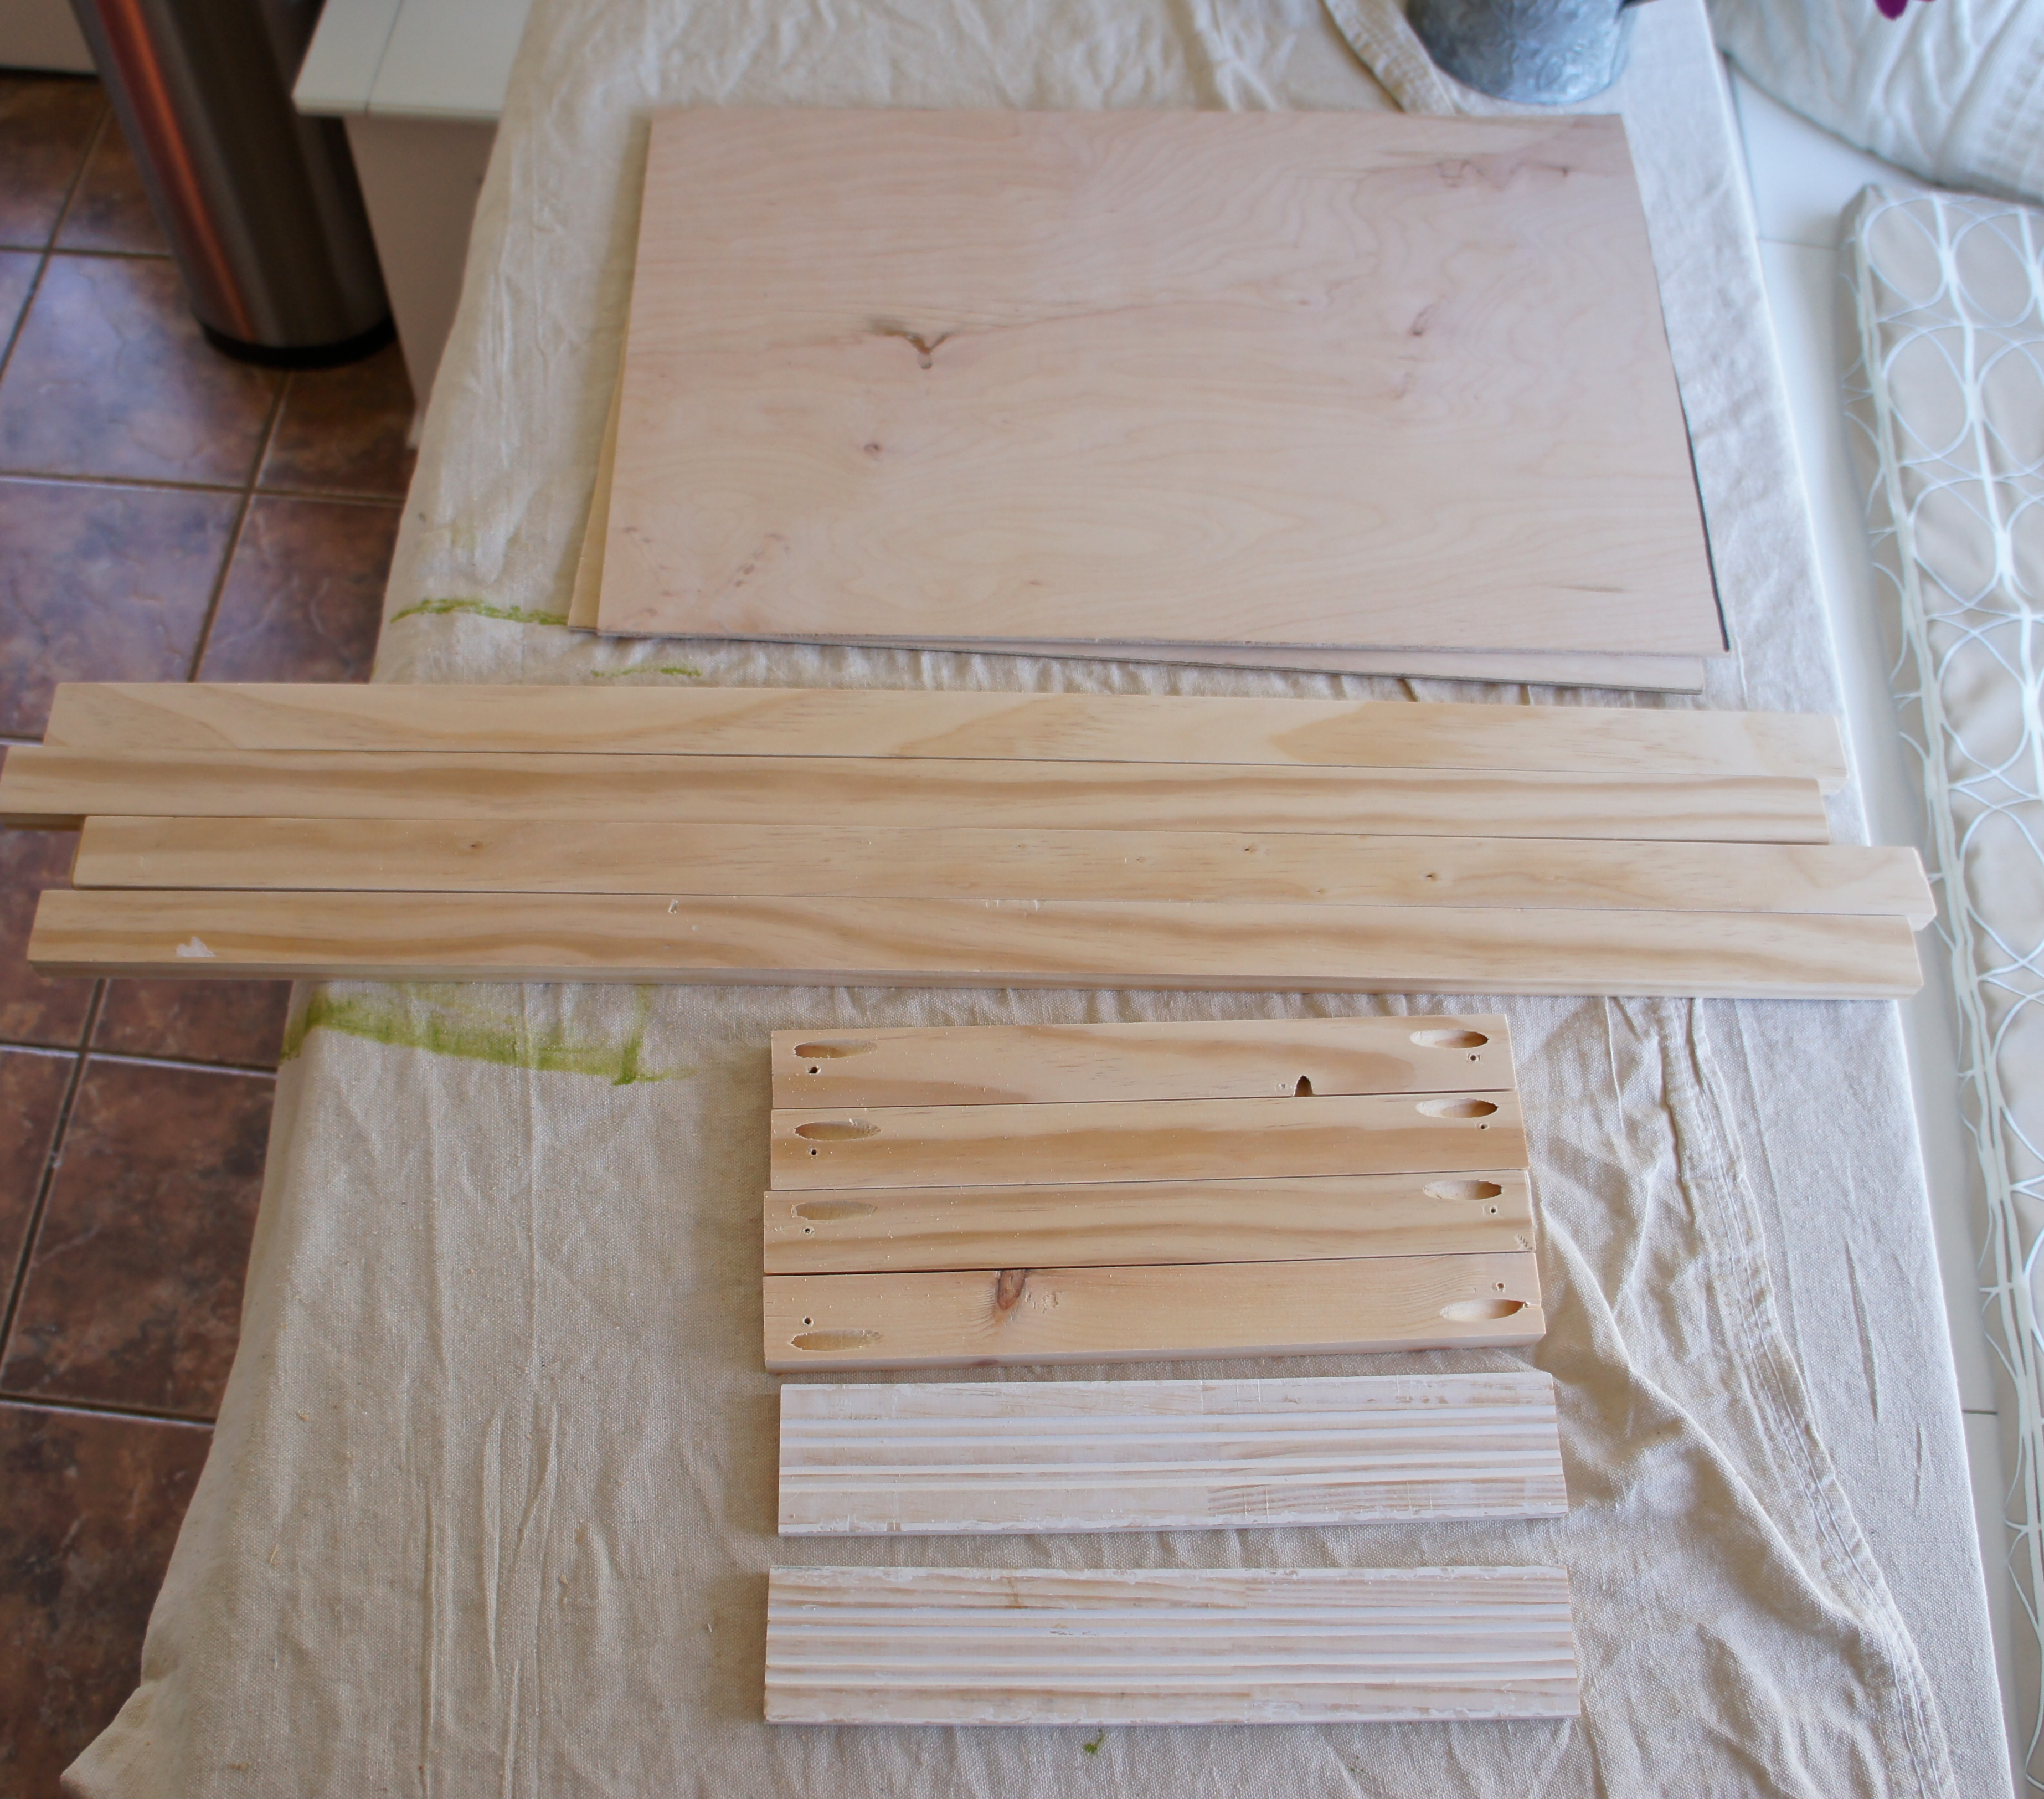
The supplies pictured above are all of the lumber I needed to make the two frames. I started by using a Kreg jig to make pocket holes in the sides of four 15″ pieces of 1 x 2, then drilled screws into the pocket holes to make the easel frame. The two pieces of door casing are drilled into the base of the frame with the ridged side facing up to hold pieces of chalk and crayons, like below:

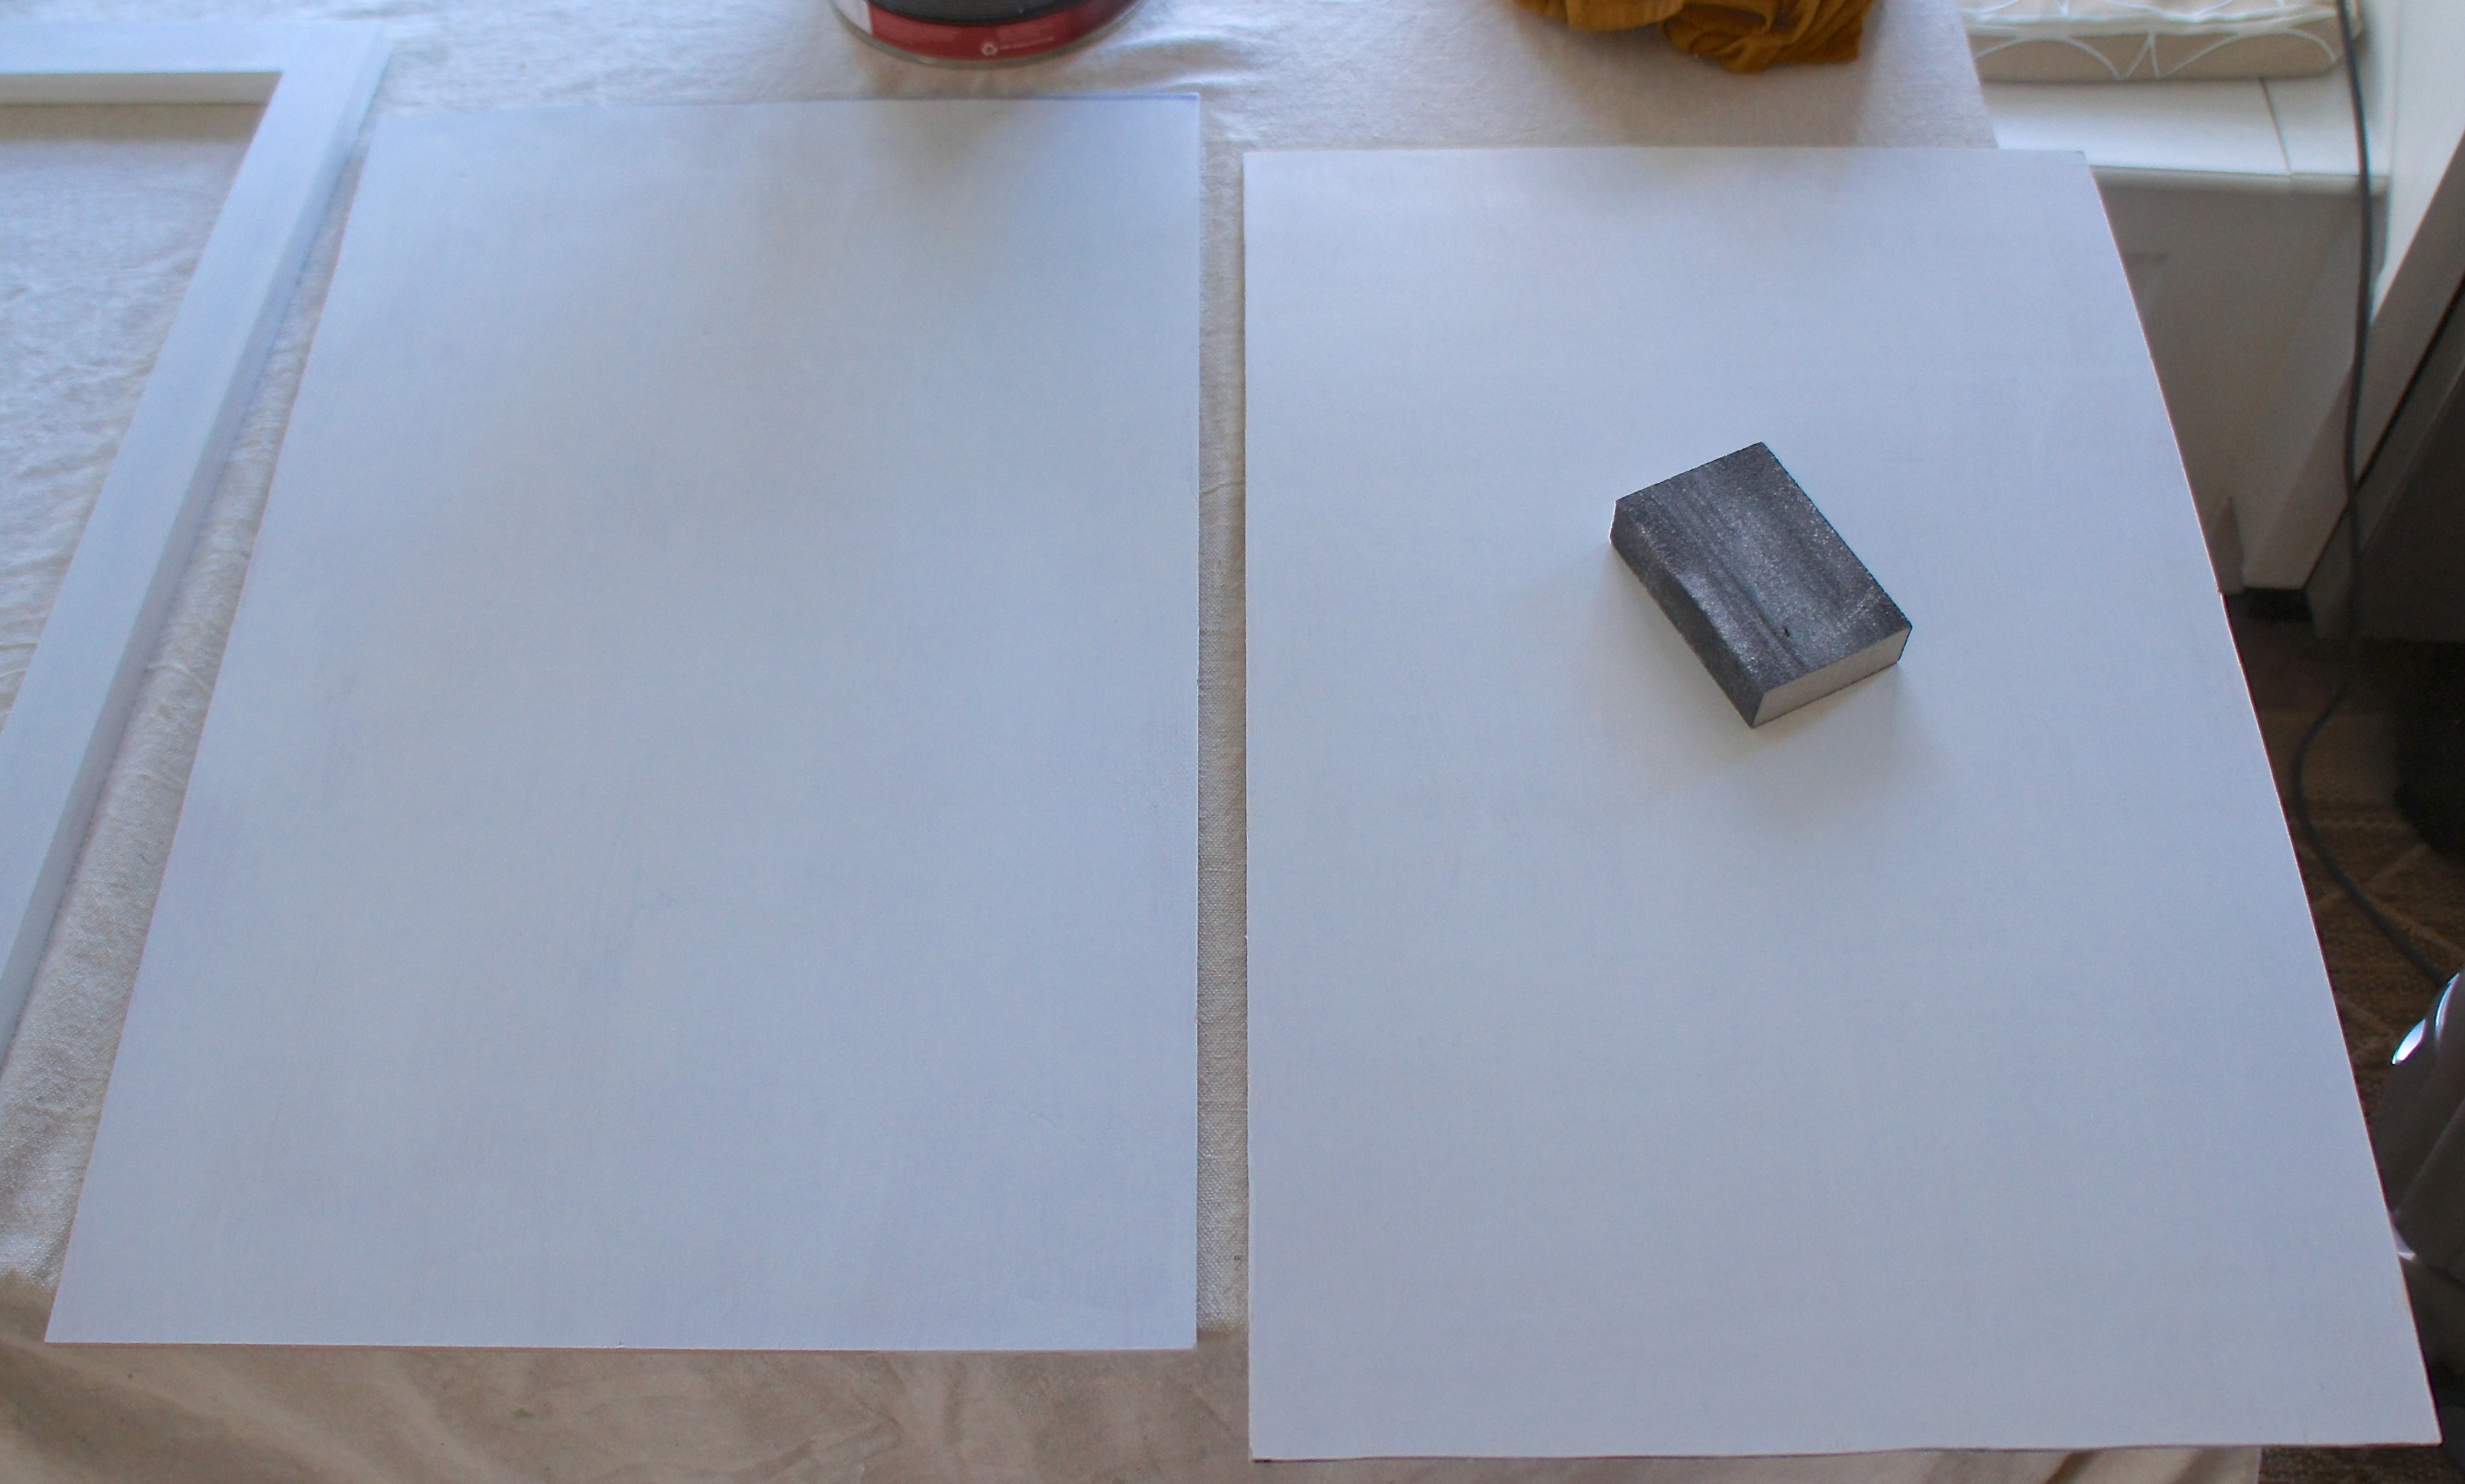
Once I had the two frames assembled, I painted a coat of Benjamin Moore Aura onto the plywood and let it dry, then sanded them down lightly with a sanding block to prep for the chalkboard paint. I also gave both easel frames two coats of Aura, sanding between, for a smooth finish. The Aura paint is super washable, so when Grant gets paint on the easel it just wipes right off with a wet rag.
I painted the first coat of chalkboard paint with a brush, but the finish wasn’t very smooth. It definitely needed a second coat, too, so after drying for about 8 hours (the paint can said to give it 24, but it was fine by the time Grant went to bed), I went over it with a sanding block-just until it felt smooth, and painted a second coat with a roller.
Once it had dried to the touch, I gently laid the plywood facedown onto the backs of my easel frames.
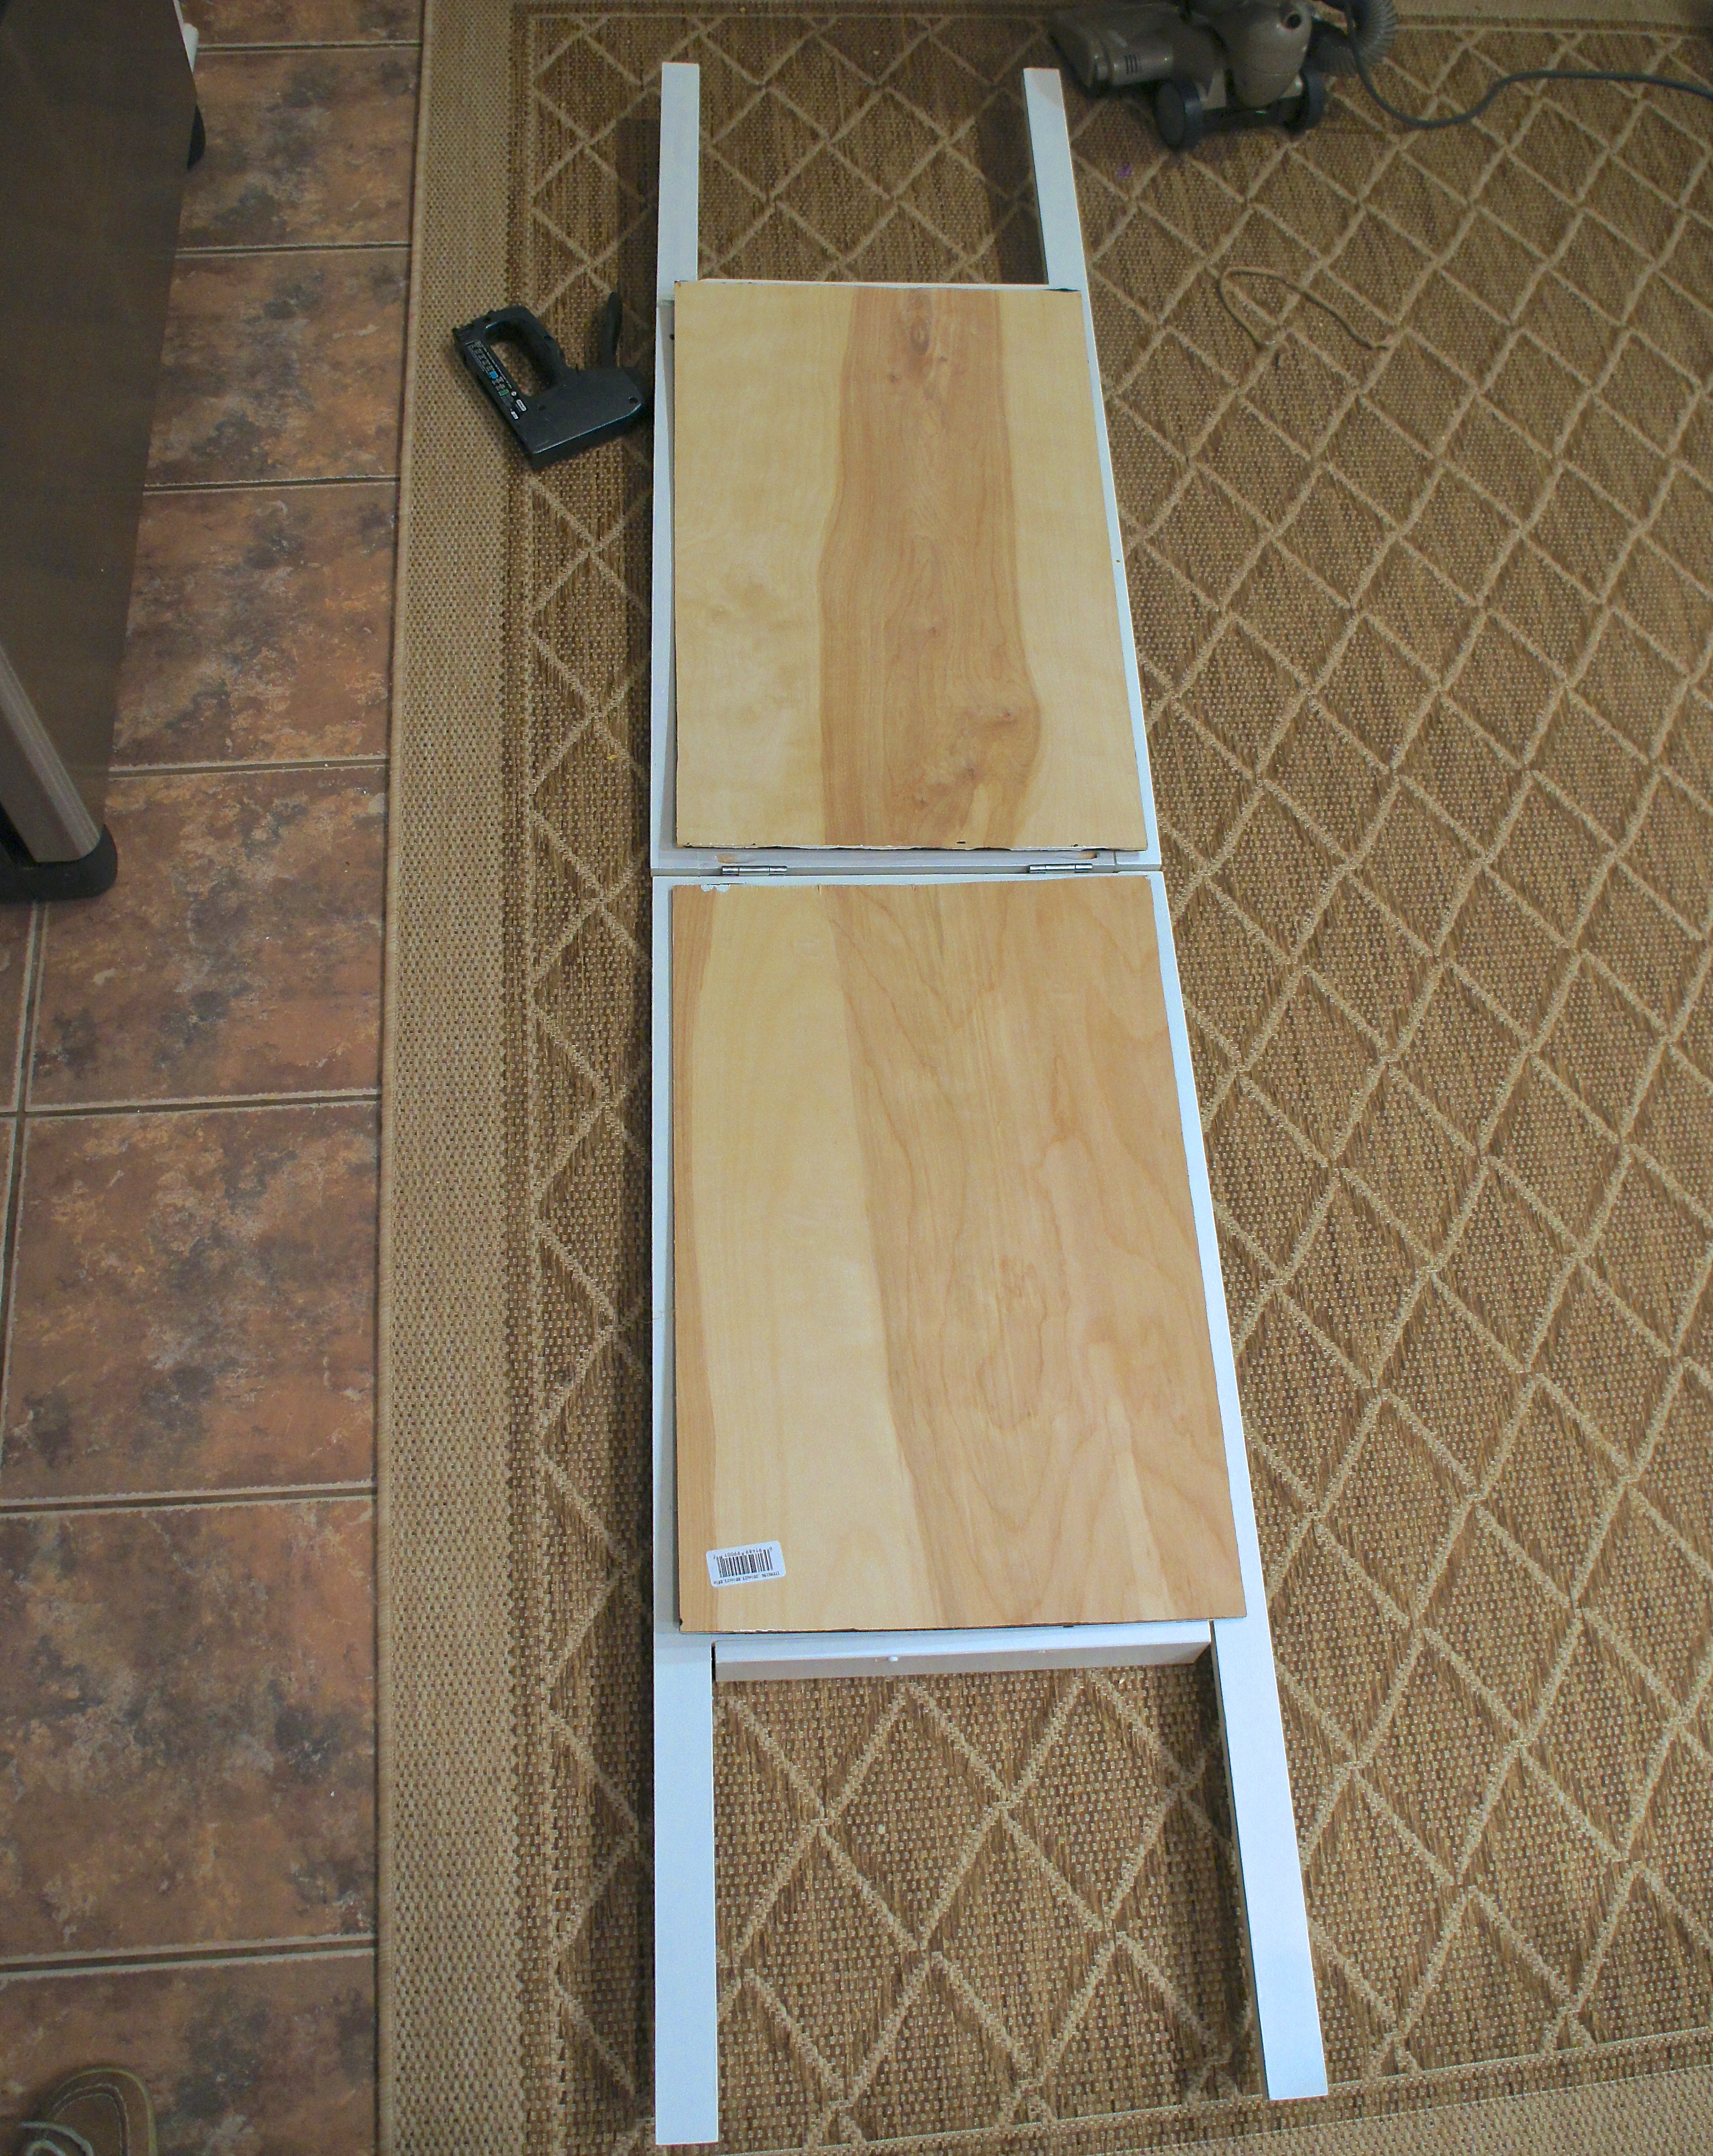
I attached the plywood to the frame with a staple gun, then painted a coat of Aura on the back. The two frames are held together at the top with two utility hinges, and I drilled binder clips onto the upper edges of my frames to hold paper on the easel for G to color and paint.
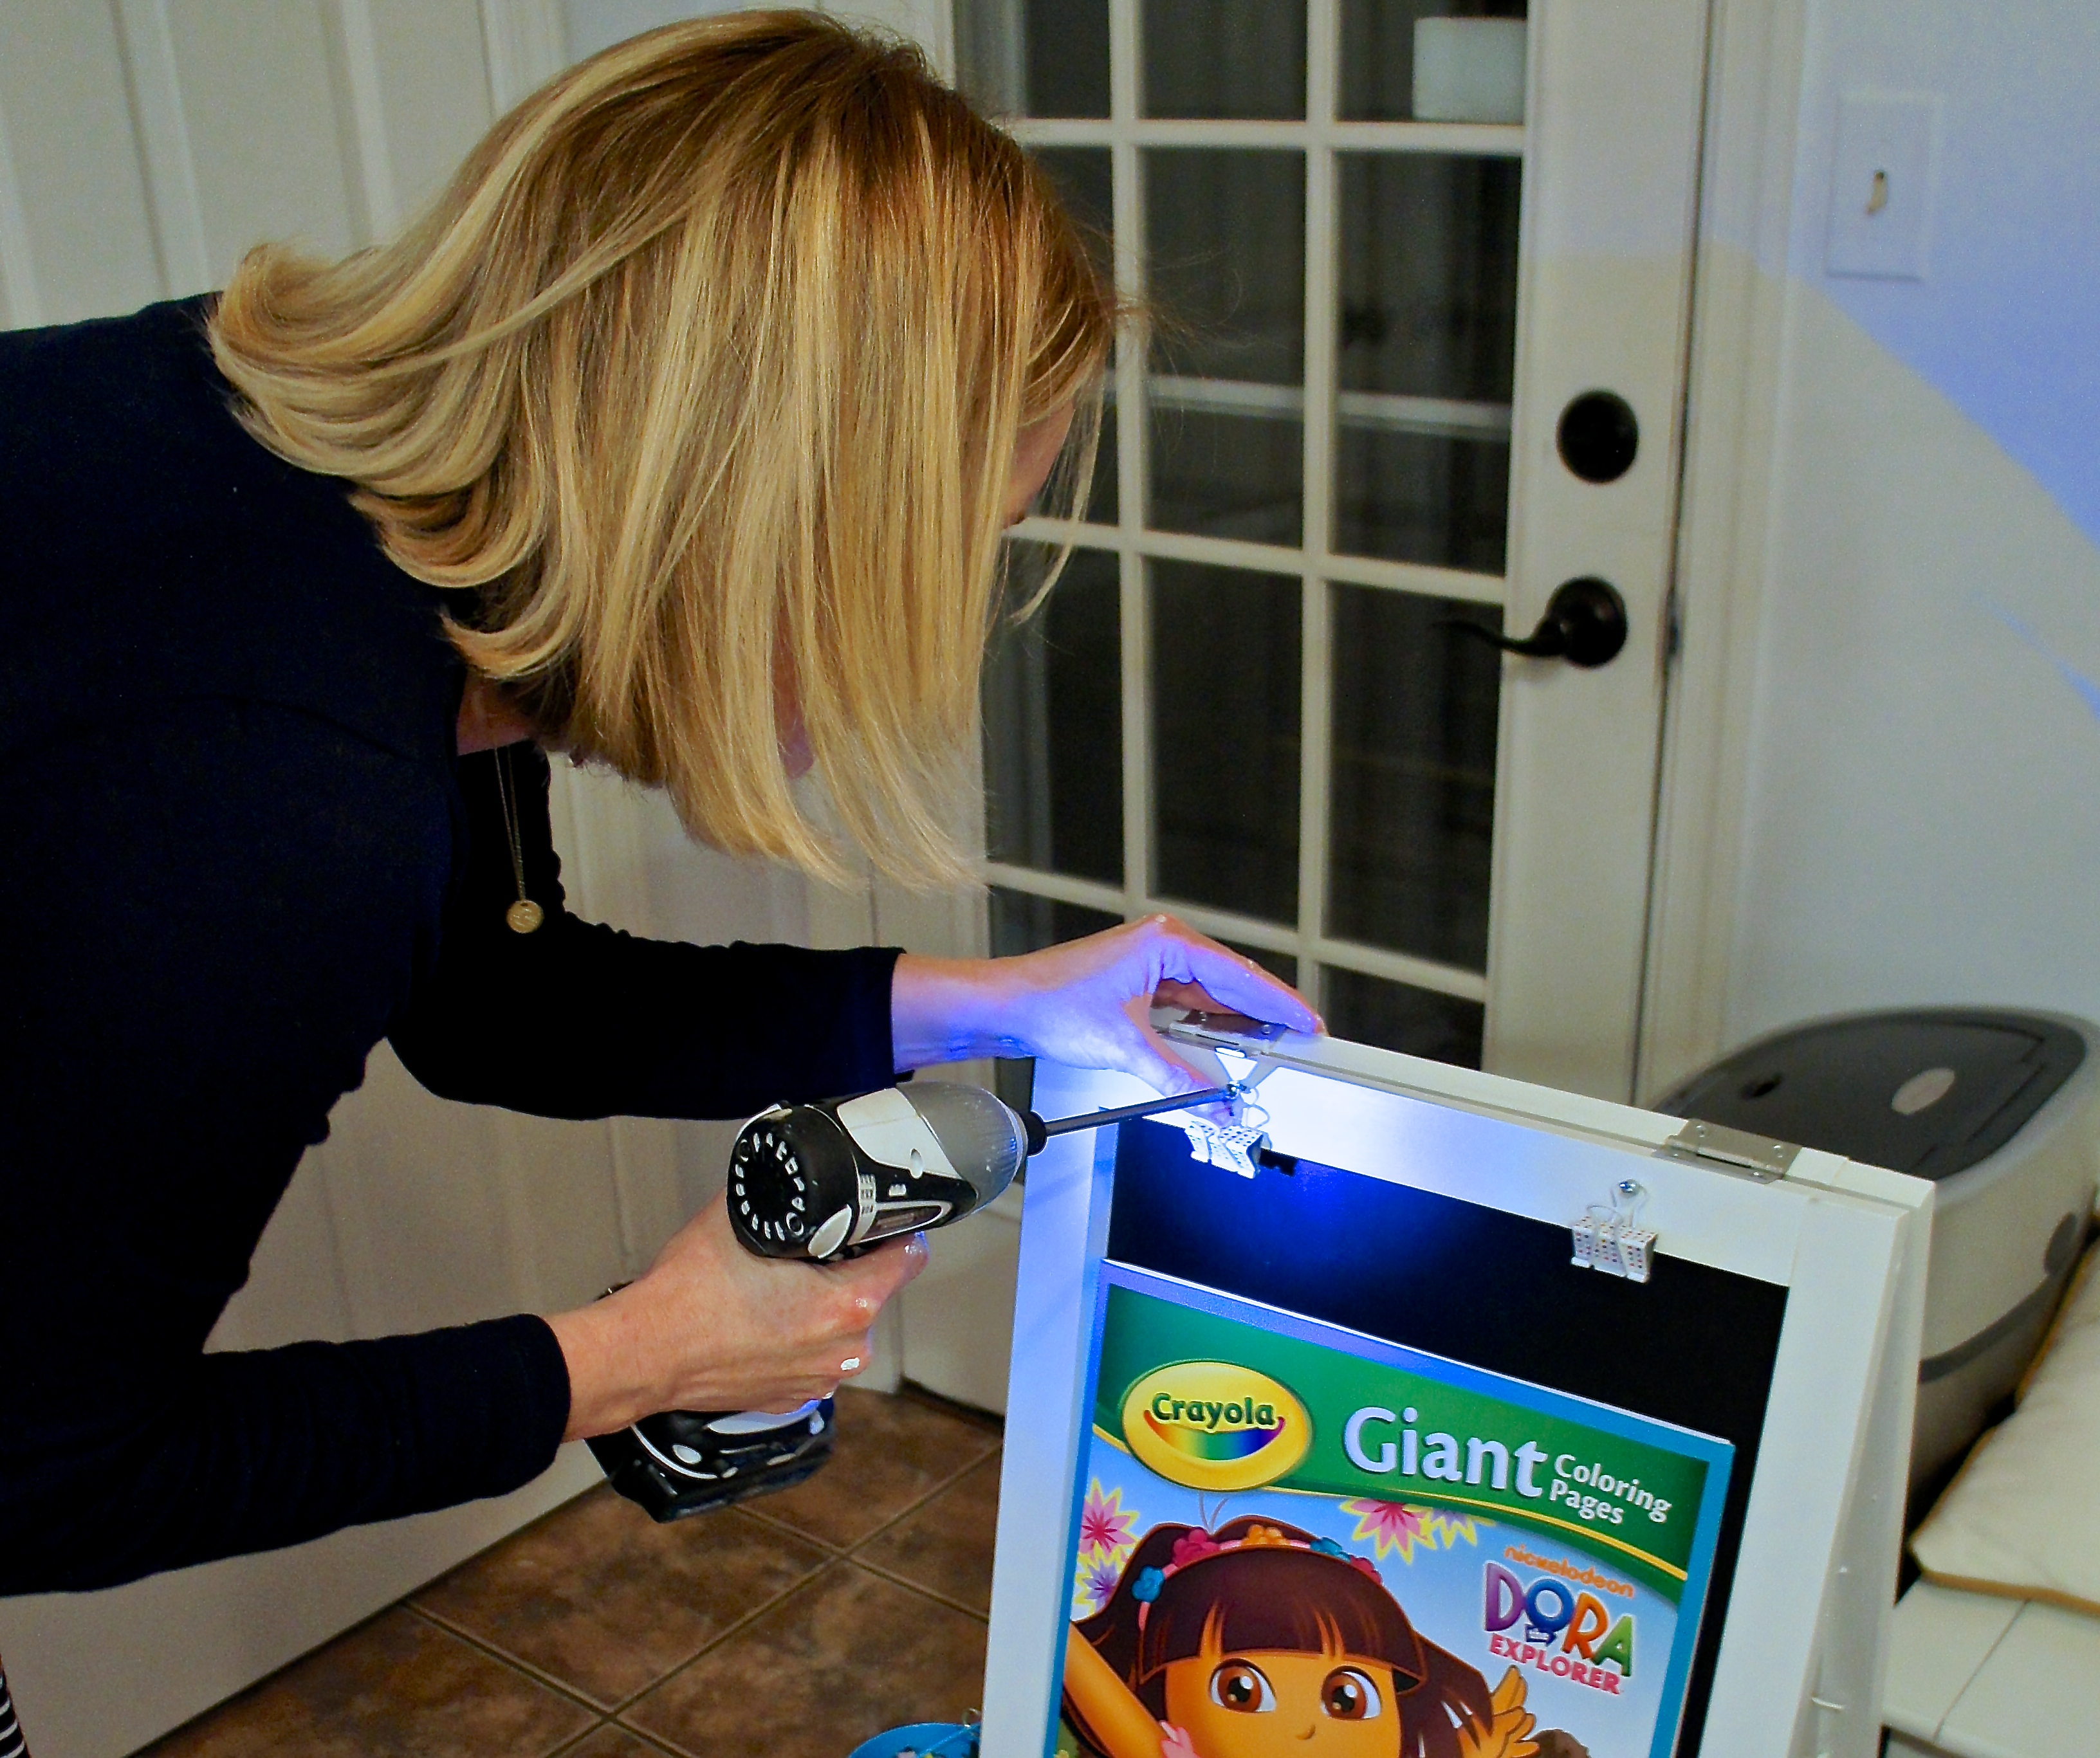
The last step was drilling holes through the sides, which I looped pieces of rope through and tied the ends into knots to hold the easel in place. I also drilled two small hooks into the sides of the frame to hang buckets filled with art supplies that we bought at the $1 spot at Target.

This morning we “slated” the chalkboards, which is a fancy way of saying you draw all over it with chalk and then wipe it off. This makes the boards easy to write on.
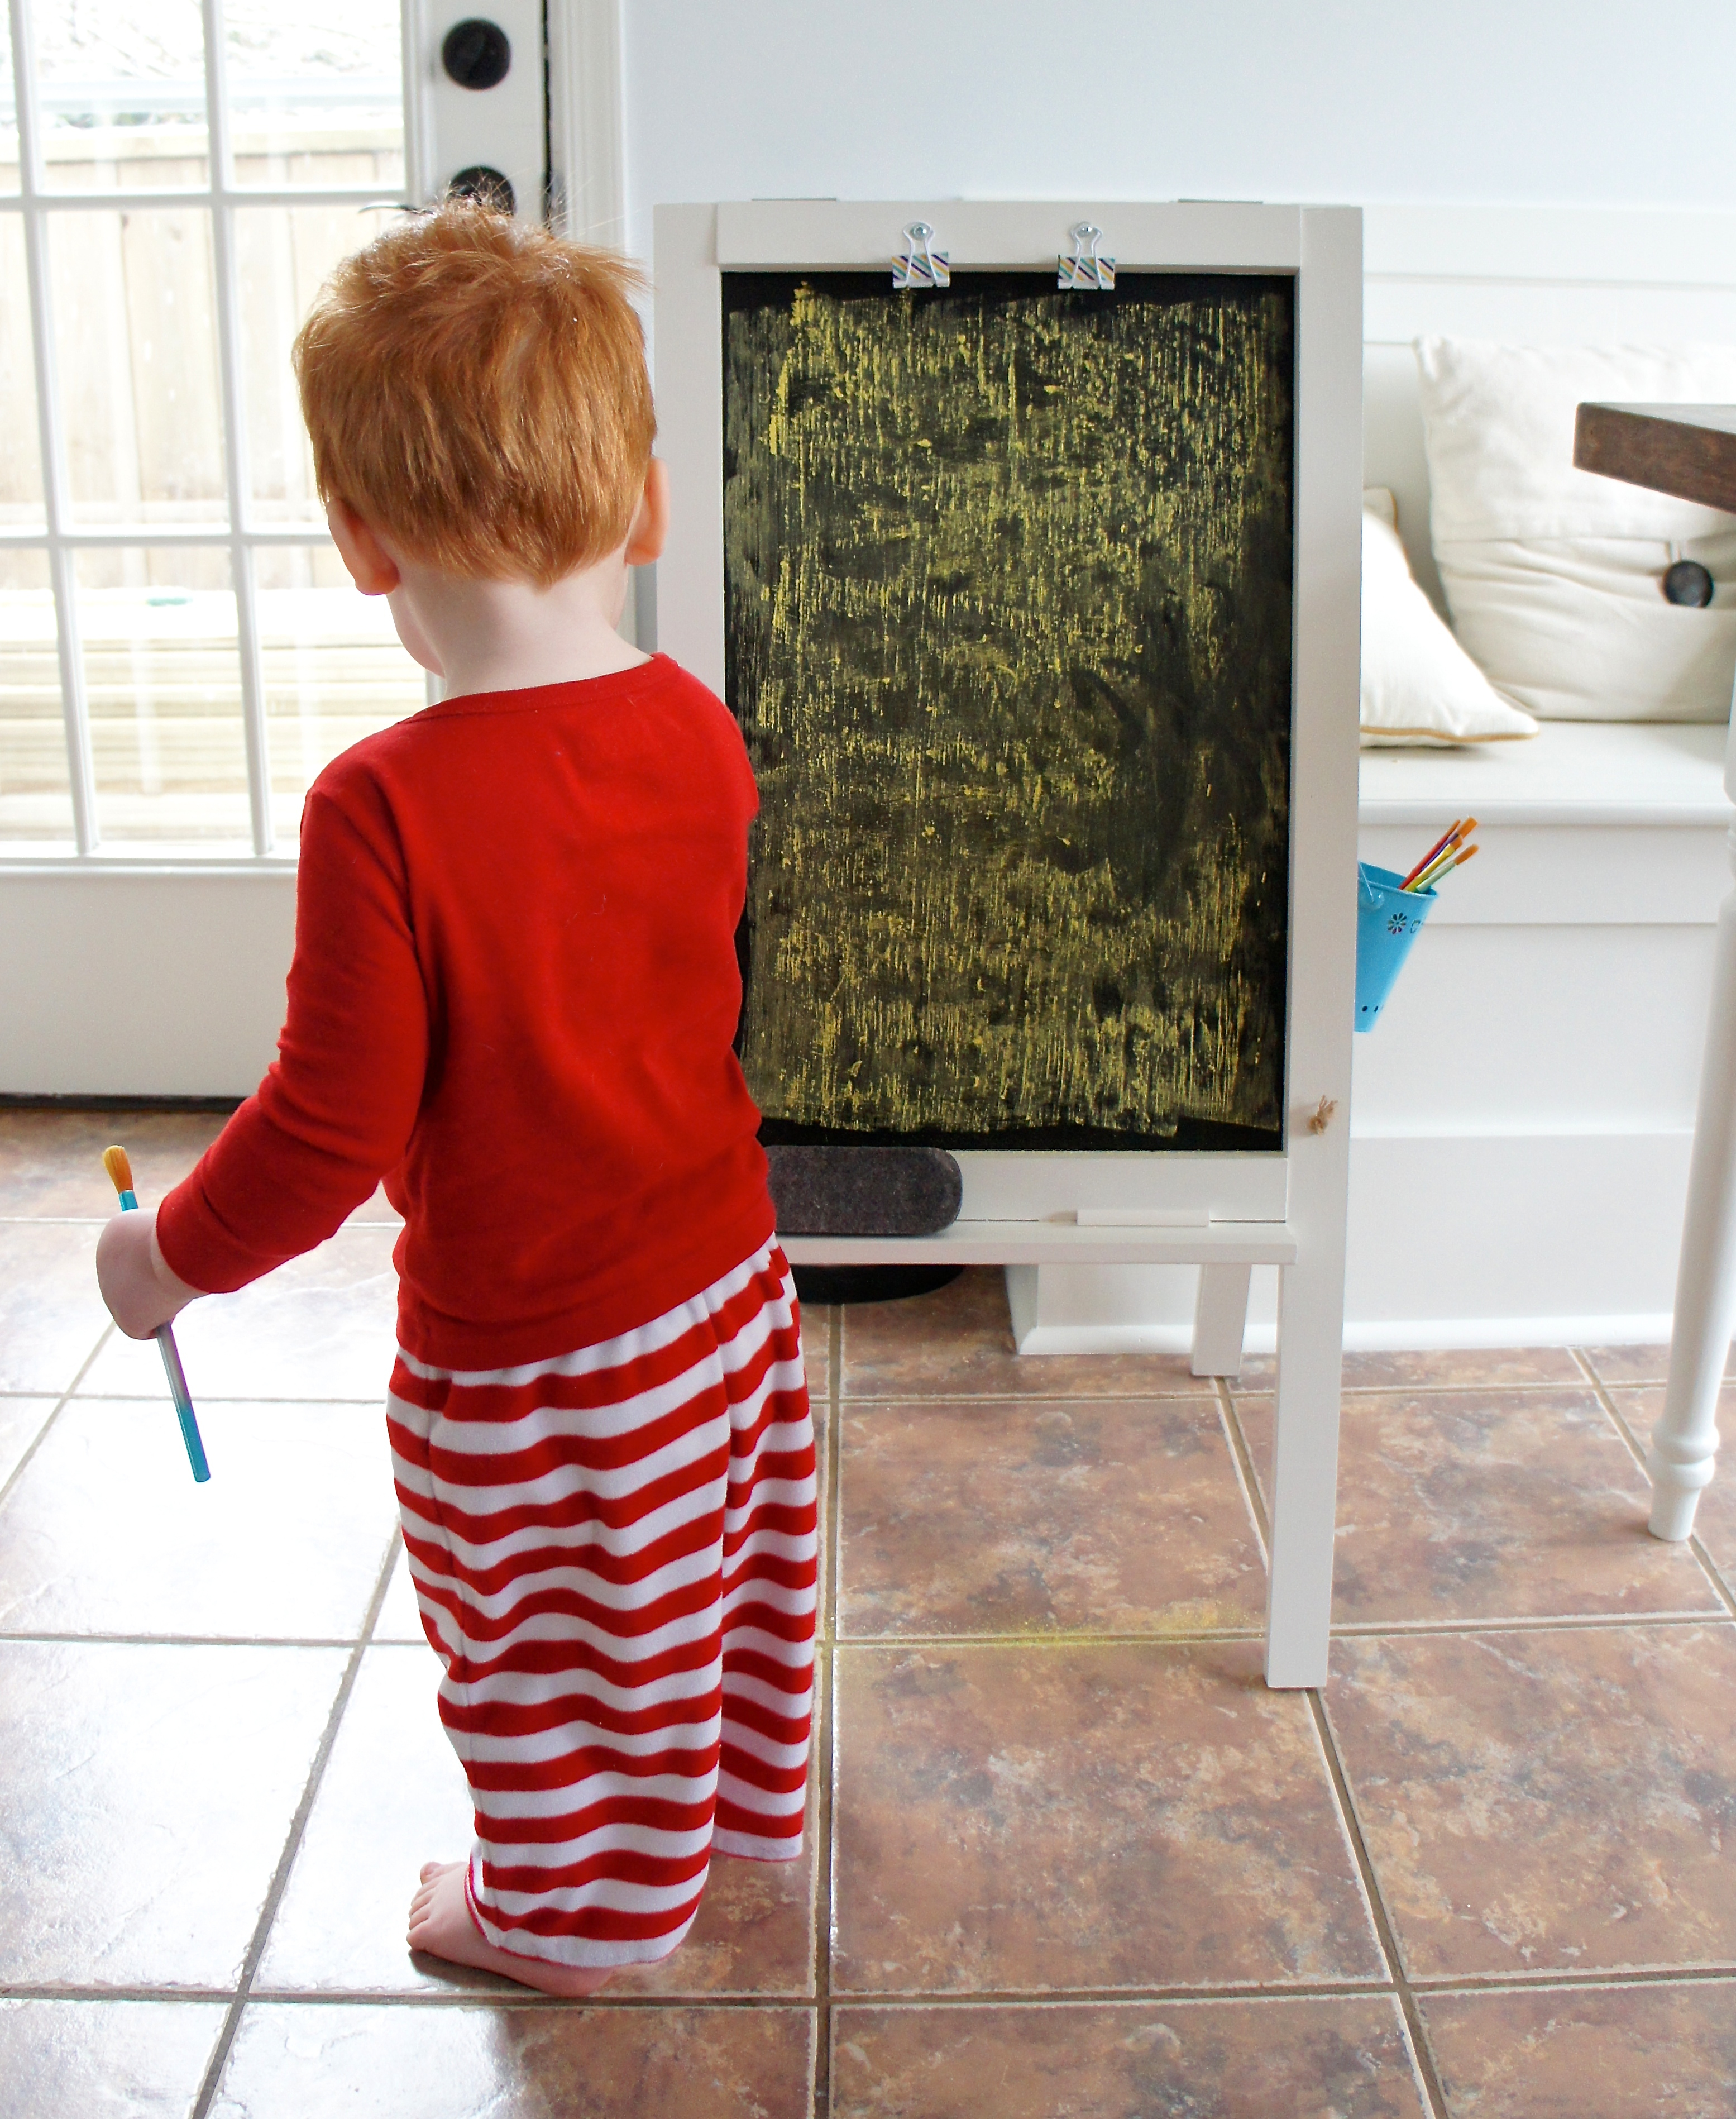
I was more than a little excited for Grant to wake up and see his new art station. His reaction did not disappoint. He had a blast drawing and painting. The best thing is his art supplies, which used to be put away in a cabinet, are out of display, so he runs over to play with it all the time. With all the snow we’ve had lately, any toys that help him get creative and not beg to watch the movie “Cars” for the thousandth time, are a plus in my book.

