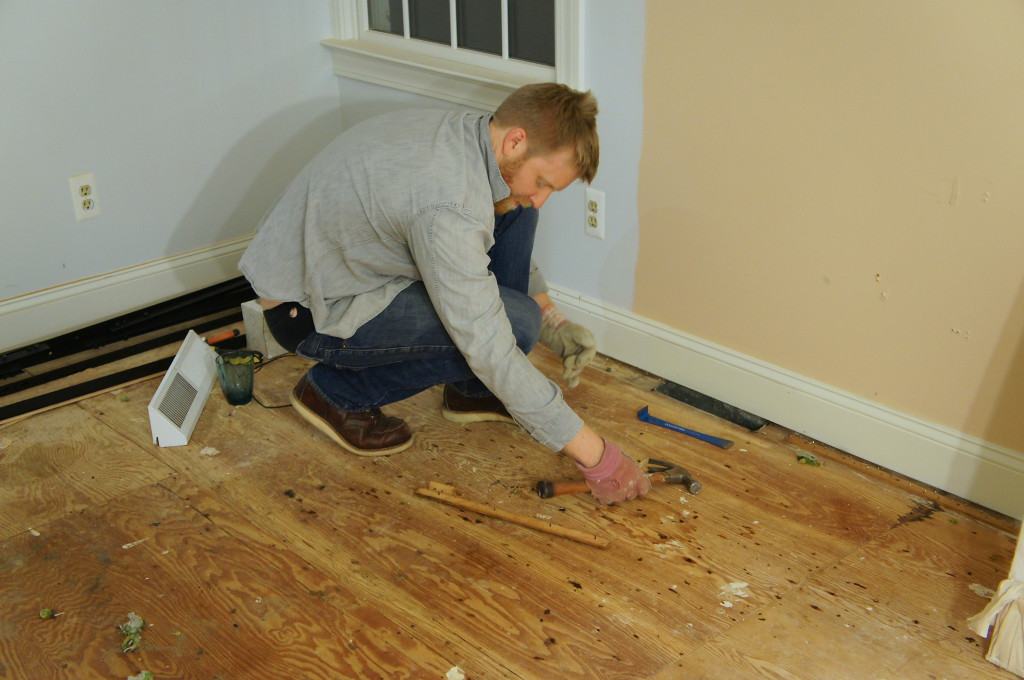
This week has been more than exhausting as we’ve stayed up every night until at least 1:00 working to finish the floors and clean up the utter mess that was our upstairs. Moving all of our furniture from room to room for months on end resulted in a something straight out of a horror movie, but the best part of any renovation process is that final transformation from the shower scene in “Psycho” to the finished product.
So, at long last, we have new floors upstairs. It took seven and a half months, not working every day by any means, but trying to find the time to cram it in with a toddler in the house. It’s pretty hard to work when your wife is standing outside of the room dragging your screaming child away from you. We might not be the greatest parents in the world, but we try to avoid letting our son play with nail guns and table saws-his ultimate fantasy. Thanks to a lot of help from Jason’s parents, who baby-sat Grant overnight at their house a few times, we have finally finished. Here’s a breakdown of our flooring costs:
- Total Square Feet: 560
- Average costs to install 560 sq ft of carpet in our zip code (from Homewyse.com) $1,783-$2,198
- Average costs to install 560 sq ft of hardwood flooring in our zip code $4,221-5,336
- Our costs-Bruce Oak Rustic Natural Solid Hardwood Flooring, 2 1/4″-$1,842, plus supplies like quarter round, tar paper underlayment, and an air compressor puts us right at about $2,200. The flooring nailer we borrowed from a friend and we already had the mitre and table saws, so we didn’t incur any additional expenses on tools.
Having someone install hardwood would have cost us at least double what we spent. At the end of the day, for the cost of replacing the carpet with more carpet, we now have hardwood floors that are substantially easier to clean and increase the property value of our house. Was it worth the time and effort? Ummm…..ask my husband. I would say yes, but then again, I didn’t do any of the work. The old carpet was white, ten to twenty years old, and there had been cats in the house (it didn’t smell, but the allergens are hard to get rid of). Putting some sweat into it gave us floors that will be around far longer than we plan on living here, and hopefully will be worth more than what spent in resale.
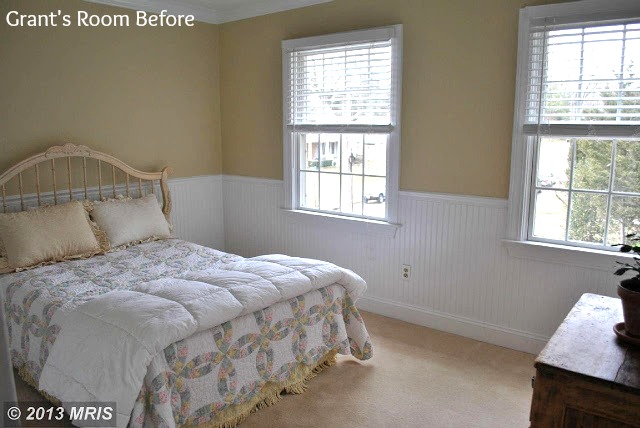
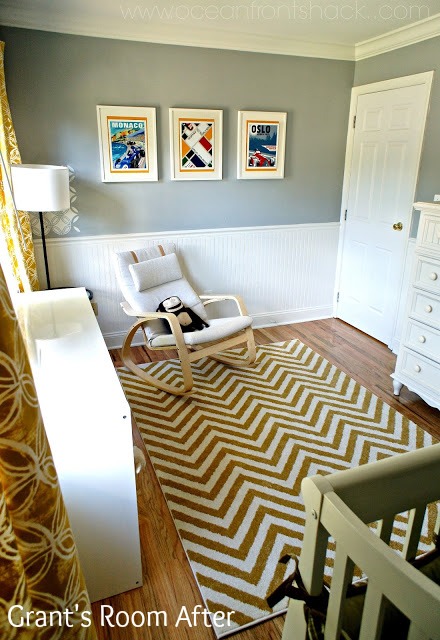
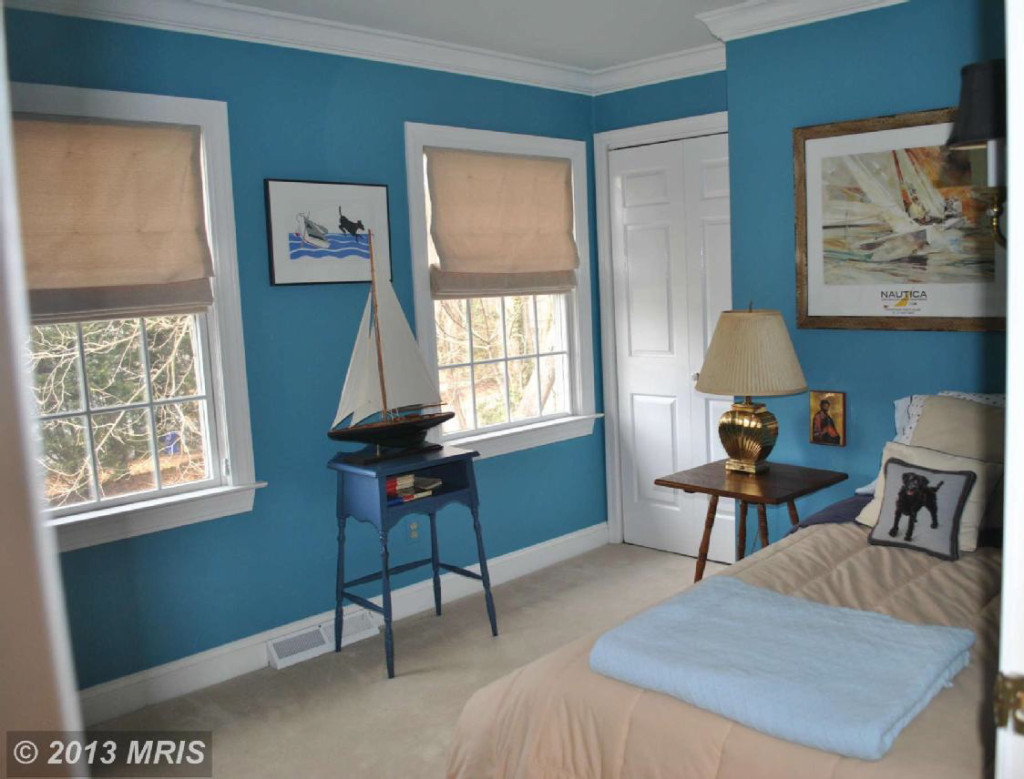
Without further ado, here are our before and afters:
Guest room/nursery Before:
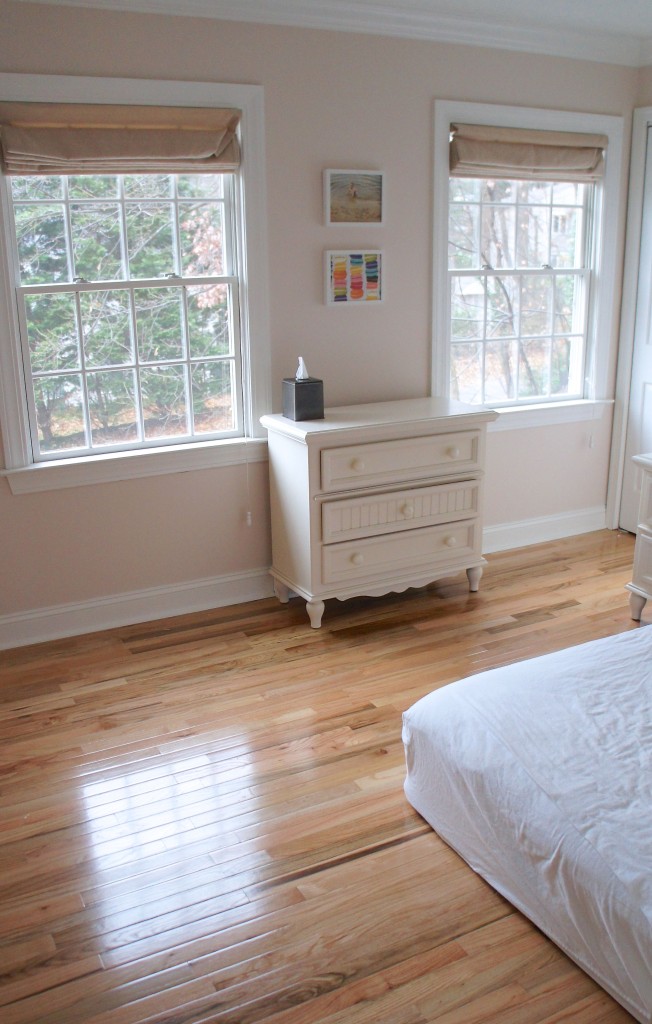
Guest Room/Nursery After (the nursery is in its early stage of development):
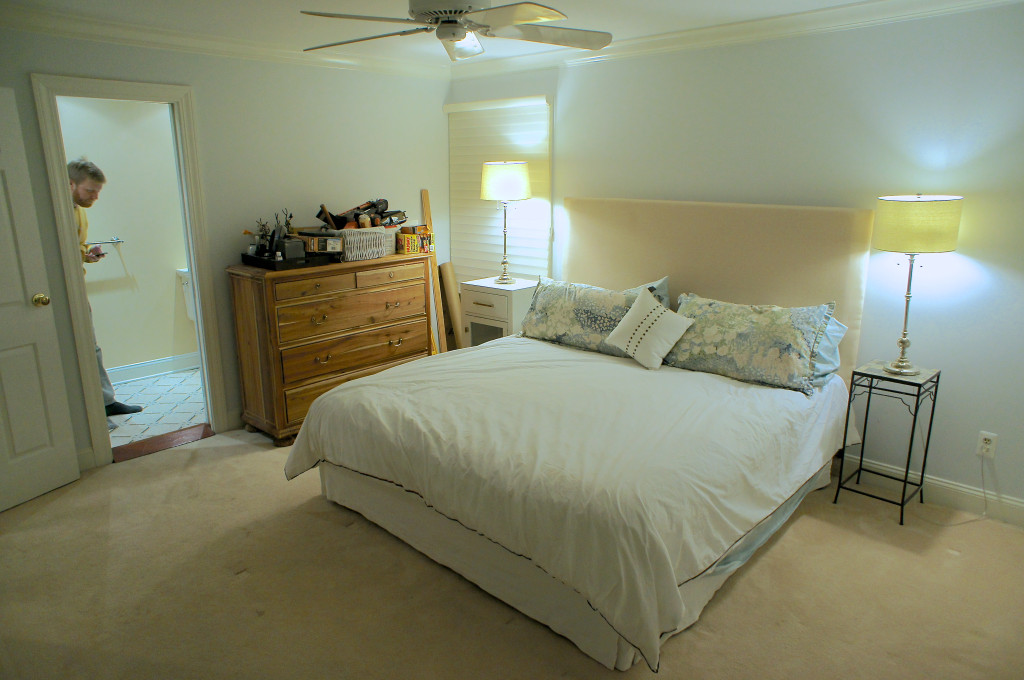
Master Bedroom Before:
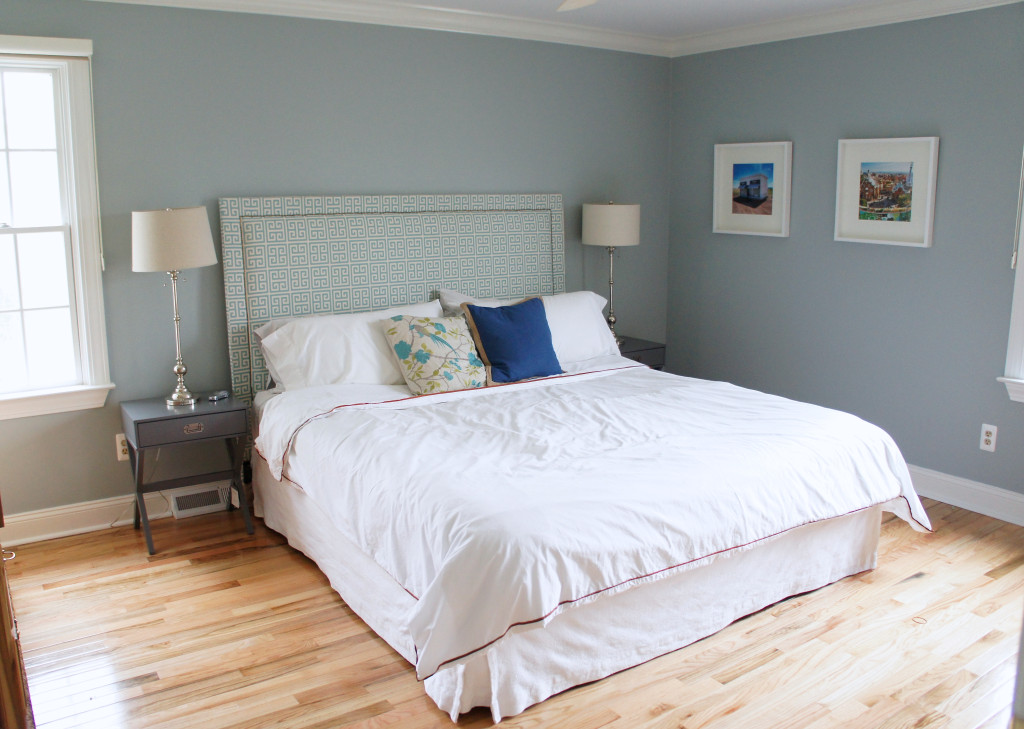
Master Bedroom After:
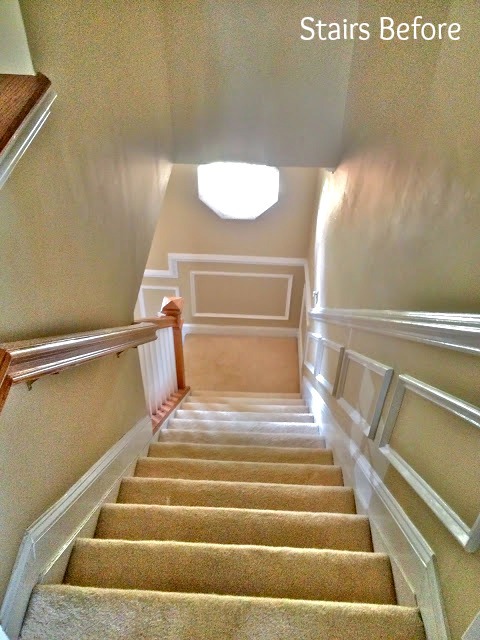
Stairs Before:
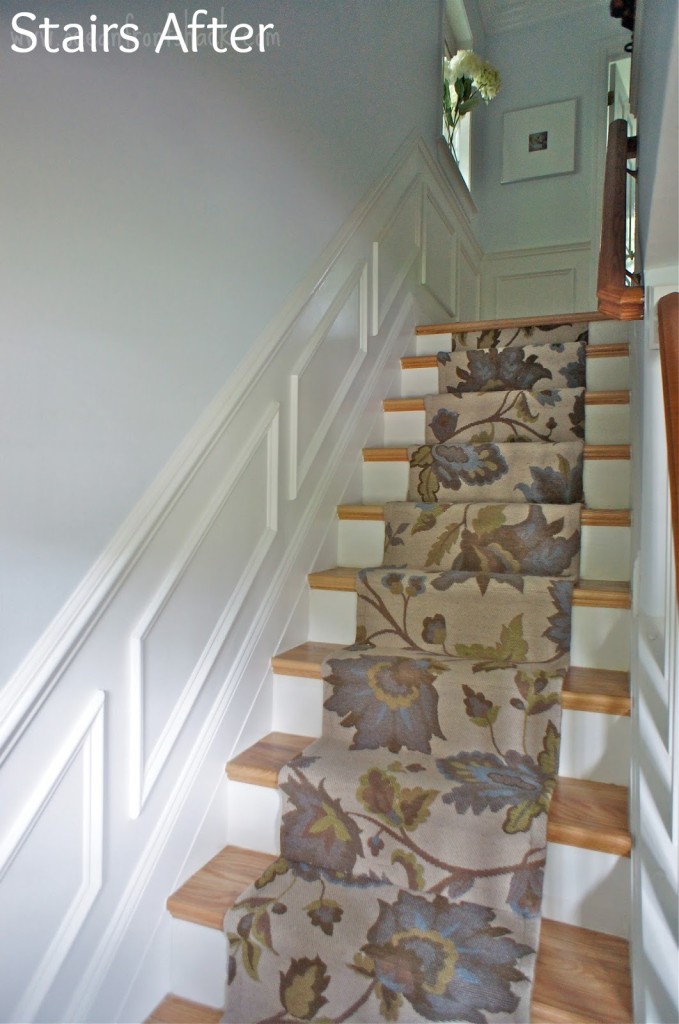
Stairs After:
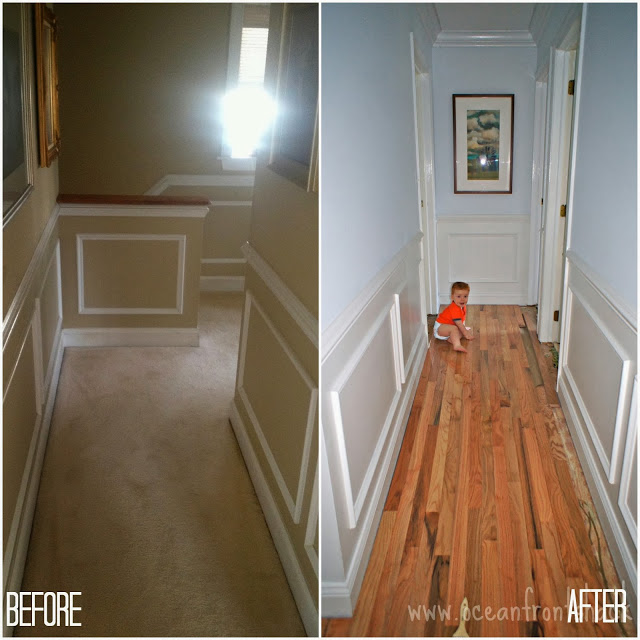
Hallway Before (this was the only picture I could find, don’t mind how orange the floors look in the after shot-the camera must have been on a weird setting):
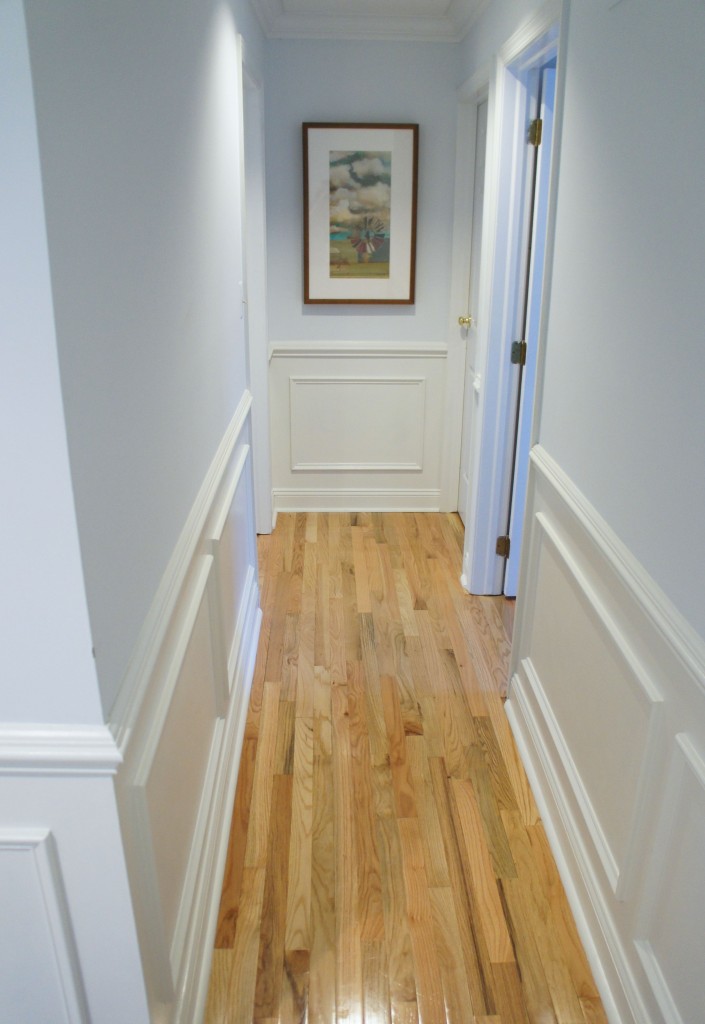
Hallway after:
We have definitely earned a vacation. In January, anyway, but I’m counting down the days until we are in the Bahamas. It’s no coincidence that our yearly winter trip to escape the freezing Maryland winters usually coincides with the end of a huge project. Last year it was the basement in our old house, this year it’s pretty much the entire upstairs of this one. It has been a lot of work, but well worth it, and we managed to finish before the new baby gets here in March. Mission accomplished! Now we can kick back and enjoy our new house for three months before we lose our minds from sleep deprivation.
