Now that our floors are done we get to start on the nursery! I’m pretty excited. Everything is centered around the six yards of Premier Prints Small Dandelion in Baby Pink I ordered from Fabric.com:
Generally, if I have some kind of big statement piece in a room (the DIY headboard in our bedroom, for instance) I like to use that as a starting point when choosing other colors. That’s the thing the eye will immediately be drawn to, so I want to compare my other paint and fabric choices to make sure they don’t clash.
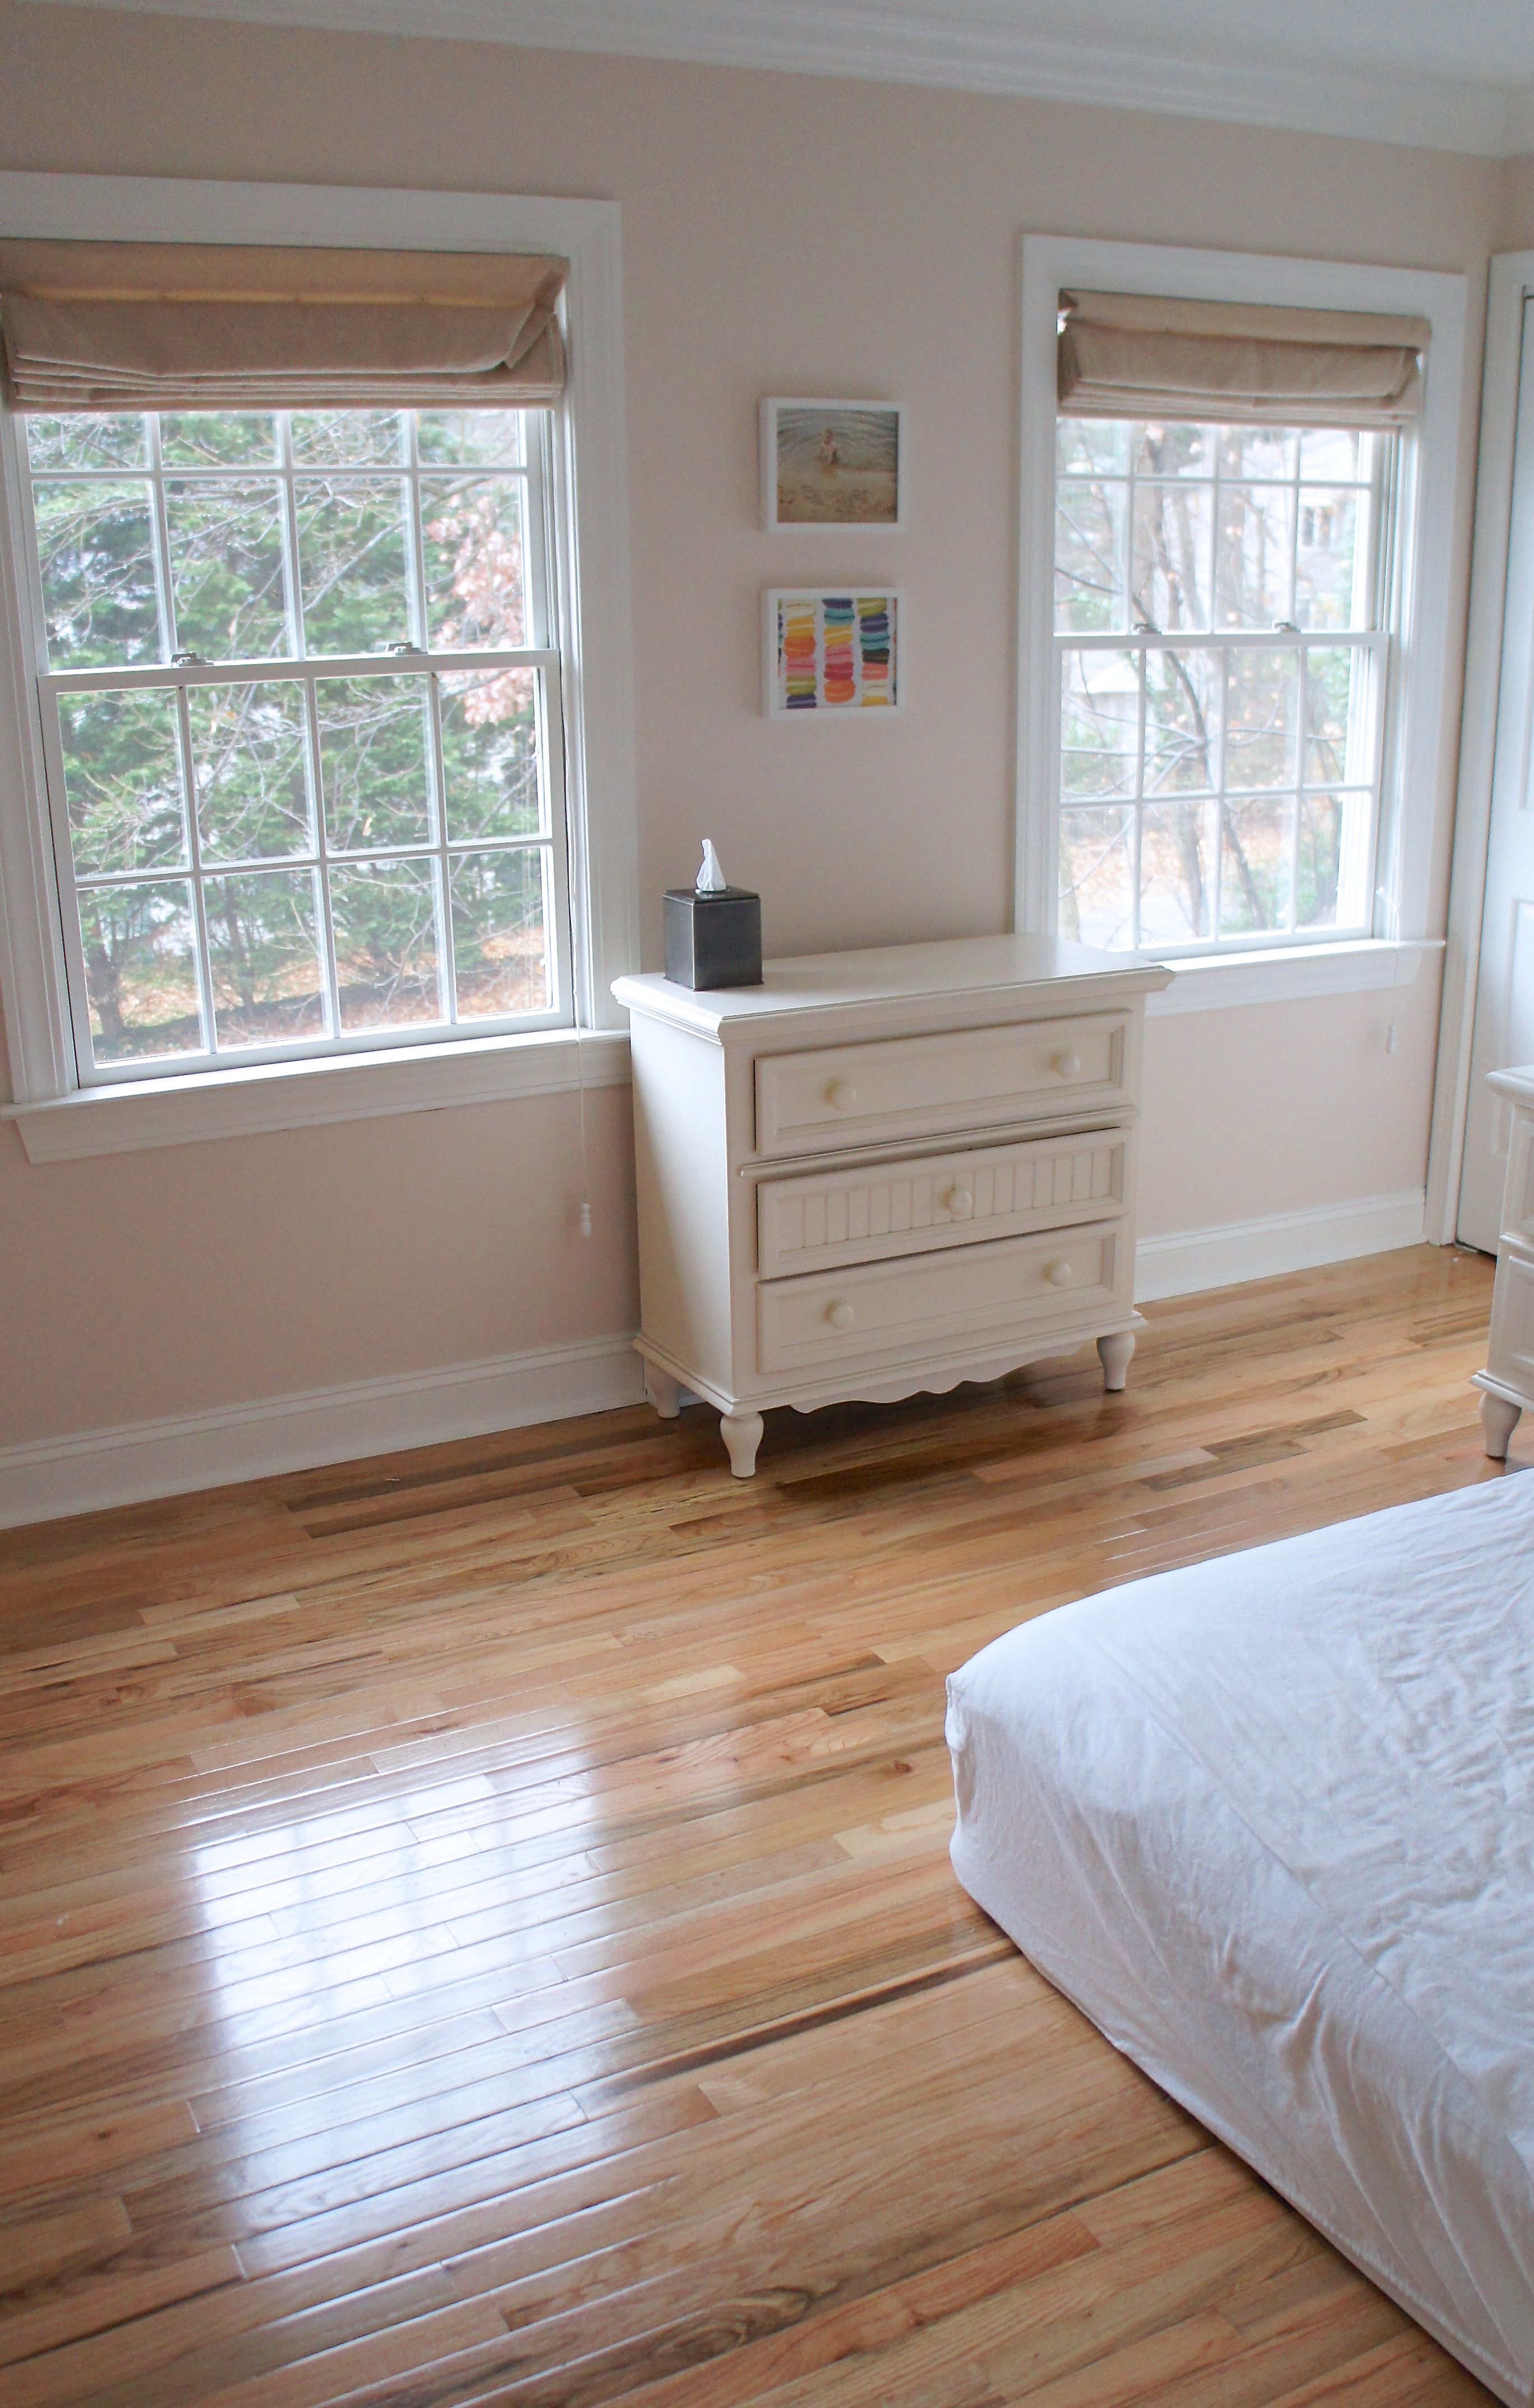
The paint color I ended up going with was Benjamin Moore’s “Bride to Be” in Natura (their zero VOC paint). It’s neutral so the artwork, drapes, and rug will pop. Jason is color blind and when he first came home to find me painting, he didn’t even realize we were changing the color, because the original walls and the new paint looked identical to him.
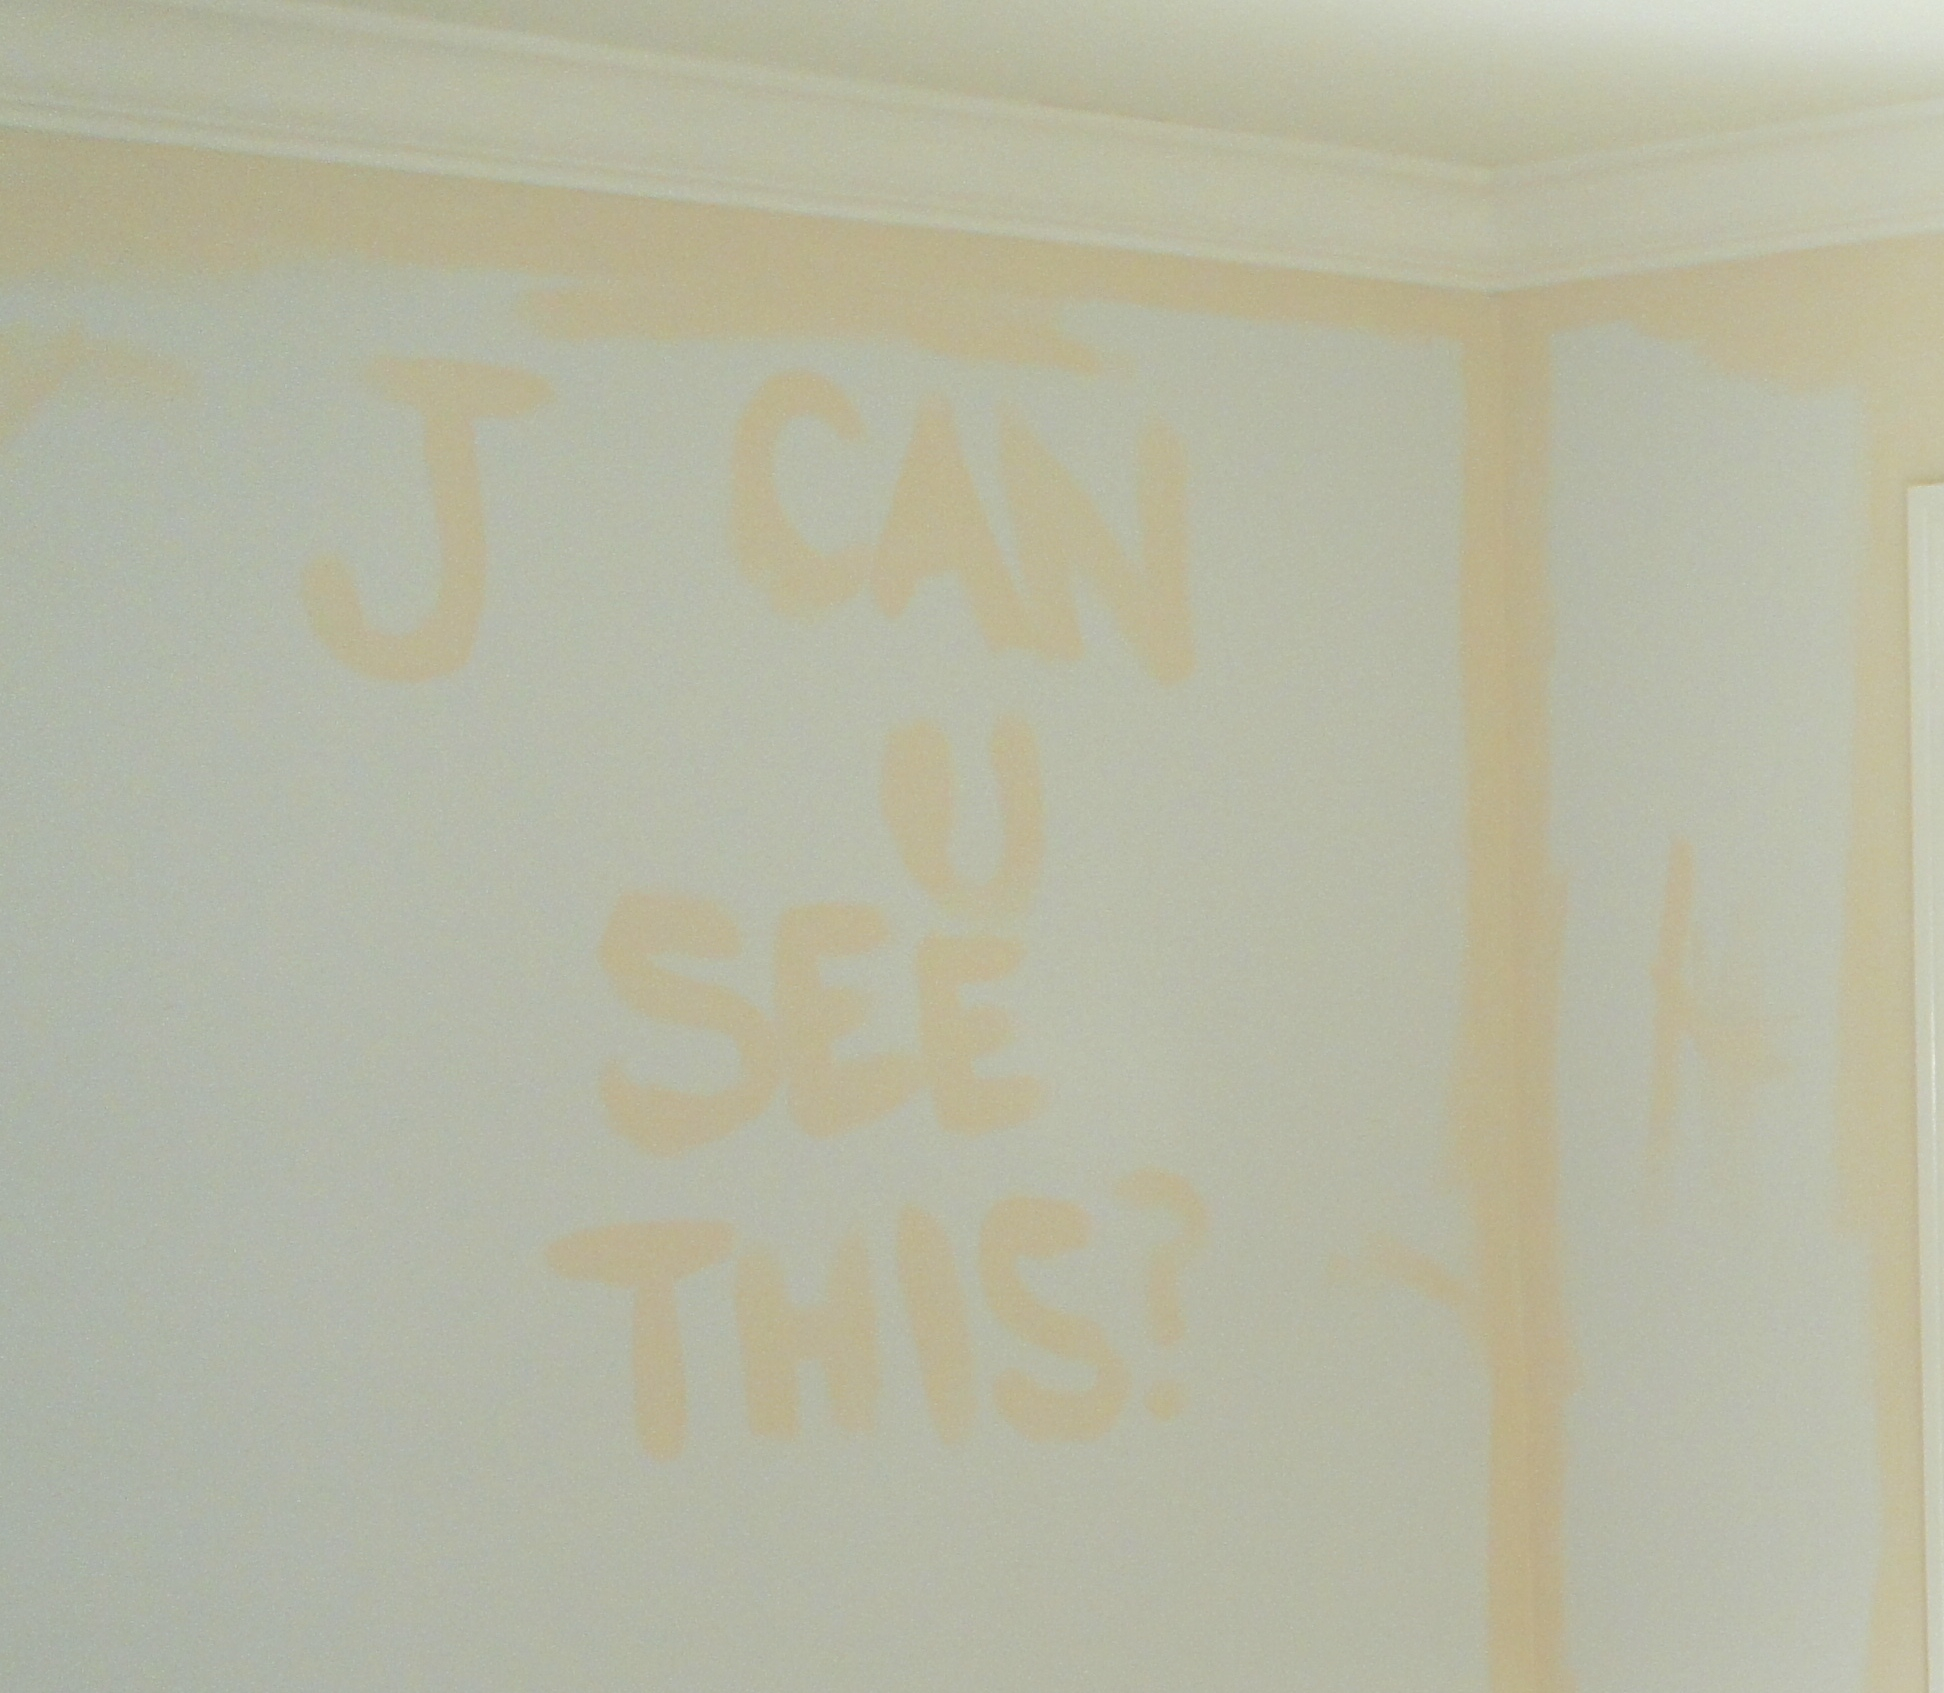
Once we finished he could see a difference, though. He said the room looked “happy”, and what more could you ask for in a nursery?
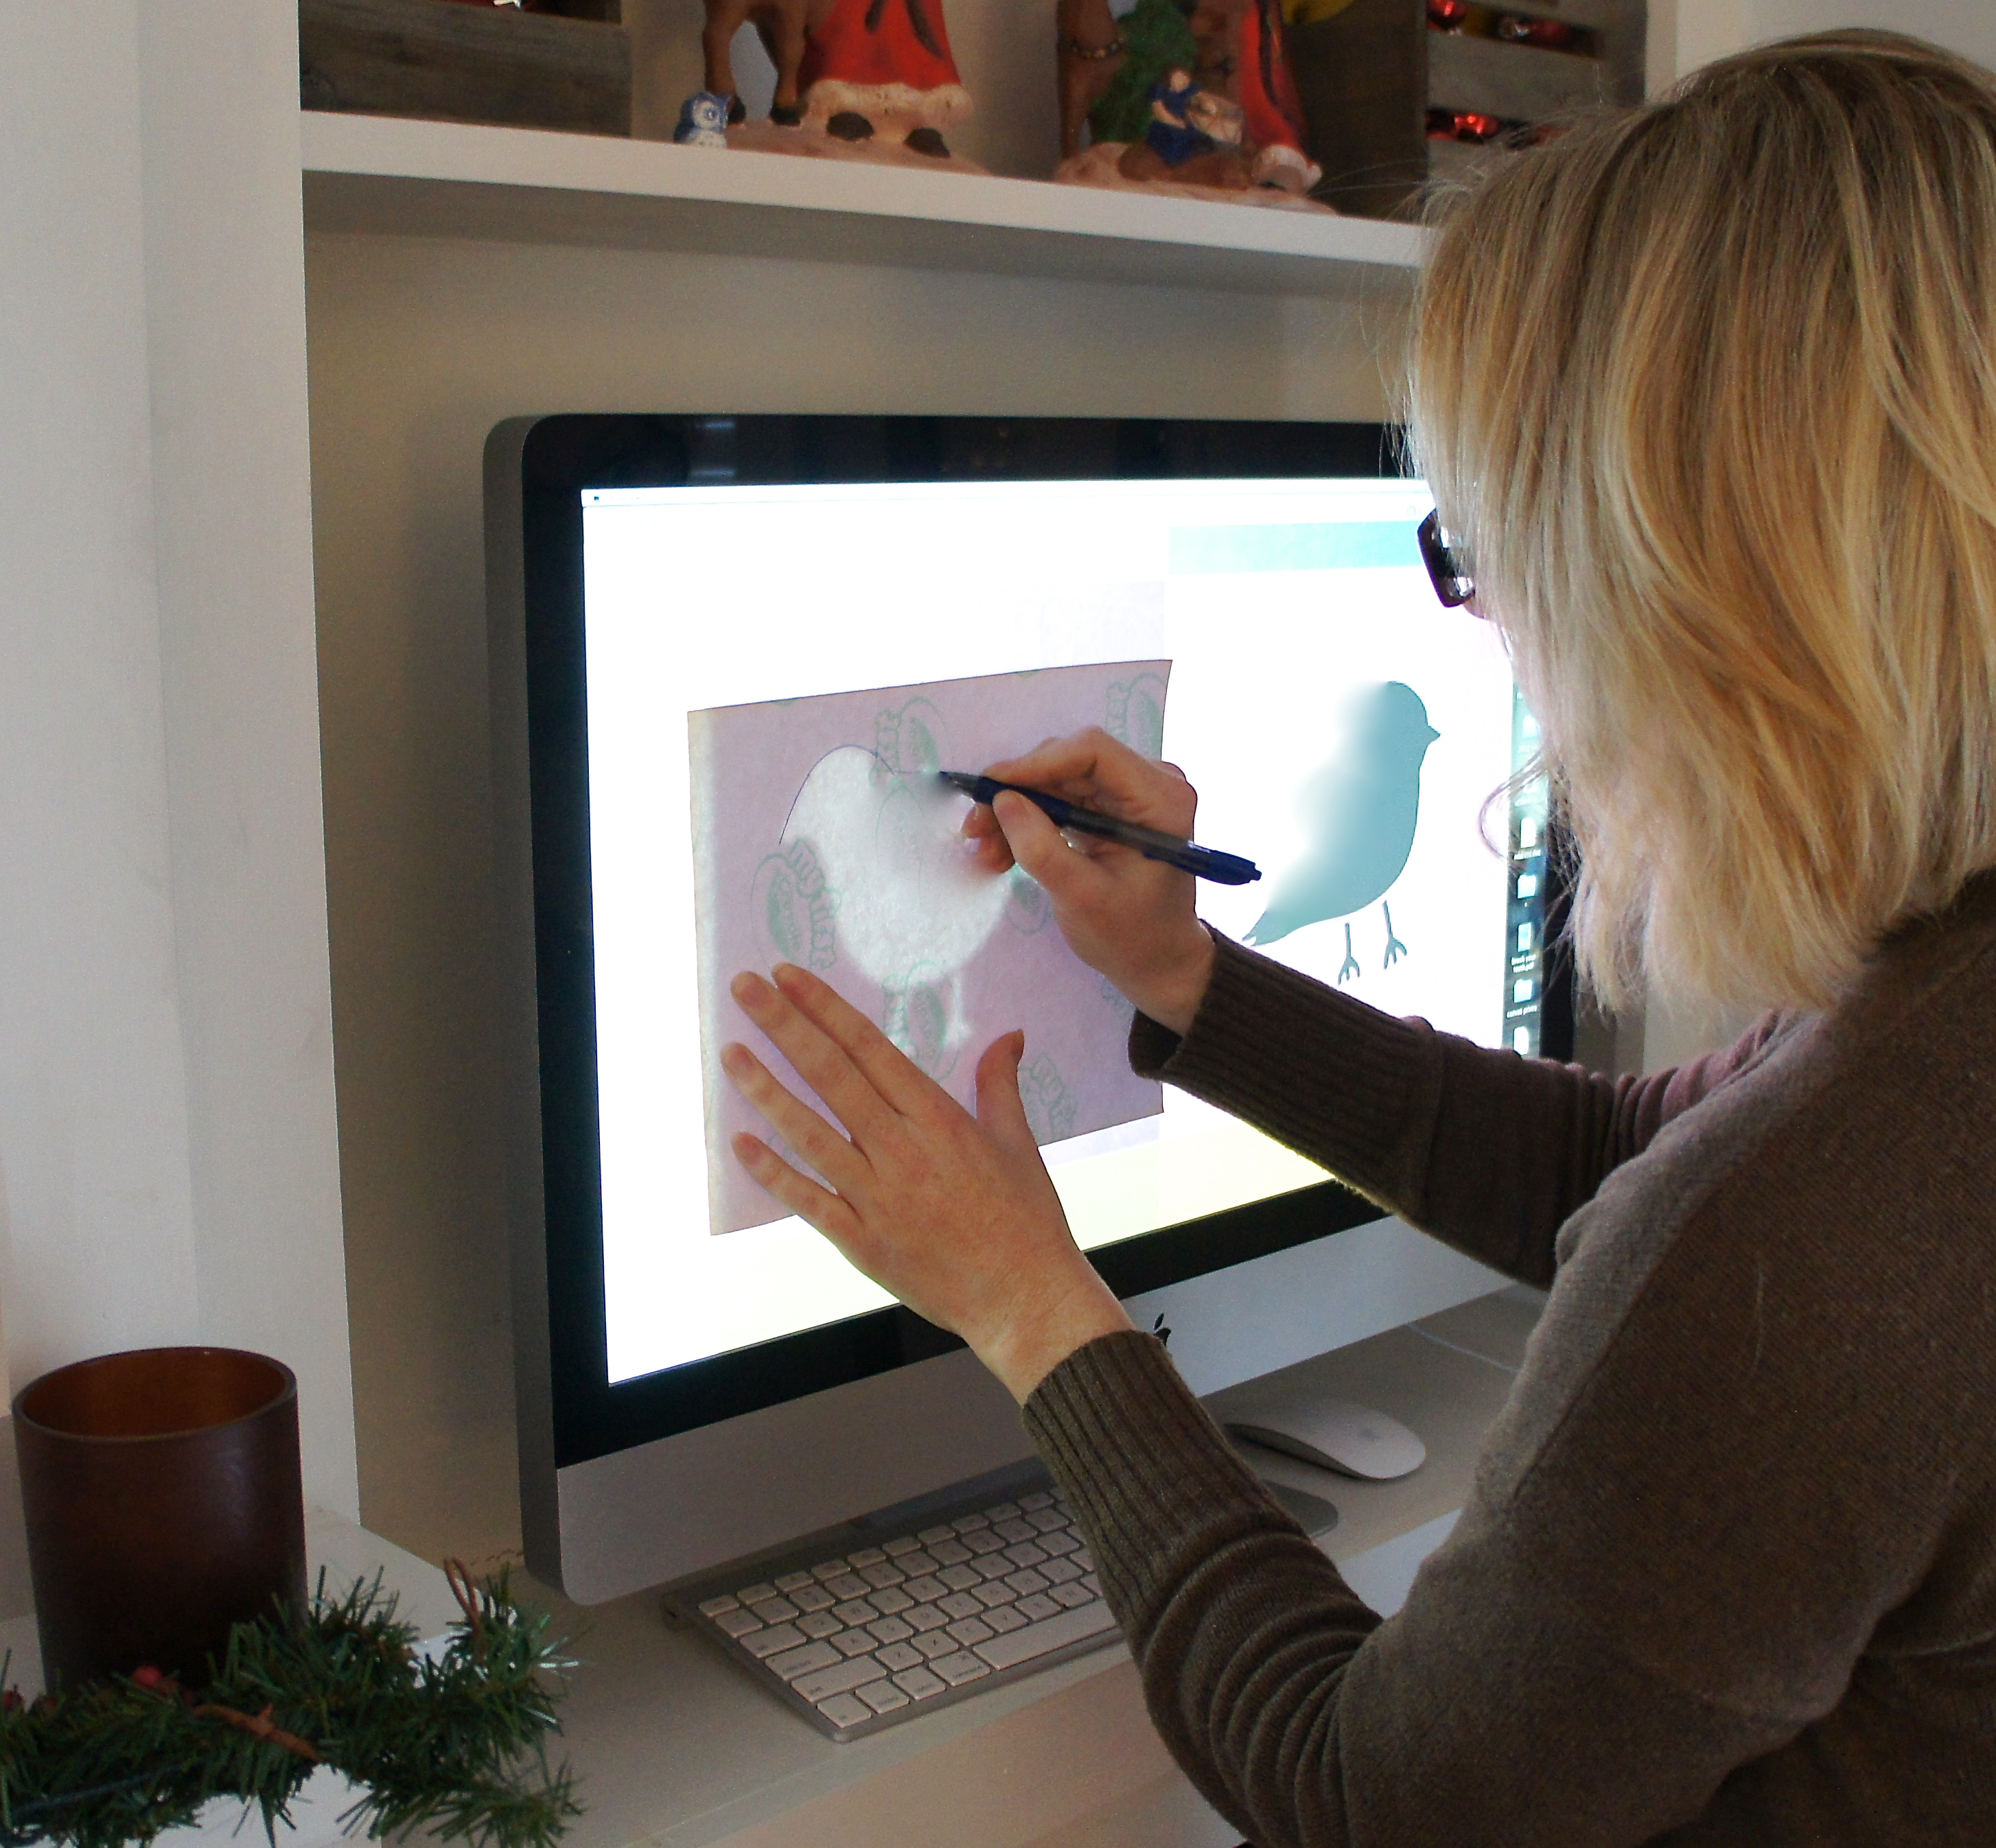
The walls of Grant’s nursery were covered in animal decals that he loved to stare at and talk to, so we wanted to do something similar here and decided to stencil birds on a wire. The stencils didn’t require much paint, so I bought sample sizes of Benjamin Moore’s Victoriana and Piano Concerto and made them myself using Grant’s “Color Wonder” paper (which is a little thicker than regular paper, cardstock would work if you have it). Googling “bird stencil” gave me five or six results that worked and I traced the images straight from my desktop, then cut them out with an Exacto knife. My DIY stencil could be painted a maximum of three times before the paint saturated them to the point of smearing.
To create a “wire” for the birds to rest on, I used a laser level and Frog tape (which bleeds a lot less than blue tape-a must for this project) and taped off three 3 mm lines across my wall, 15″ apart.

Then I painted two coats of my Victoriana sample and removed the tape before it was completely dry, which results in sharper lines. Using a stencil brush, I randomly taped my stencils around the “wires” and painted one coat in Victoriana (the pink shade), Piano Concerto (the purple shade), and White Dove (our trim color).
 Stencil brushes have really stiff bristles to keep the paint from bleeding.
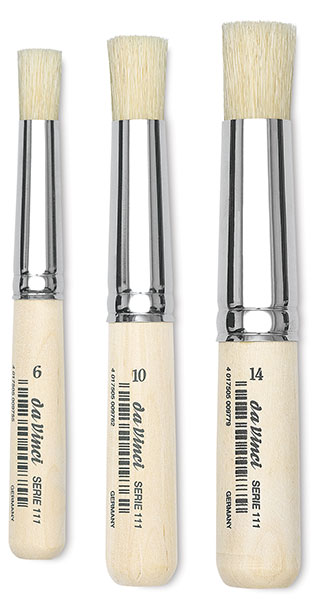
I started with my paintbrush on the edge of the paper, then stroked inwards, towards the center of the stencil. The key is not using too much paint, which is why I go with the Benjamin Moore wall paint samples. It’s the highest quality you can buy and looks great with just a single coat. This is how everything turned out:
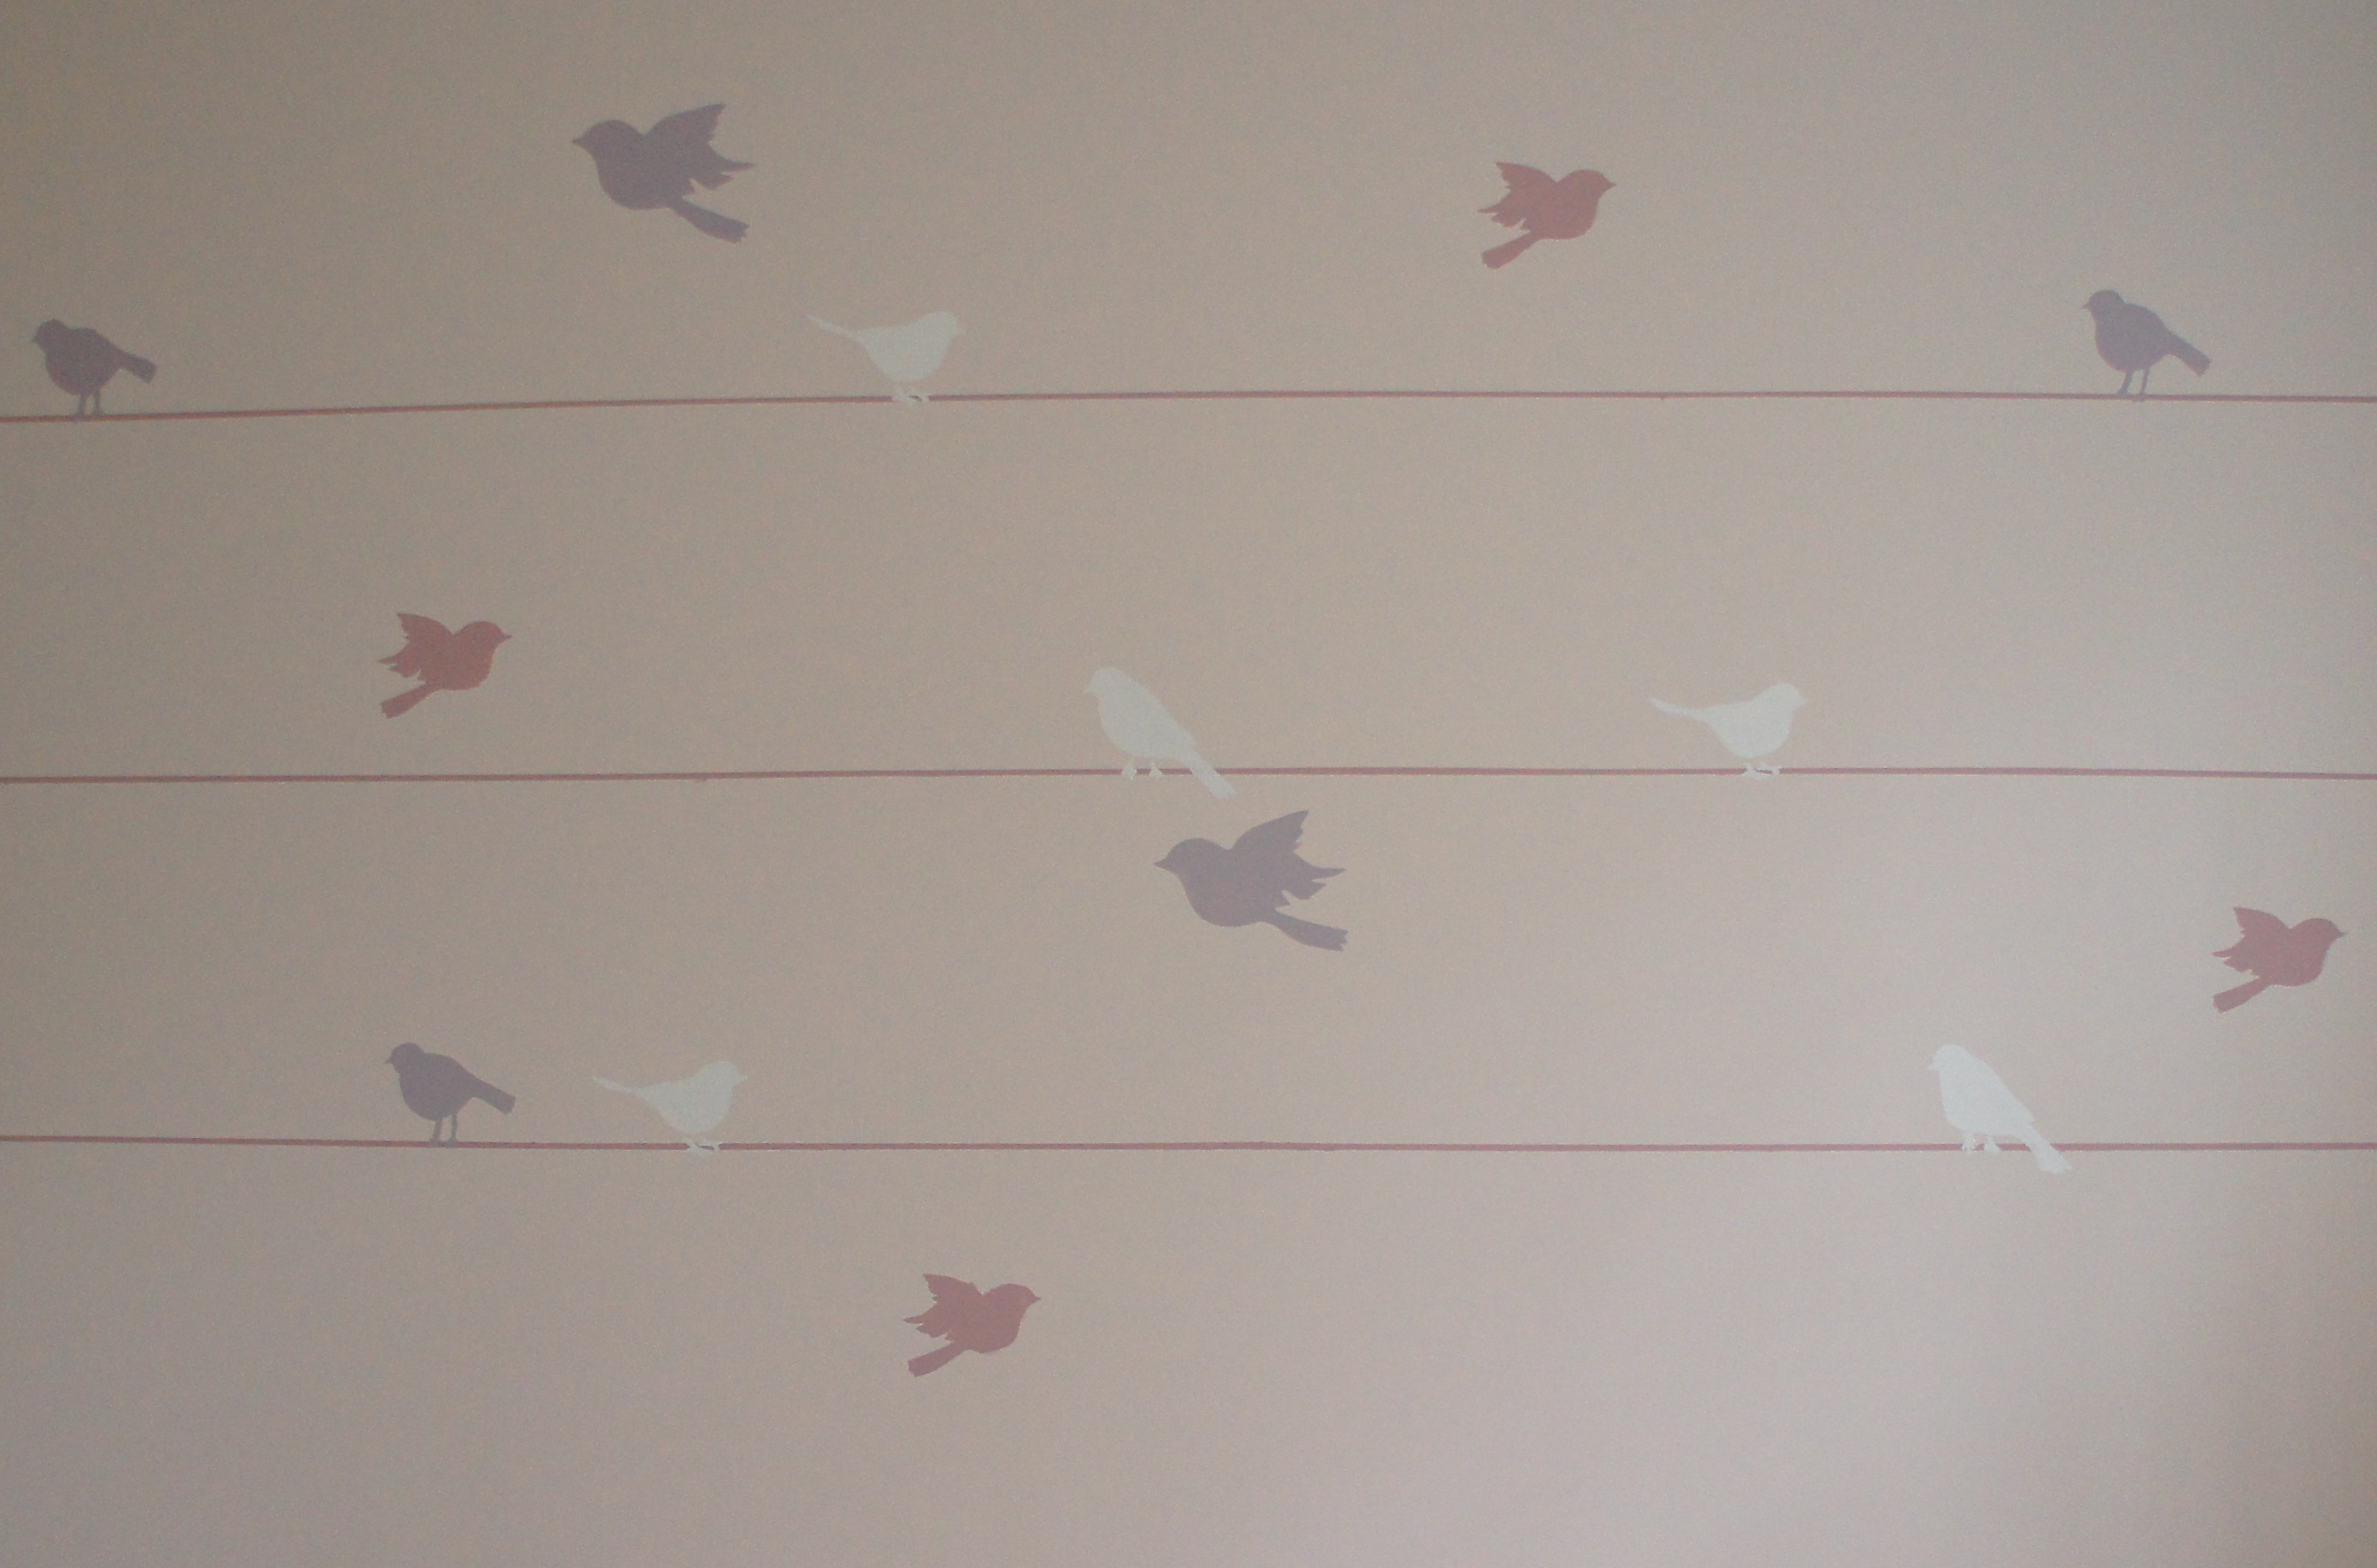
And for the full effect:

Things aren’t quite done for this wall of the room. I ordered some Umbra 3D wallflowers to incorporate into the stencil and we’re going to put an Ikea Expedit bookshelf beneath it. We use an Expedit in Grant’s room as a changing table and toy storage. It’s perfect because the changing pad can be strapped into the open shelving. The low shelves are also nice for him to see and access all of his toys.
It’s a cold day in Maryland, hopefully everyone is staying warm! The little guy just woke up, so it’s time for lunch and finger painting. Our snow melted, but we are in for more on Tuesday, so maybe the sledding hill in our backyard will get its first workout! Or not, I would be just as happy not having to shovel the driveway.
