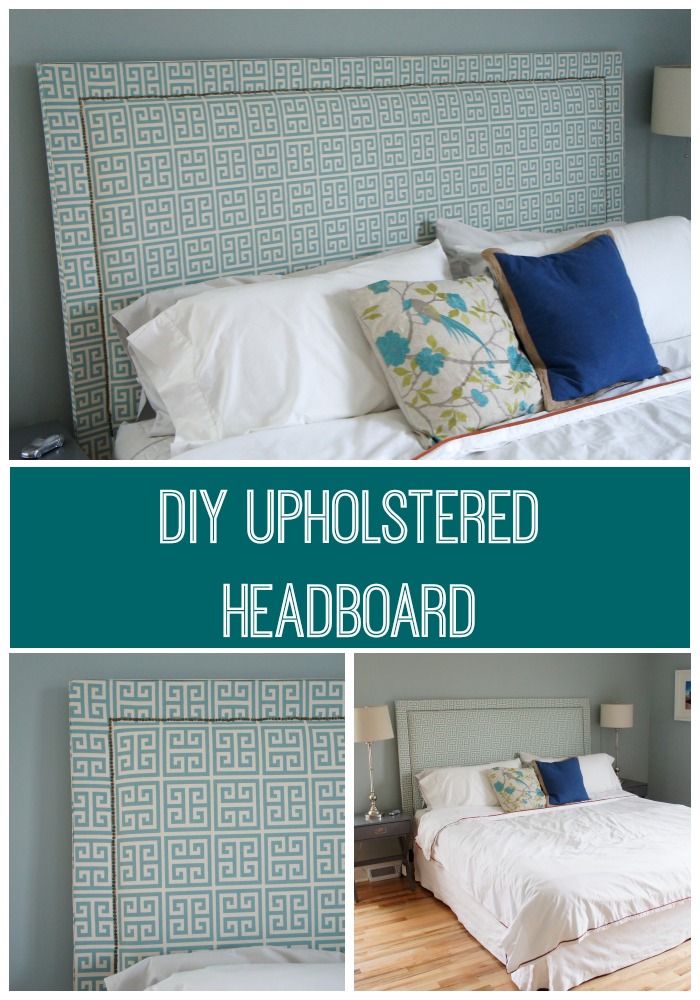
I remember reading somewhere that a matching bedroom set is a decorating “no”, which is great because I can think of much better ways to spend a couple thousand dollars. That’s also why our bedroom is usually pretty neglected. We did splurge on a new mattress a couple years ago, though, after enjoying a King sized bed for three weeks over our honeymoon. Sleeping with a pitbull is not exactly comfortable, and we really needed some extra space. We had only budgeted for the mattress itself and couldn’t afford a new bed, so we ended up trying to DIY something. Our plywood and canvas headboard, in a word, sucked.
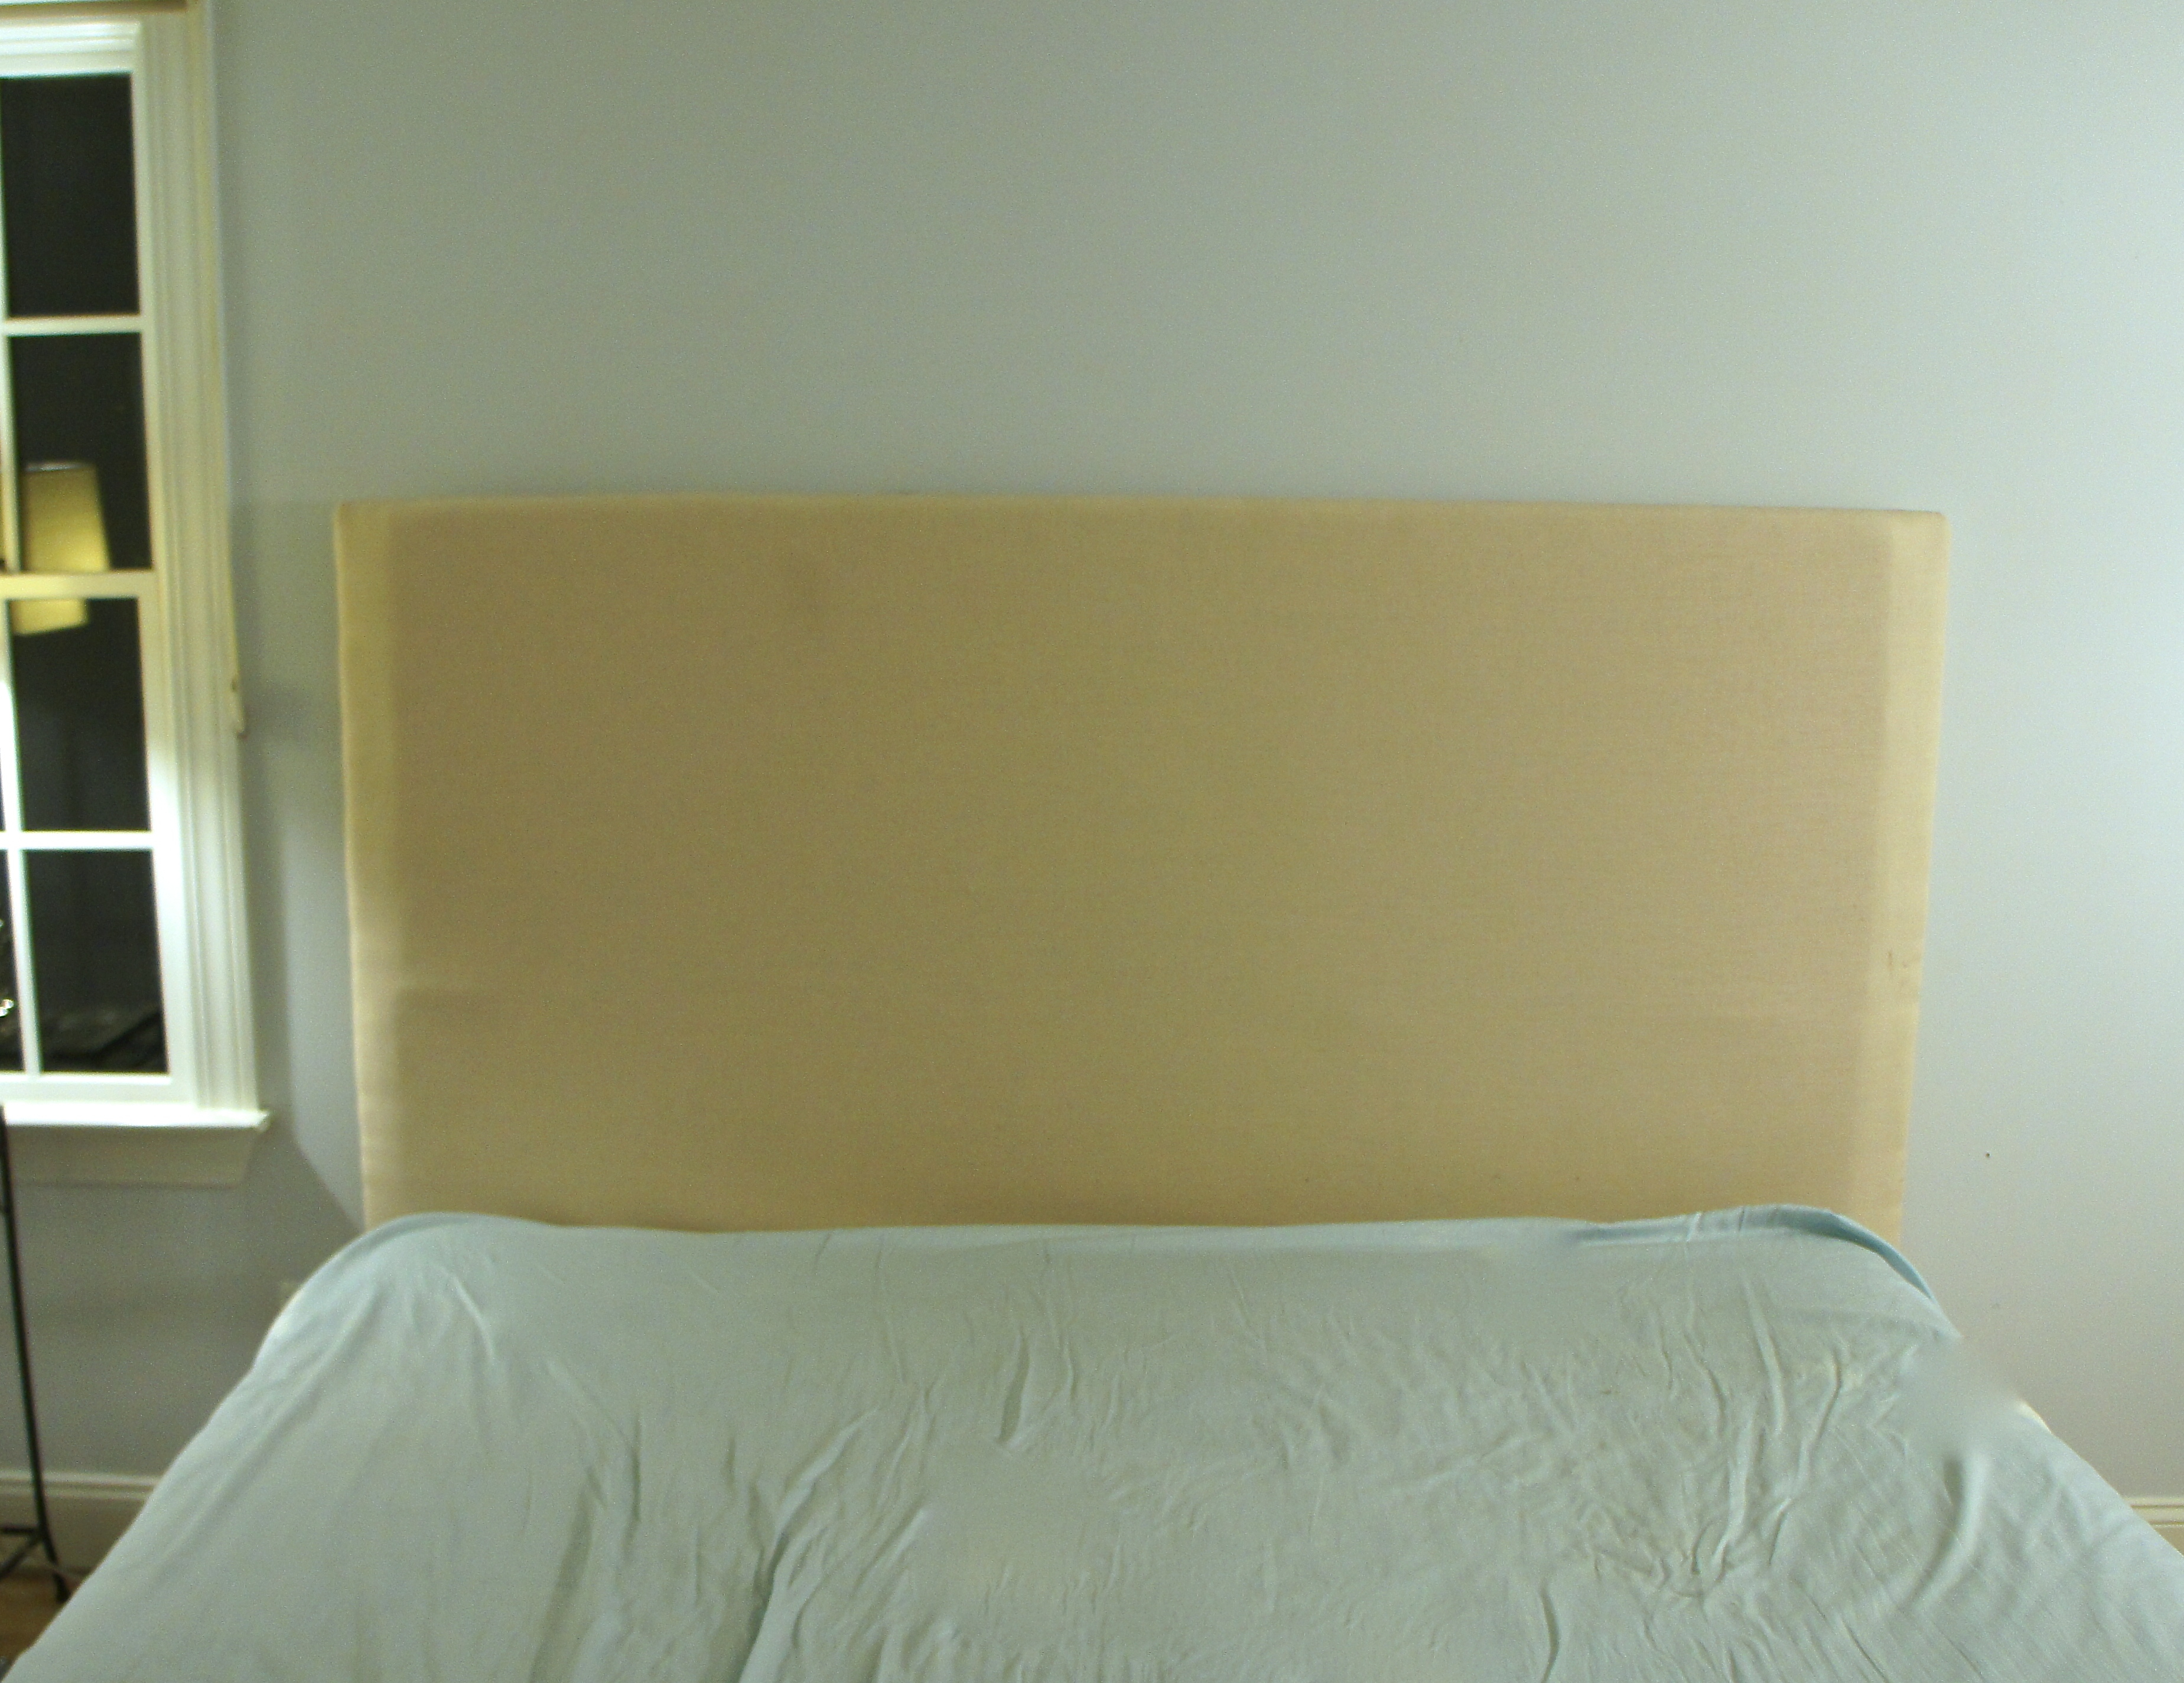
Not too pretty, I know. So, while staring at that monstrosity for a couple weeks while we worked on our bedroom flooring, I was inspired to give it a facelift.
Materials
- 4 x 8 x 3/4″ Sanded Plywood (cut to 4′ x 80″ for our king sized bed-Home Depot will do the cuts for you, but Jason used a circular saw)
- saved 4′ x 4″ scrap from cut plywood-we cut it into two 8″ x 4″ strips for legs and screwed them into the base of the headboard
- 1″ foam full sized mattress topper-foam is really expensive, so instead of paying $10 a square foot, I bought a foam mattress topper on Amazon for $25, which worked perfectly
- batting
- staple gun
- 1/4″ staples
- hot glue gun
- 2.5 yards upholstery fabric, I used Premier Prints Towers Village from Fabric.com
- Nailheads (mine are 6mm, and were smaller than I expected, 8mm is probably a better option-I got them on EBay for $5)
- 1 x 3″ lumber (we used leftover baseboard molding)
- mitre saw
- circular saw-for cutting plywood, Home Depot will do the cuts for you if you don’t have your own saw and are willing to wait around for someone
- Nail gun (for nailing 1 x 3 to back of plywood, if you don’t have one LocTite molding adhesive would work
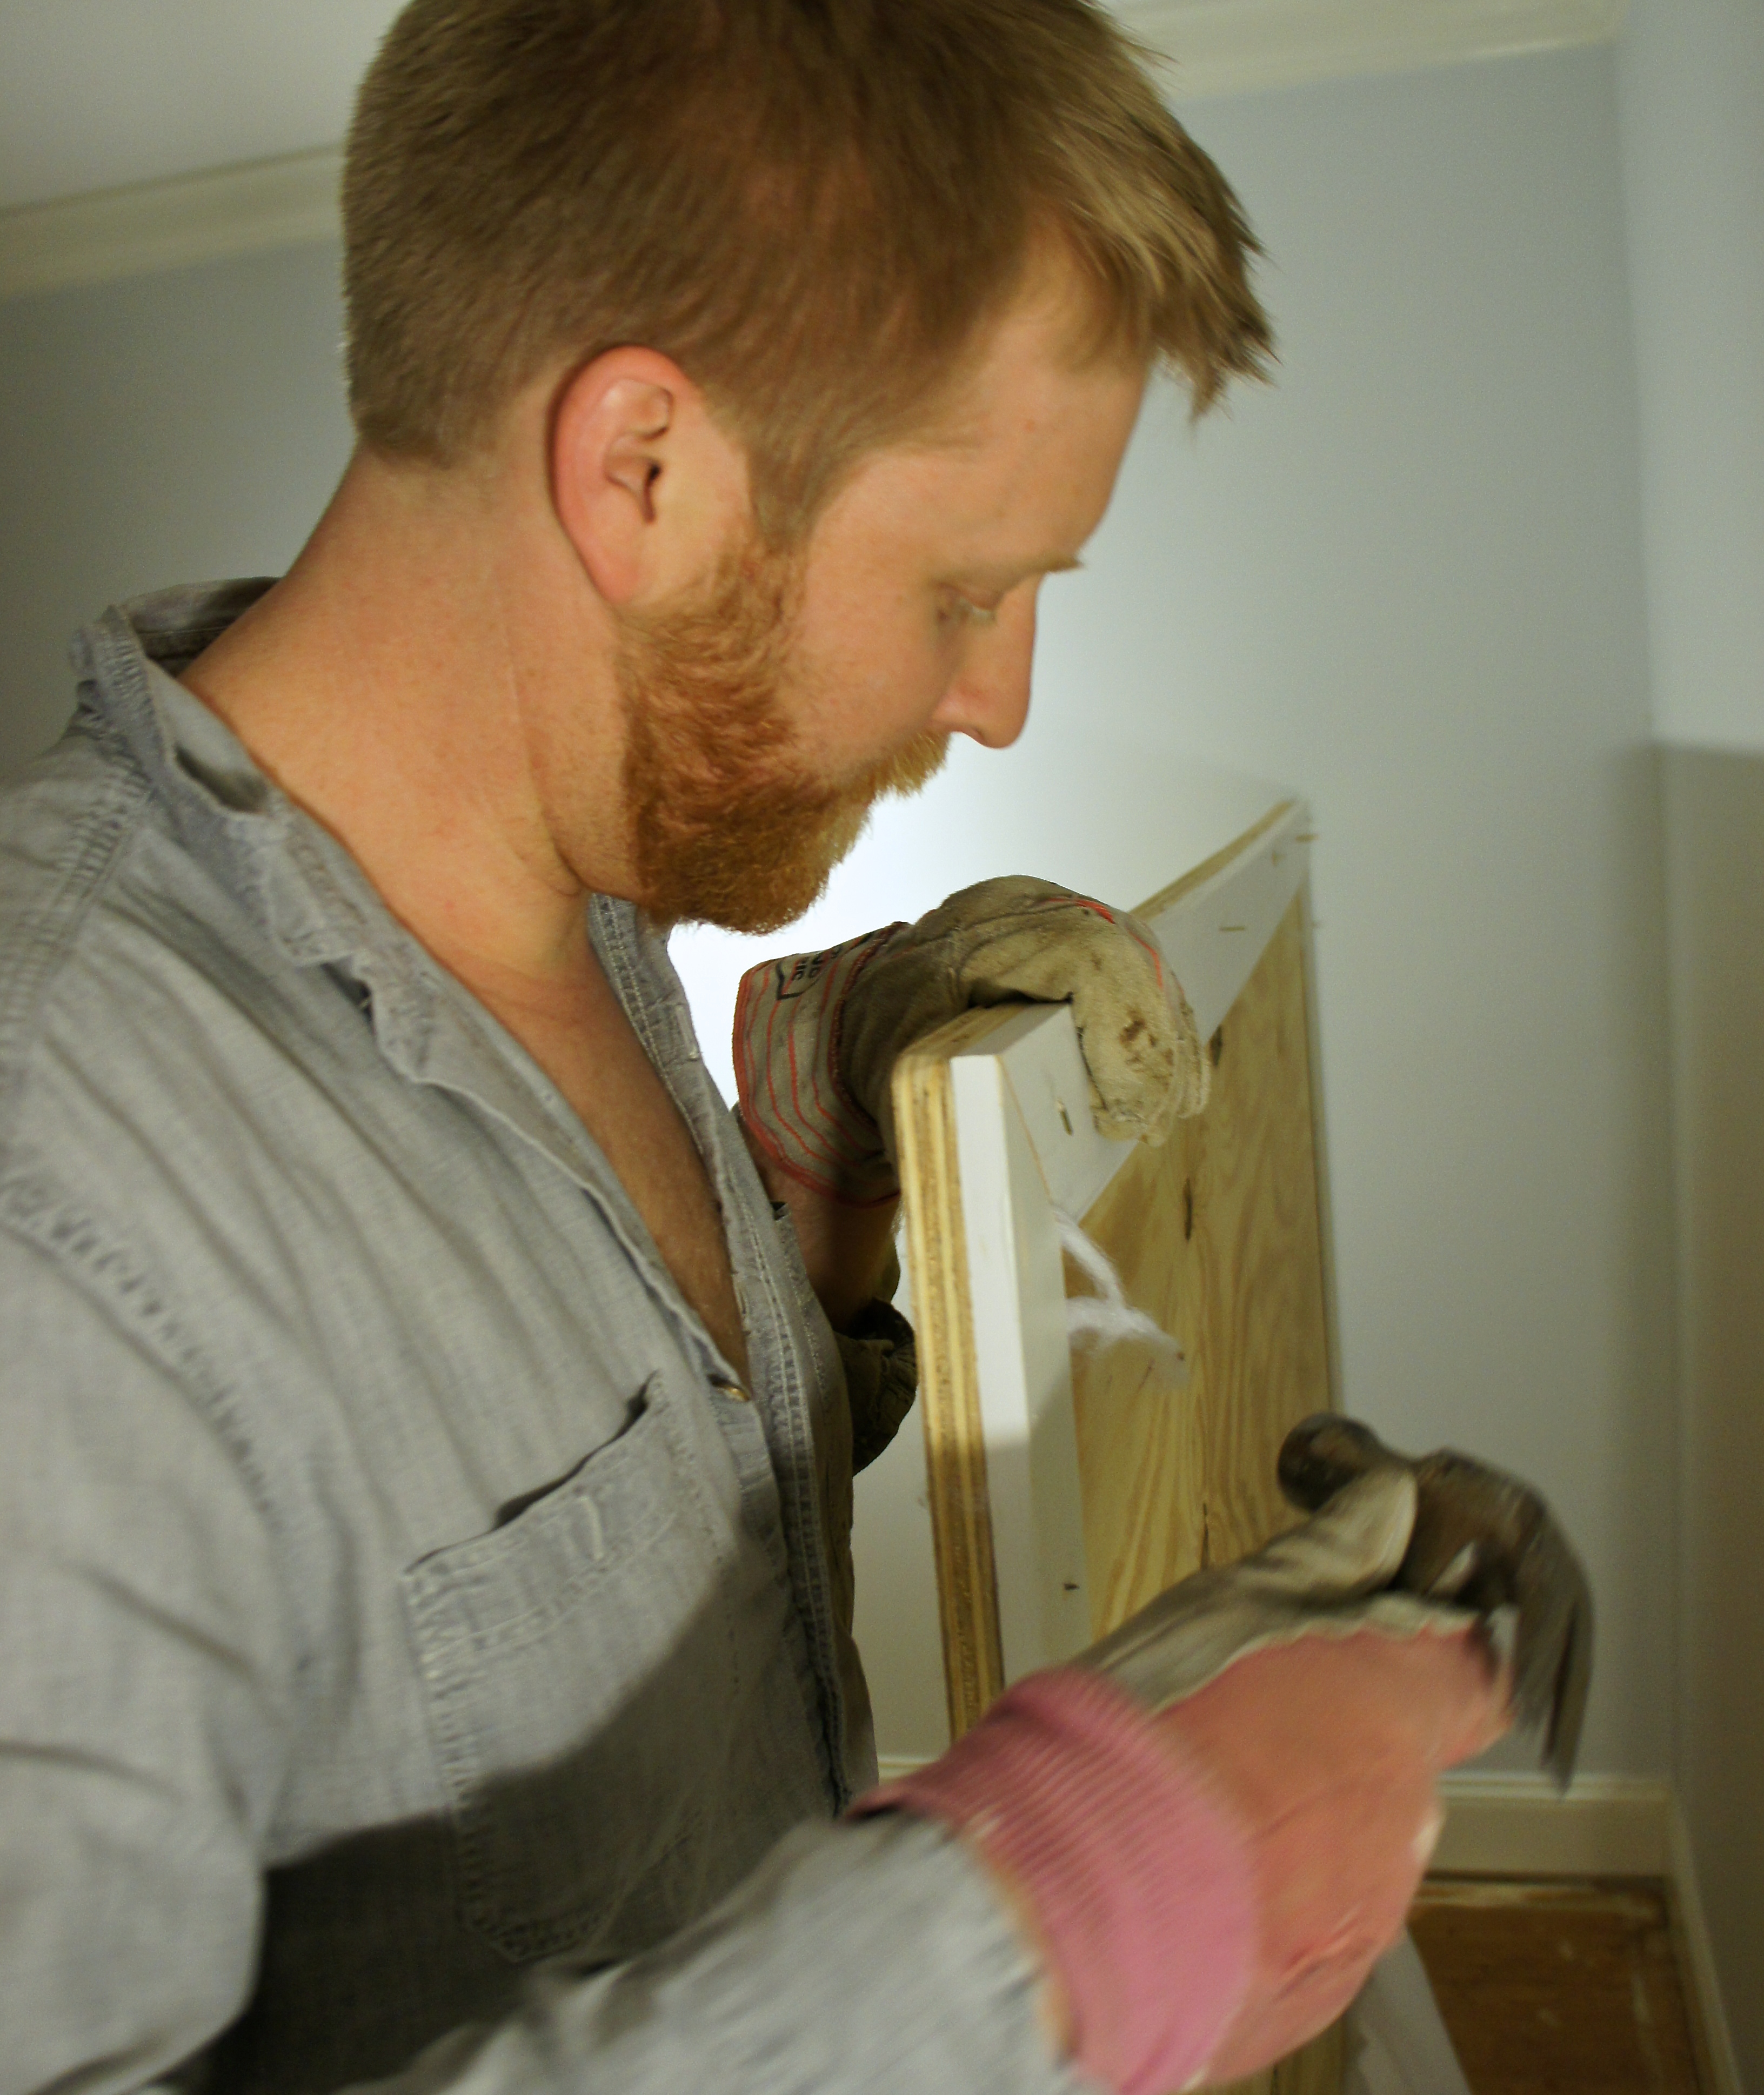
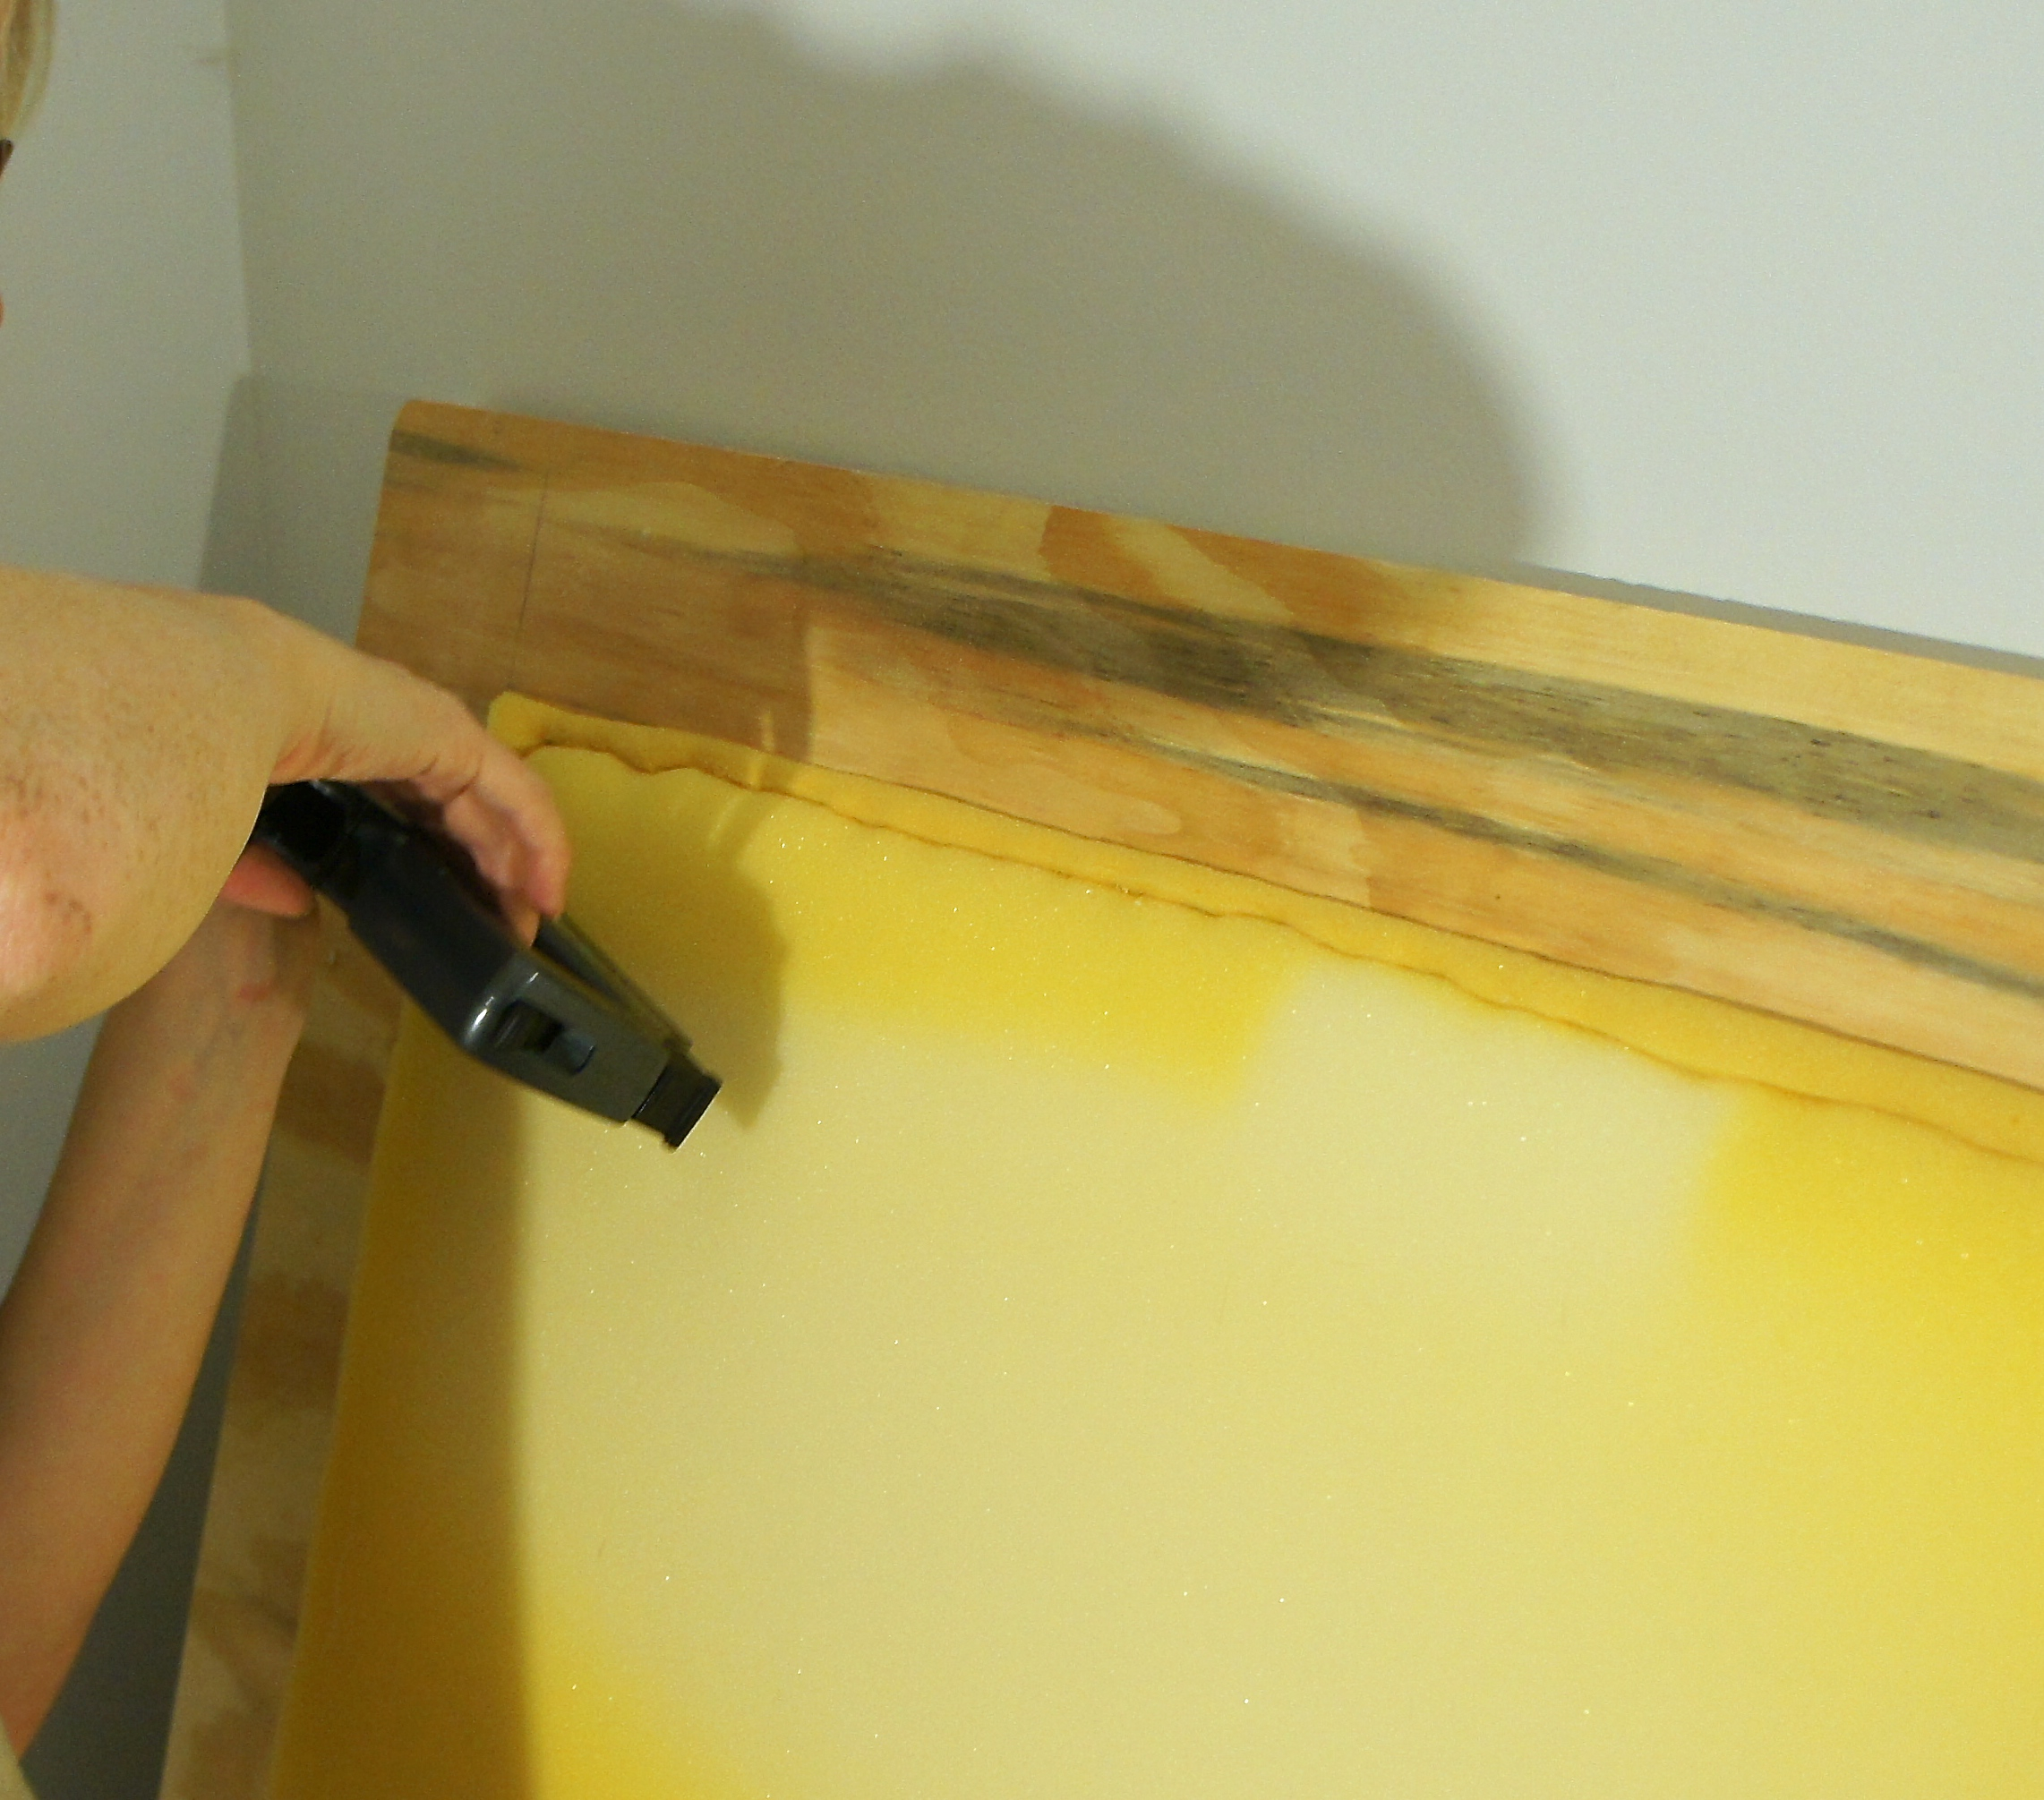
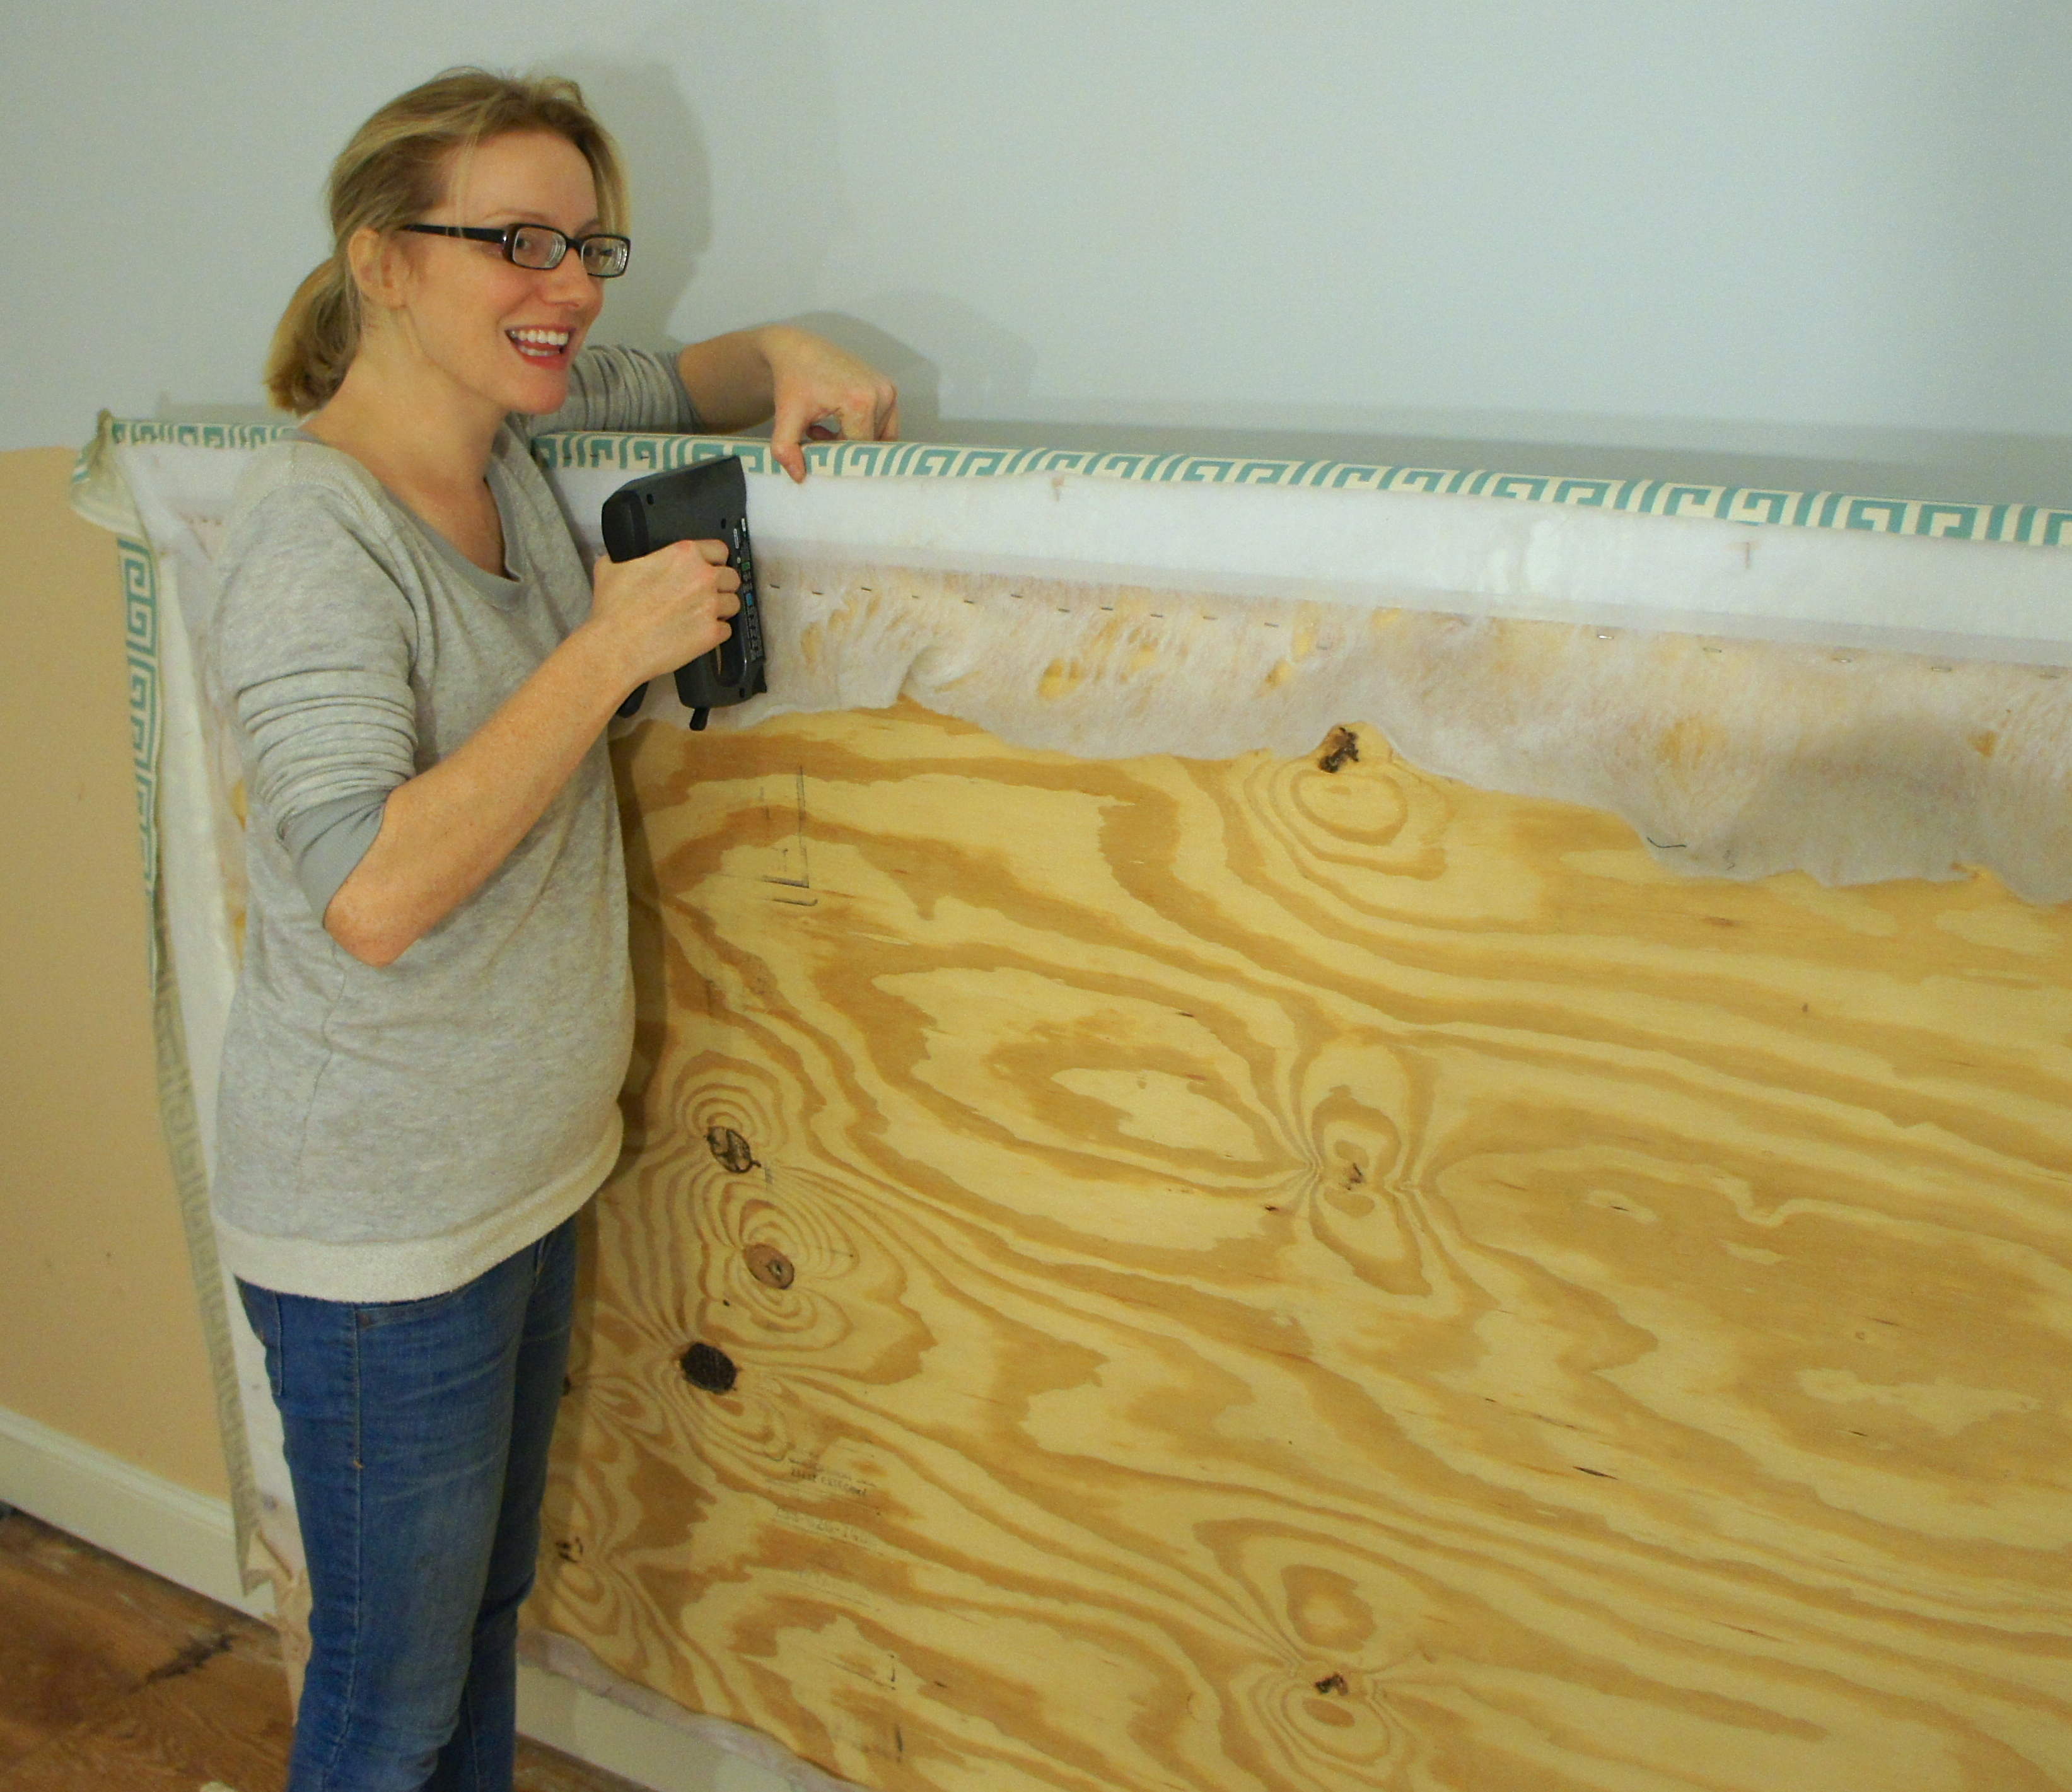
We already had our frame from the first time we built the headboard, but it’s just a piece of plywood. The foam definitely discolored over time, but don’t let it scare you, it’s as soft as any upholstered headboard and you can’t see the foam through the upholstery fabric. I think we originally used adhesive spray to attach the foam to the plywood, but I just hot glued the edges down this time. 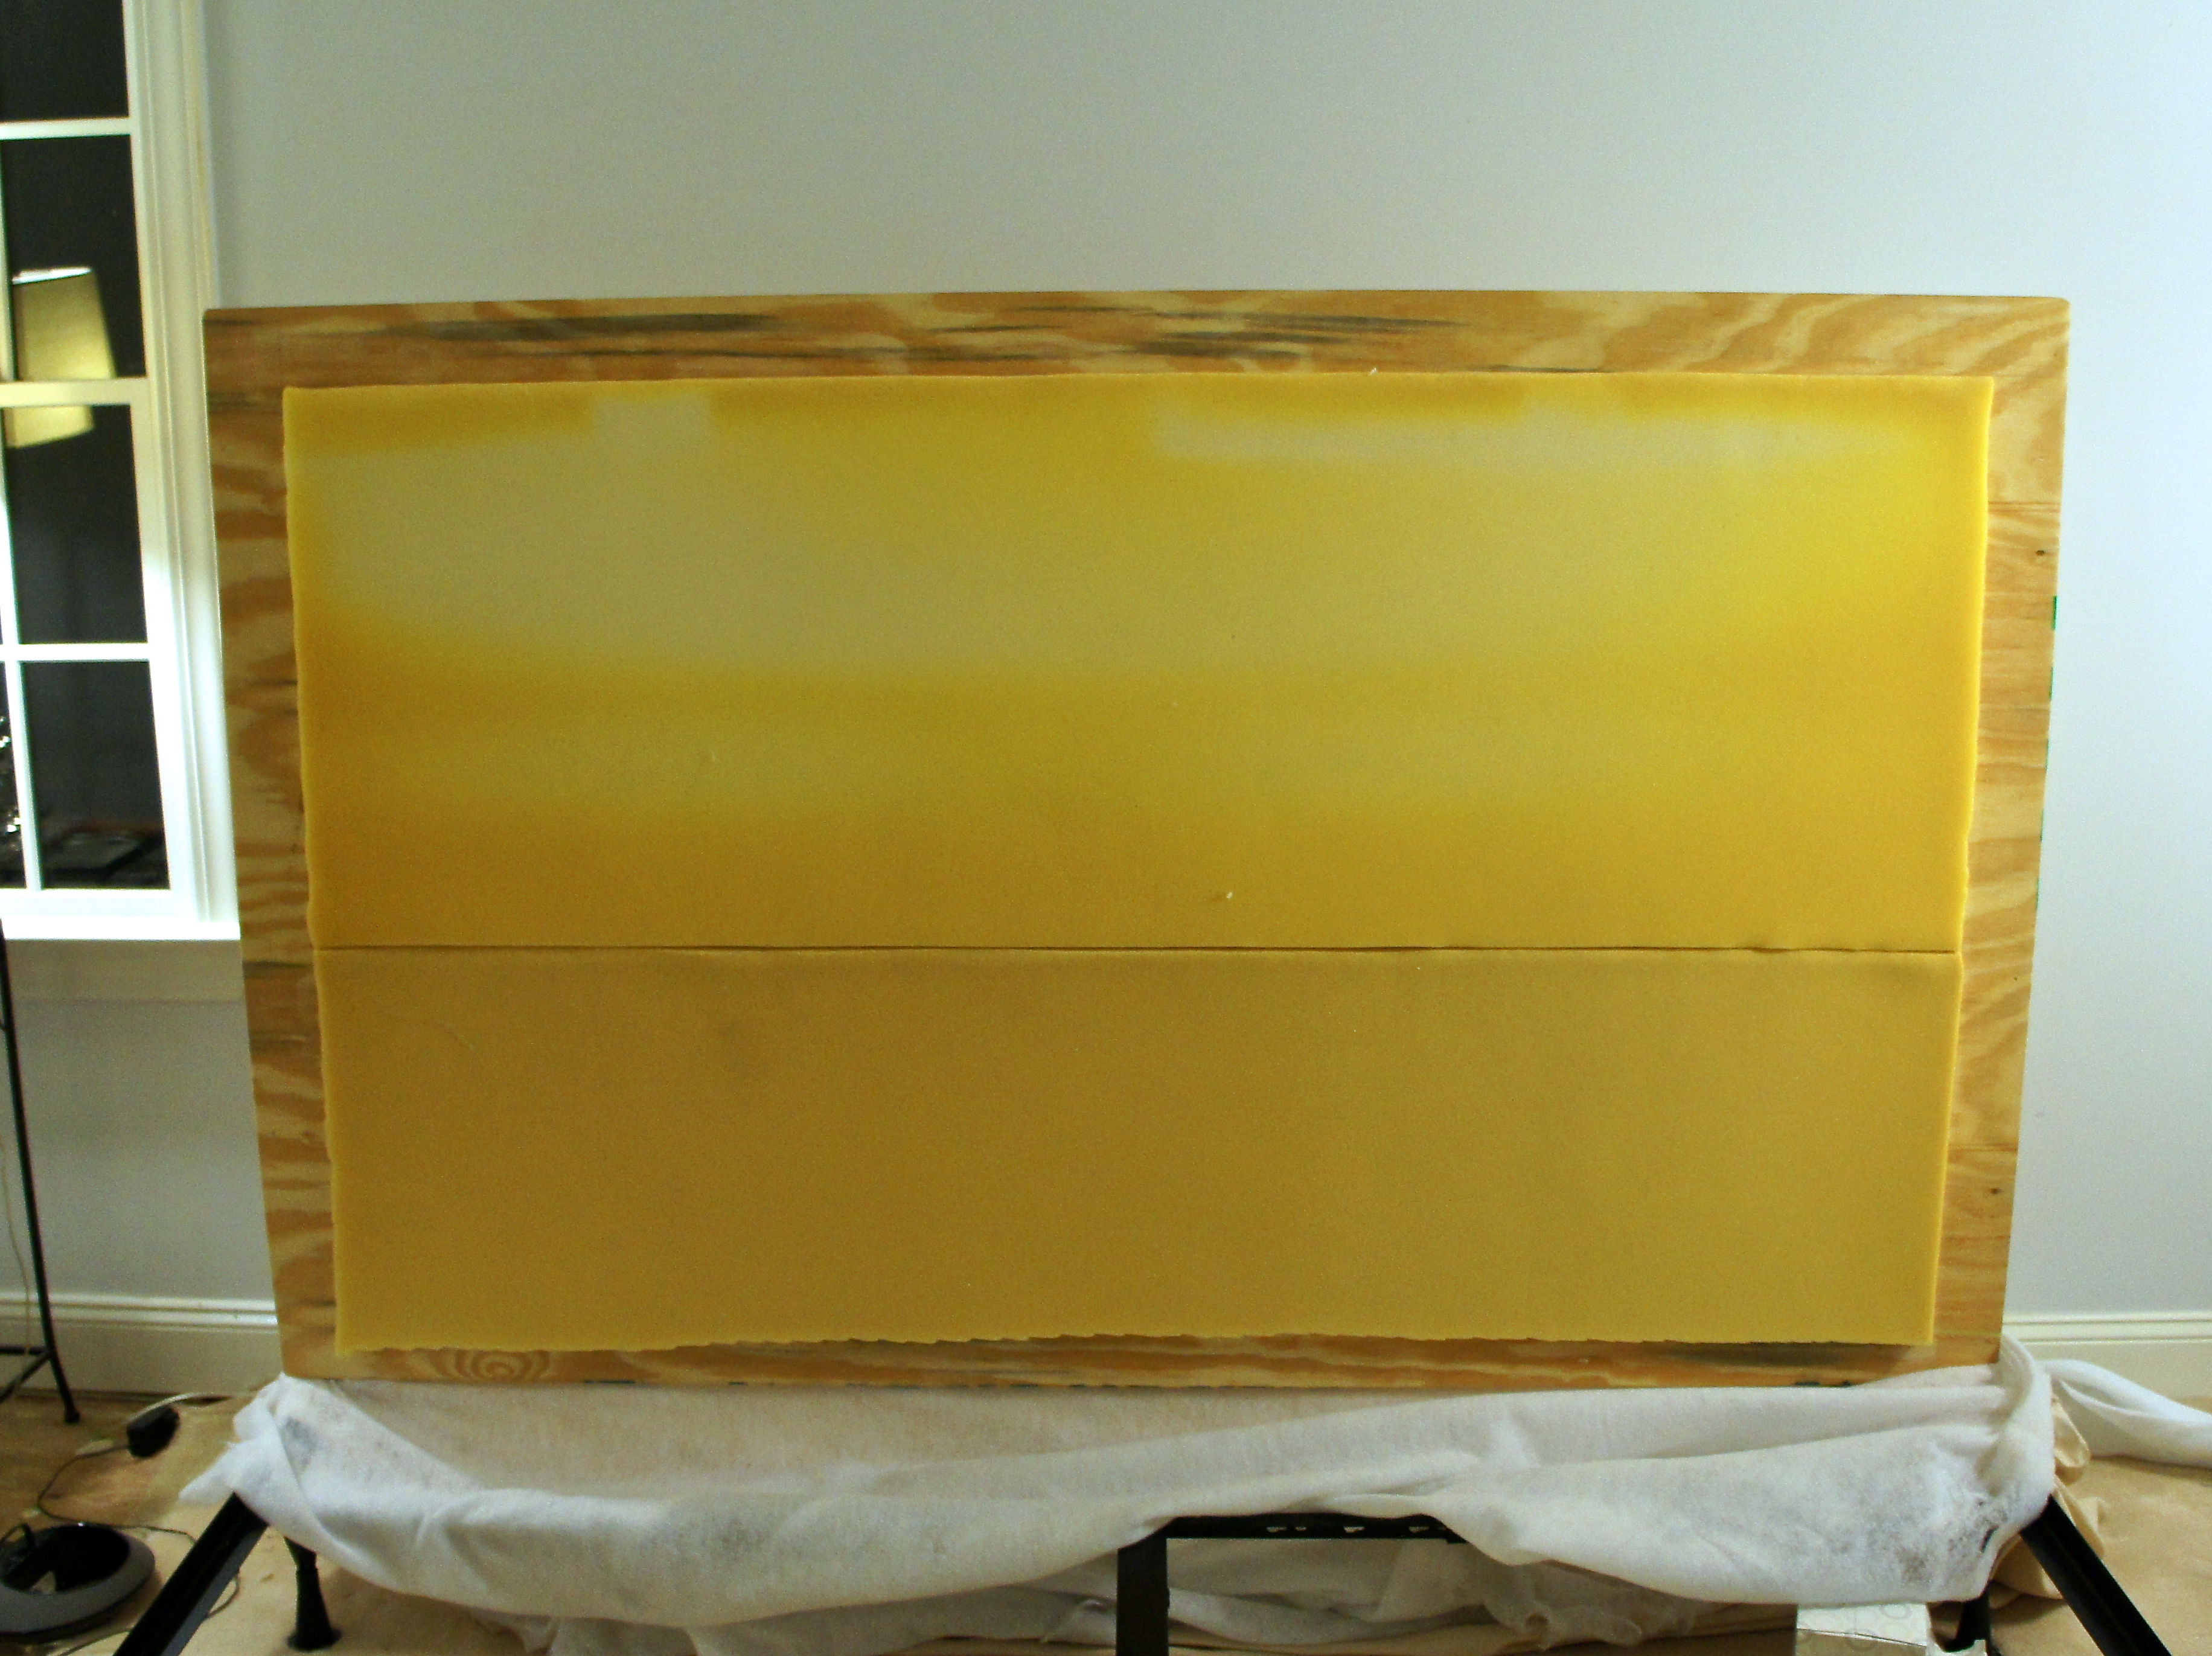 The original headboard was very thin, so to give it a beefier profile we added leftover baseboard molding to the back of the board by cutting it with a mitre saw and nailing it in place with our nail gun. I would have used 1 x 3″ dimensional lumber if we didn’t have a ton of leftover baseboard from doing the basement in our old house. LocTite molding adhesive would work to attach 1×3 to the plywood if you don’t have a nail gun.
The extra thick edge allows for a more professional finish. Using the staple gun, I stapled around the perimeter of the foam. This is important for installing the nailhead trim.
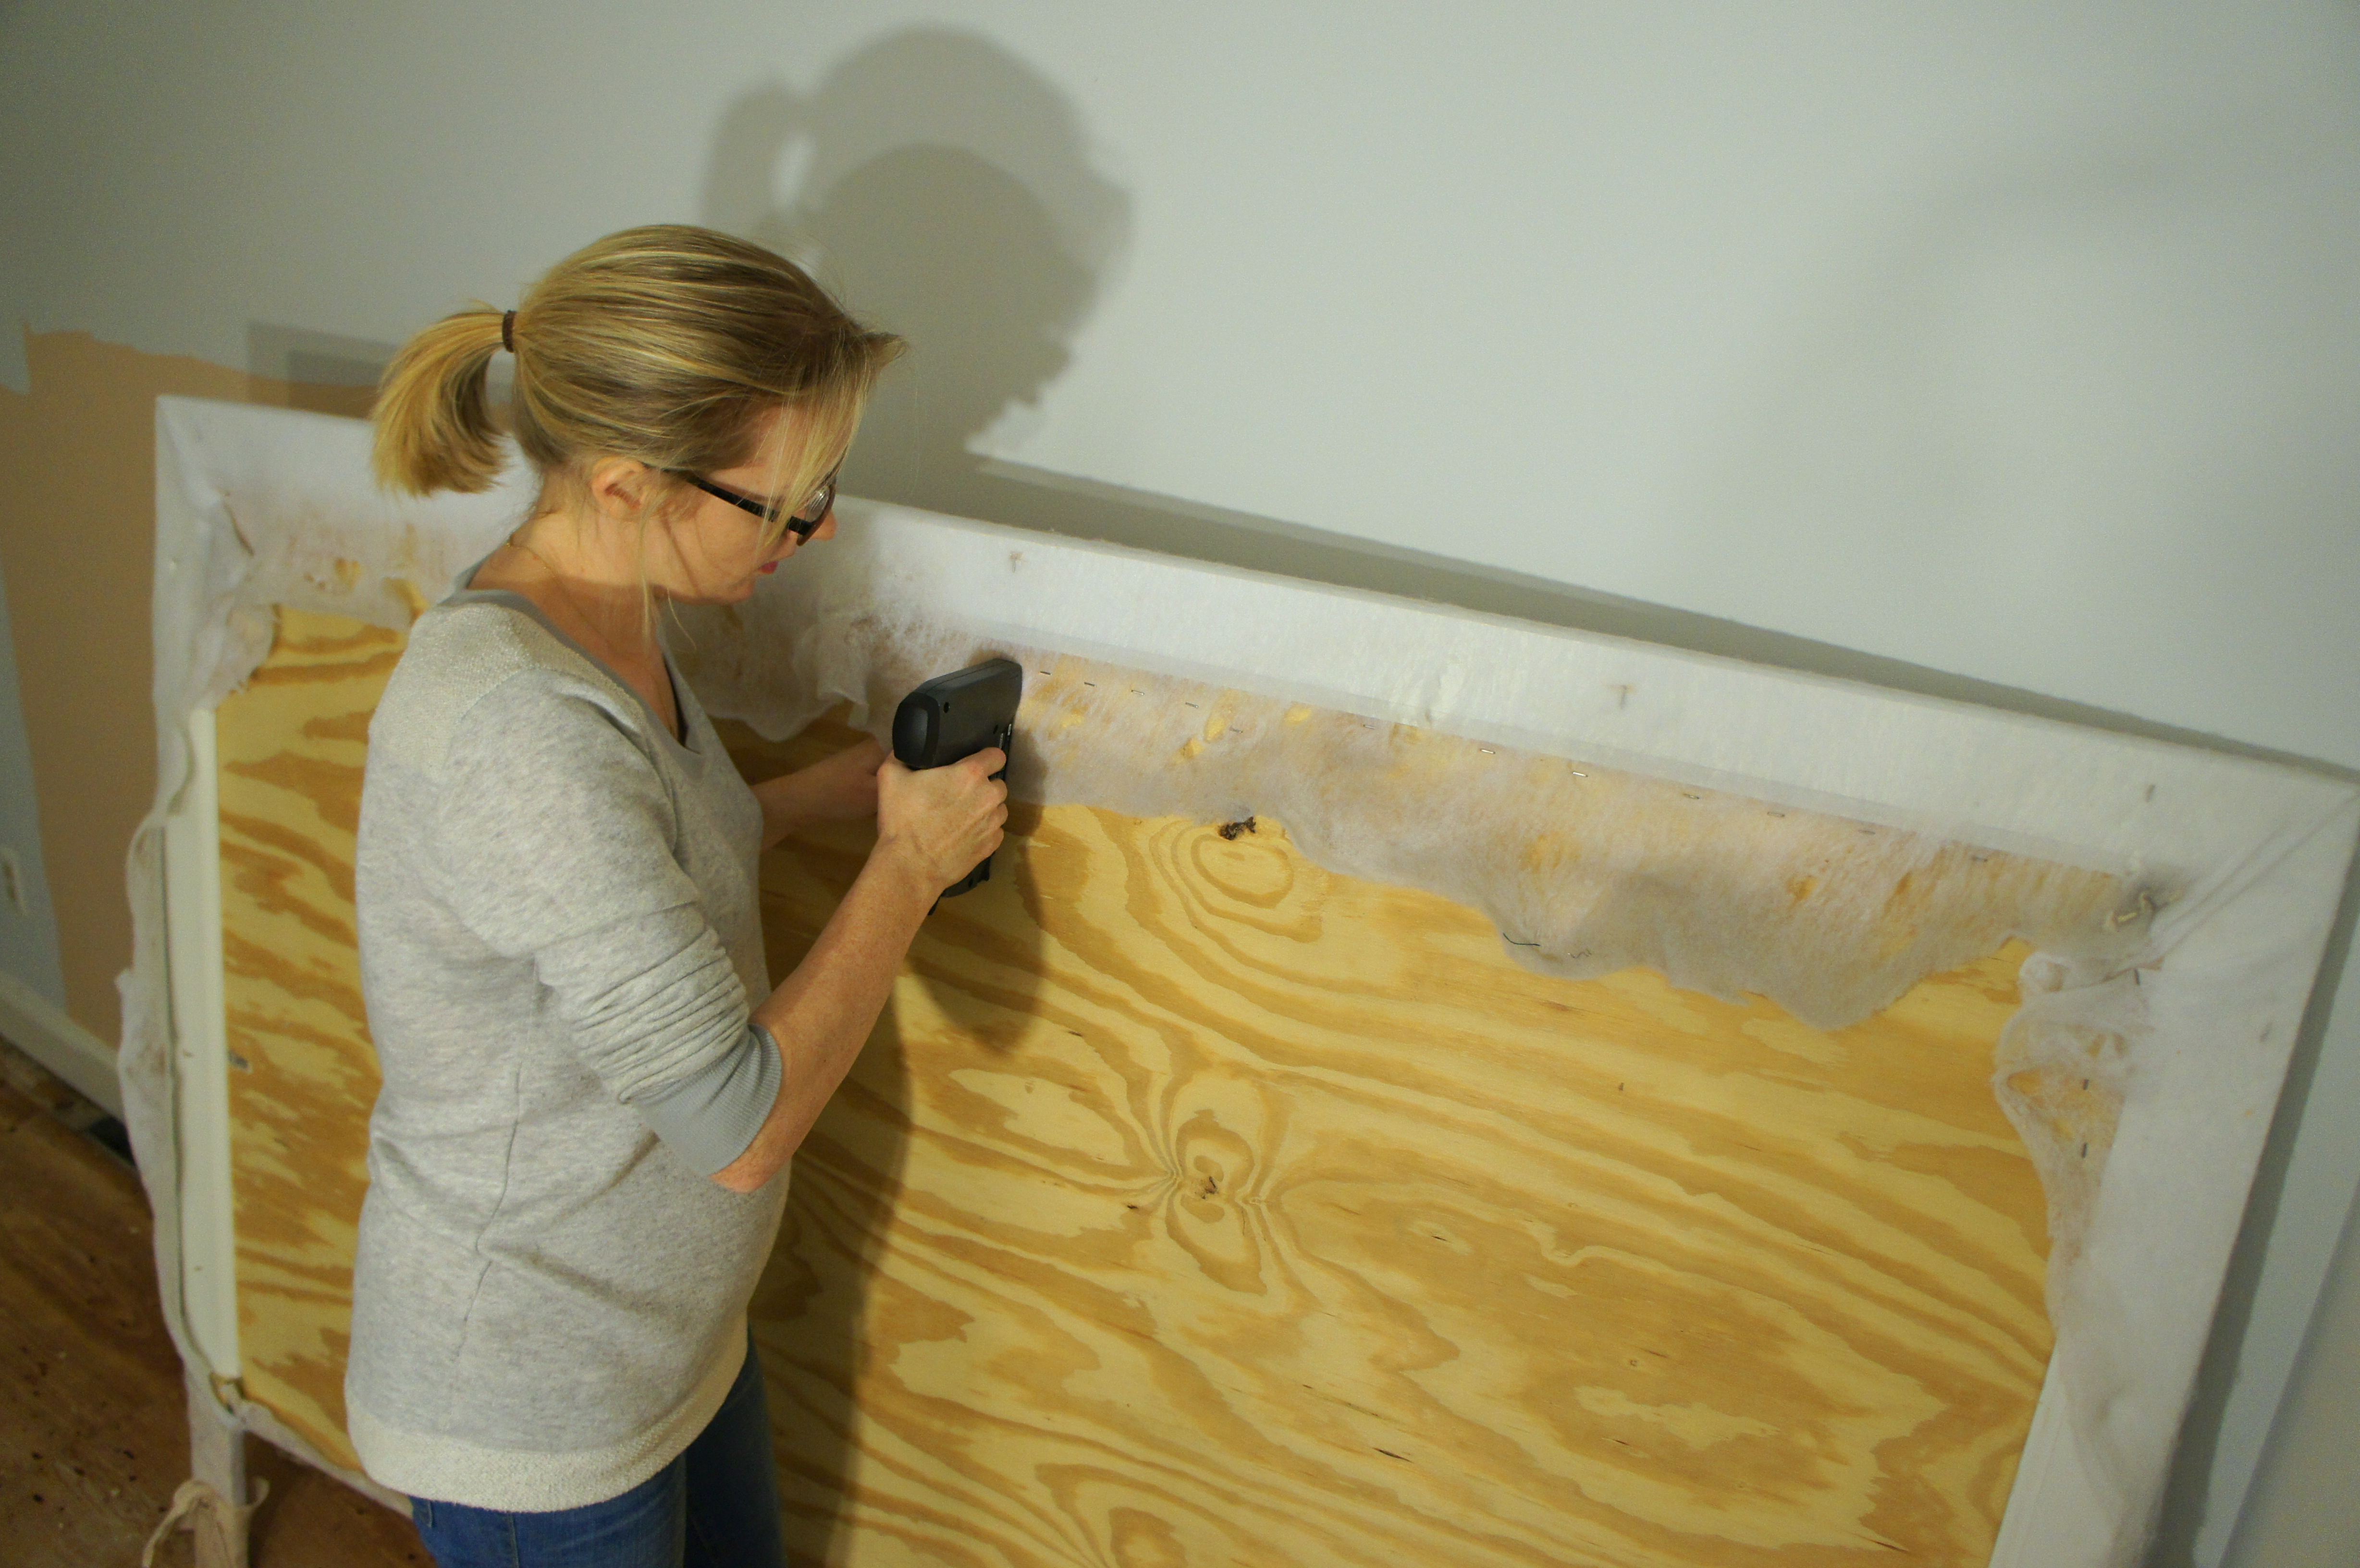
Then, I wrapped the batting around the headboard and stapled it into the back of the plywood.
Here’s a front view:
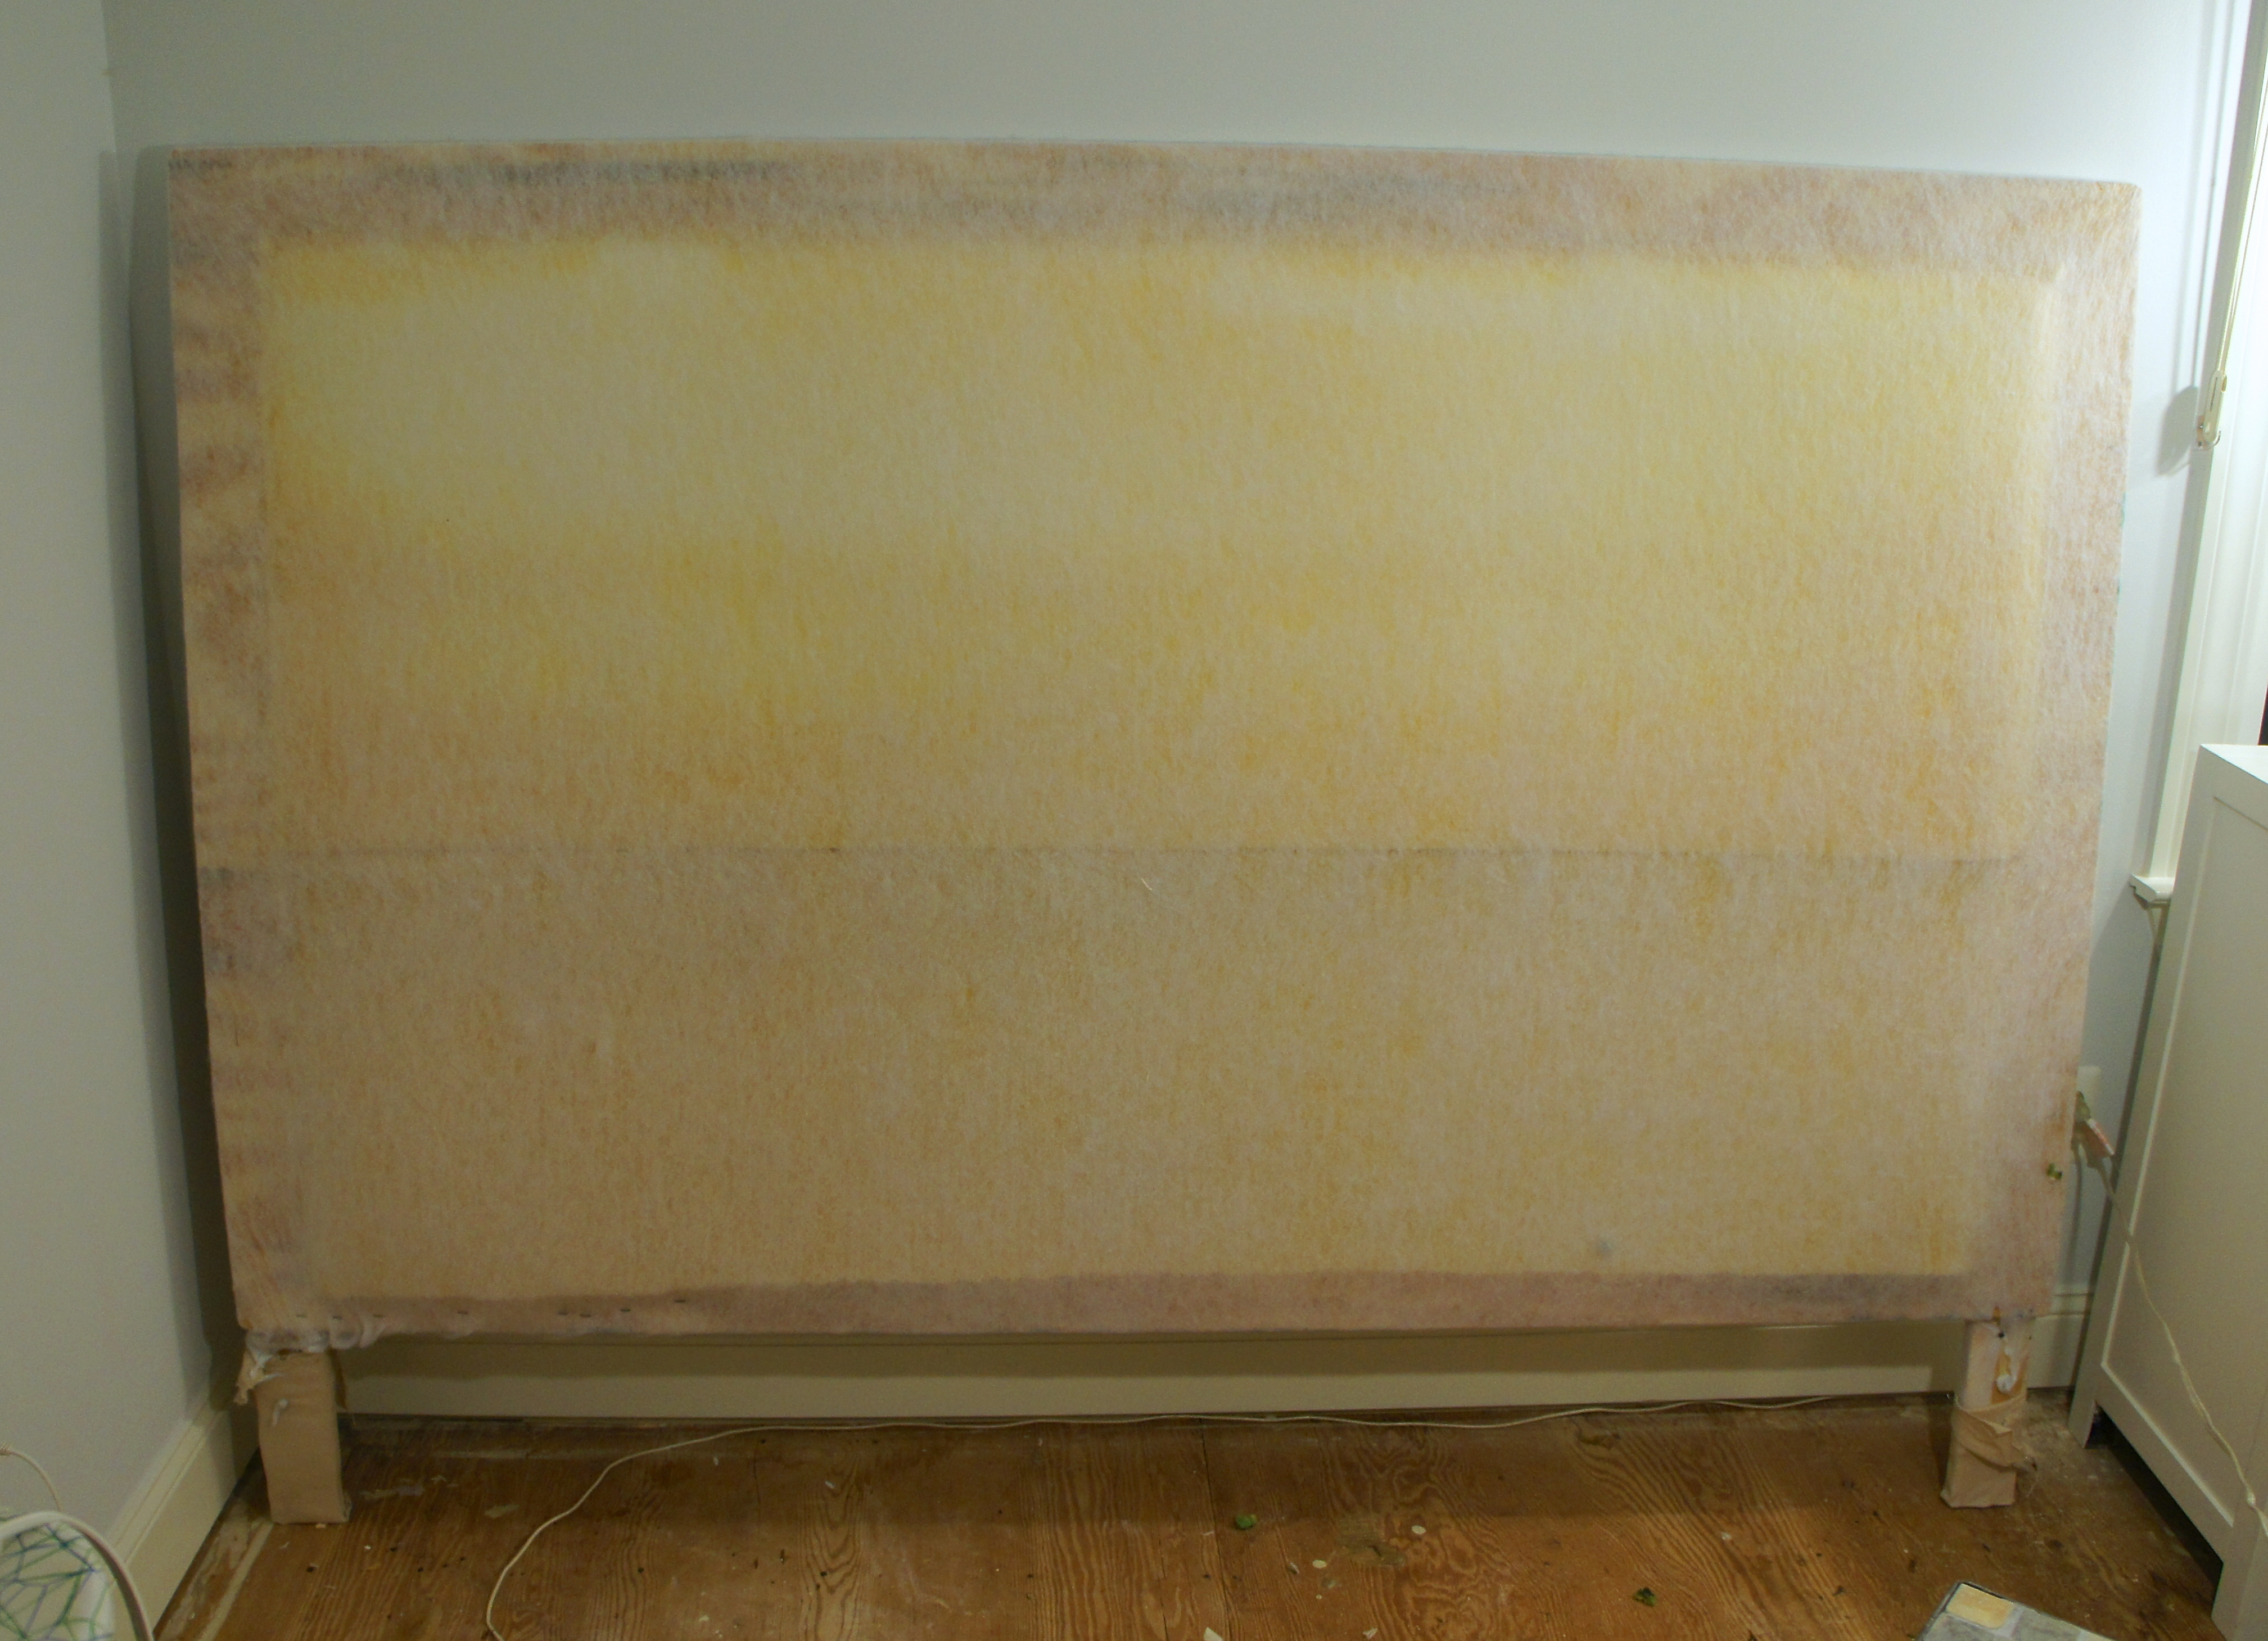
It’s not too much to look at yet, but getting there. The next step is adding the fabric, which gets attached the same way as the batting. Here’s a nice profile view of my six months pregnant belly (I have to say I’m six months pregnant, because I’m really just looking chubby now):
Now for that beefy edge. Using strips of fabric and iron on seam tape (like Stitch Witch or hem tape), I made a 2.5″ wide edge piece to surround the headboard.
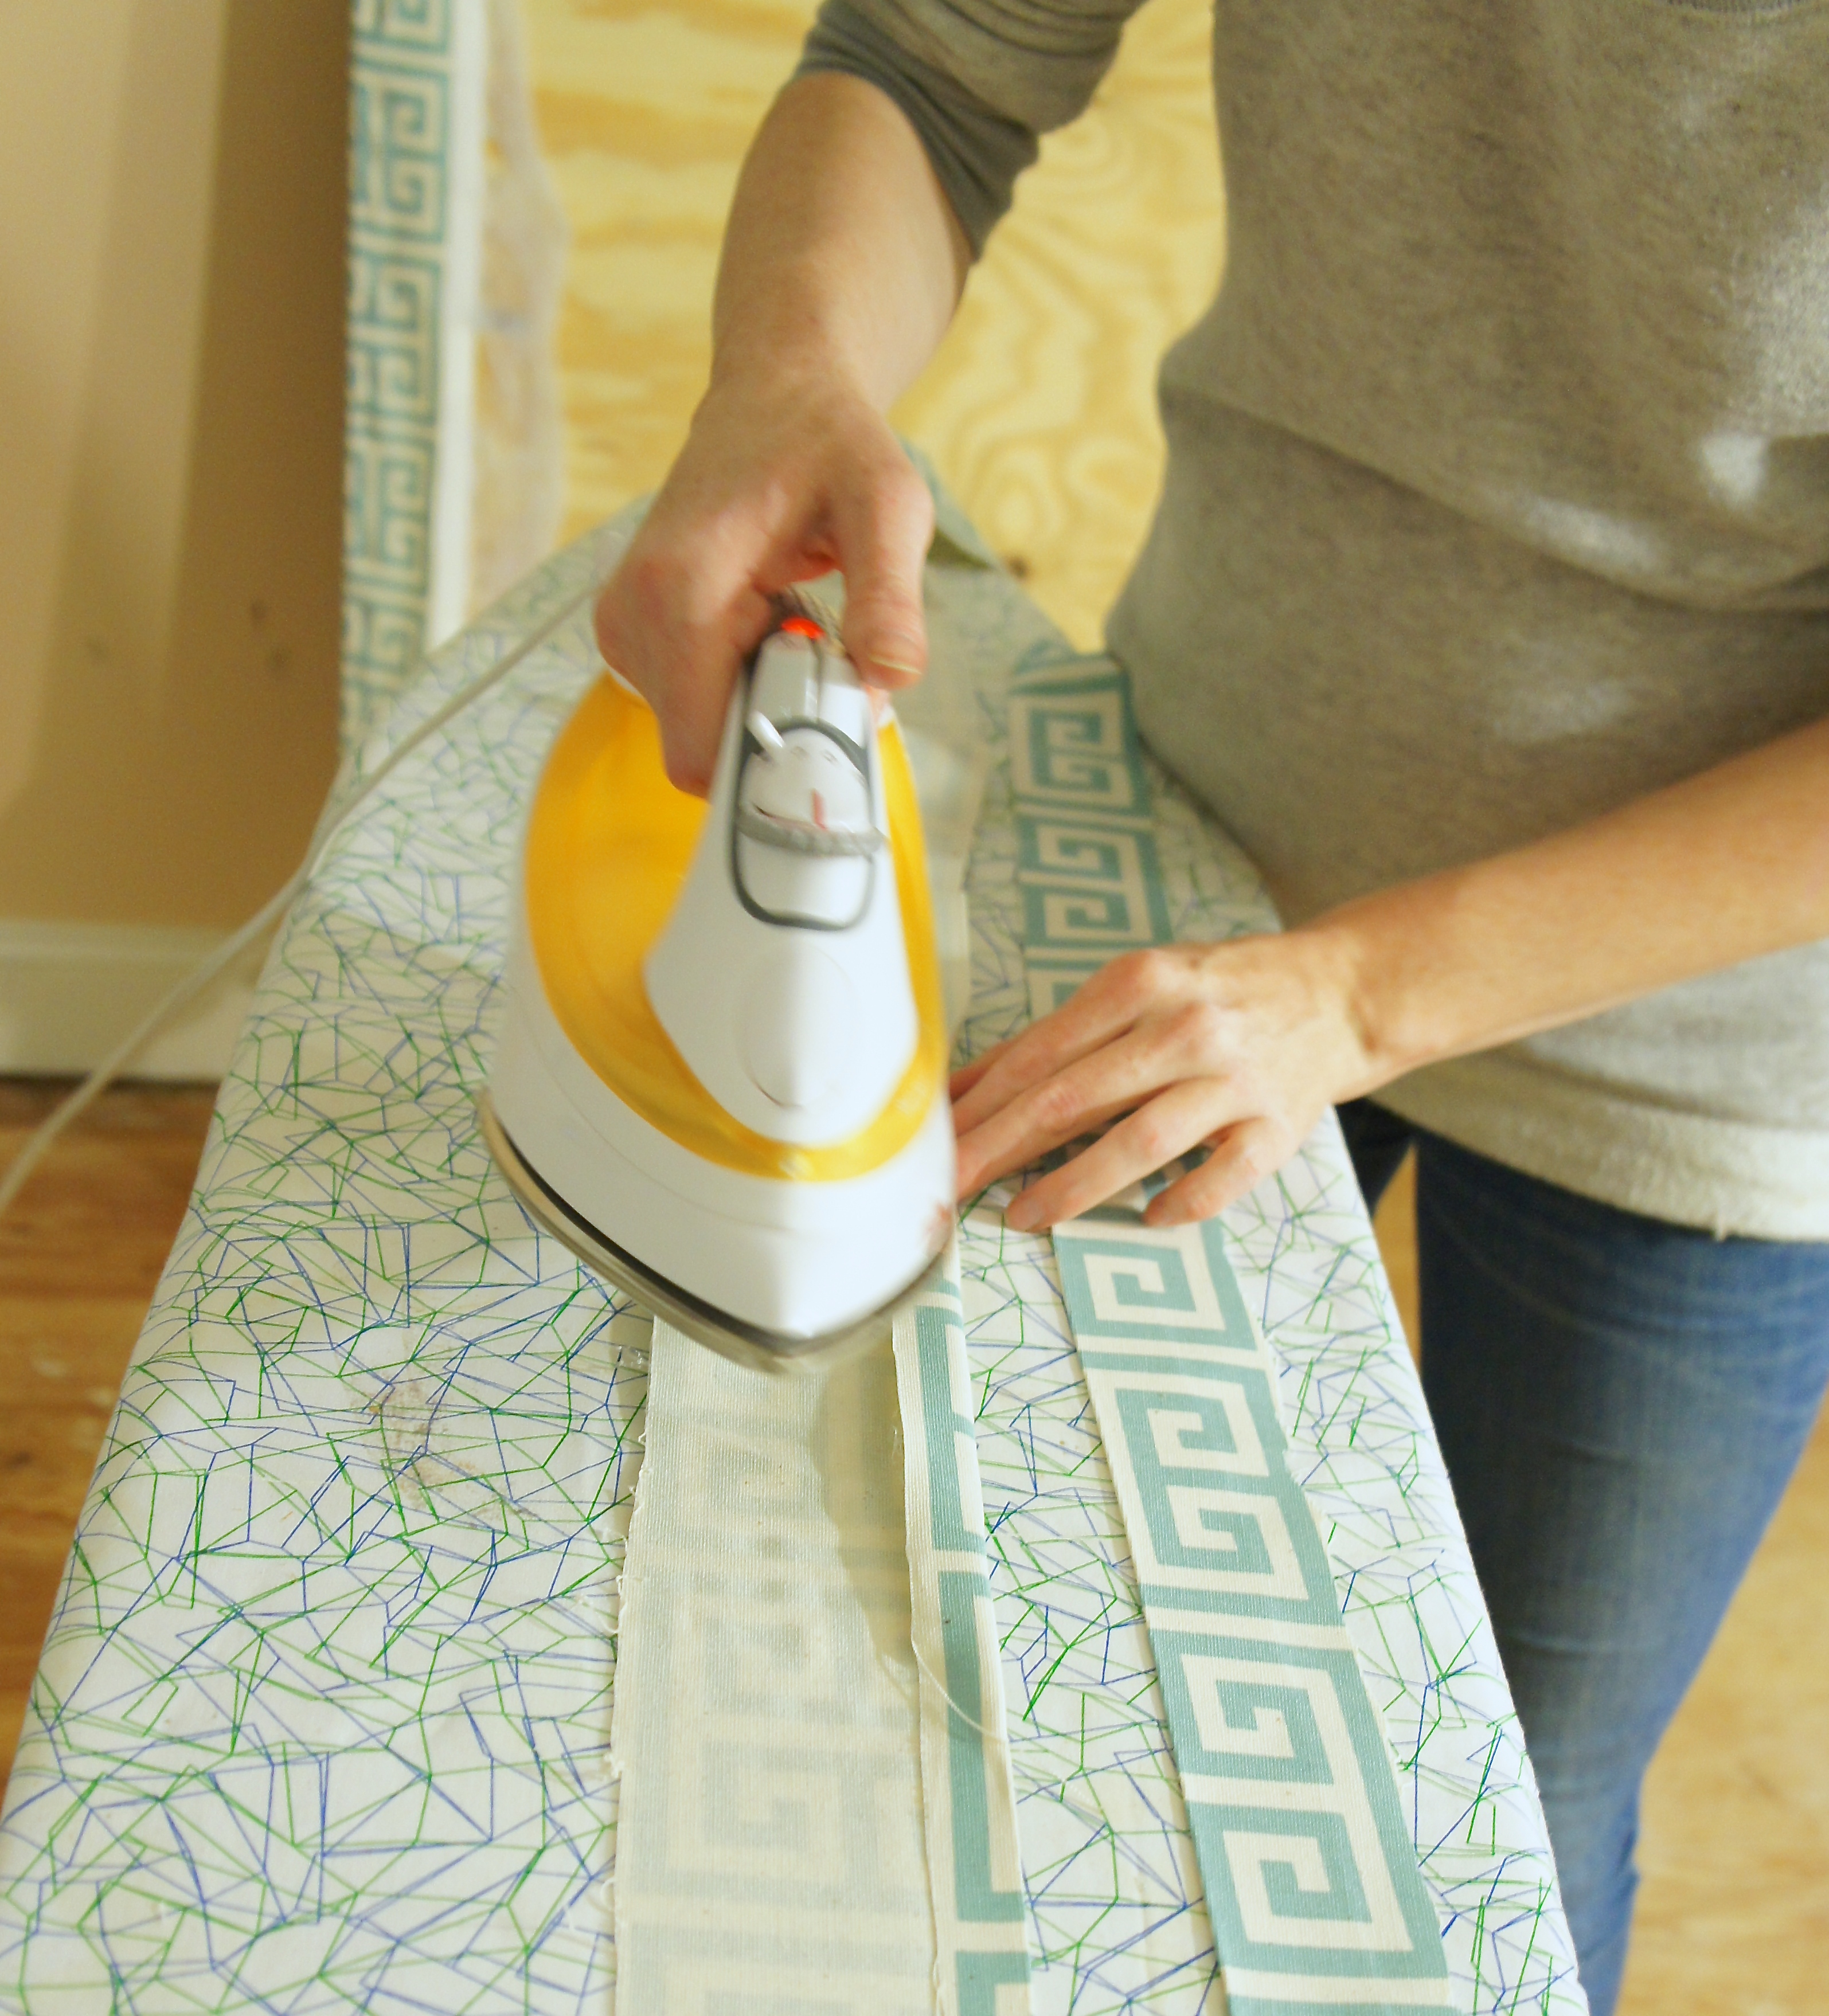
Then I ironed it onto the edge of my headboard, with the folded edge towards the front.
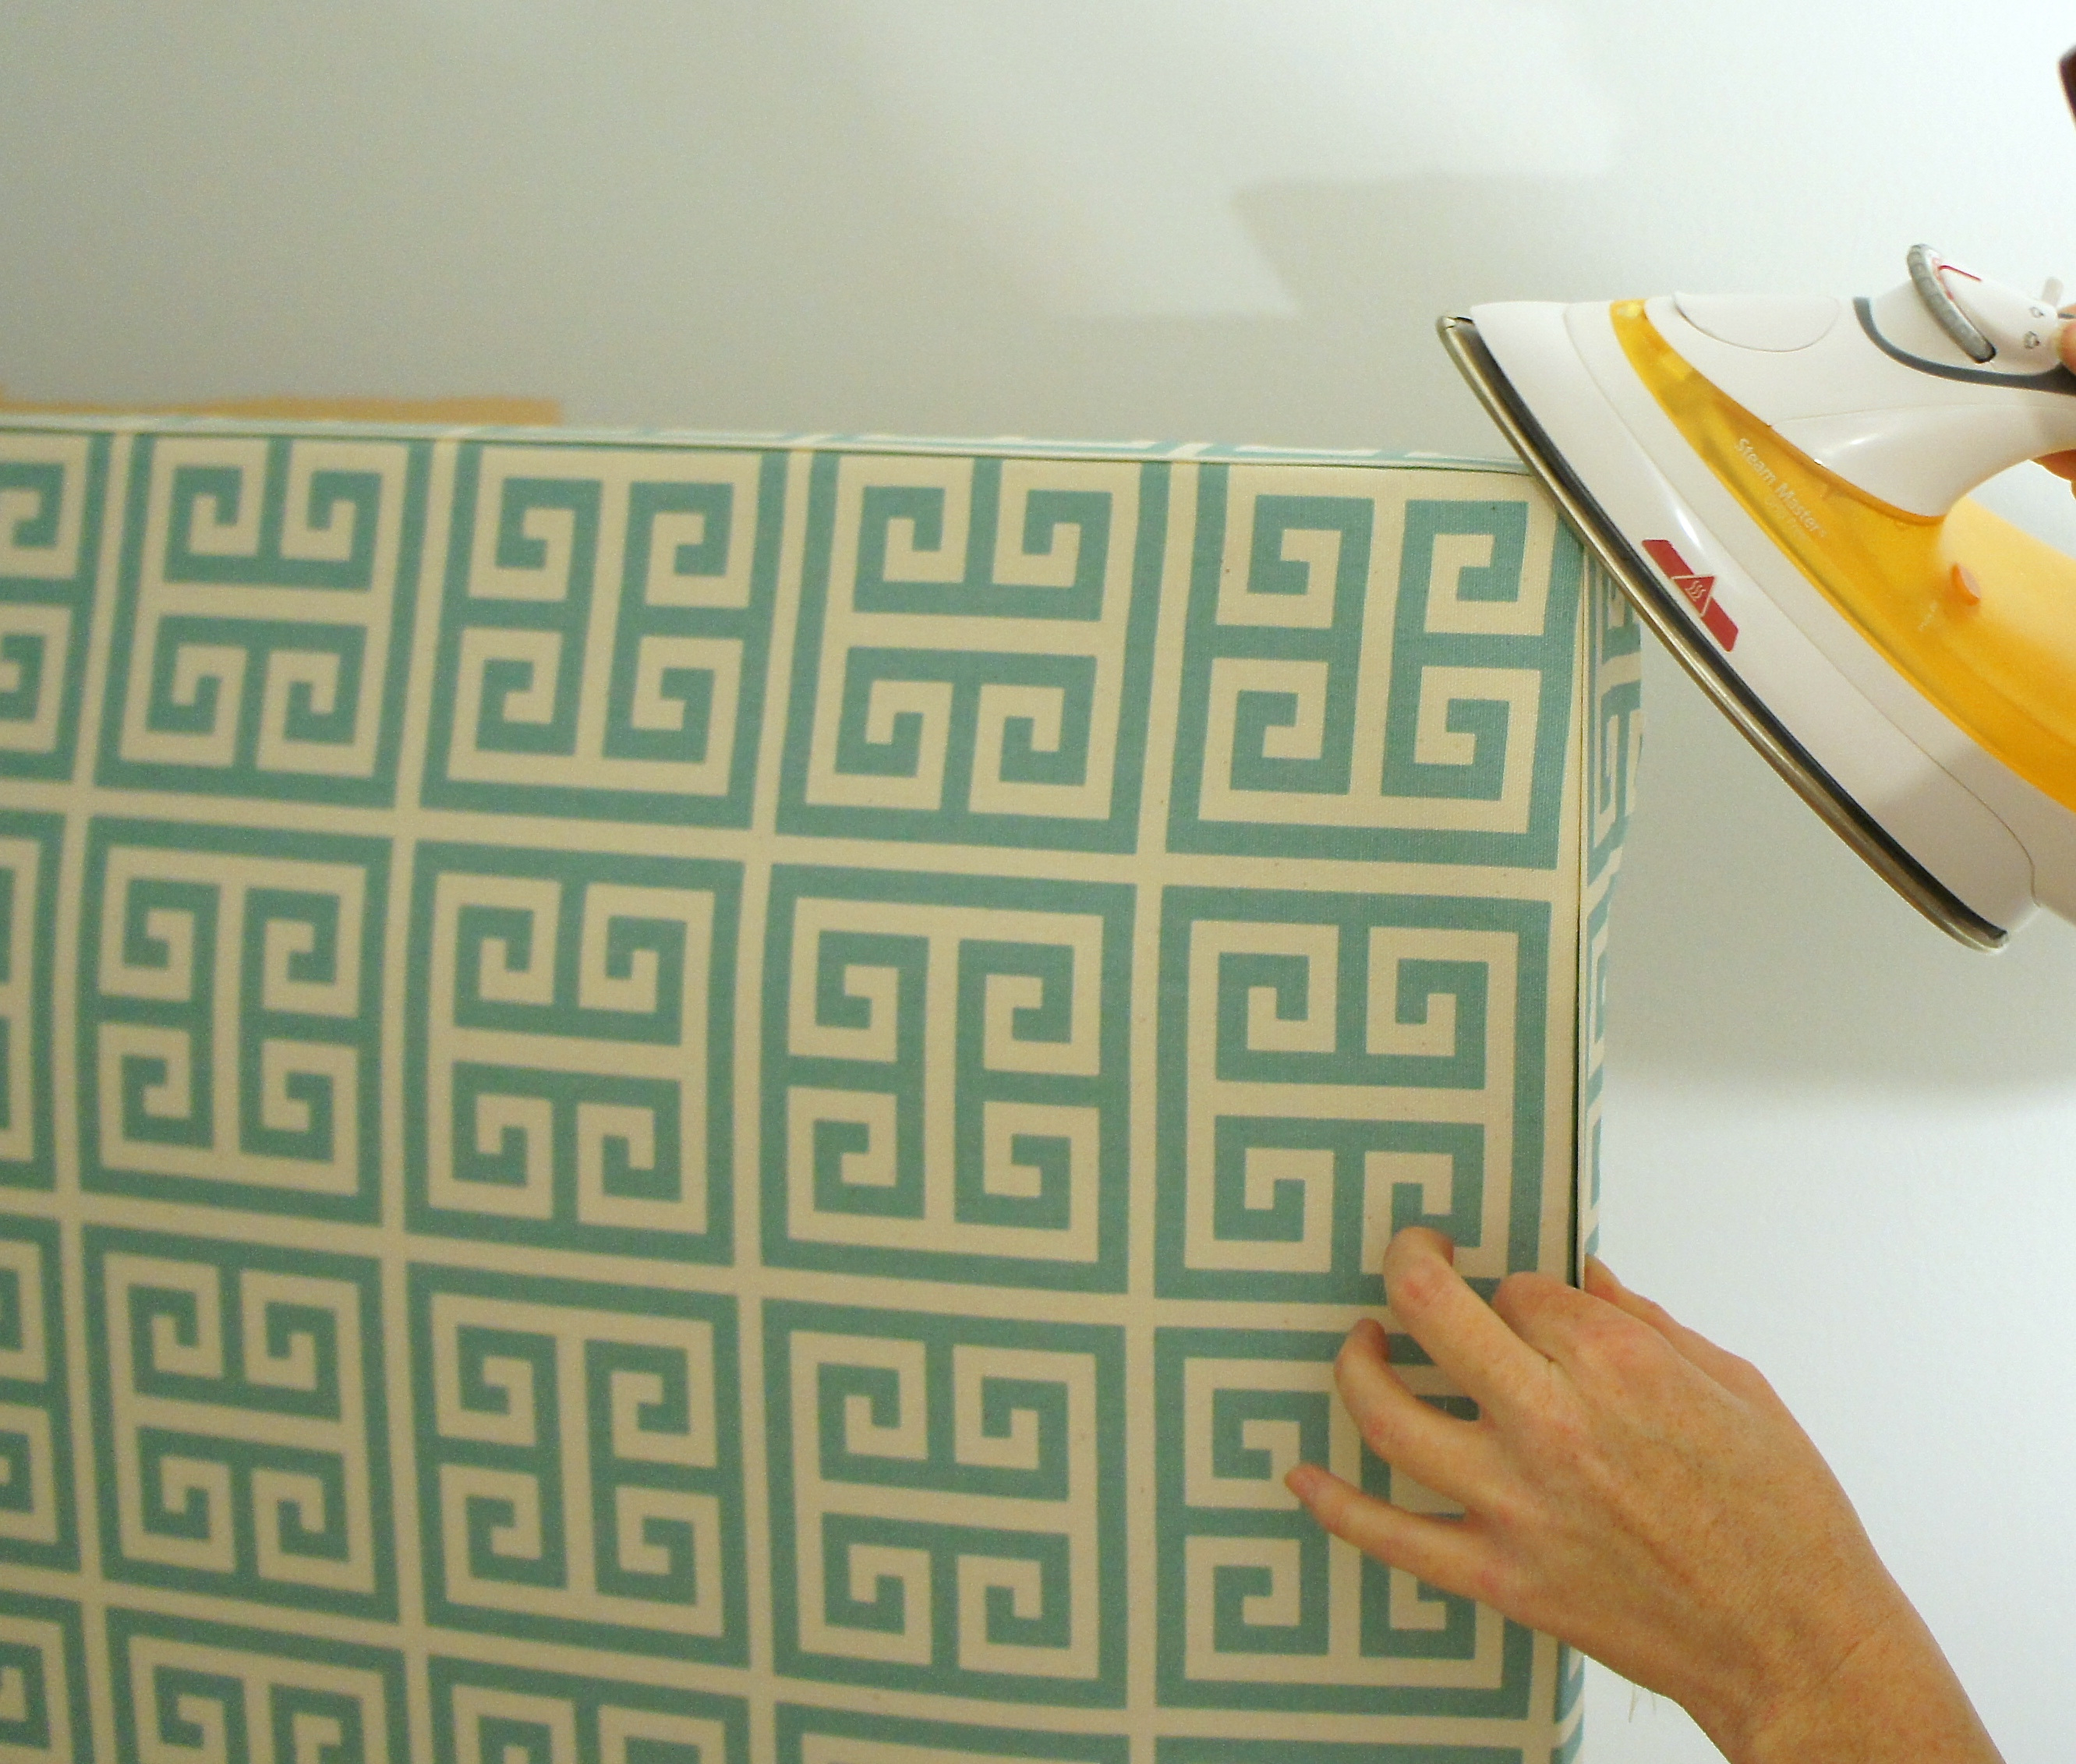
It makes a little more sense after seeing the picture. The edge creates a more “professionally upholstered” look. Now, it’s basically finished, except for the nailhead trim. I ordered these on EBay for $5, they came from Hong Kong, so it took a couple weeks.
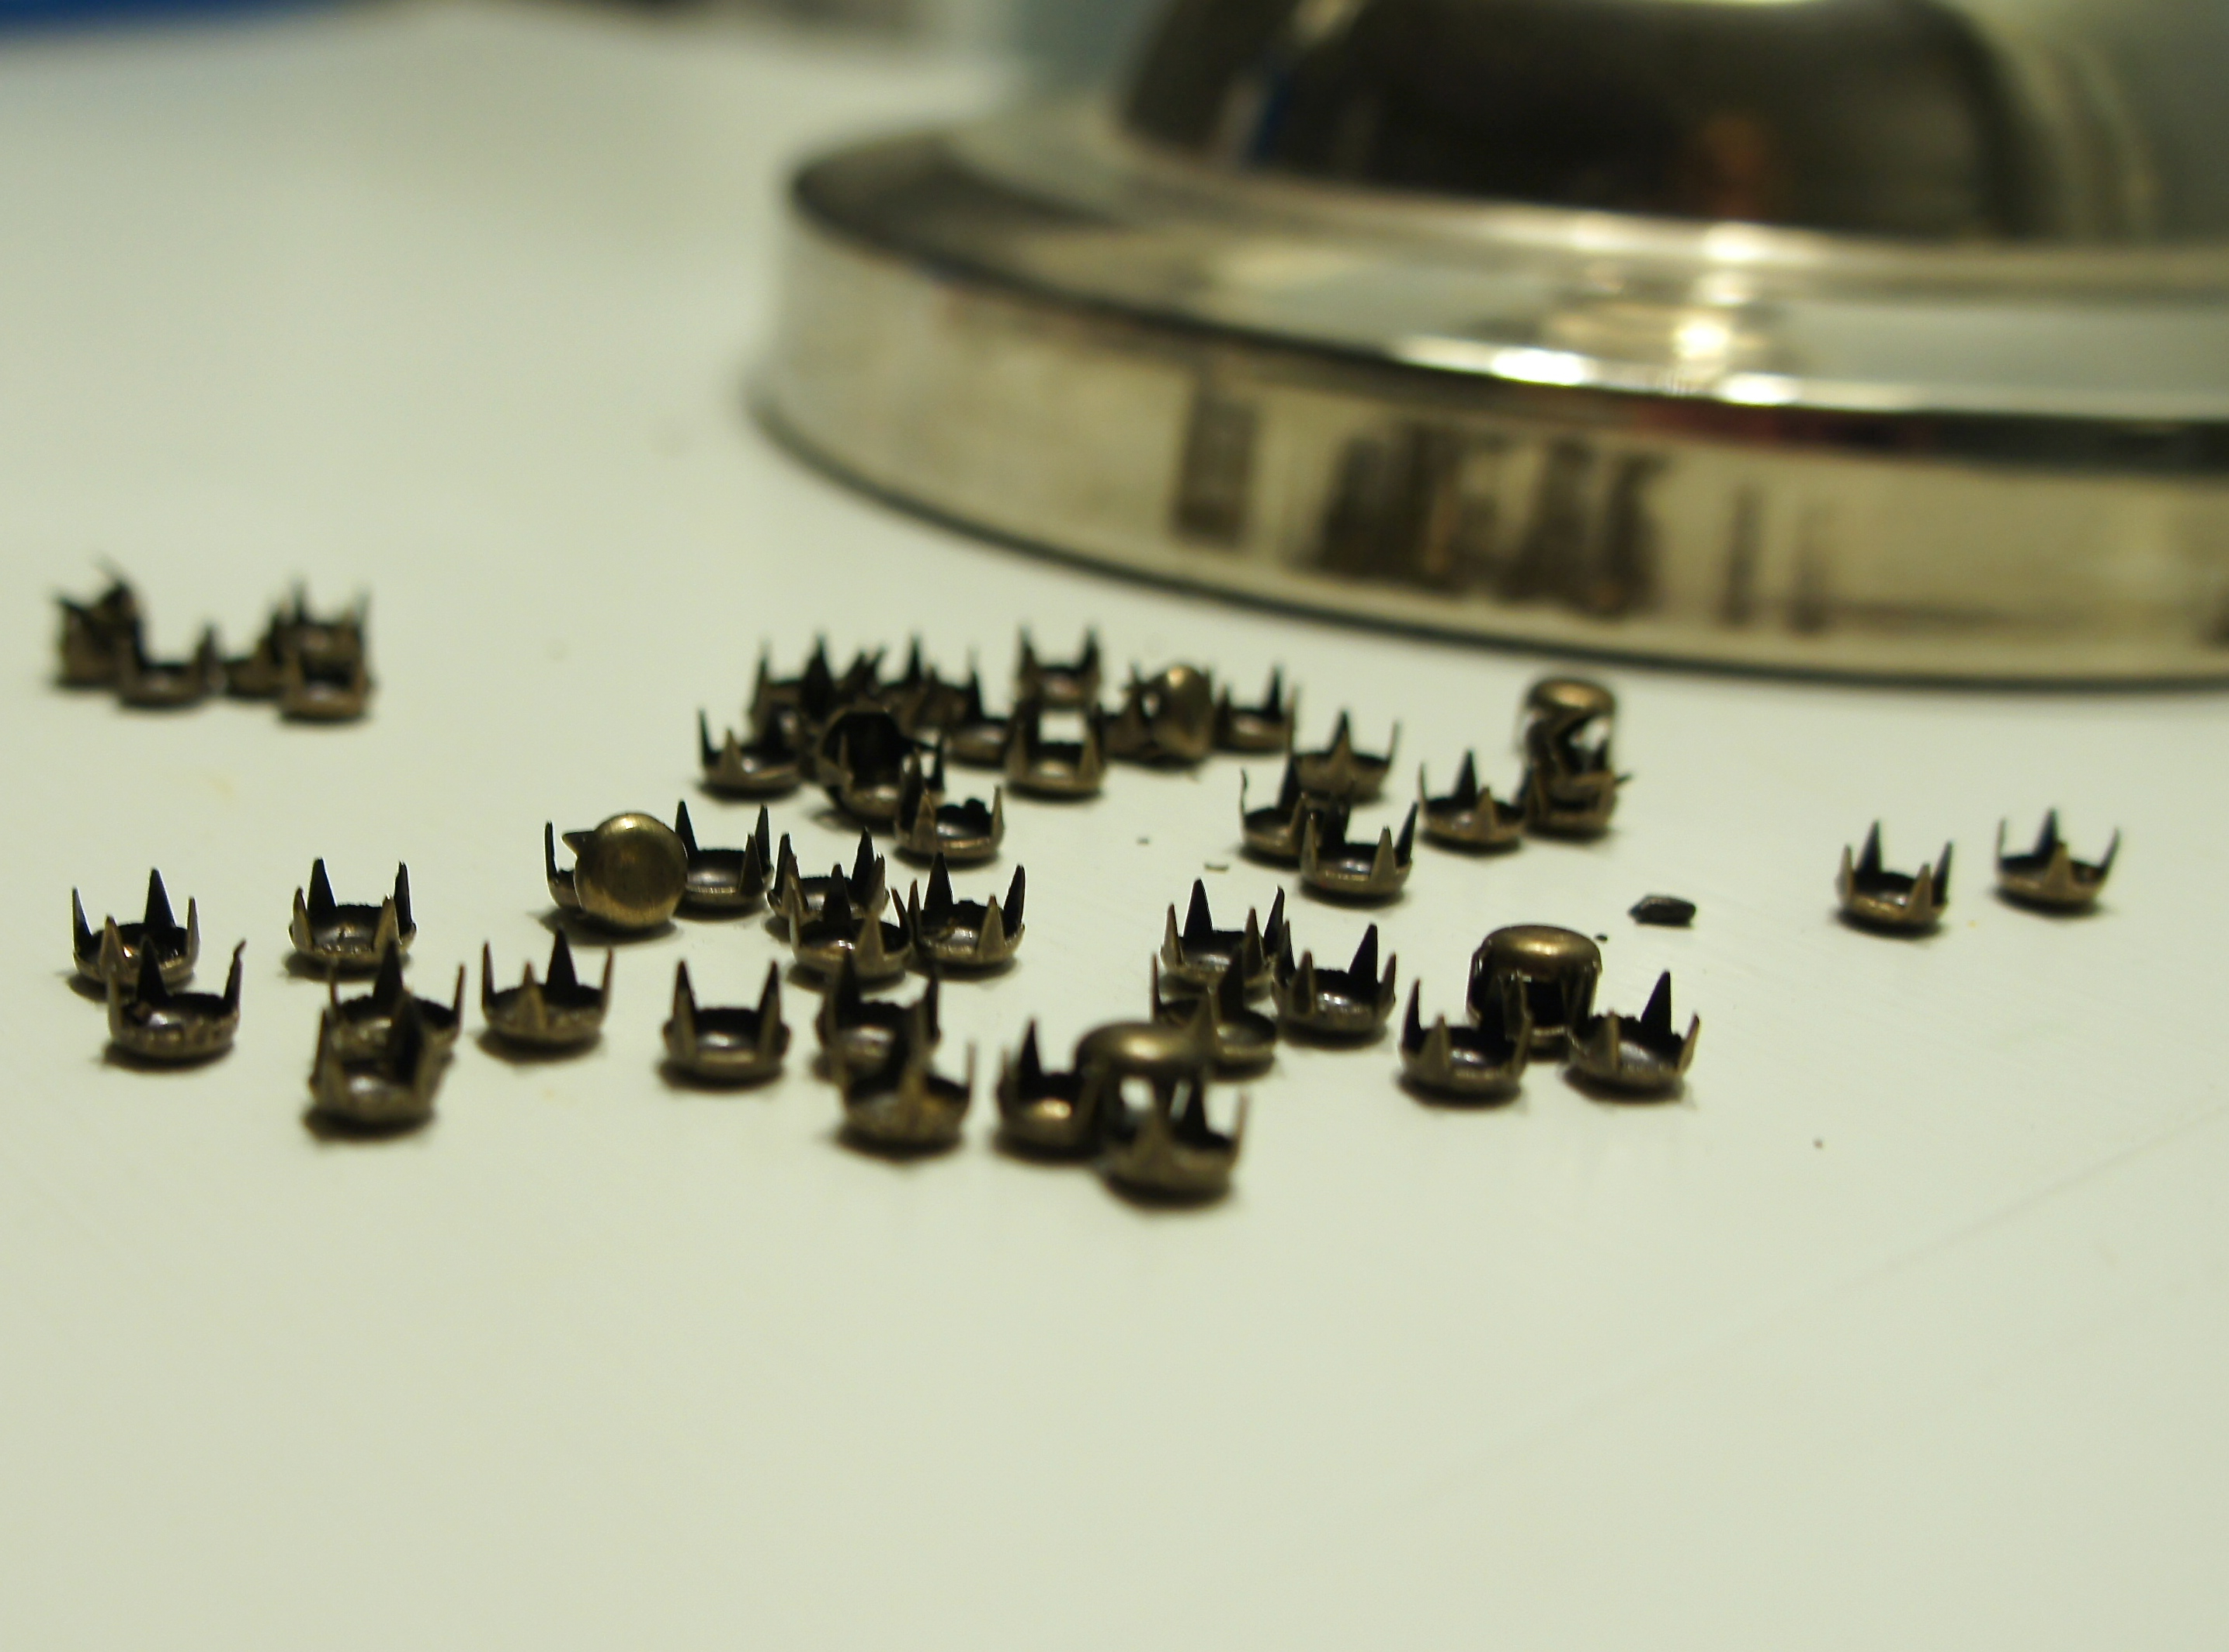
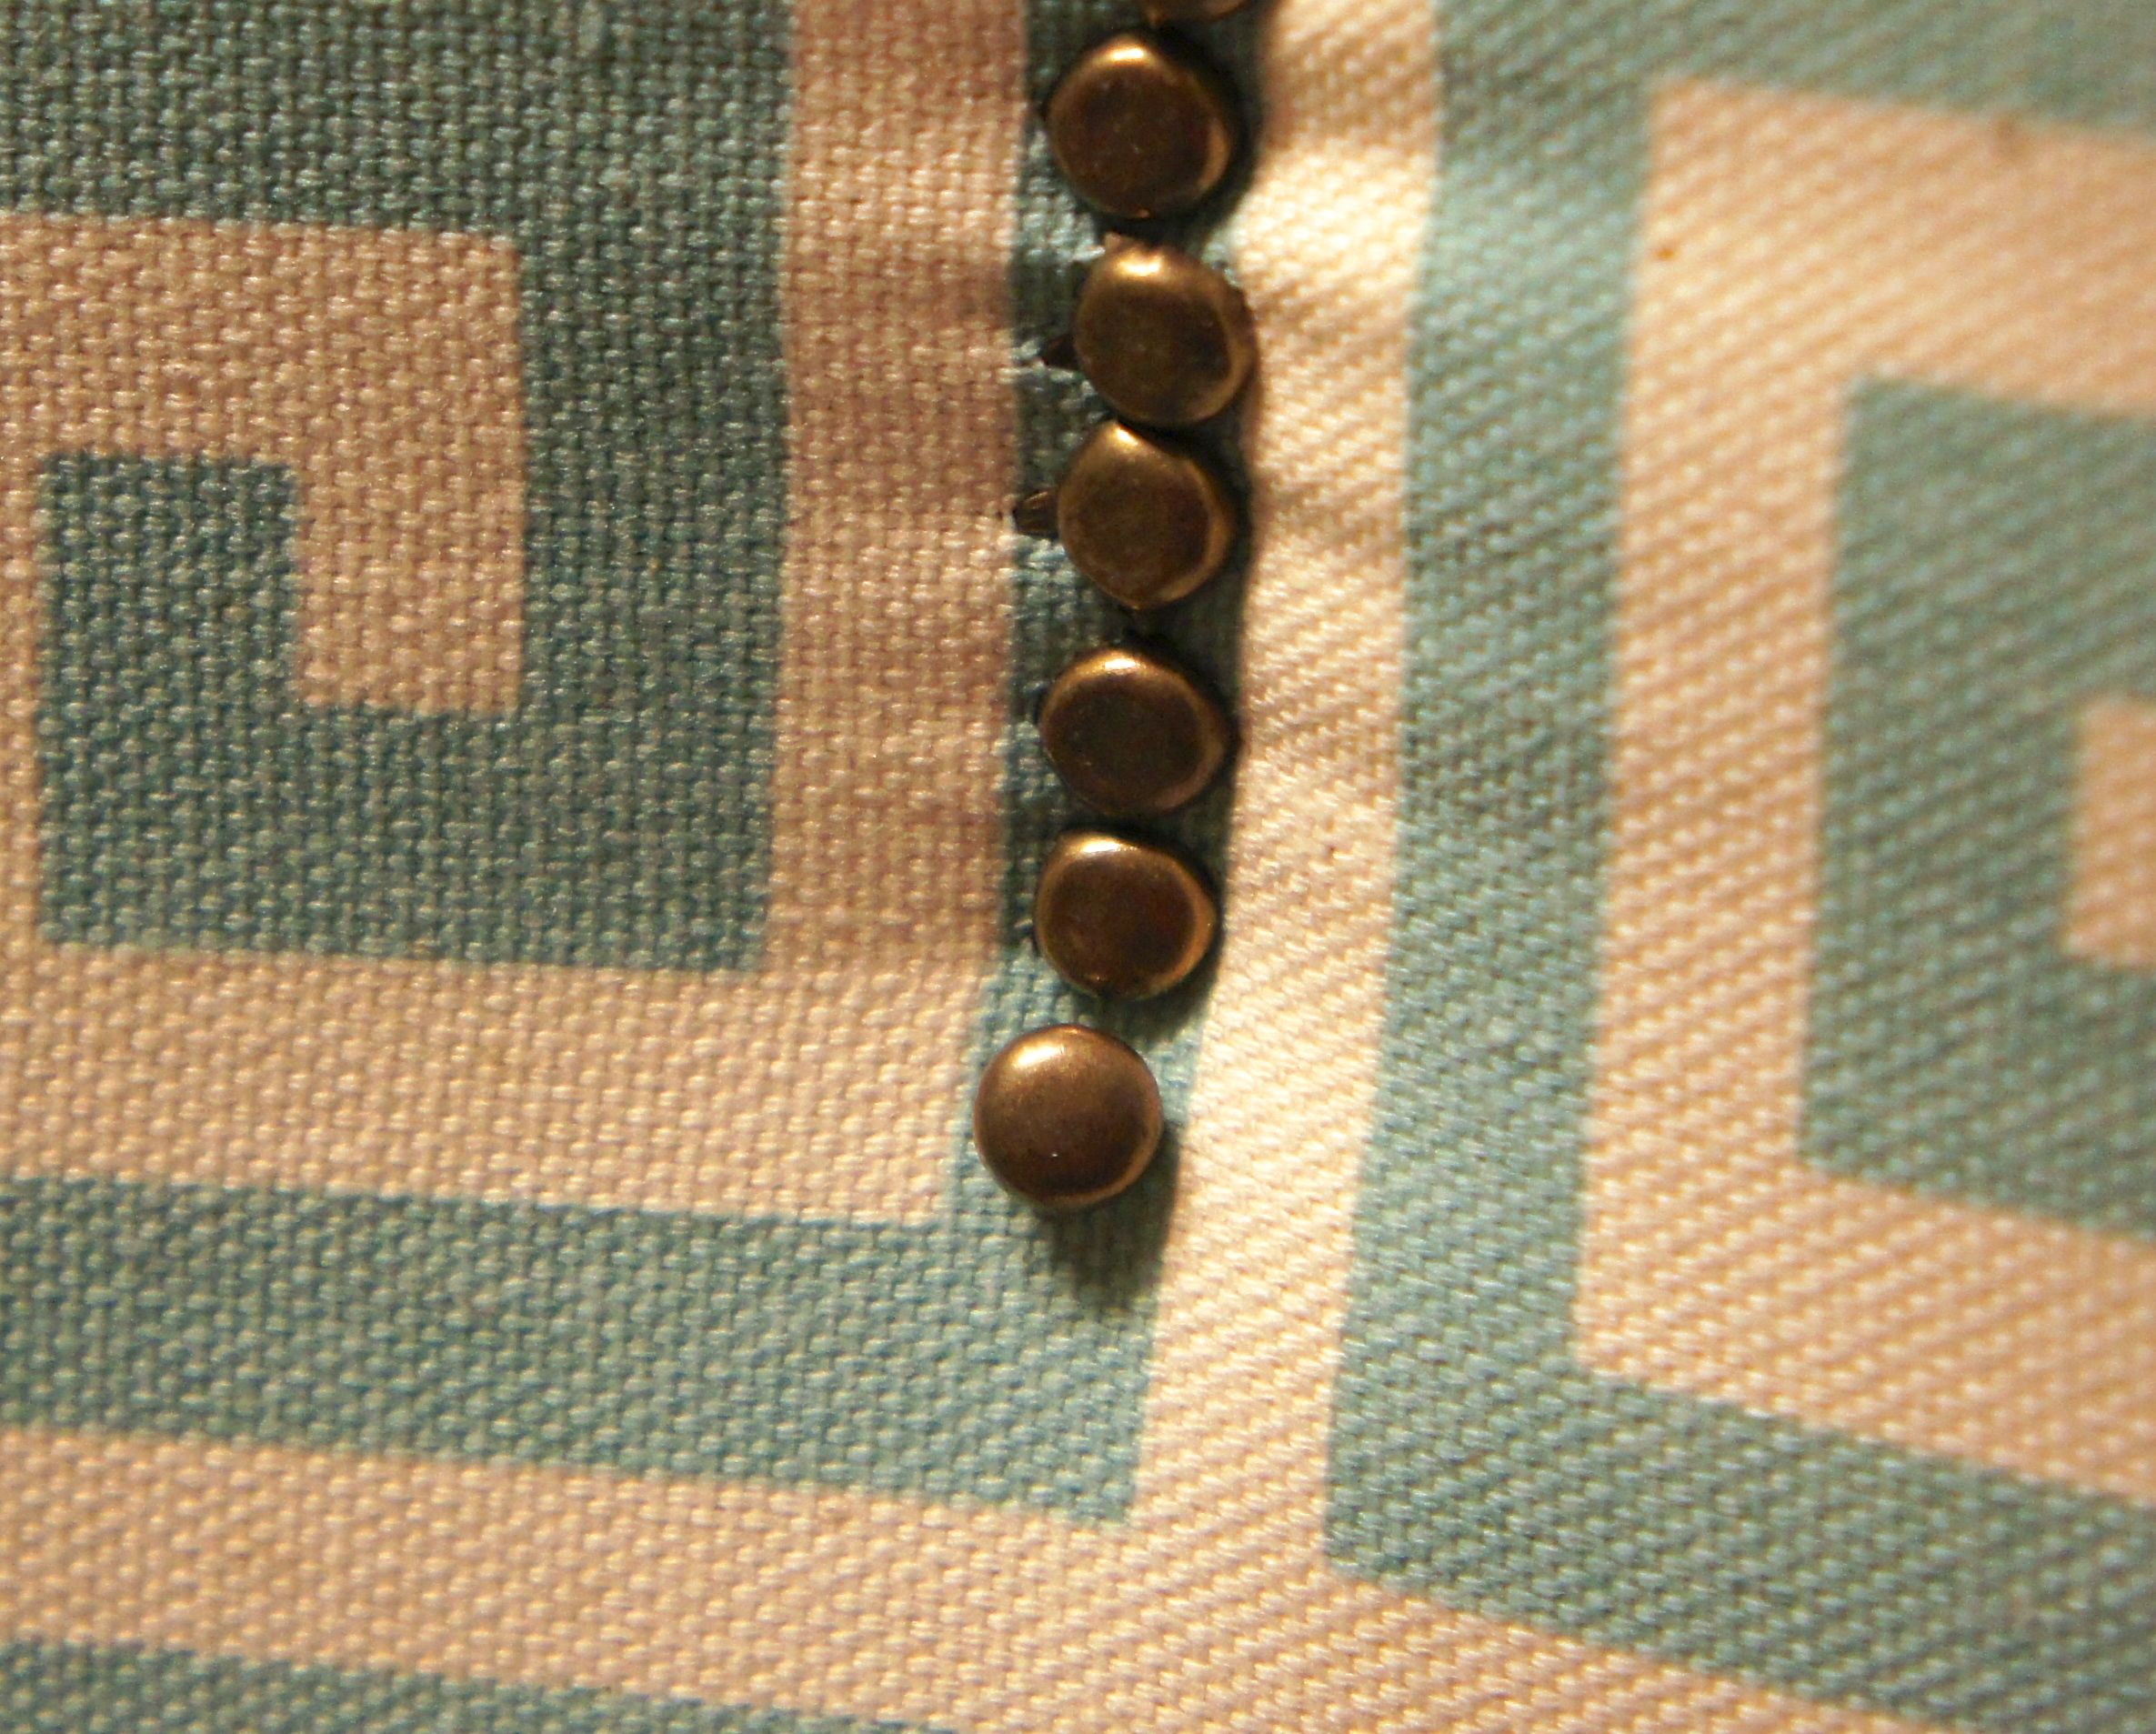
We used a geometric fabric, so I had lines to go off of when installing the nailheads. I just felt around for the edge of the foam and hammered the nails in beside it. Other blogs I read said to use chalk to create a line, which would be necessary if we had gone with a different fabric. In any case, this was the most tedious part. It was easy, but I had to go one by one. They aren’t totally straight, but when you look at the headboard as a whole it isn’t an issue.
Now for the finished product:

The fabric is really bold, so white bedding keeps it from looking too crazy in here. We really like it, and G is looking pretty cozy:

Total cost of our headboard-$135. Hard to beat, and it’s pretty soft to lean up against. That’s it for this evening, we’ve been painting all night, so it’s time to enjoy our cozy new bed. Sweet dreams!
Tags : bedroom, DIY, headboard, nailhead trim