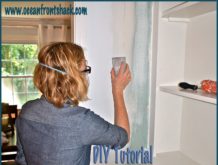

I painted before starting on the trim. First, I removed the hardware, and then scrubbed everything down with dish soap. Once it was clean and I used a 2″ Nylon paintbrush. I’m not a fan of foam rollers. They tend to leave roller impressions, and I feel like brush strokes look more organic. We had purchased new exterior doorknobs and locks instead of having a locksmith come and rekey the house. I wanted to get rid of the brass hardware, and the knew knobs weren’t much more expensive than a locksmith. We bought Kwikset doorknobs, which allow you to rekey them at home, DIY. We have two other exterior doors that we put new knobs on, too, and we keyed them all to match. It took all of two minutes.
I chose oil rubbed bronze knobs because I spray-paint my brass hardware, and oil rubbed bronze spray-paint is the best looking of Rust-oleum’s metallics. Young House Love has a great tutorial on spray-painting hardware. It’s a really inexpensive way to modernize, I do it all over my house. In my kitchen I found polished nickel bin pulls from the Restoration Hardware Outlet that are usually $17 each, for $4, but I wasn’t able to find brushed nickel knobs for my cabinets to match, so I ended up buying really cheap knobs and spray painting all the hardware the same color. I think it turned out great, and it allowed me to use high-end hardware for less than I planned on spending on something off the rack from Home Depot.
After the paint dried I was ready to get started on the trim.
Materials
1. Door casing, this will go on either side and possibly underneath your door, depending on the height of your threshold, so measure accordingly, I bought about 20′.
2. Primer (unless your casing is pre-primed on both sides)
3. 1 x 6 pre-primed fingerjoint board (about 48″)
4. Exterior Paint (I used Benjamin Moore Satin Aura in White Dove)
5. Exterior silicon caulk
6. Loc-Tite Molding Adhesive
7. Nail Gun
8. Decorative molding (I used 1.25″ Whitewood Molding, about 48″)
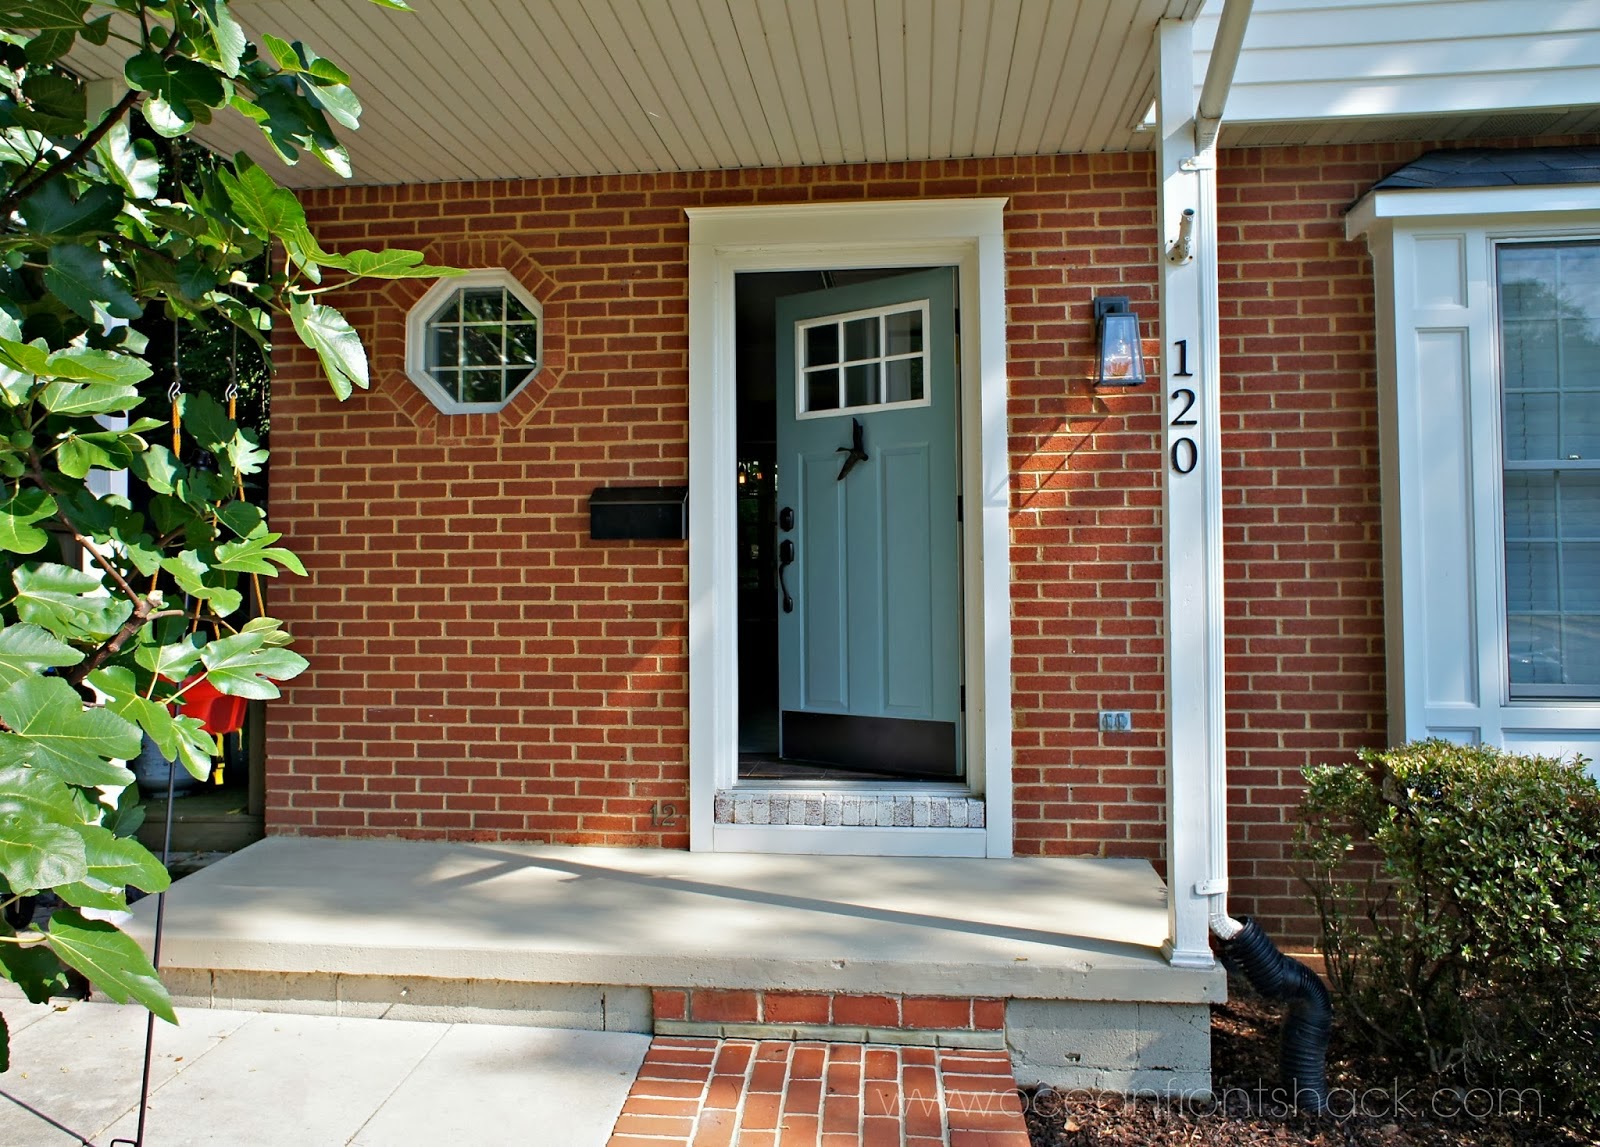
The most important part of this project is priming. I buy pre-primed molding, but you can prime it yourself. Exterior trim has to be primed on both sides, because if moisture gets behind the board, the primed surface prevents rotting. I prefer the pre-primed because it usually has a really solid coat on it, whereas if I prime myself I need to paint it several times. The 1 x 4″ casing is on the left and the 1 x 6″ wood, on the right, is what I used for the top of my door frame.

I was going for a Craftsman style, so my mitre cuts were 90 degrees. To start, I measured from the floor to the top of the door frame, on both sides in case the floor wasn’t level, and cut my 1x 4″ casing to fit, then I glued it with Loc-Tite Molding Adhesive.
The next step was measuring the top of the door frame from end to end of the casing that was already glued to the brick. I then cut my 1 x 6 board to that measurement. The top piece simply sits on top of the side casing. The decorative molding is the same length as the 1 x 6, but mitre cut at 30 degree angles on each end.

Drilling into brick can be tricky. A good drill and sharp bits will make projects dramatically easier. With our old drill it was impossible to drill into brick. Anchors are required to hold the screws because the brick will start to disintegrate at the area where it is compromised, so I prefer to use molding adhesive. We have had porticos on both of our houses, so I don’t know how well this stuff works on an area that gets a lot of moisture, but for something that isn’t totally exposed, I have never had a problem using Loc-Tite.

I borrowed the following picture from Blue Cricket Design’s tutorial on adding molding to a bathroom mirror. This is how you want to put the adhesive on your trim:

Once everything had dried I removed the blue tape and caulked the edges. I caulked twice because I couldn’t fill the spaces where the wood was against the mortar the first time around. I just put as much caulk as I could without it bulging out, then once it dried I had smaller holes which were easier to fill the second time.
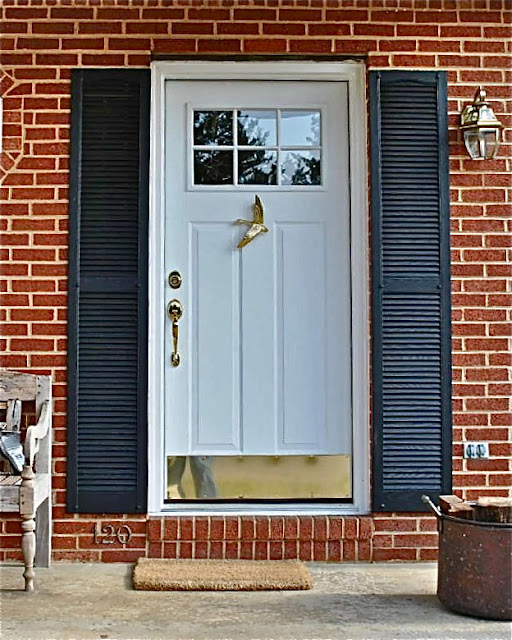
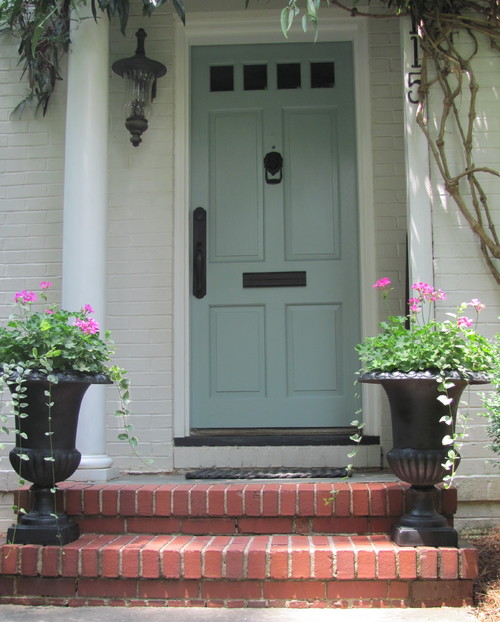
Two coats of paint later, this was our new door:

 |
| Before |
 |
| After |
Much brighter and cheerier! This post has taken me two days to write because someone has been taking 45 minute naps, so please forgive any hastiness. I have to go get the little guy out of his crib, he’s been jabbering up there for the last ten minutes. I hope this is a short term thing, mommy really needs those two hour naps!