
I haven’t worked on any projects for the last couple weeks as I’ve set up the blog. I kept seeing home blogs and thought, “Hey, we do all of those things. I’ll just spend five extra minutes taking pictures as we go along and I can have a blog, too.” Umm, no. I’ve never worked so hard at any job in my life. The blog itself is easy enough, it’s kind of fun editing photos and rehashing our hair-brained ideas, but the marketing is an entirely different thing. About 20% of my time is spent writing posts, and the other 80% is research. I have never hash-tagged anything, luckily my brilliant cousin Amy explained the basics to me, learning basic computer programming (we’re talking very basic, like, don’t put extra spaces in when you copy and paste someone else’s code or it doesn’t show up), and setting up advertising. This is on top of the full time job of working on the house to create things to post about, you know, putting in hardwood floors and renovating bathrooms.
I don’t just log into blogger and press submit, I have a Facebook product page, my own Facebook page, Feedly, Pinterest, Instagram, Blog-Her, AdSense, Google+, and more. It has been a valid experience, but I can honestly say I’m not trying to have a successful home blog. I started this for fun and to share some of my projects with friends and family. I didn’t know anything about the logistics of blogging, and it has been interesting learning all the parts involved. I know this isn’t going to turn into one of those awesome home blogs that is a business in and of itself, though.
I’m generally a mess, dirty, sweaty, and covered in paint, and I’ve quickly realized that doesn’t equate successful home blogger. Most of those women have clean looking children, makeup, and freshly washed hair. I’m content with enjoying the process and turning a profit when we sell. I’m not a real blogger, I don’t have labels on every drawer and perfect decor in every room. I won’t have a daily pin show-casing my kids in their coordinated outfits drinking lemonade from glasses that I hand etched their names into and eating tomato bisque made from vegetables I grew in my garden. And now I have even more respect for people who can do that, because if I can go to Target with my kid and not have a nervous breakdown, it has been a good day.
So, with this in mind, yesterday I decided to get back to the basics, you know, the real reason I started this blog-so that when my husband leaves for work and the living room looks like this:

And comes back in the evening to find it looking like this:

I can say, “I had to do it, sweetie, it’s my job.” (cue Honey-Mooner’s style threats of domestic violence/laugh-track)

 |
(the drawer hardware said Grant on it, I had to get a picture) |
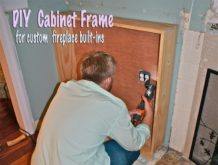
Step 2: Razor and chisel
Your biggest problem here is the caulk, enough caulk will hold anything in place. The first thing you need to do is run a razor along all the edges, the trim has to come out before you can get to the cabinet, so start with any crown molding and baseboard, using caution on the edge next to the ceiling-ideally you don’t want to cut holes in it, and the floor. Using a chisel to scrape away the excess caulk will speed things up.

Step 3: Screwdriver
Once the caulk is peeled there should be enough space to wedge a screw-driver in, start towards one end and work your way towards the other, opening the gap.


Step 5: Sweat, grunt, curse, and call it a day
This was just plain manual labor, these things were caulked on every edge and the fireplace marble was glued to it, so it came off in chunks when we started pulling at the shelves. I had my fingers crossed that the hardwood extended under the bookcase (cabinets should always be built on top of floors, even in the kitchen, so you don’t end up with a problem like this), it did not. I’m still working on a solution there.

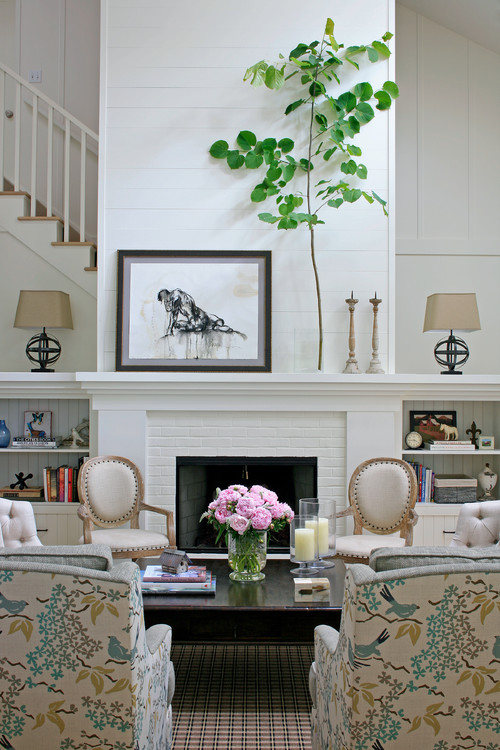
Our plan for the weekend is Jason working on flooring Saturday while I get started on the built ins, so hopefully we will have a little progress next week. Happy Friday!
Tags : Demo