I think the term “hot mess” would most accurately describe our half bath. I don’t have much in the way of before pictures, because the first thing we did in our new house was demo this room. I think you can start to imagine what was going on by looking at the wallpaper, though. Pastel, flowers, throw in an oak vanity base and seashell shaped sink:
And our style was saying, “mid-west truck stop”.
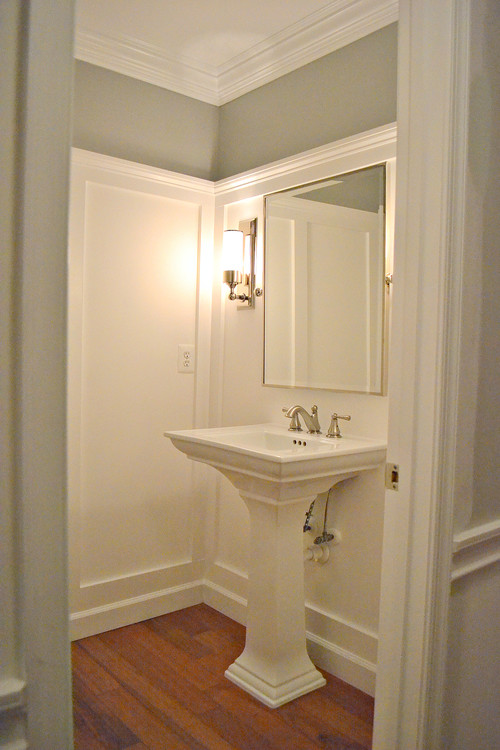
In lieu of wrapping paper around mini soaps and hoping people thought we were trying to be ironic, we decided to get creative and come up with a solution that did not involve tearing our fingernails out trying to remove wallpaper for days. So, I got busy on Houzz and came across this:
Traditional Powder Room by Dc Metro Media and Bloggers sixteen fourteenIt’s certainly pretty, but I was less taken in by the fact that it’s a baller half bath, than by the way the wainscoting stopped a foot short of the ceiling and came up about 9″ off the floor. The placement looked like a good way to cover the seams in our wallpaper border. Form
and function.
Before we started we had to work on that bathroom fan. Not only was it an eyesore, but it sounded like opening scene of MASH.
The problem with replacing a bathroom fan is that there isn’t a standard size, they’re all over the place, and really should be installed prior to sheetrocking. The helicopter sound was caused by a broken motor. Jason ended up finding the same fan online, opening the cover, and switching out the motor. He also put the cover from the new fan on the old one.
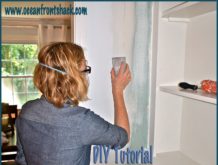
The first step to covering the wallpaper was priming. I bought a “wallpaper primer”, and it was way too heavy and made the old wallpaper peel up and bubble in some places, kind of like this:
I used a putty knife to scrape off what bubbled, then switched to DuPont’s Gripper primer and did two more coats.
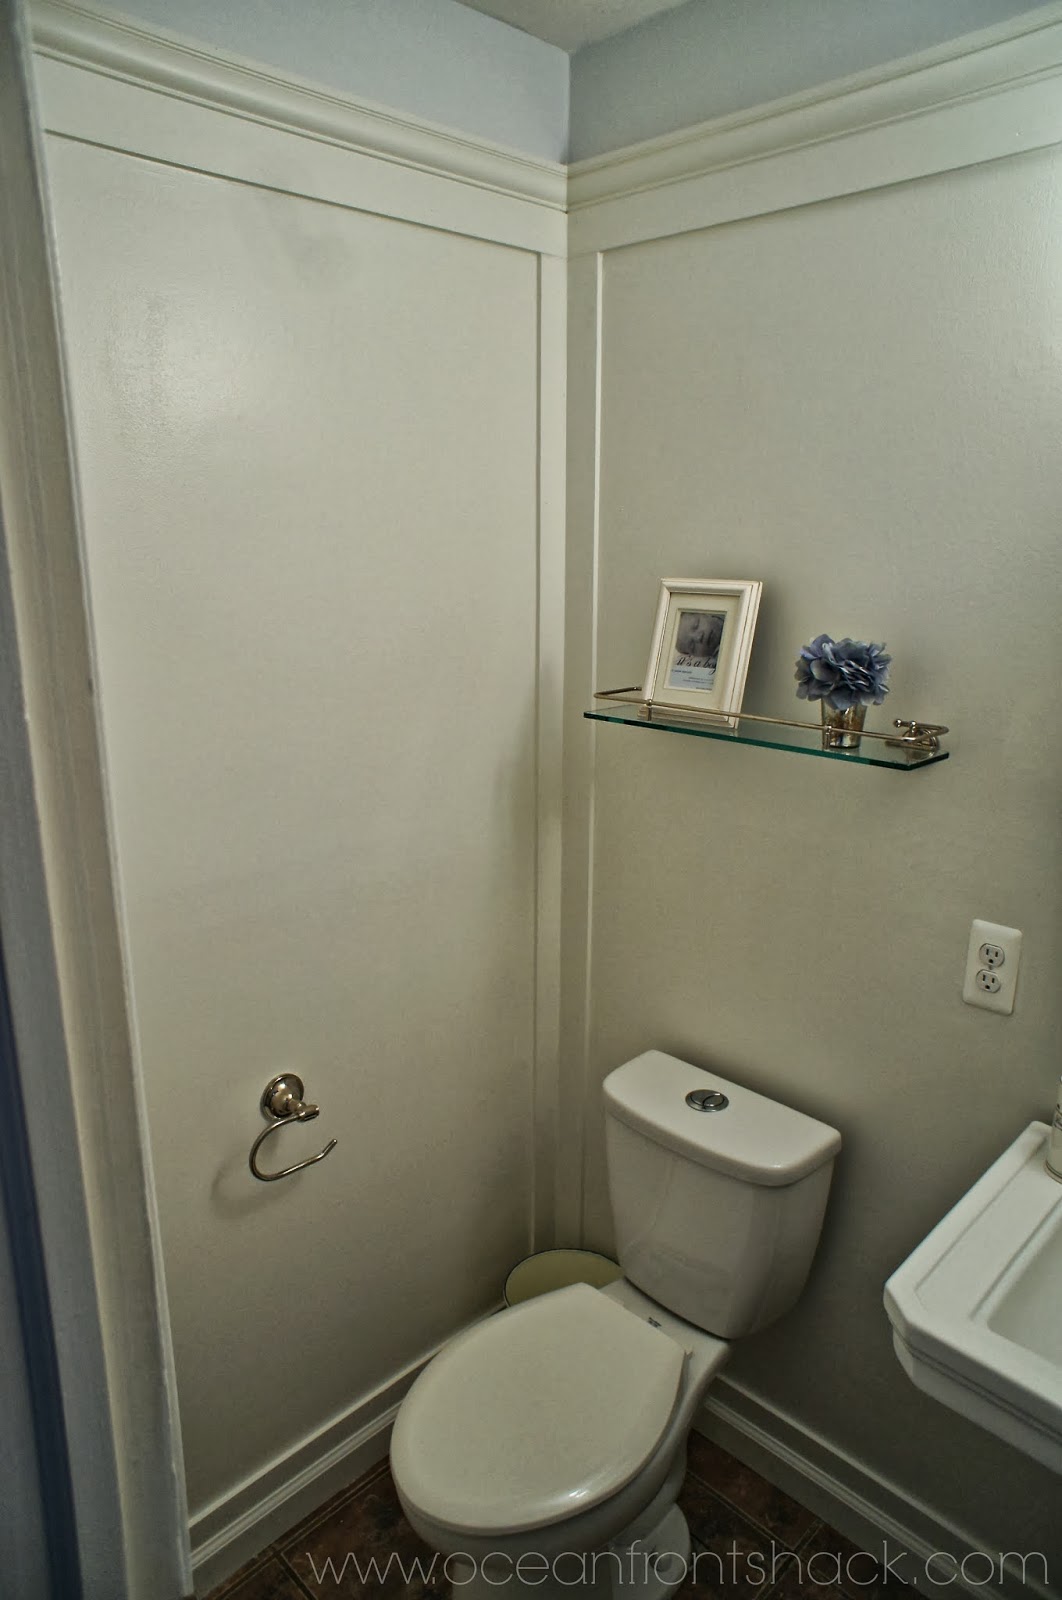
We painted the walls with Benjamin Moore Satin Aura in White Dove, which is the paint I always use for molding and trim. It is self-leveling, so it helped create a smoother finish paint on the wallpaper itself, giving the illusion of wainscoting. I painted two coats of the Aura, lightly sanding with a 200 grit sanding lock in-between.
The trim we used was 7/16 x 2_5/8″ poplar and chair rail. We went with chair rail instead of crown molding because the trim didn’t go to the ceiling, it stopped at the base of the upper wallpaper border, so we needed something that would fit flush with the wall.
We used the mitre saw to cut the chair rail and 3/8″ poplar trim board at 45 degree angles, then nailed it in with our nail gun.
After the molding was in place, we sanded it with an orbital sander to get the edges smooth. Then we caulked and painted.
Most of the fixtures, like the mirror, light, and shelf came from the Restoration Hardware Outlet-if you’re lucky enough to have one near you, that’s where I buy almost all of my permanent fixtures. The discounts are amazing, I think that mirror was $600 online, and we paid $90. A lot of times things are missing directions or a few screws, but you can usually download installation directions online and go pick up any missing hardware at Home Depot. Another budget item we found was the toilet, from Costco-it’s an energy efficient dual flush-they sell it for $85, it’s twice that at Home Depot.
The hardest part was installing our pedestal sink. Jason has plumbed quite a few sinks, and this one took 7 days, going to Home Depot twice a day for more supplies, and is now held up by four tubes of silicon caulk.
I have to give Jason all the credit here, this was entirely his work. I hung the mirror twice, it was crooked both times, so he had to fix the giant holes I made in the wall and reinstall it. Meaning the only work I did created more work for him. He was very sweet about it, though.
Sorry for the shoddy camera work, it’s a tiny bathroom and pretty hard to get a good angle. Anyway, this was 1,000 times easier than removing wallpaper, and I’m very pleased with the results!
Tags : bathroom, before and after, Carpentry


.jpg)
.jpg)


.jpg)


