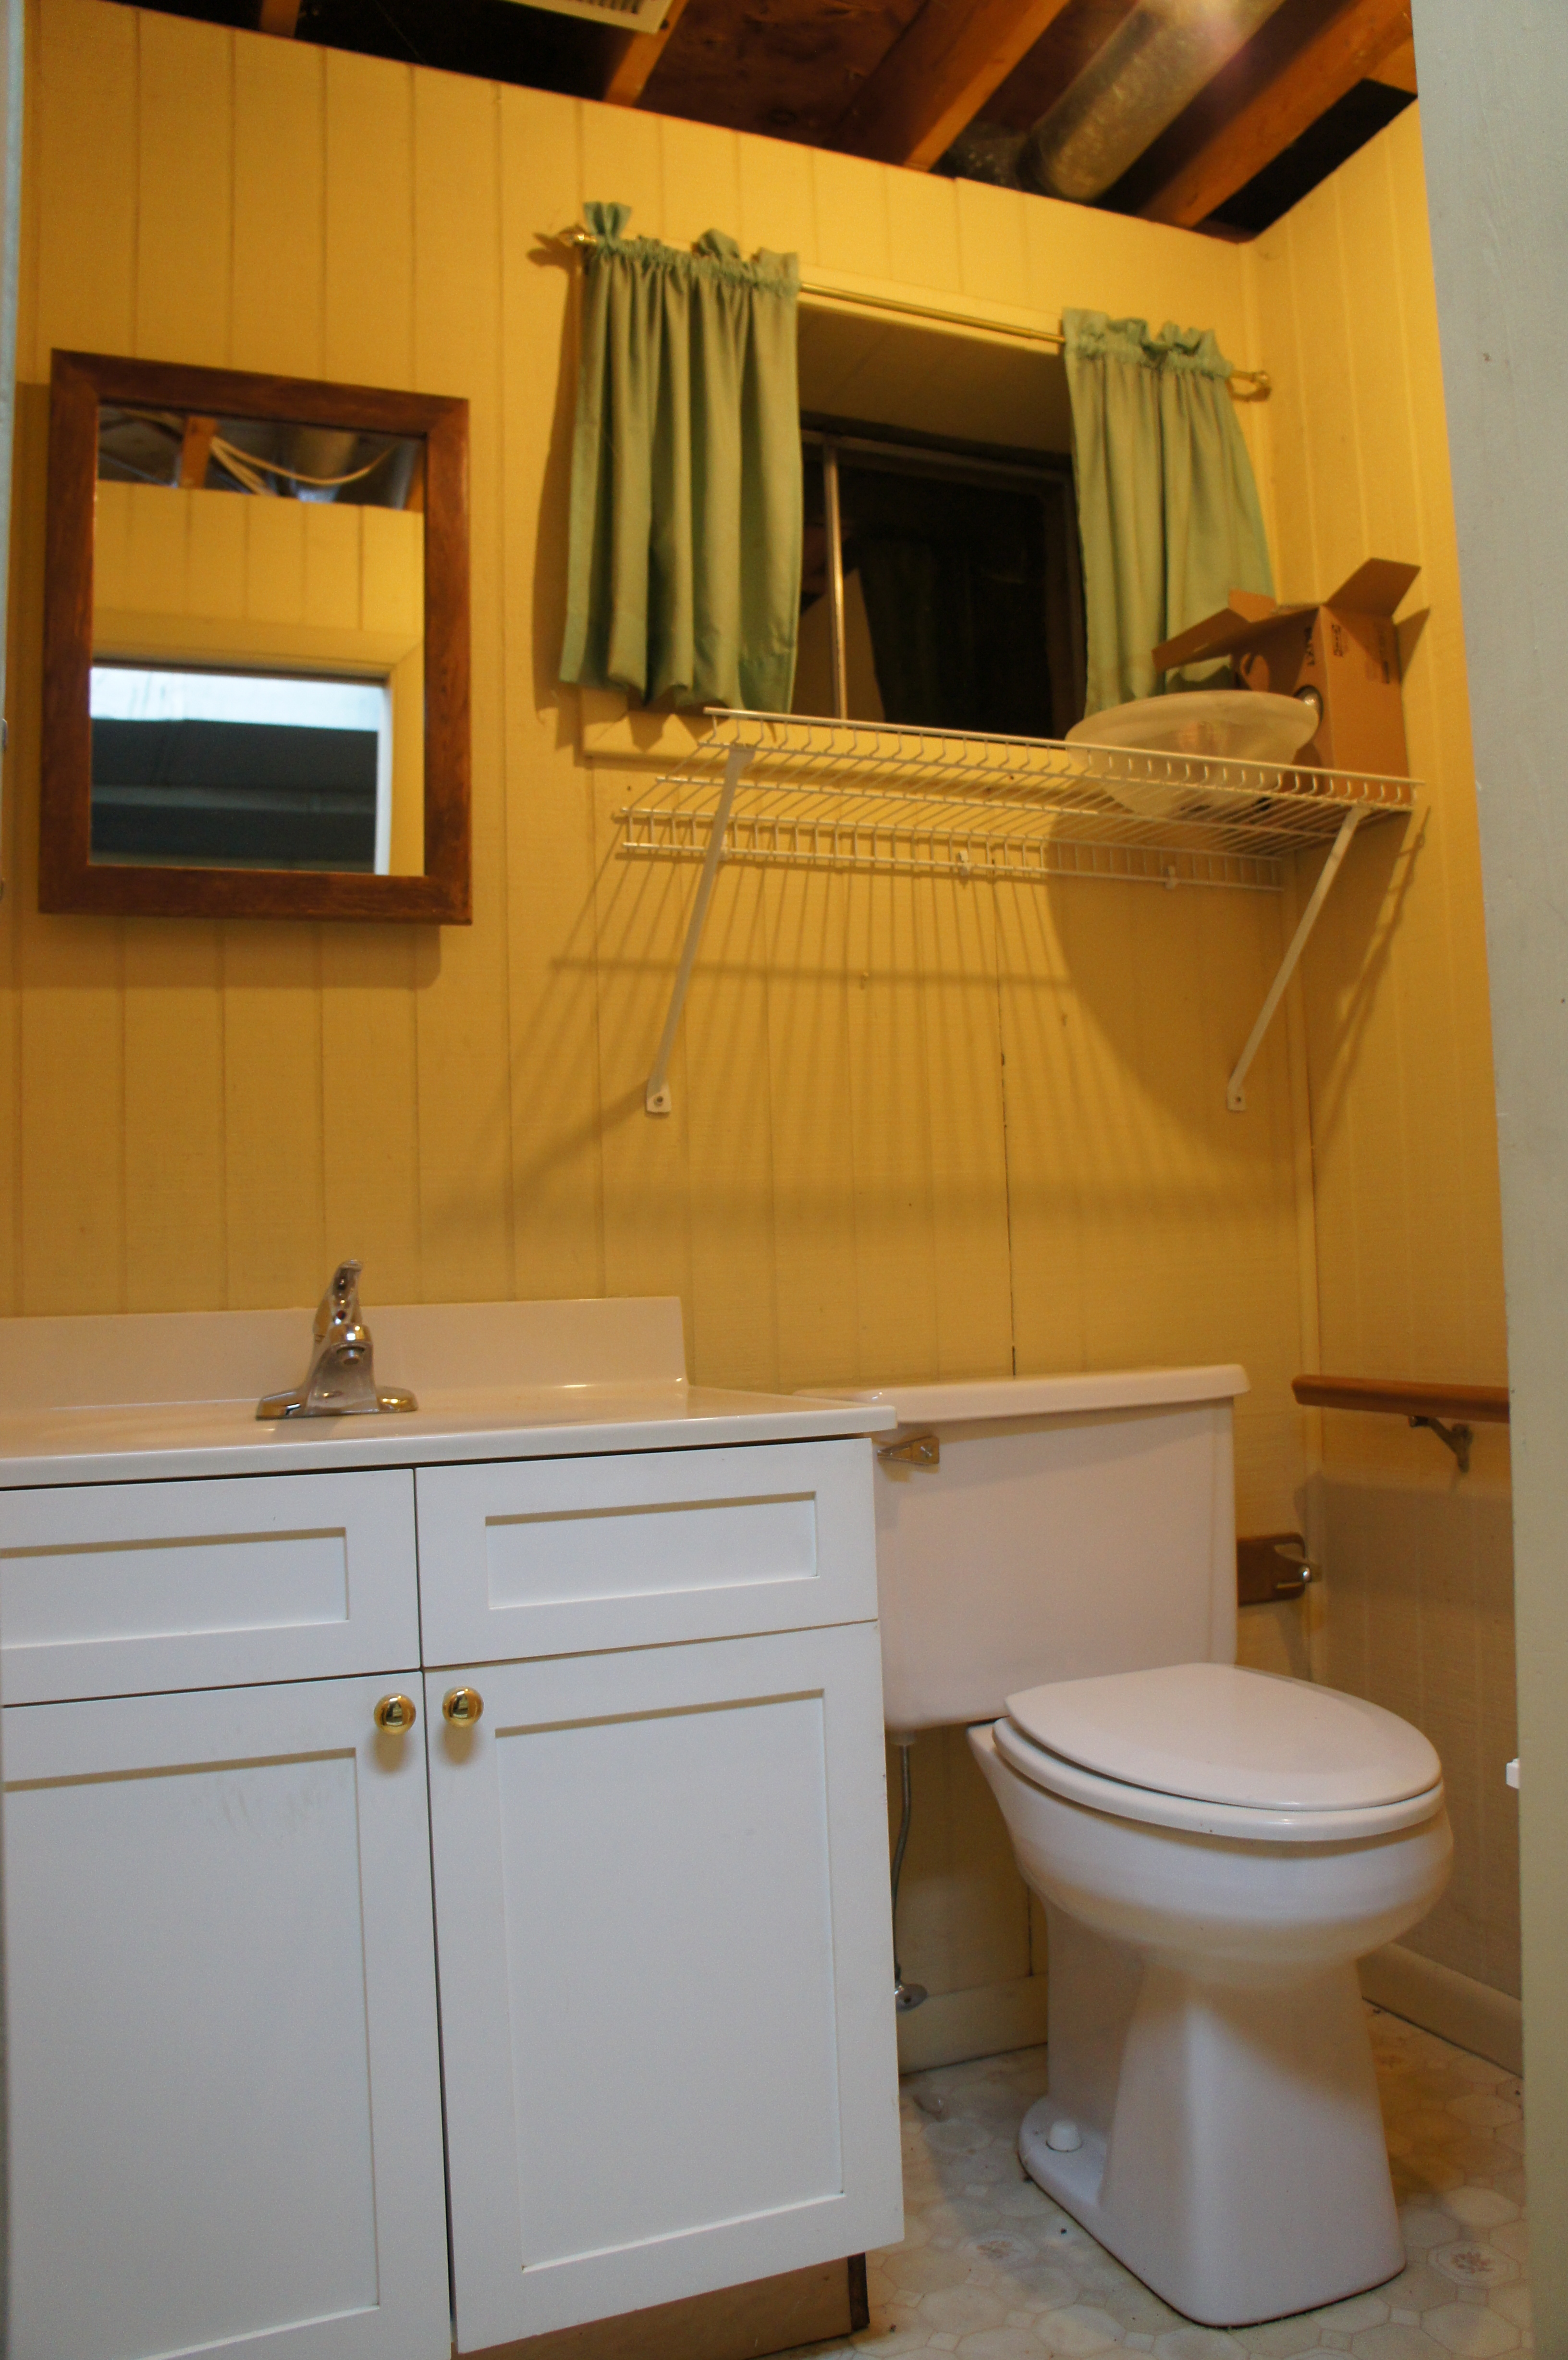
A couple weeks ago I shared some photos from our basement bathroom as a way of shaming myself into motion. It’s frightening, to say the least. An ugly linoleum floor and dated plumbing fixtures are the least of our problems. We have no ceiling, exterior wood paneling for walls, and bare lightbulbs hanging from the rafters. We also don’t have a huge budget (per usual).
Our biggest problem is the paneling. I think they used exterior wood because it’s pressure treated and more suited for a basement, but that’s where my understanding stops. Why you wouldn’t just sheetrock is beyond me.
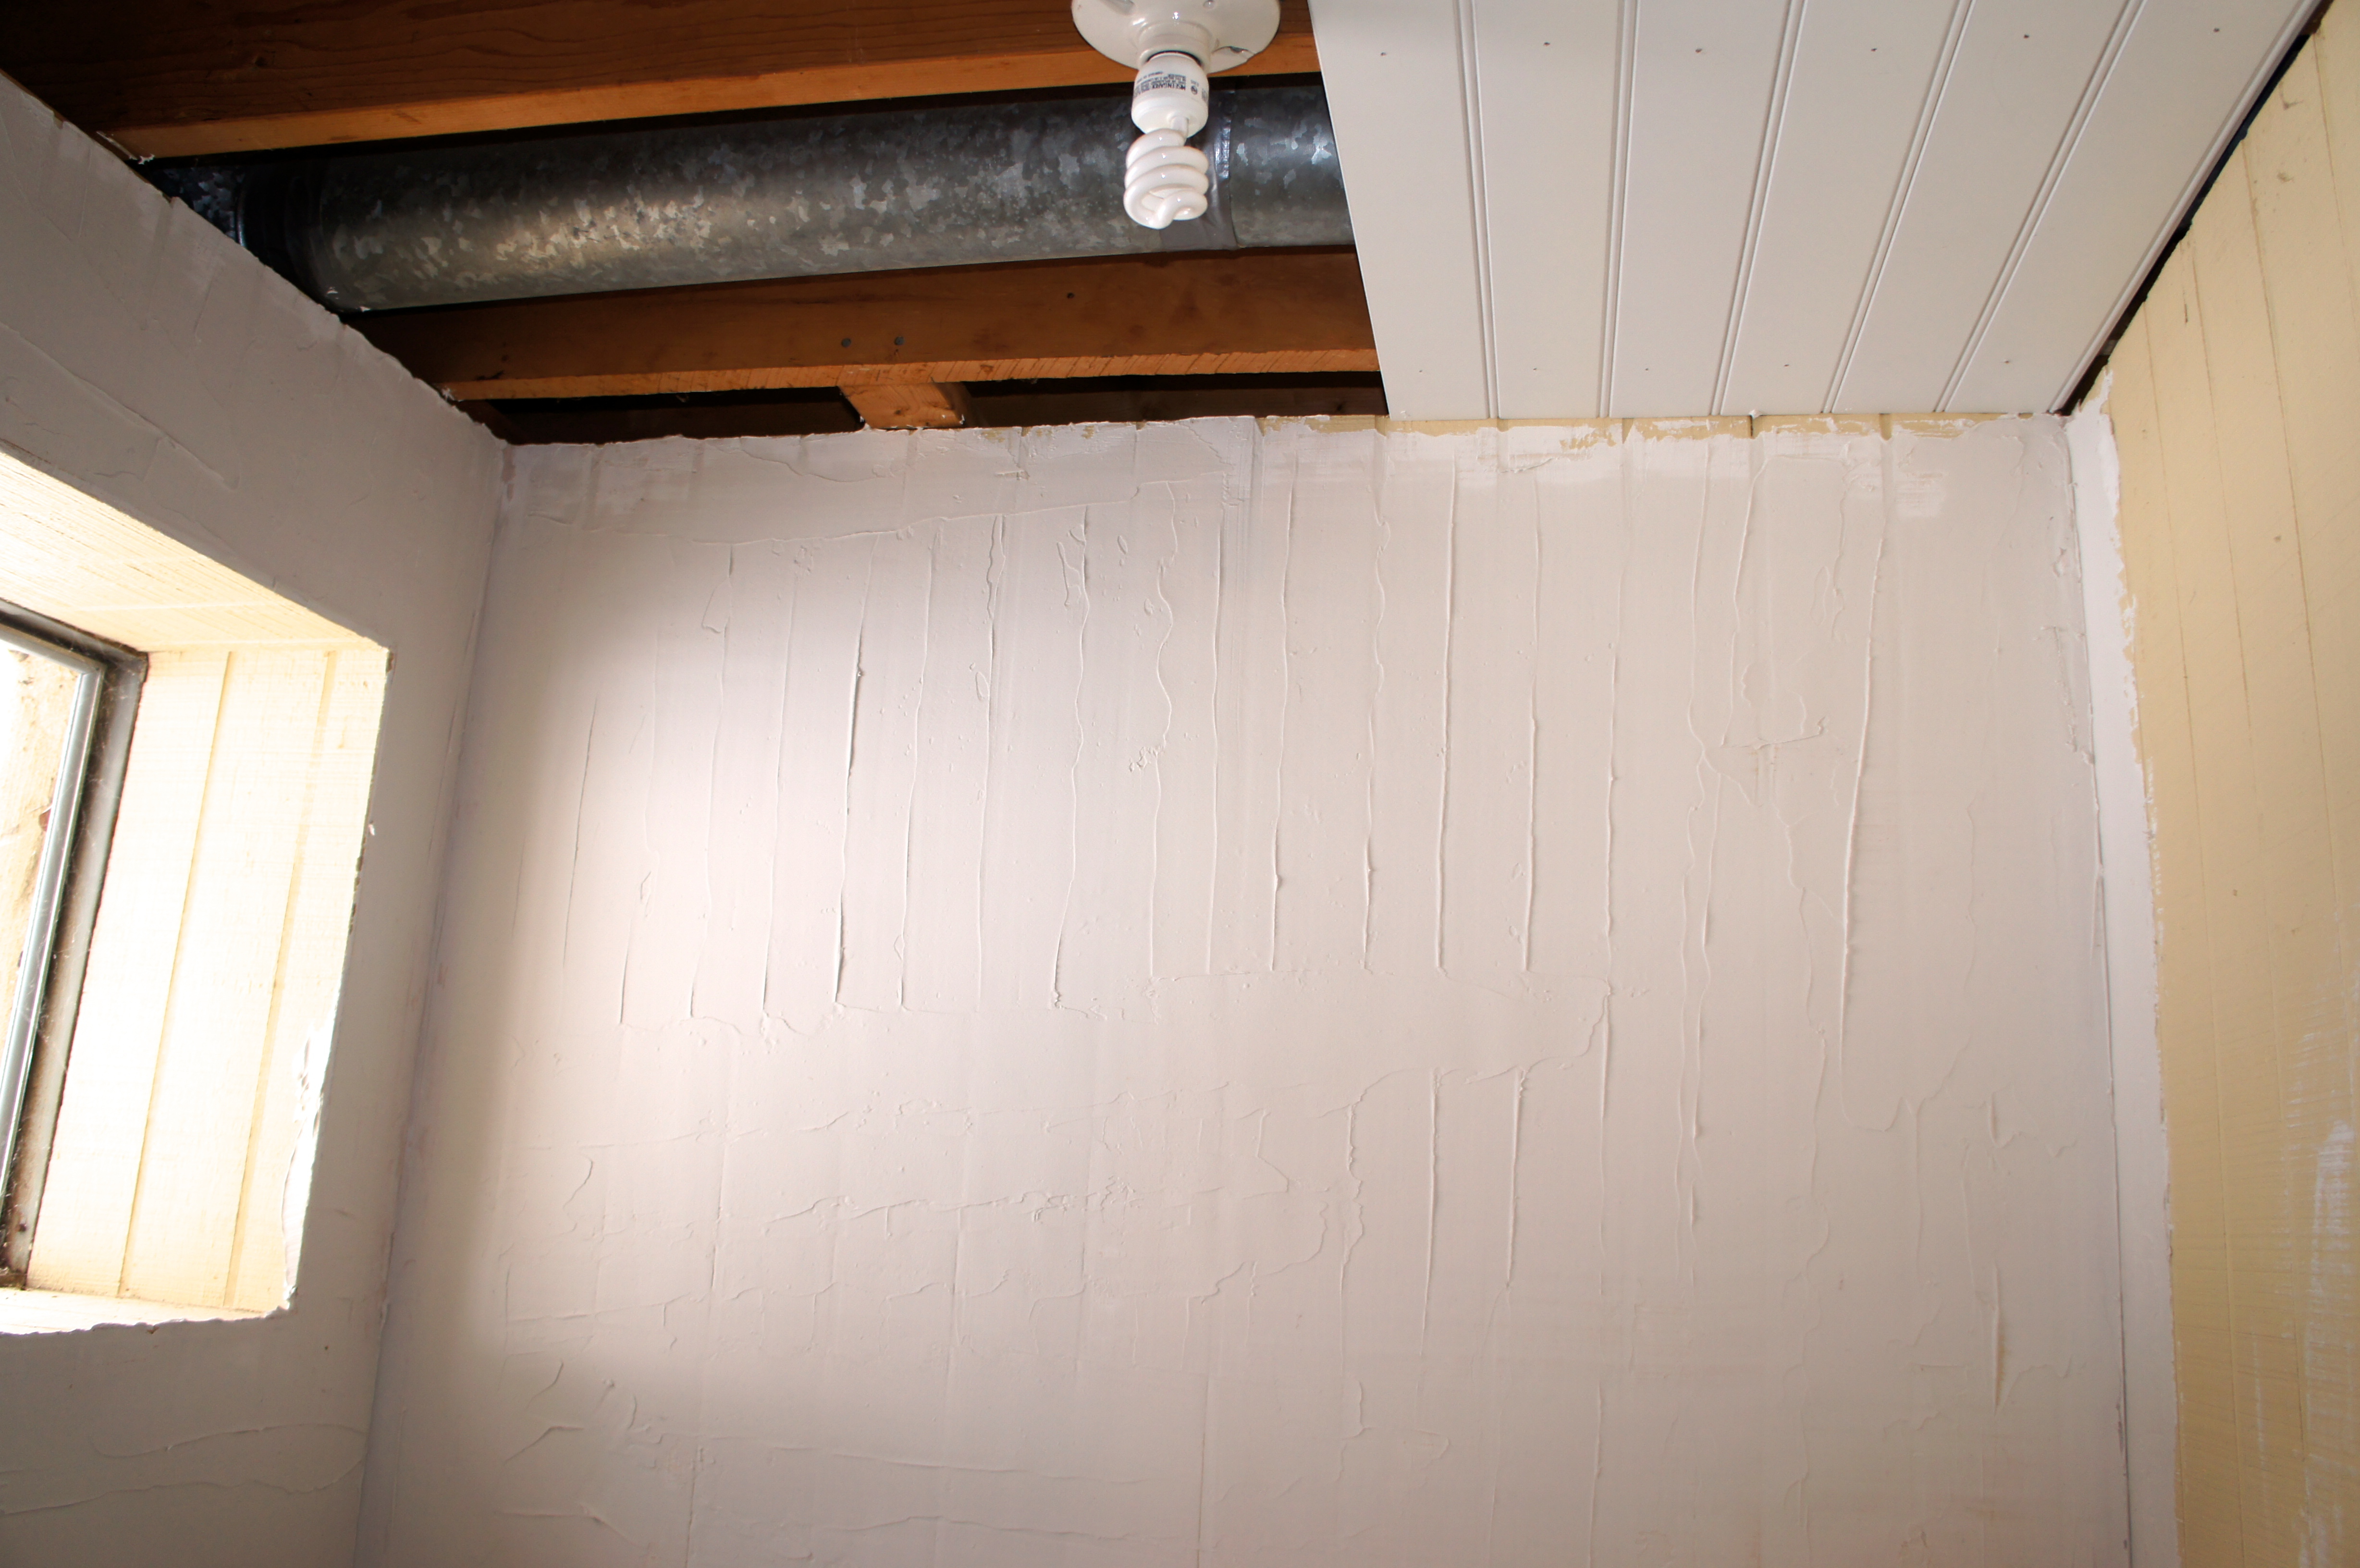
Ideally we would demo this and sheetrock it, but even if I wasn’t 31 weeks pregnant I wouldn’t have the physical strength to handle drywall. So, my way around it is to skim coat the paneling. The one thing we have going for us is that we’re working with real wood. From what I’ve read, drywall compound doesn’t stick to faux wood paneling very well, but the coat I put on this room went up easily. We started this weekend by removing all the fixtures and pulling out any trim. Today, I put up corner bead and managed to get my first skim coat on about half of the bathroom while Grant napped.
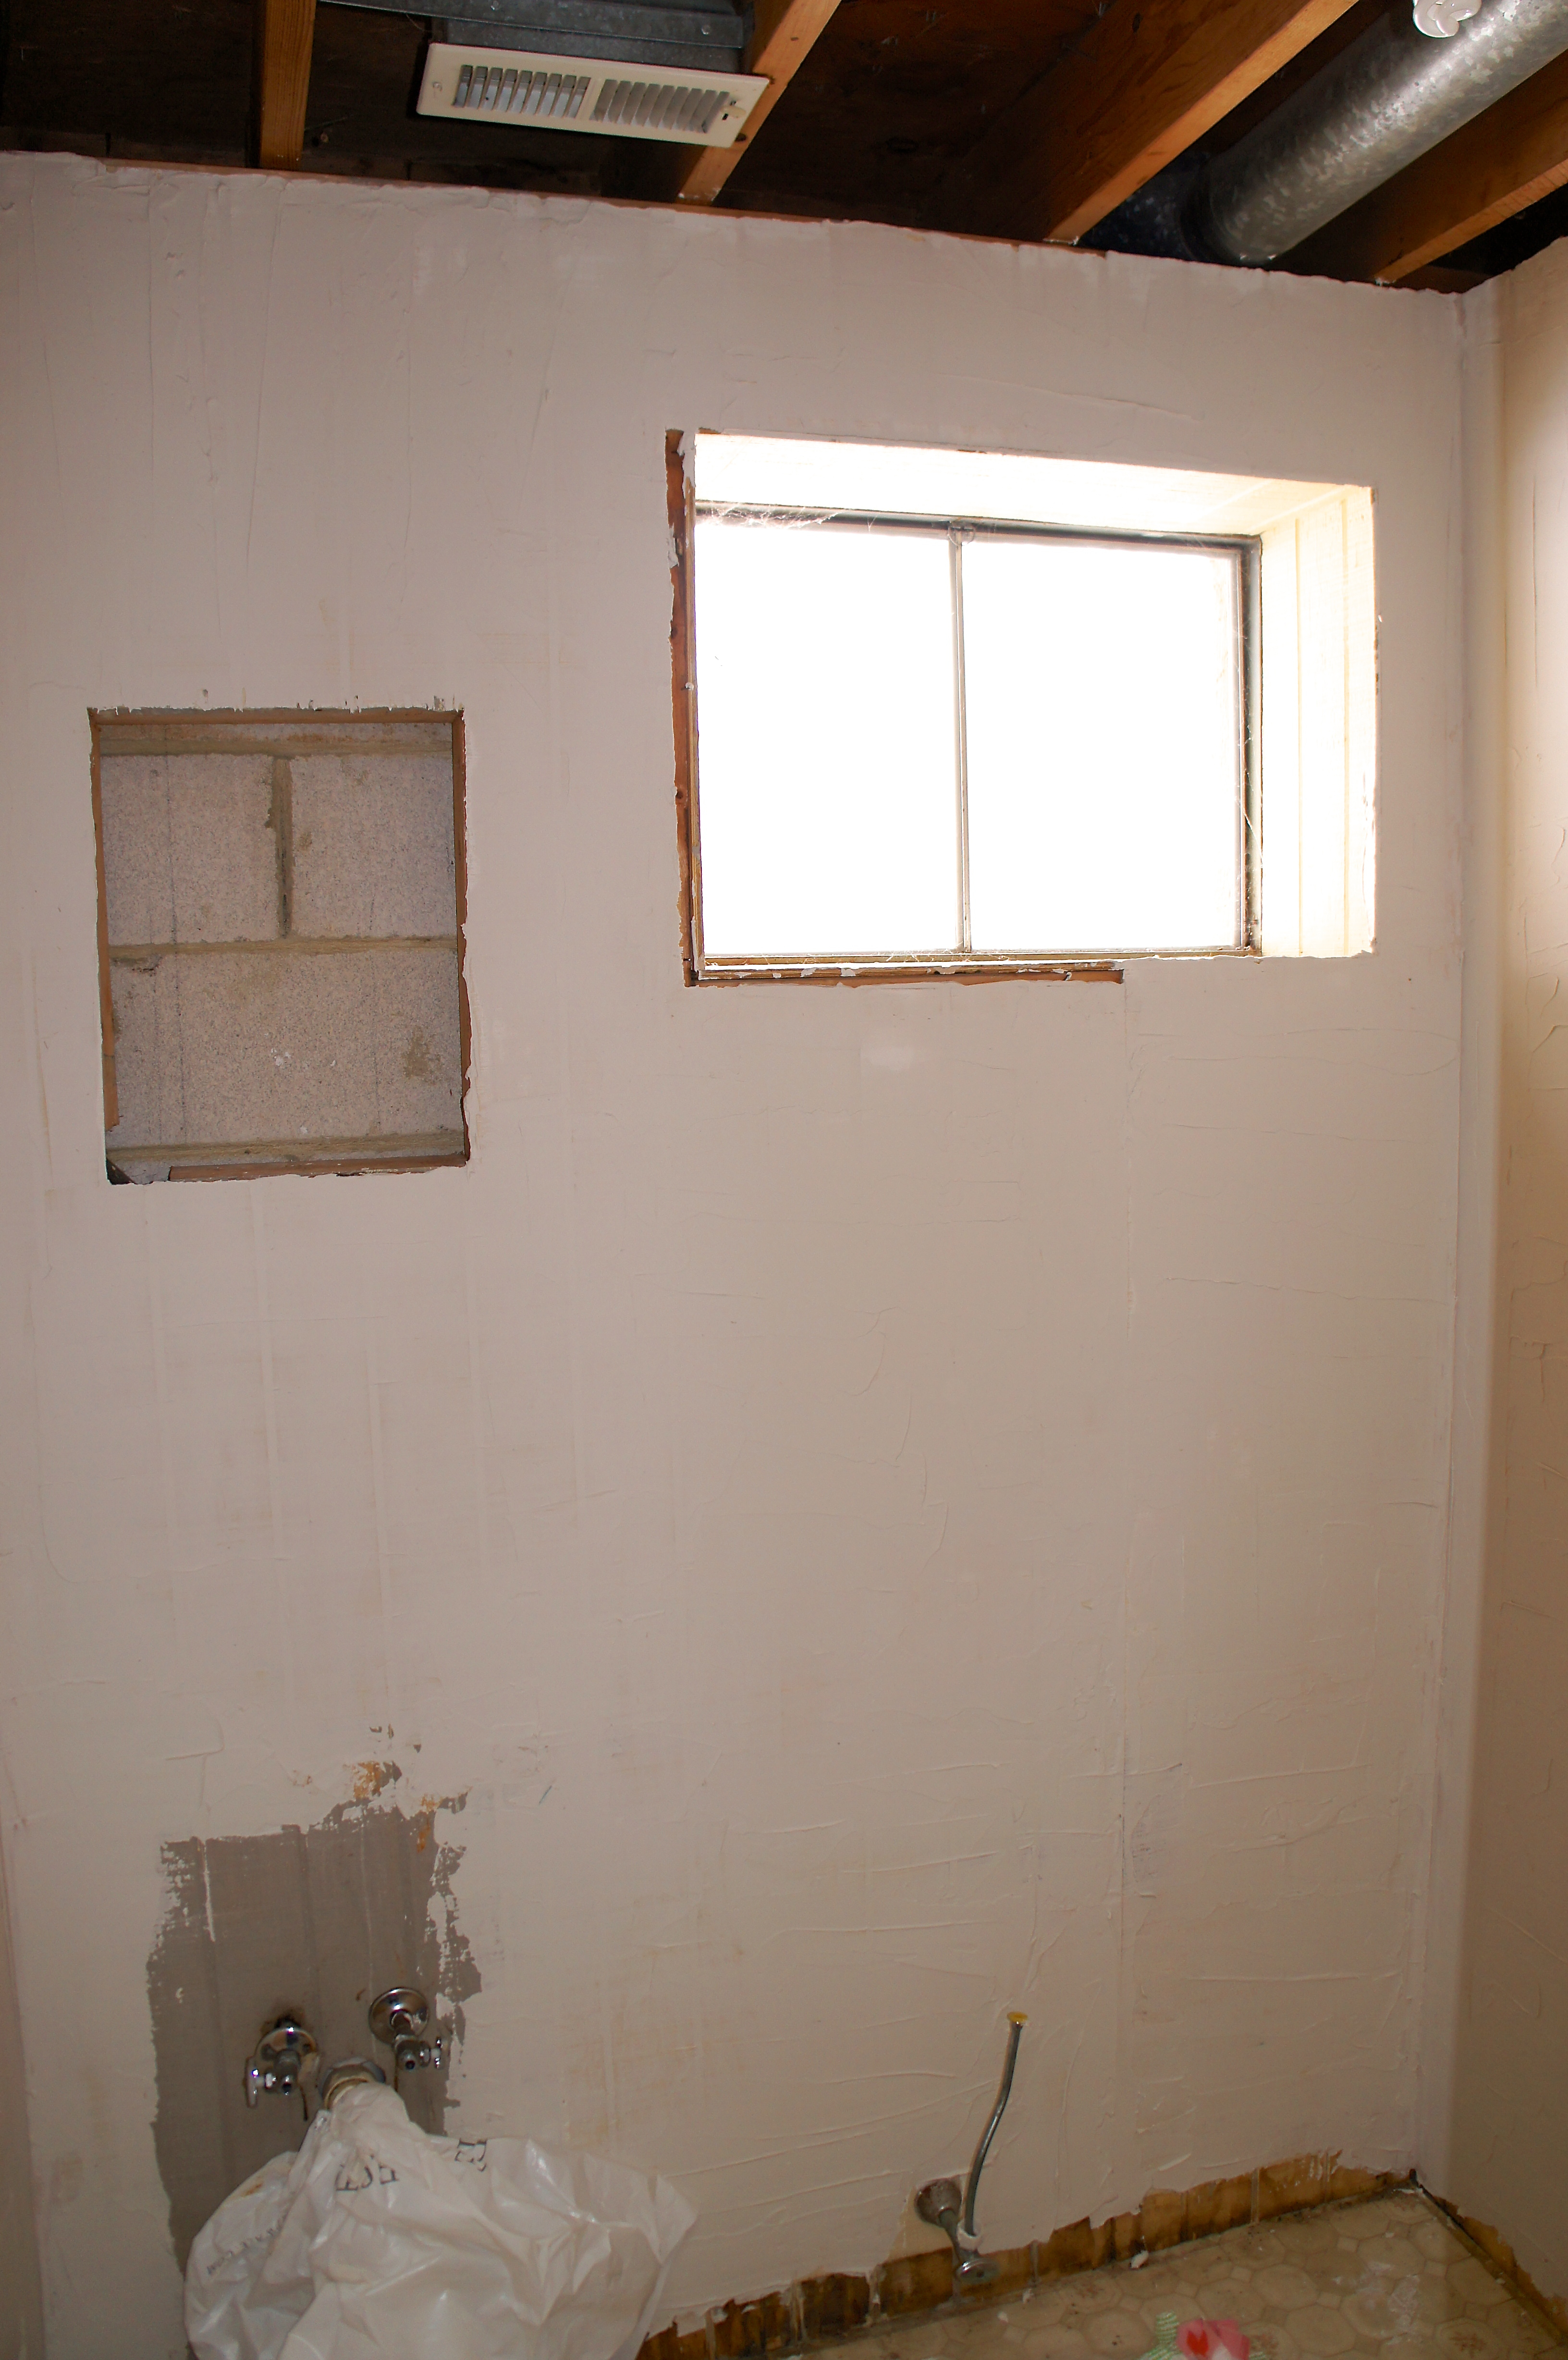
Admittedly, it doesn’t look like much. Our plans this weekend are to tear out the shower stall and put in cement board, then finish mudding the first coat. It will most likely take three coats before the wall is smooth, and you want to wait 2-3 days between coats to let them fully dry. Suffice it to say, this is not a quick fix.
Our next issue is the ceiling. Again, I’m not exactly up for sheetrocking a ceiling, but after a quick google search I saw a lot of people doing beadboard ceilings. Beadboard is substantially lighter than drywall and is basically finished when you nail it up. All you have to do is fill the nail holes and paint. Grant and I went to Home Depot this morning and bought a package of tongue and groove 8′ sections. Beadboard can also be purchased in sheets, but the tongue and groove is a lot easier to work with. I cut it with a mitre saw and installed three pieces, laying them perpendicular to the rafters and nailing them in with a nail gun.
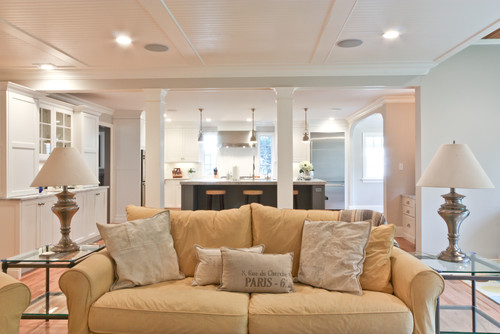
I’ll do a separate detailed post for the ceiling when it’s done. It’s super complicated to explain, but incredibly easy to put up. I think we are going to do the entire basement ceiling in beadboard, a la:
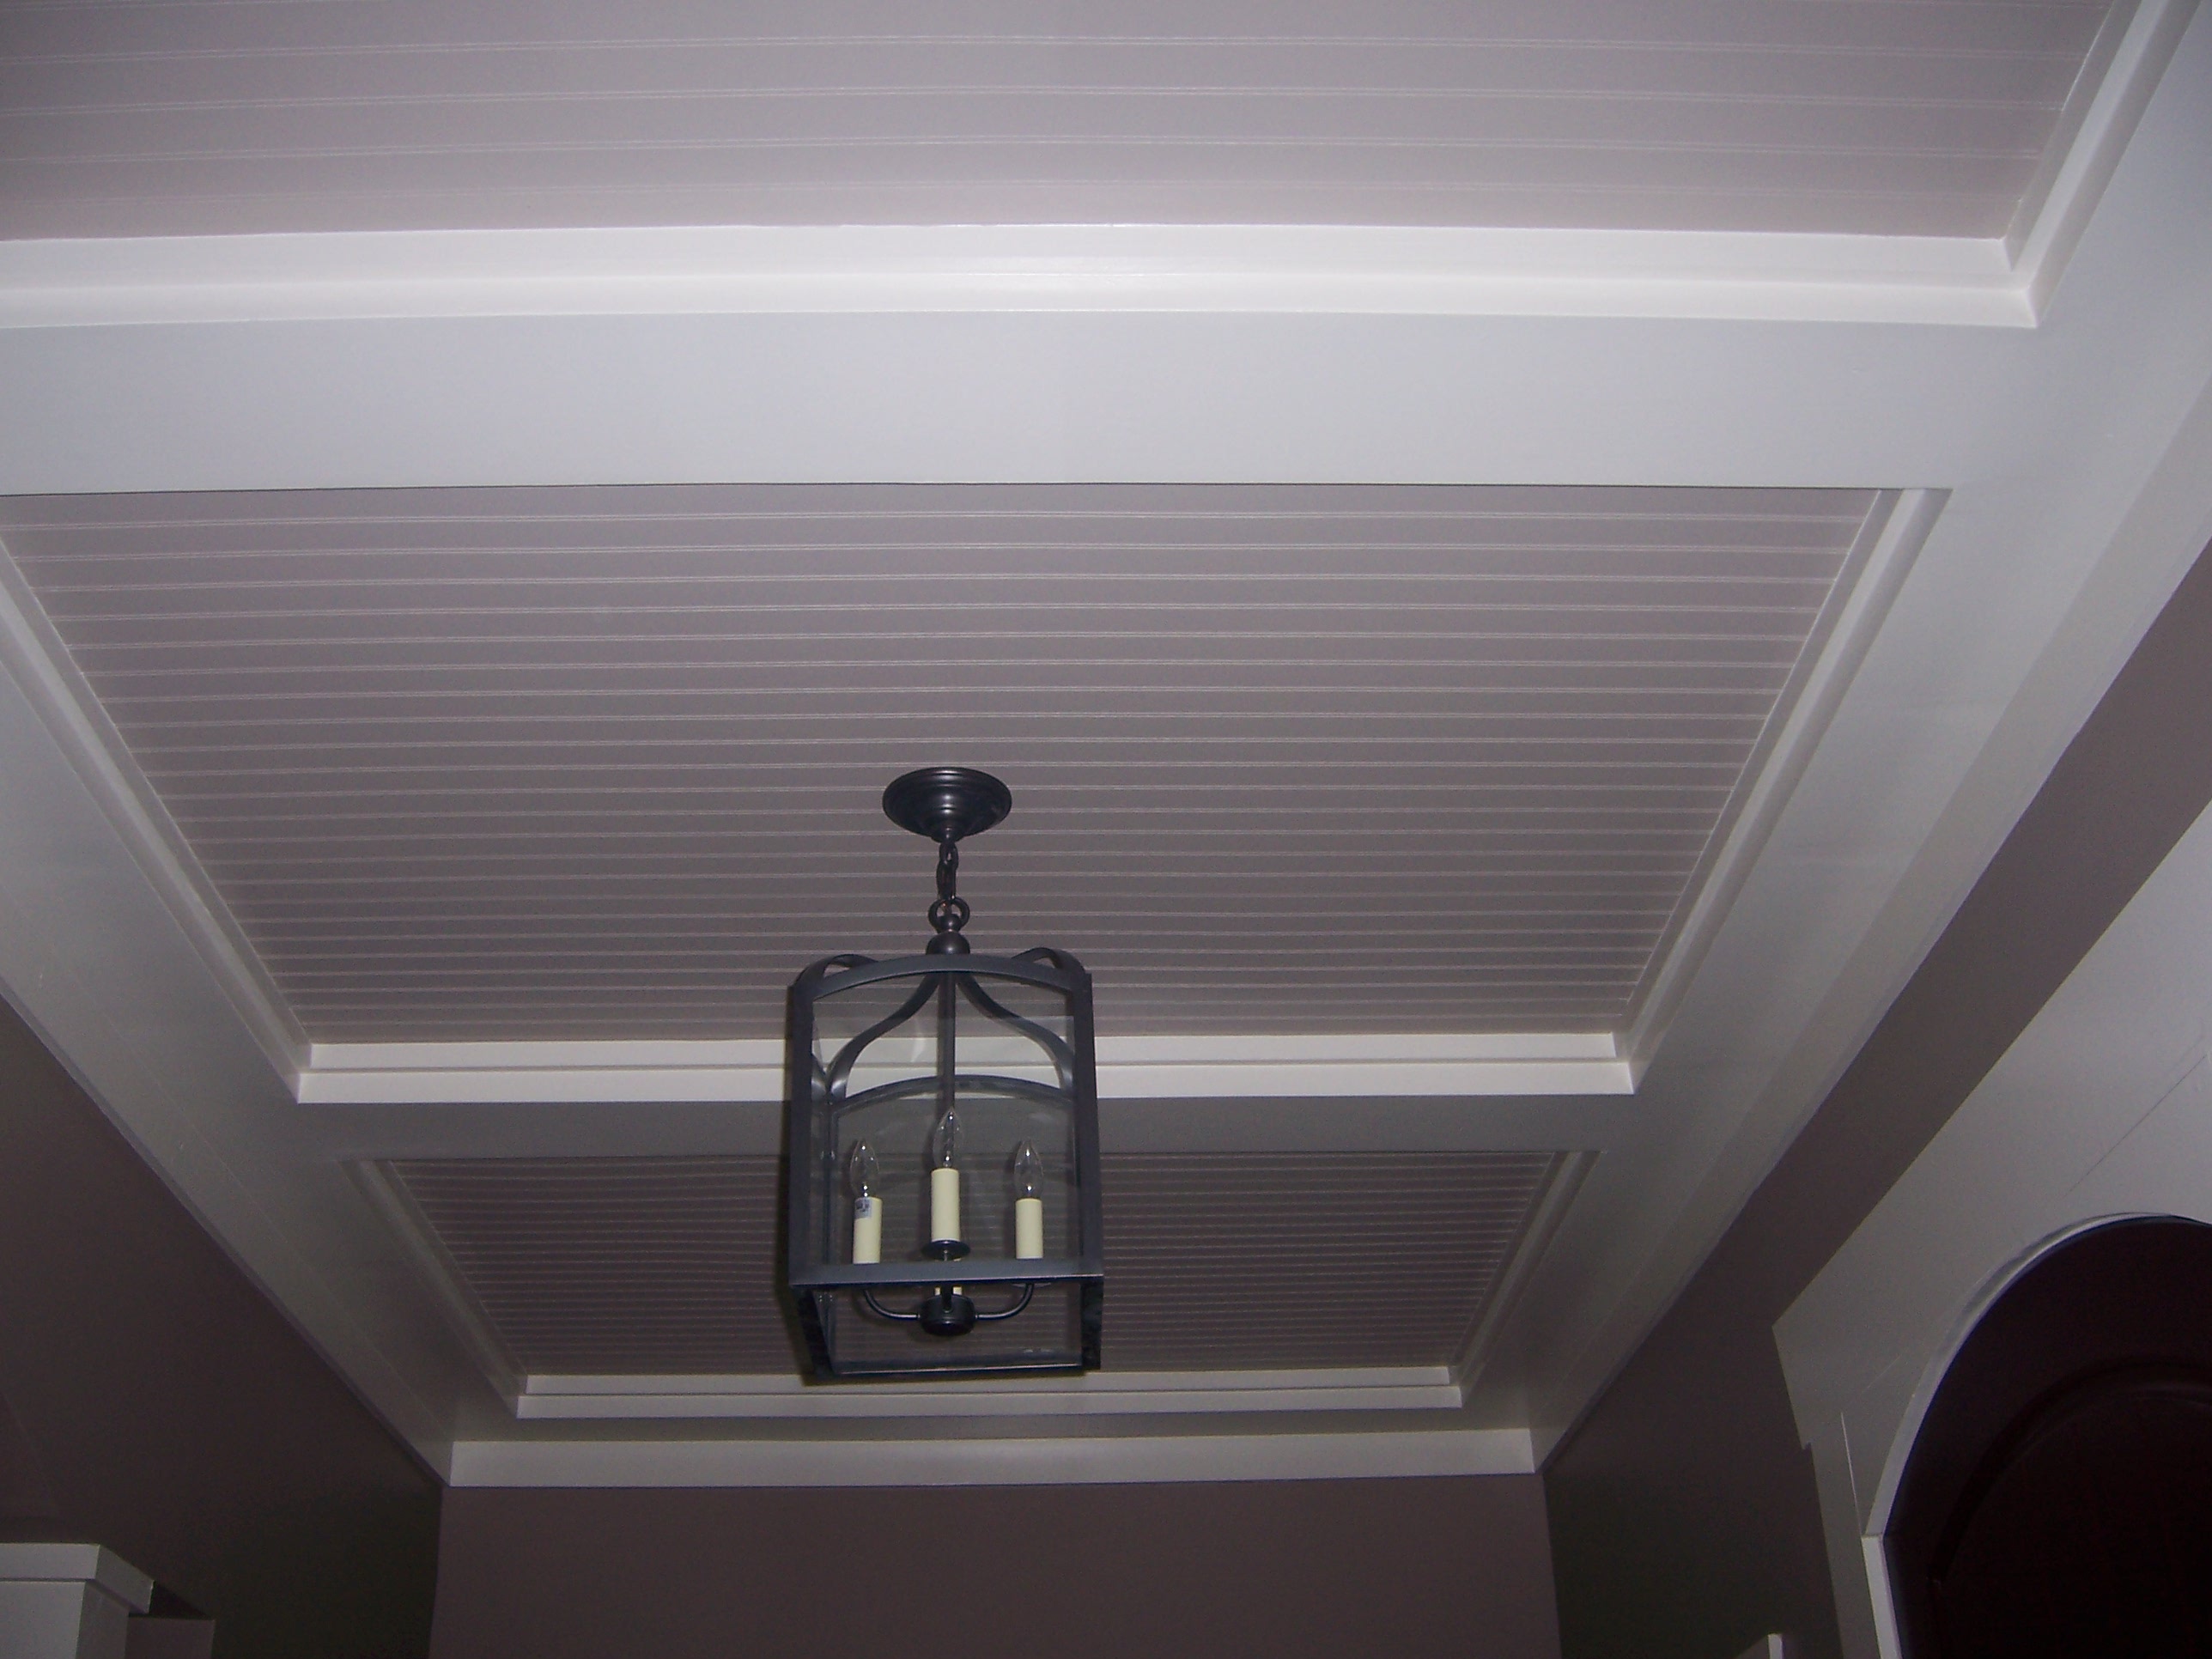
Here’s another example:
Beadboard ceilings are traditionally a coastal design element, so it will have a big impact on how we decorate, but ultimately is the most DIY friendly option. So, there you have it, progress. It isn’t exactly an exciting post, but it feels good to get started and is moving pretty quickly. Oh, and I made my first bathroom fixture purchase. Restoration Hardware is doing their yearly clearance and I scored this Grafton mirror in oil rubbed bronze, originally $395 for $115. It’s the same mirror we have in our half bath, but in chrome. I know they sell similar looking mirrors at Home Depot and Lowe’s, but when you see them in person there is no comparison on the quality, so this is an awesome deal.