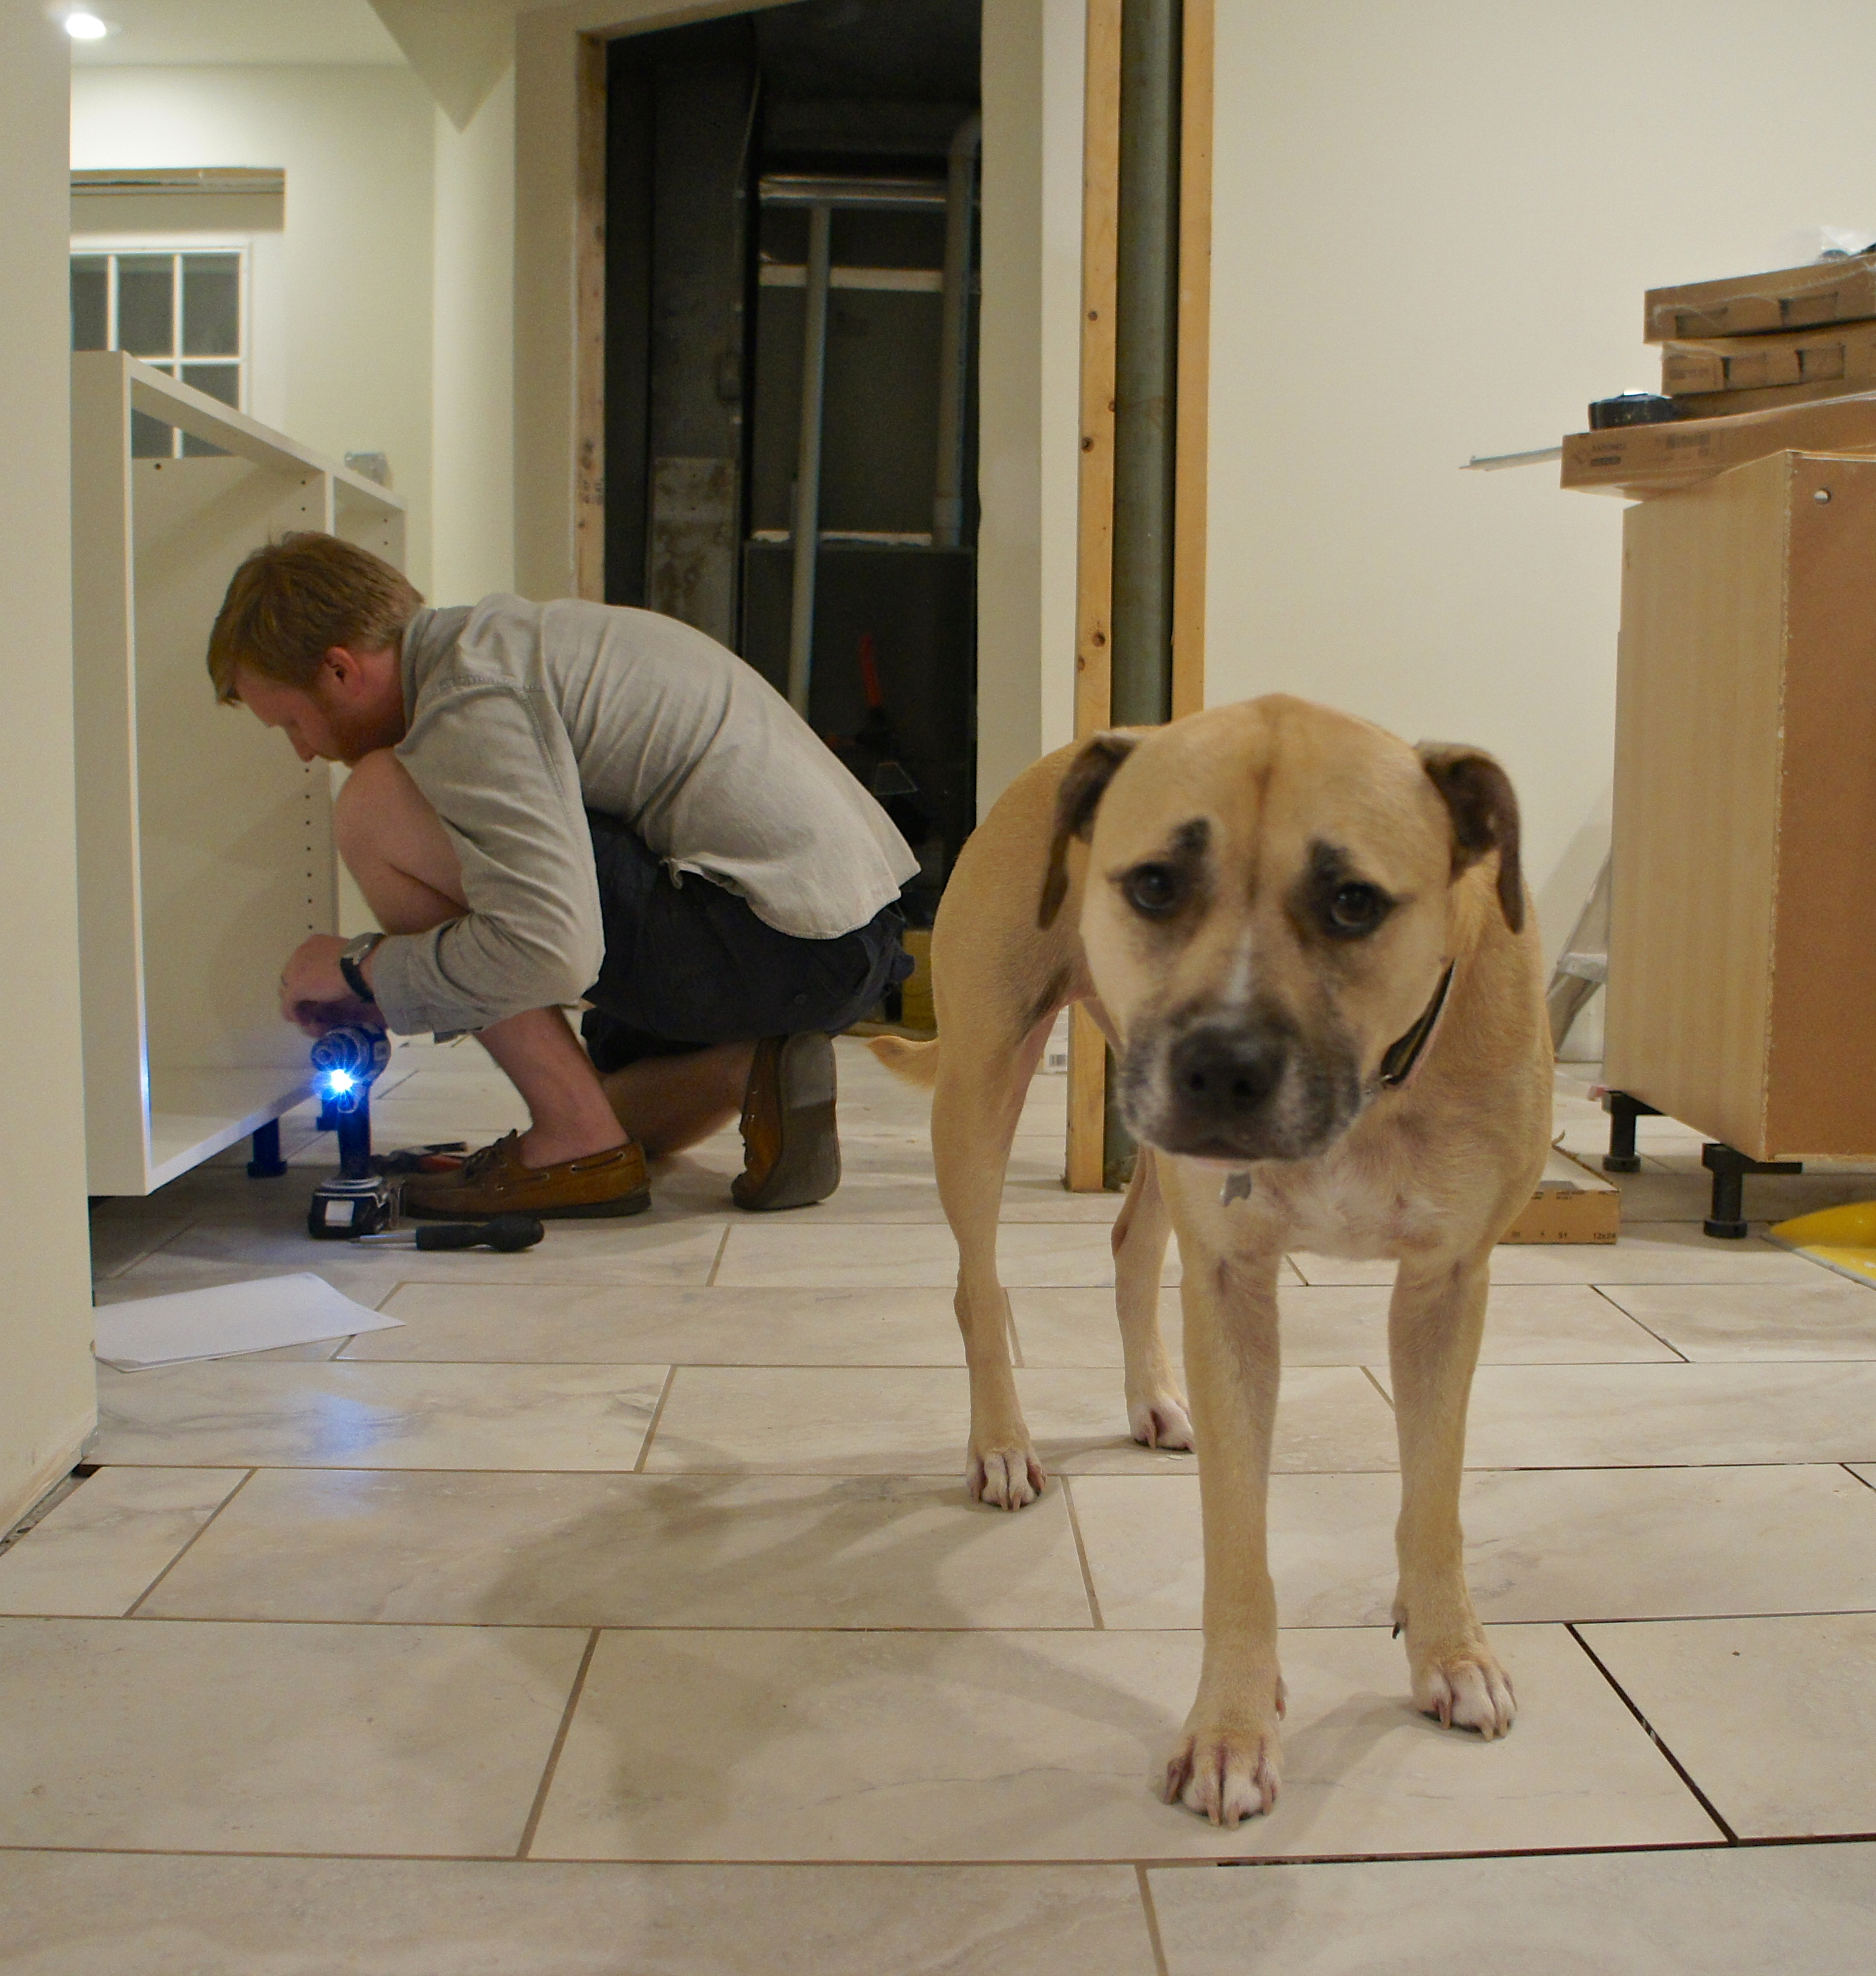
I’ve been meaning to finish these basement posts for a couple weeks, but naptime has been replaced by an endless game of Chutes and Ladders at our house. So, without further ado, here are the half dozen photos it took two weeks to edit:
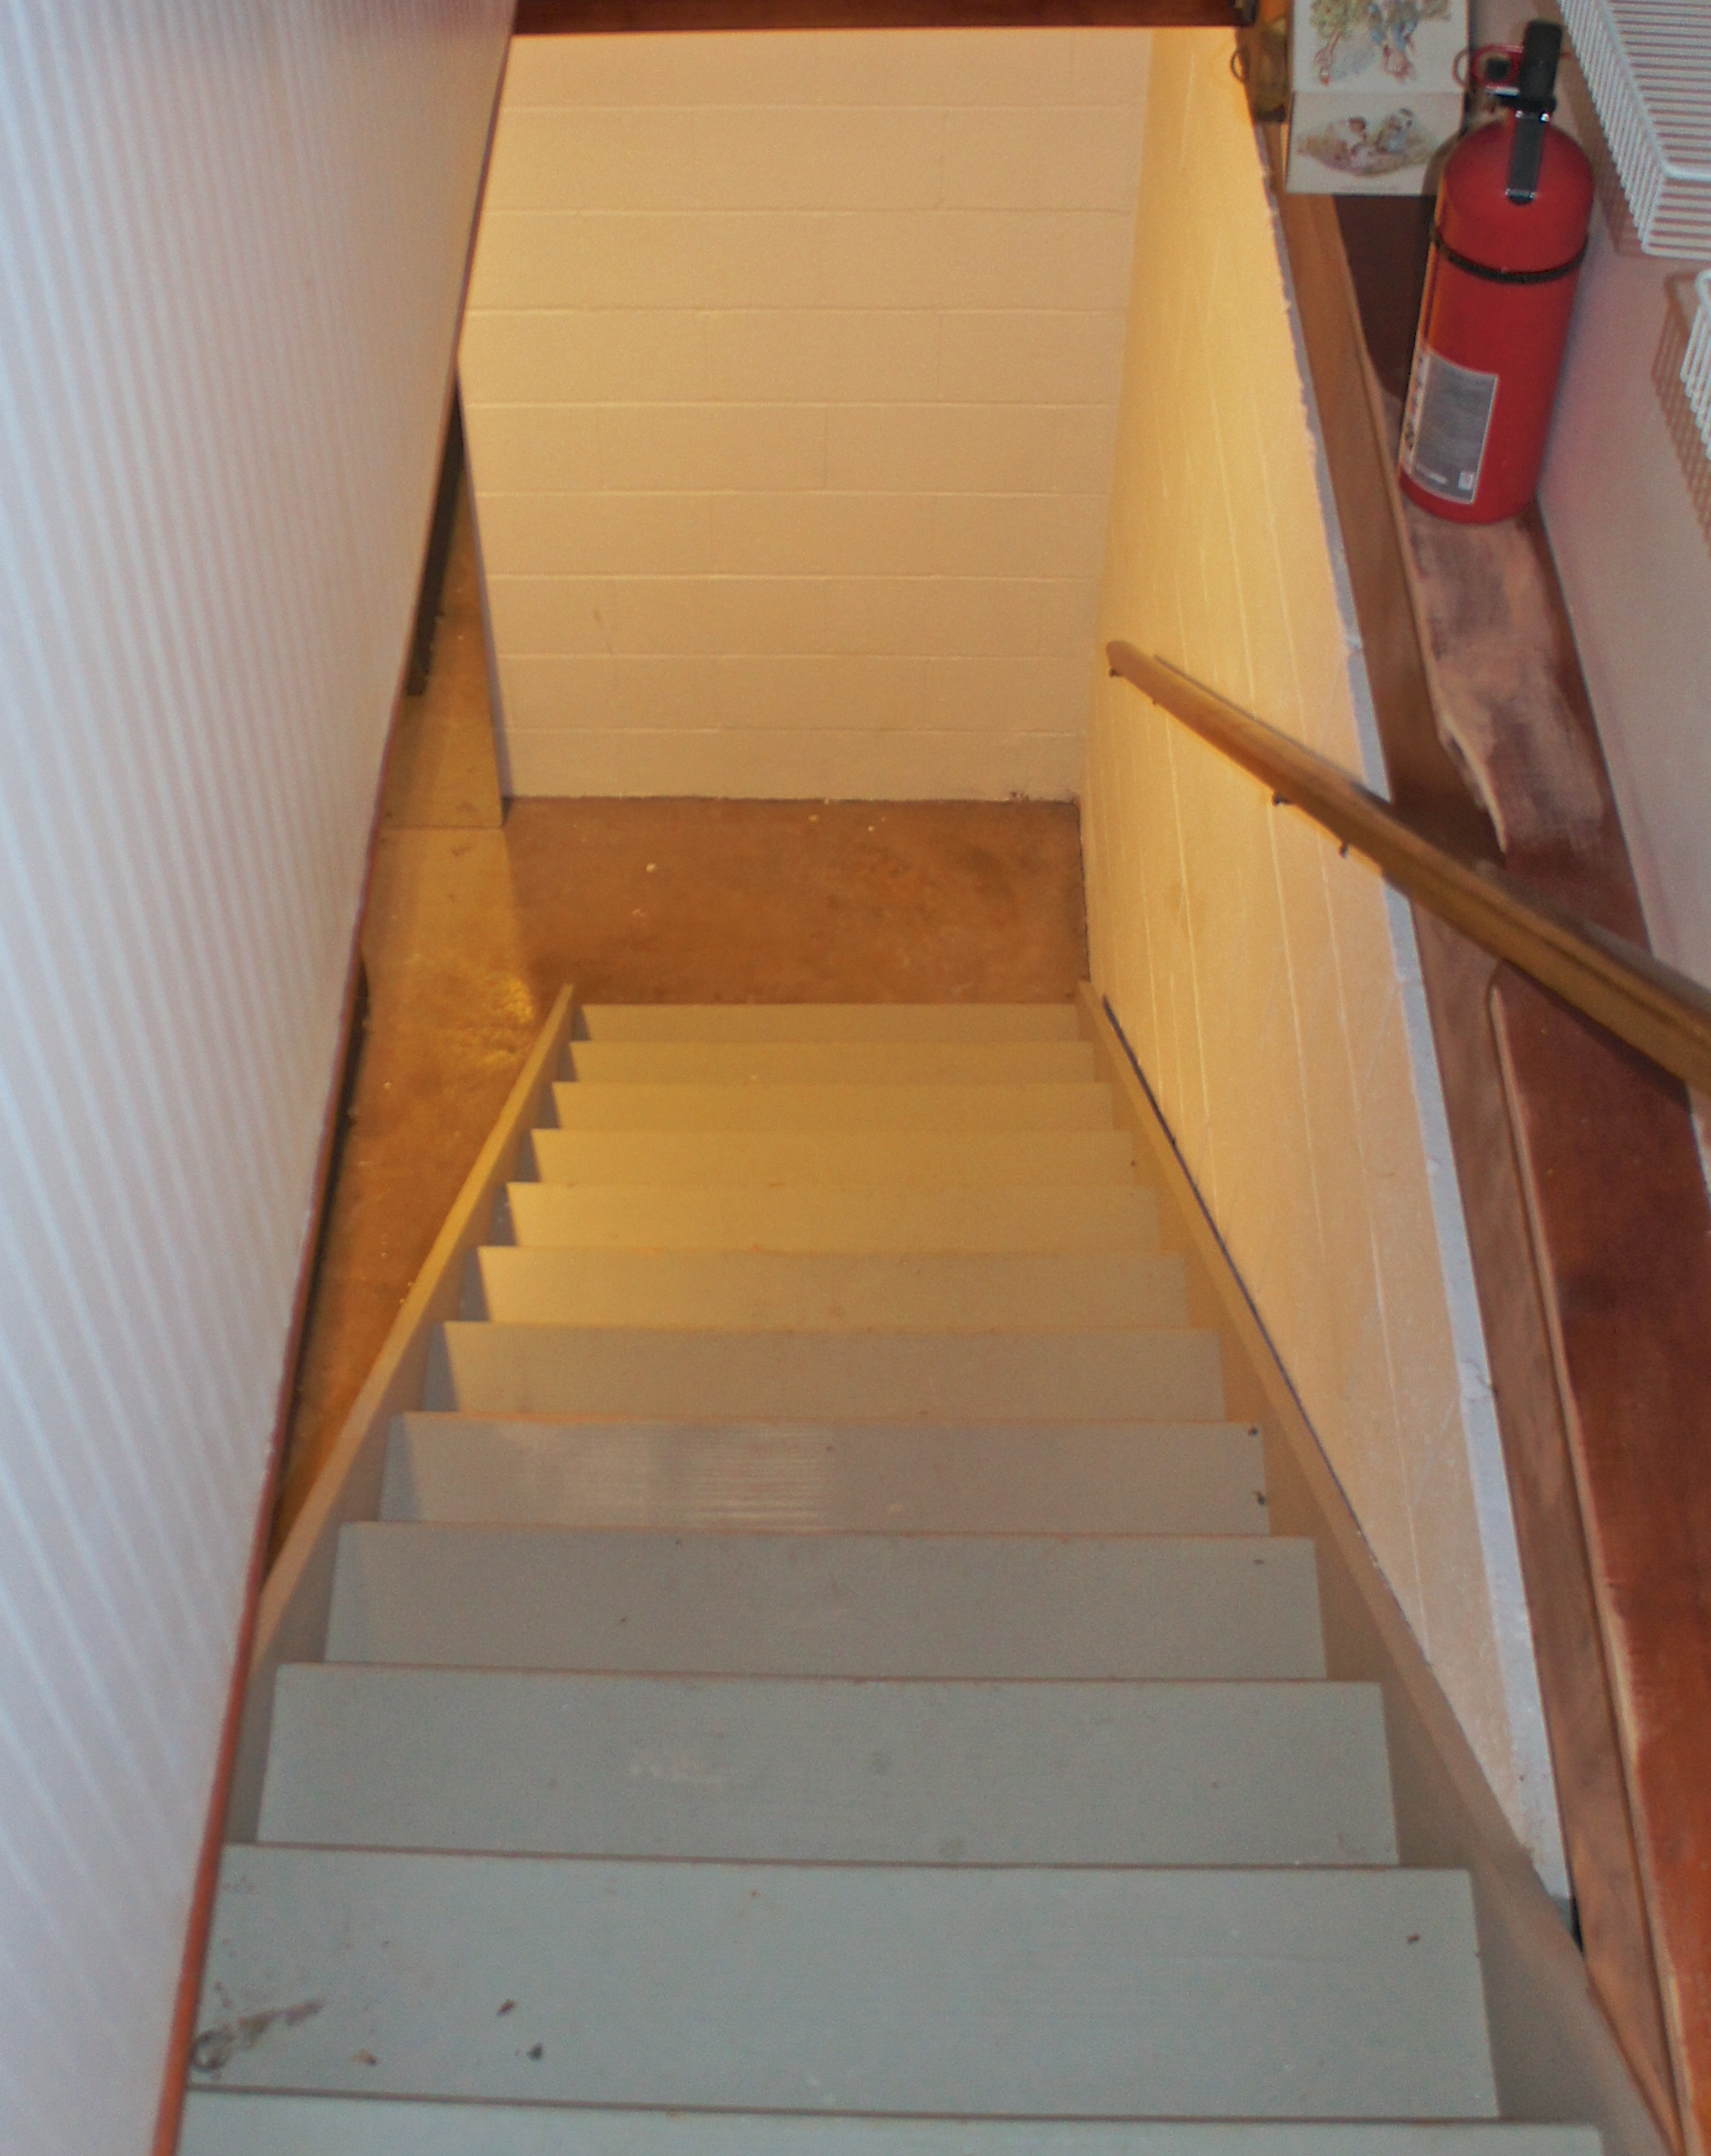
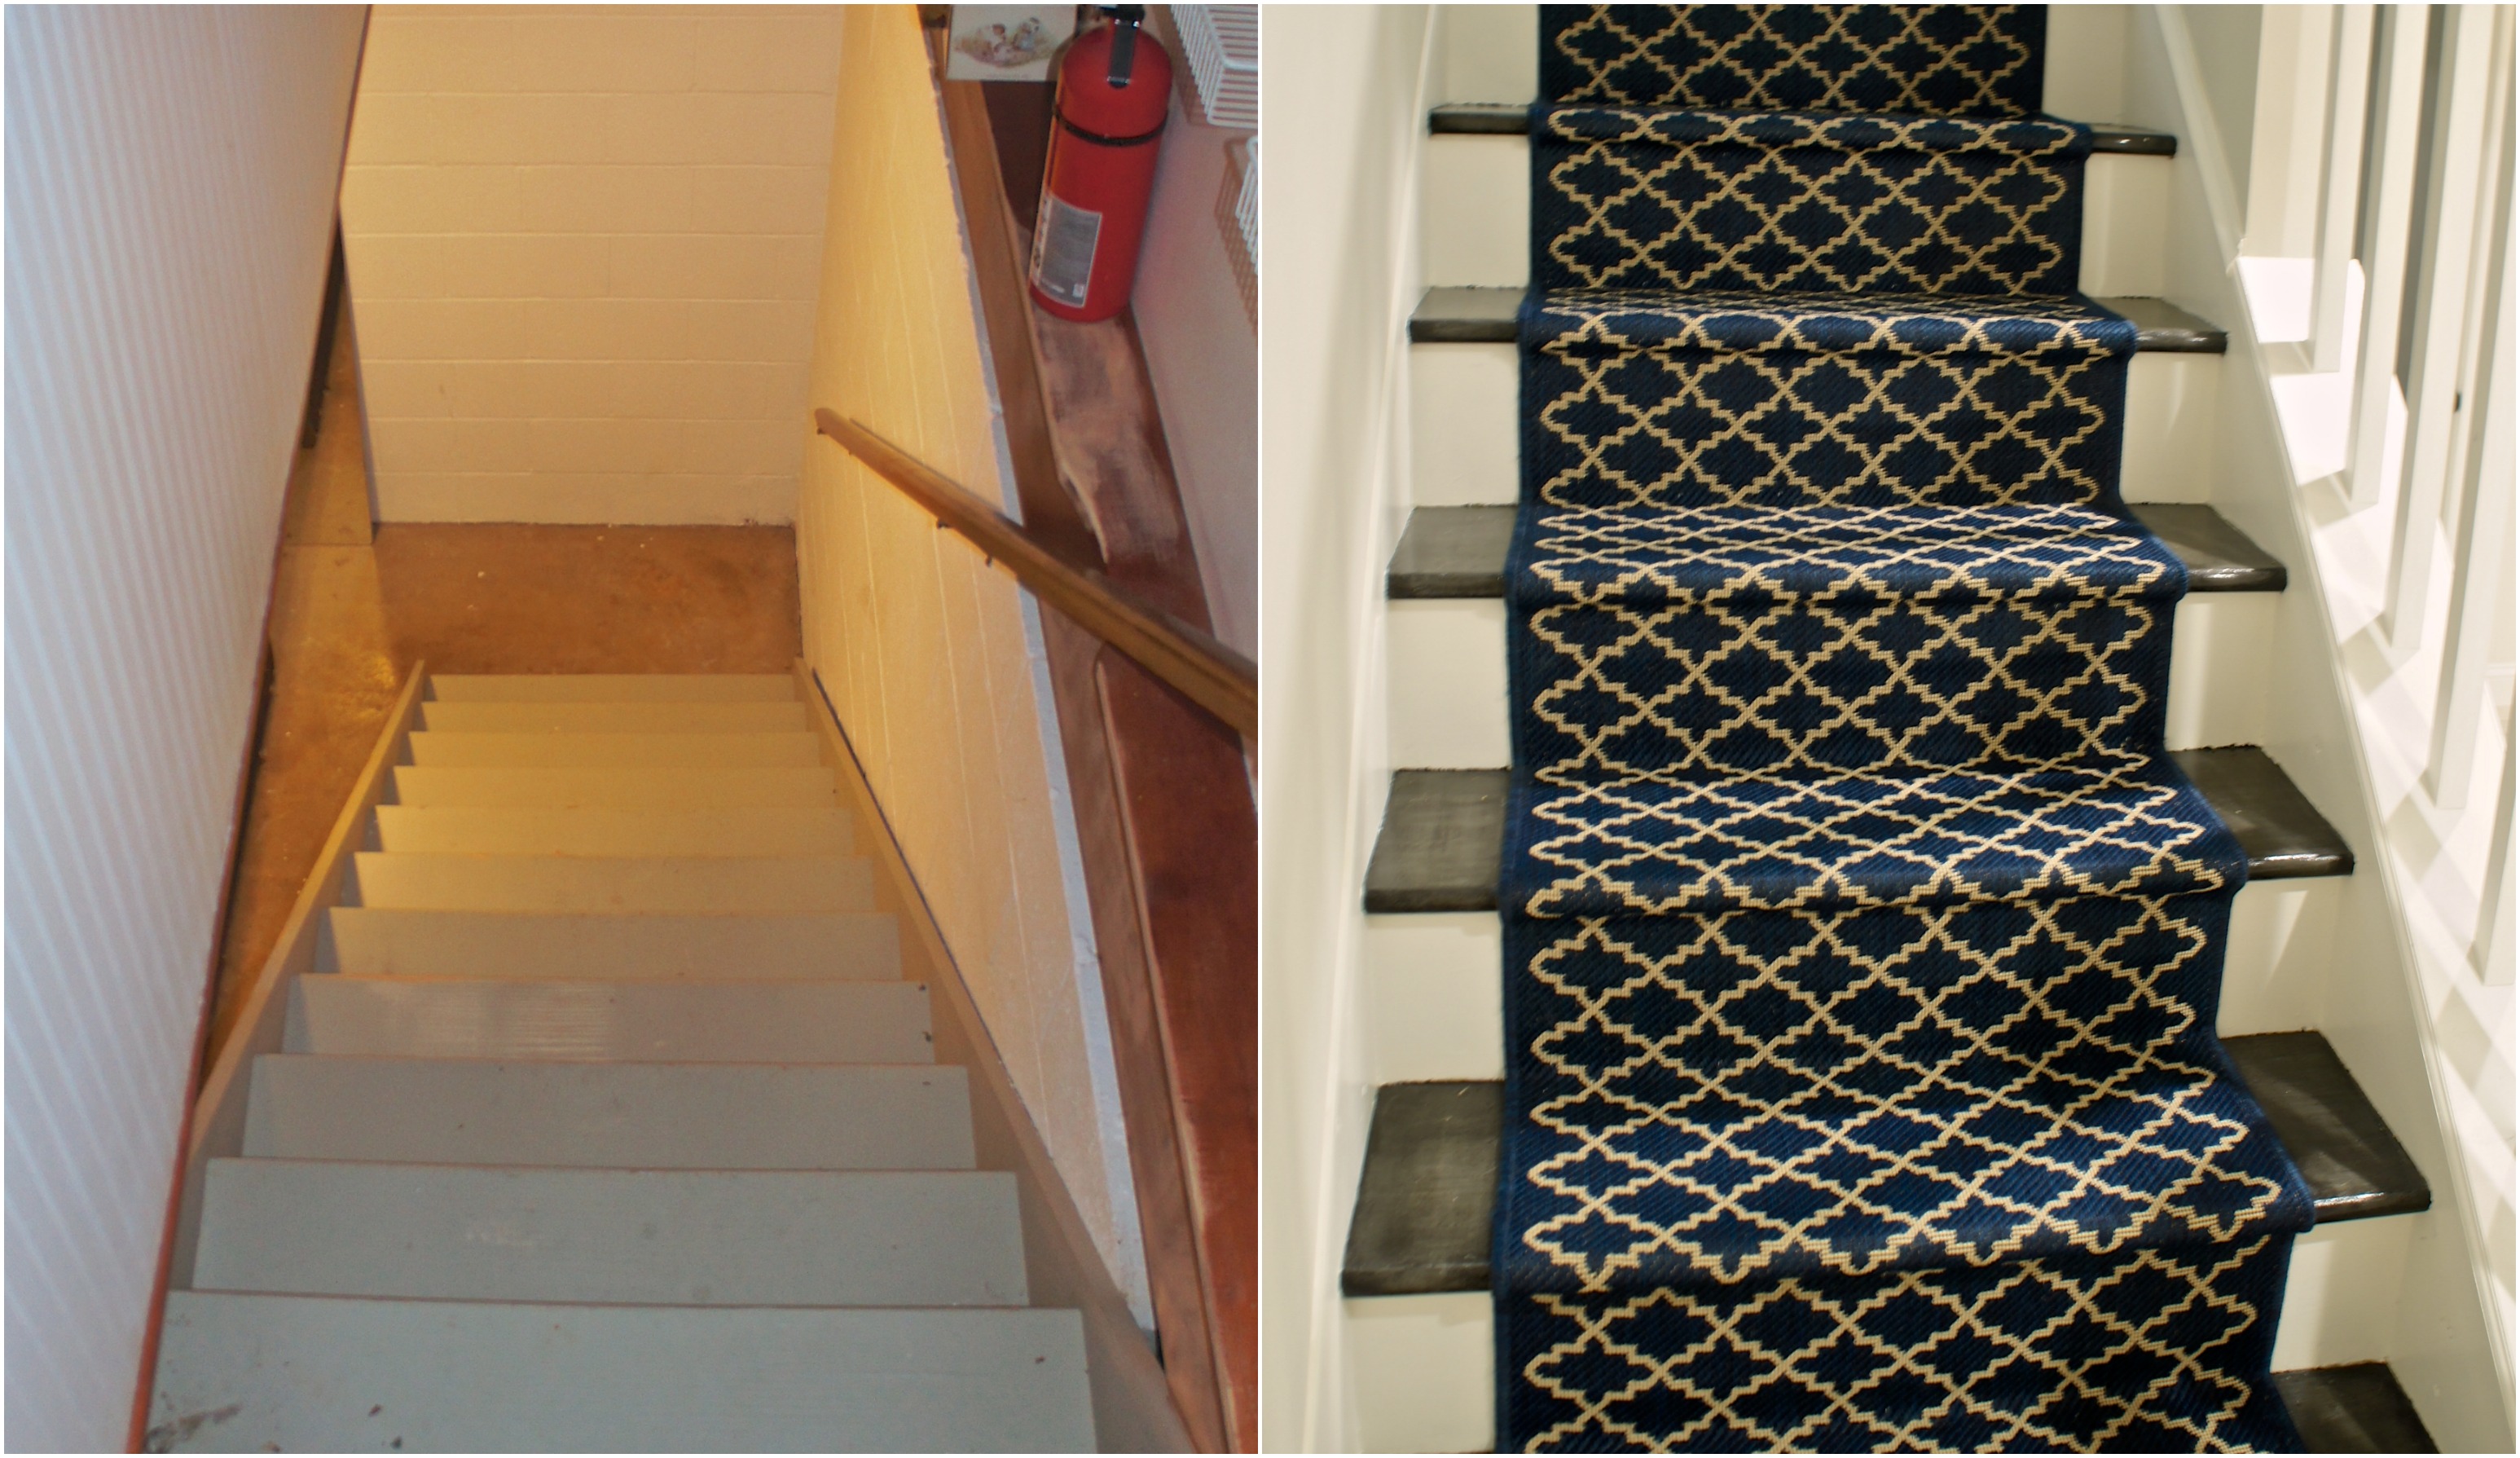
Our basement stairs prior to the renovation were a little frightening. They were also installed incorrectly, so you pitched backwards when walking down. Our contractors fixed that by jacking them up, cutting off a step, sliding them back three feet, and adding a landing. Once they were done, I was tasked with prettying things up.
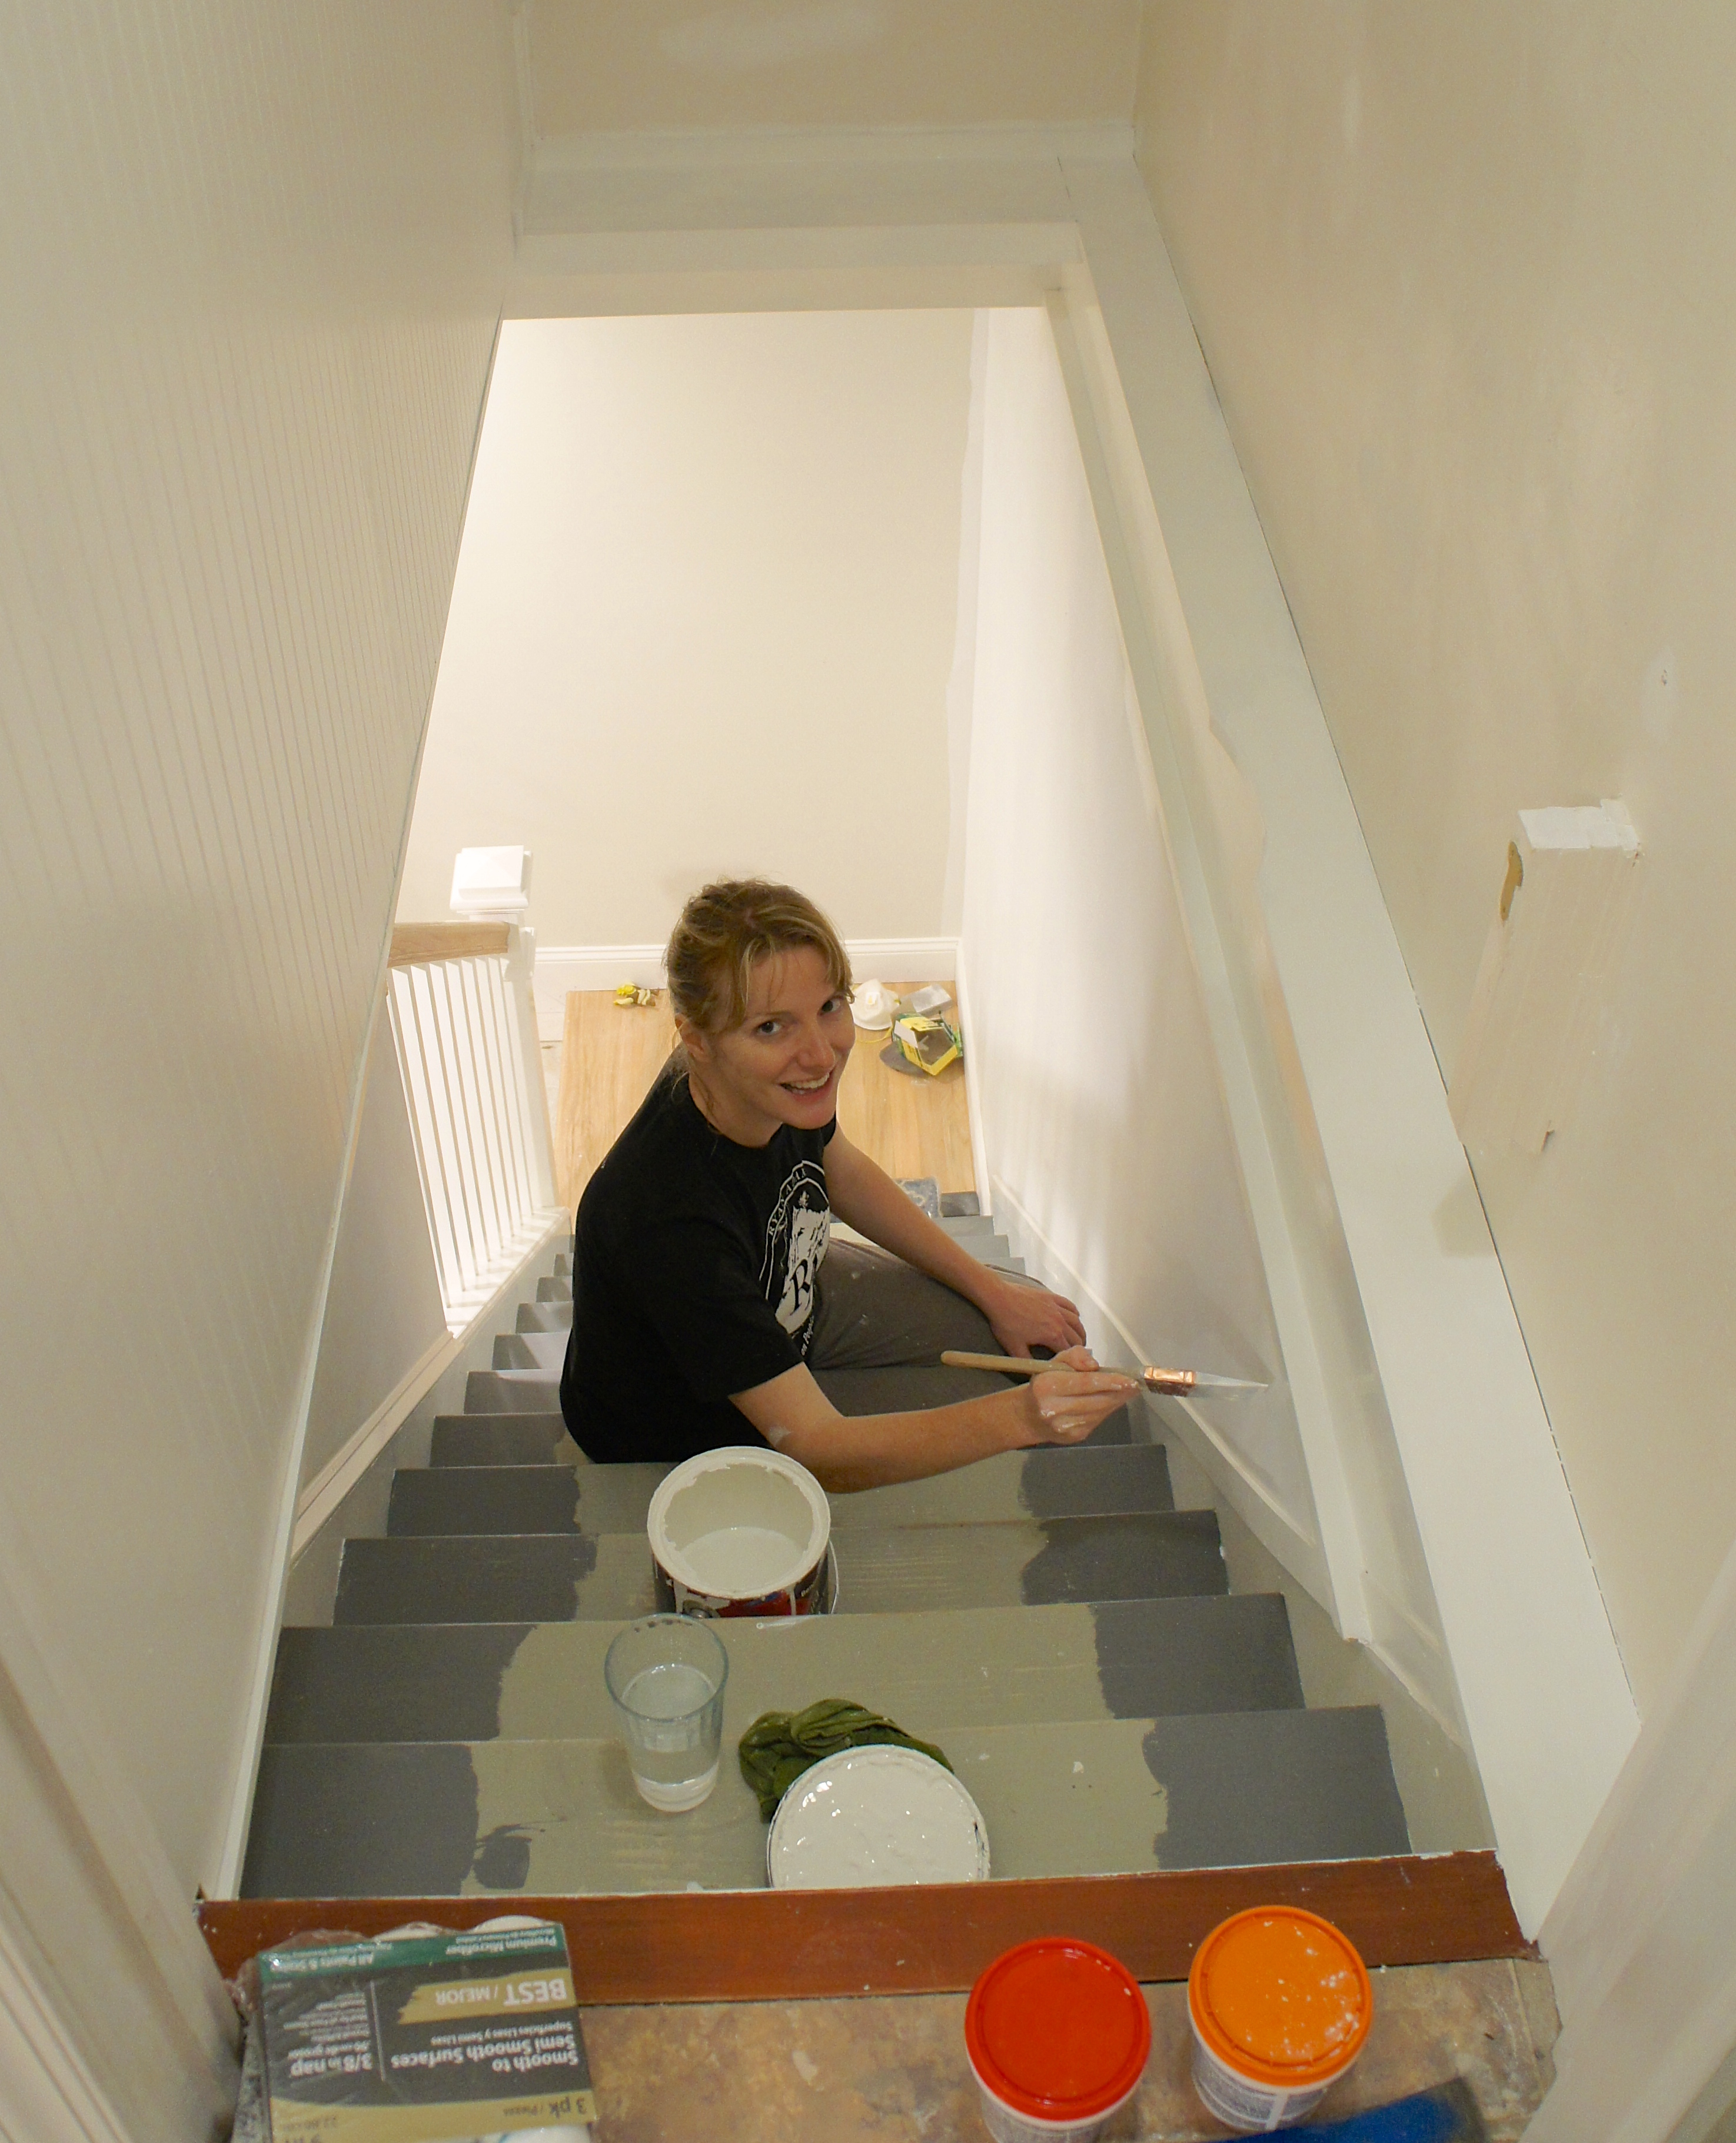
A little trim paint (Benjamin Moore Aura in White Dove) went a long way in brightening the stairwell, but the treads still needed some work. I shy away from solid color treads, which are bound to be covered in dust and dog hair. Unless you want to be one of those “no shoes in the house” people. And trust me, people will judge you far more harshly for asking them to leave their shoes outside of your front door than for dirty carpets.
I started off by painting the edges of the treads with Ben Moore’s Porch and Floor paint in deck grey. We were adding a runner, so this allowed me to run up and down without a problem.

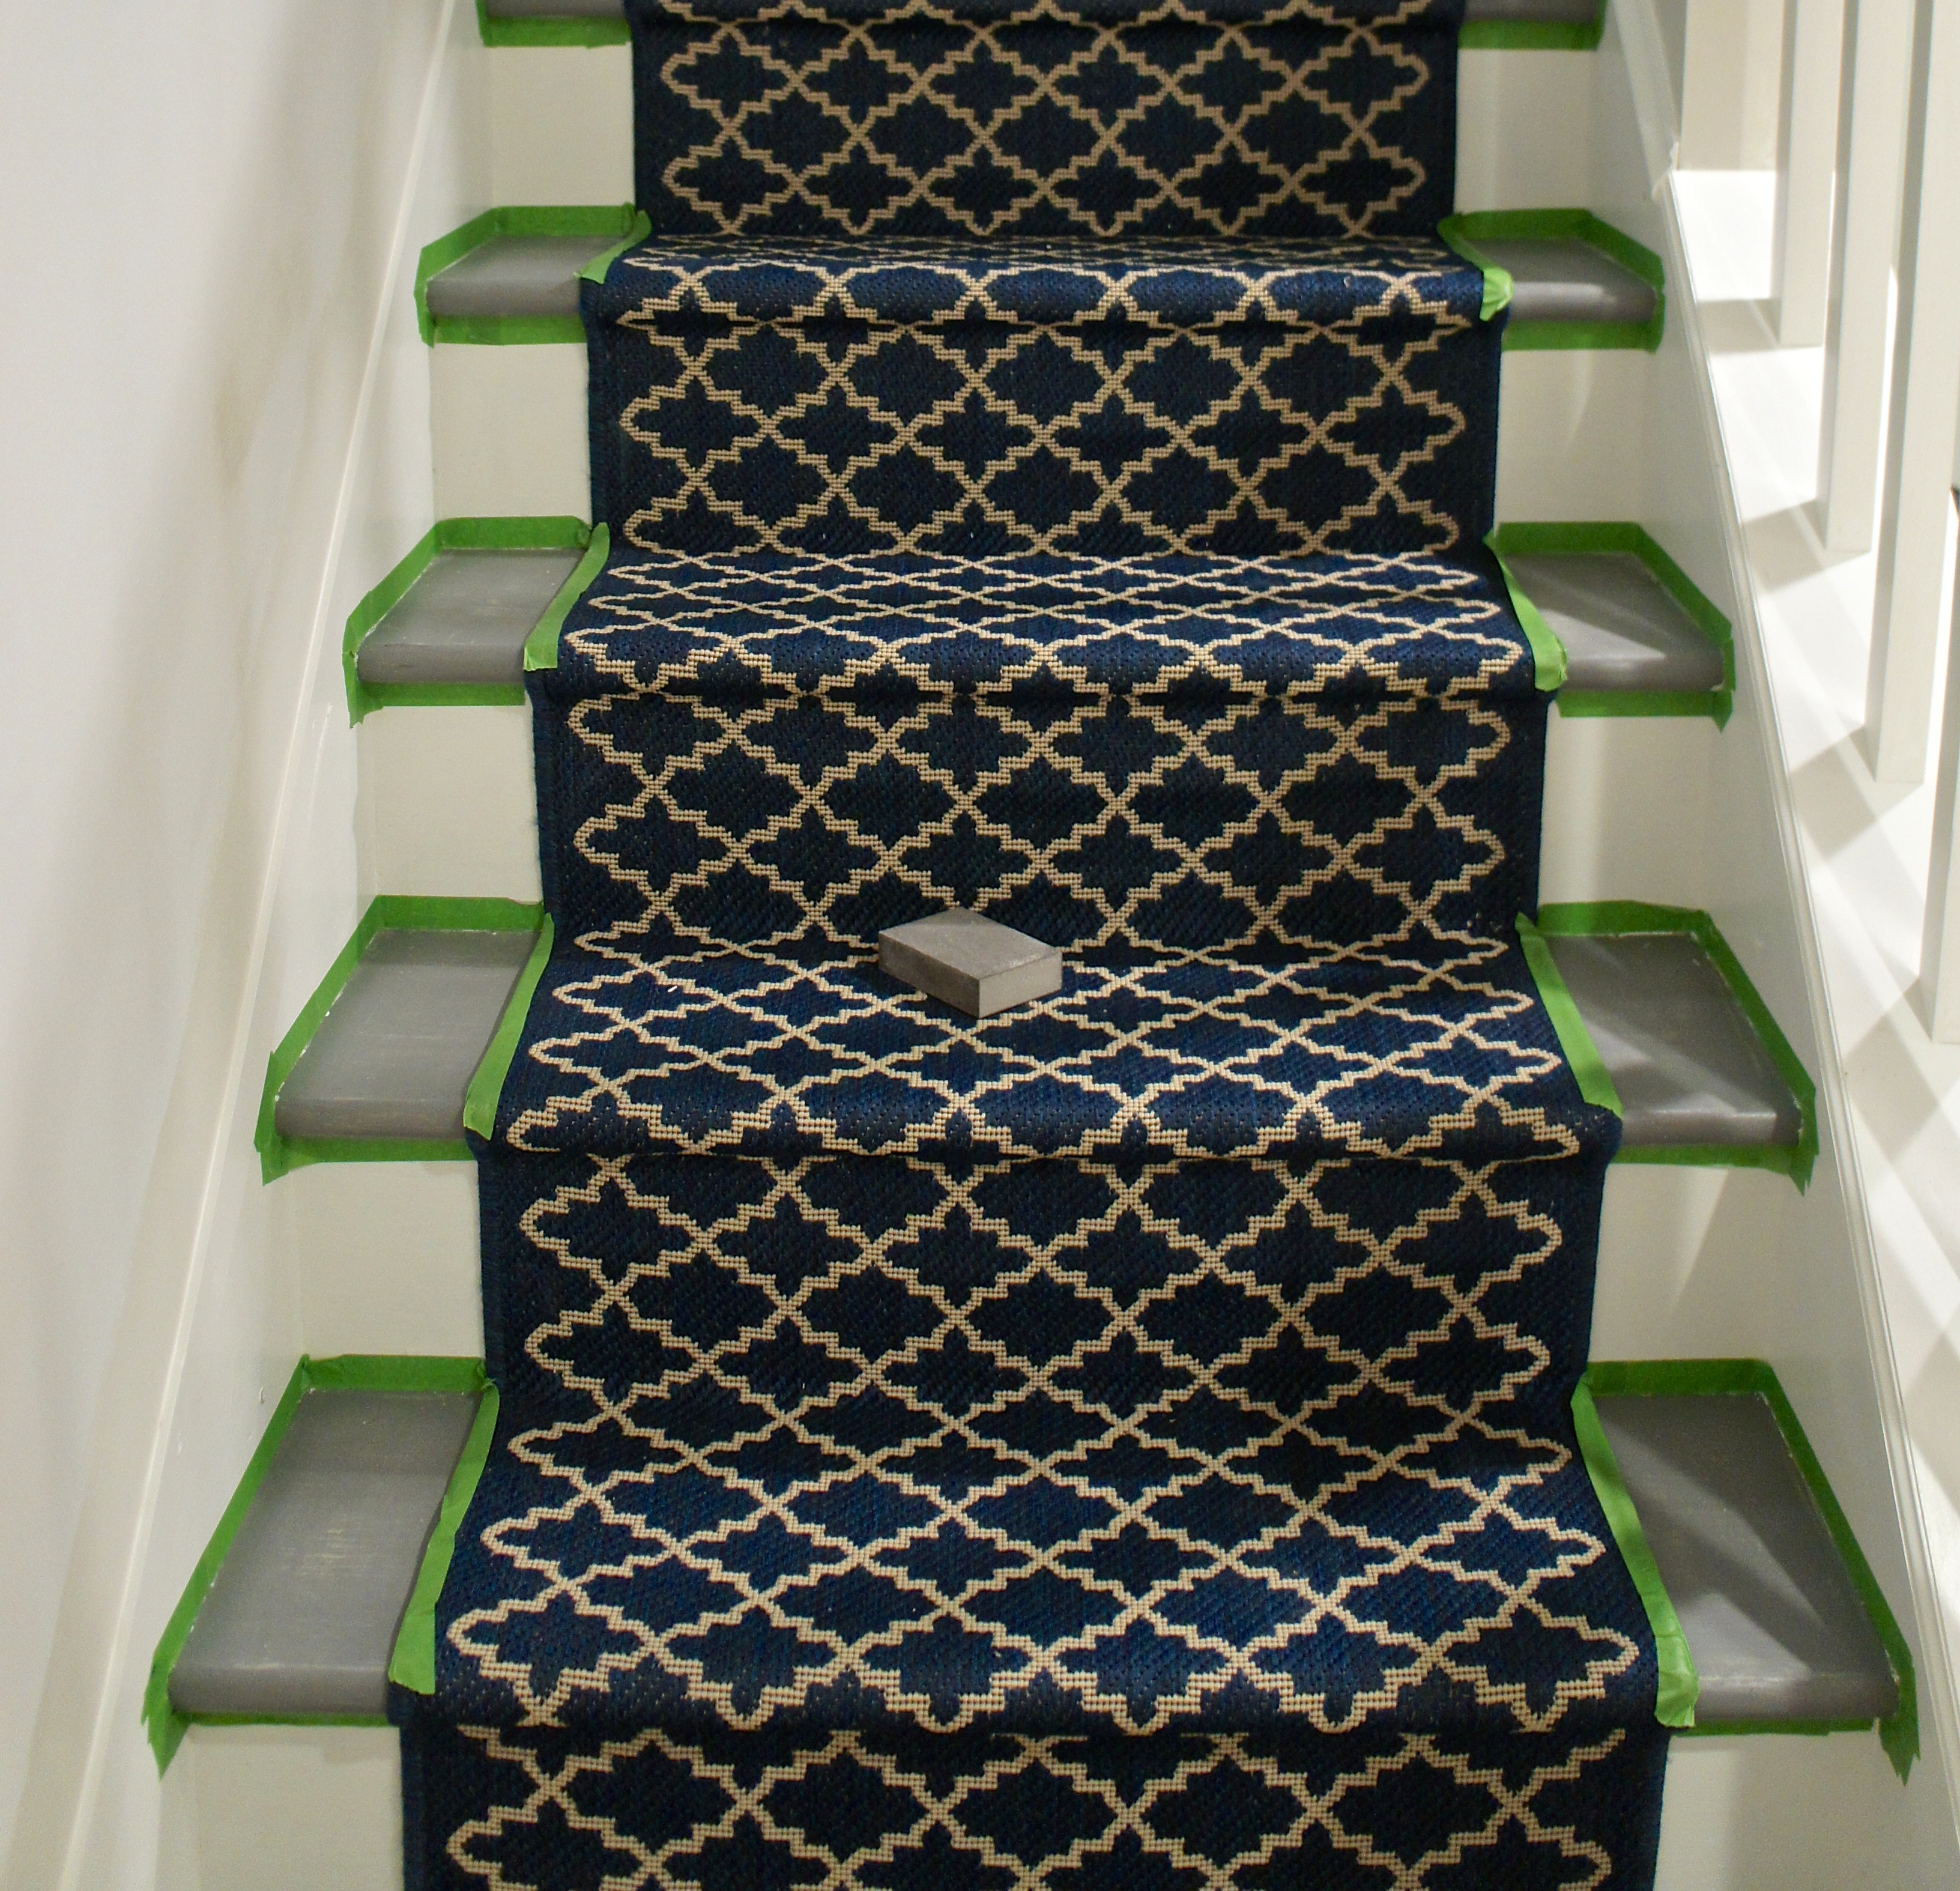
After centering the runner and placing a piece of floor mat on each of the treads, the tools were ready to come out. Using a staple gun (we have a pneumatic staple gun and air compressor-Christmas present from my in-laws because we’re super weird-but a regular $20 staple gun from Amazon will also do the trick) I put a staple about every 2.5″, just beneath the lip of the tread and against the base of the riser.
Working my way down, I measured the exposed pieces of tread on each side of the runner before stapling to make sure things weren’t getting crooked. If it was off a little bit the rug could be shifted slightly to maintain alignment.

Our Safavieh indoor/outdoor rug from came from Rugstudio.com, and at 14′ the only cut required was along base of the last step, which was easily covered with a piece of quarter round.
Once the runner was finished it still felt like something was missing, so I decided to stain over the paint for a richer, two-tone look. Stain doesn’t easily adhere to a painted surface, so the paint had to be distressed with a sanding block. After scratching up each tread, I applied a single coat of ebony stain with a foam brush, going with the grain of the wood. Per the directions, I rubbed off any pooling stain with cheesecloth after about 5 minutes, which gave everything a little more texture without being too dark.
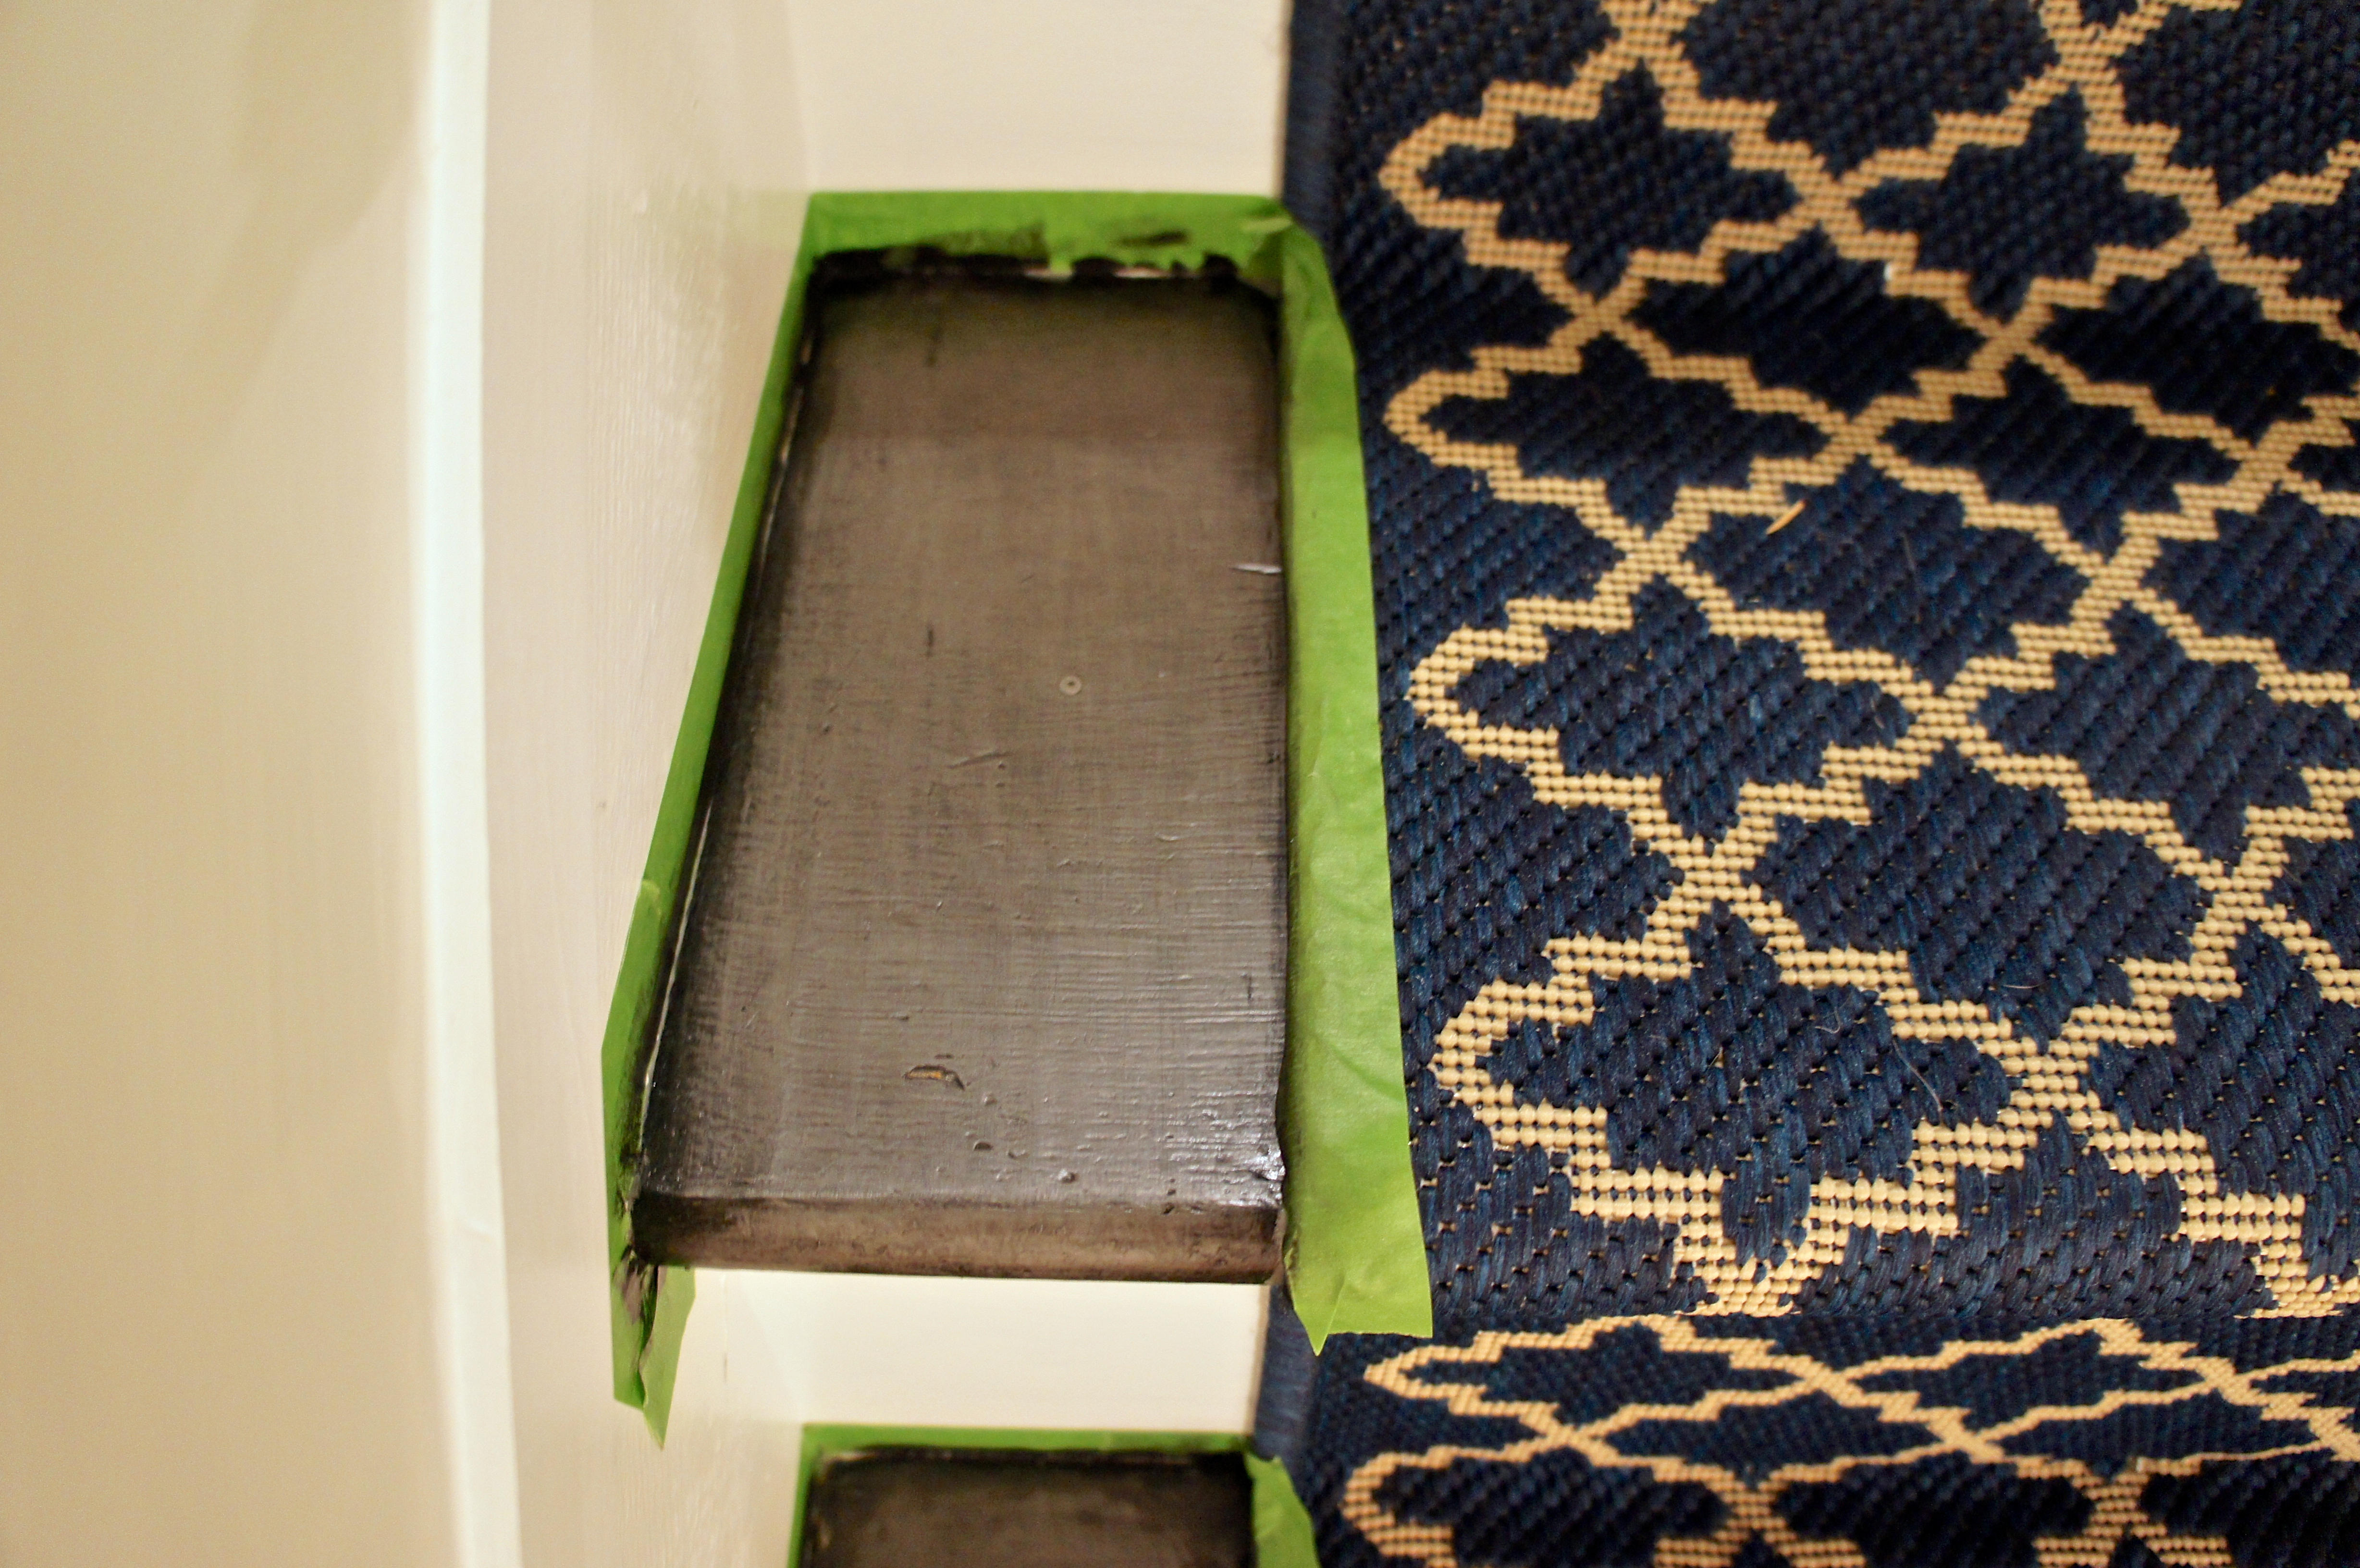
The corners were pretty saturated, so I applied a coat of polyurethane before everything was completely dry, which allowed the stain smooth out some for my desired results. After it dried overnight a second coat of poly went on to protect the steps from Izzy’s toenails.
In the end, the finished stairs came a long way from where we started:
In addition to all of the paint, Jason installed a glass door in place of the hollow core that was at the top of the stairs to let in as much light as possible from our kitchen windows.

The view from the main room shows the landing that has yet to be stained, so we aren’t quite finished:

The runner has a bright and fun pattern, while the dark stain on the railing and treads are polished enough to fit the rest of the house. Best of all, there’s added grip and cushion for those clumsy toddlers (and Mama’s) running up and down the steps.
