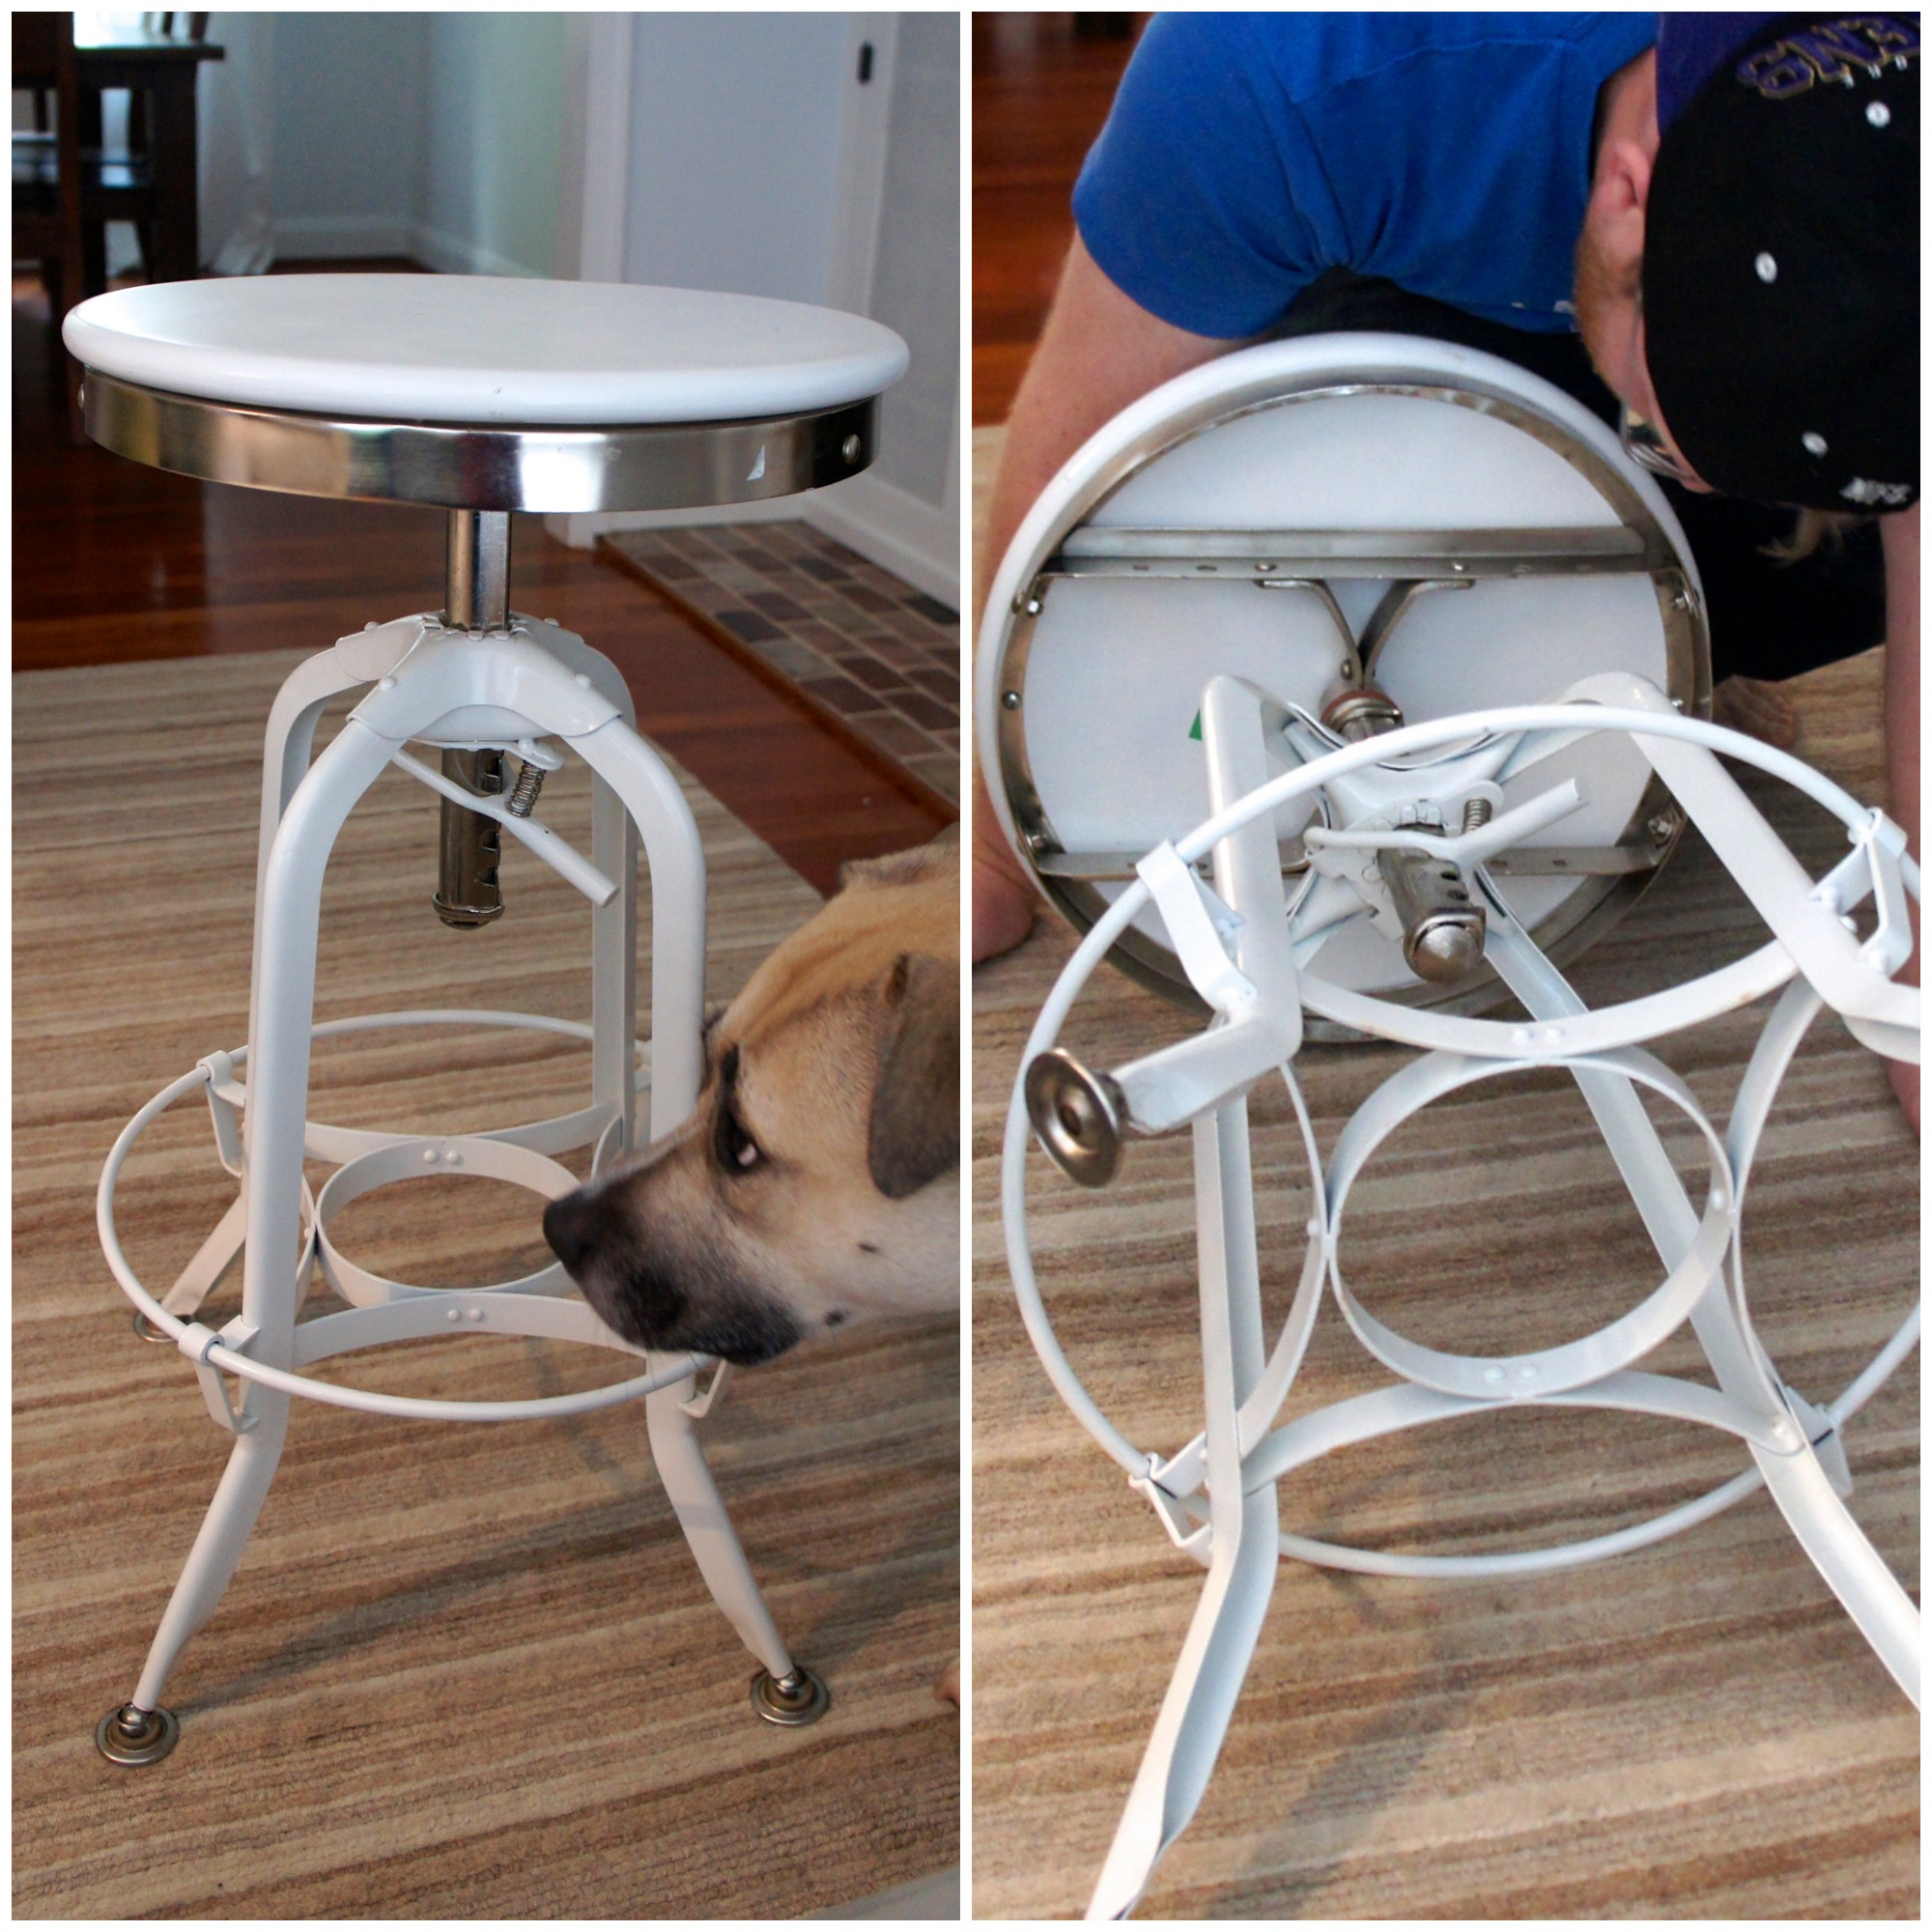
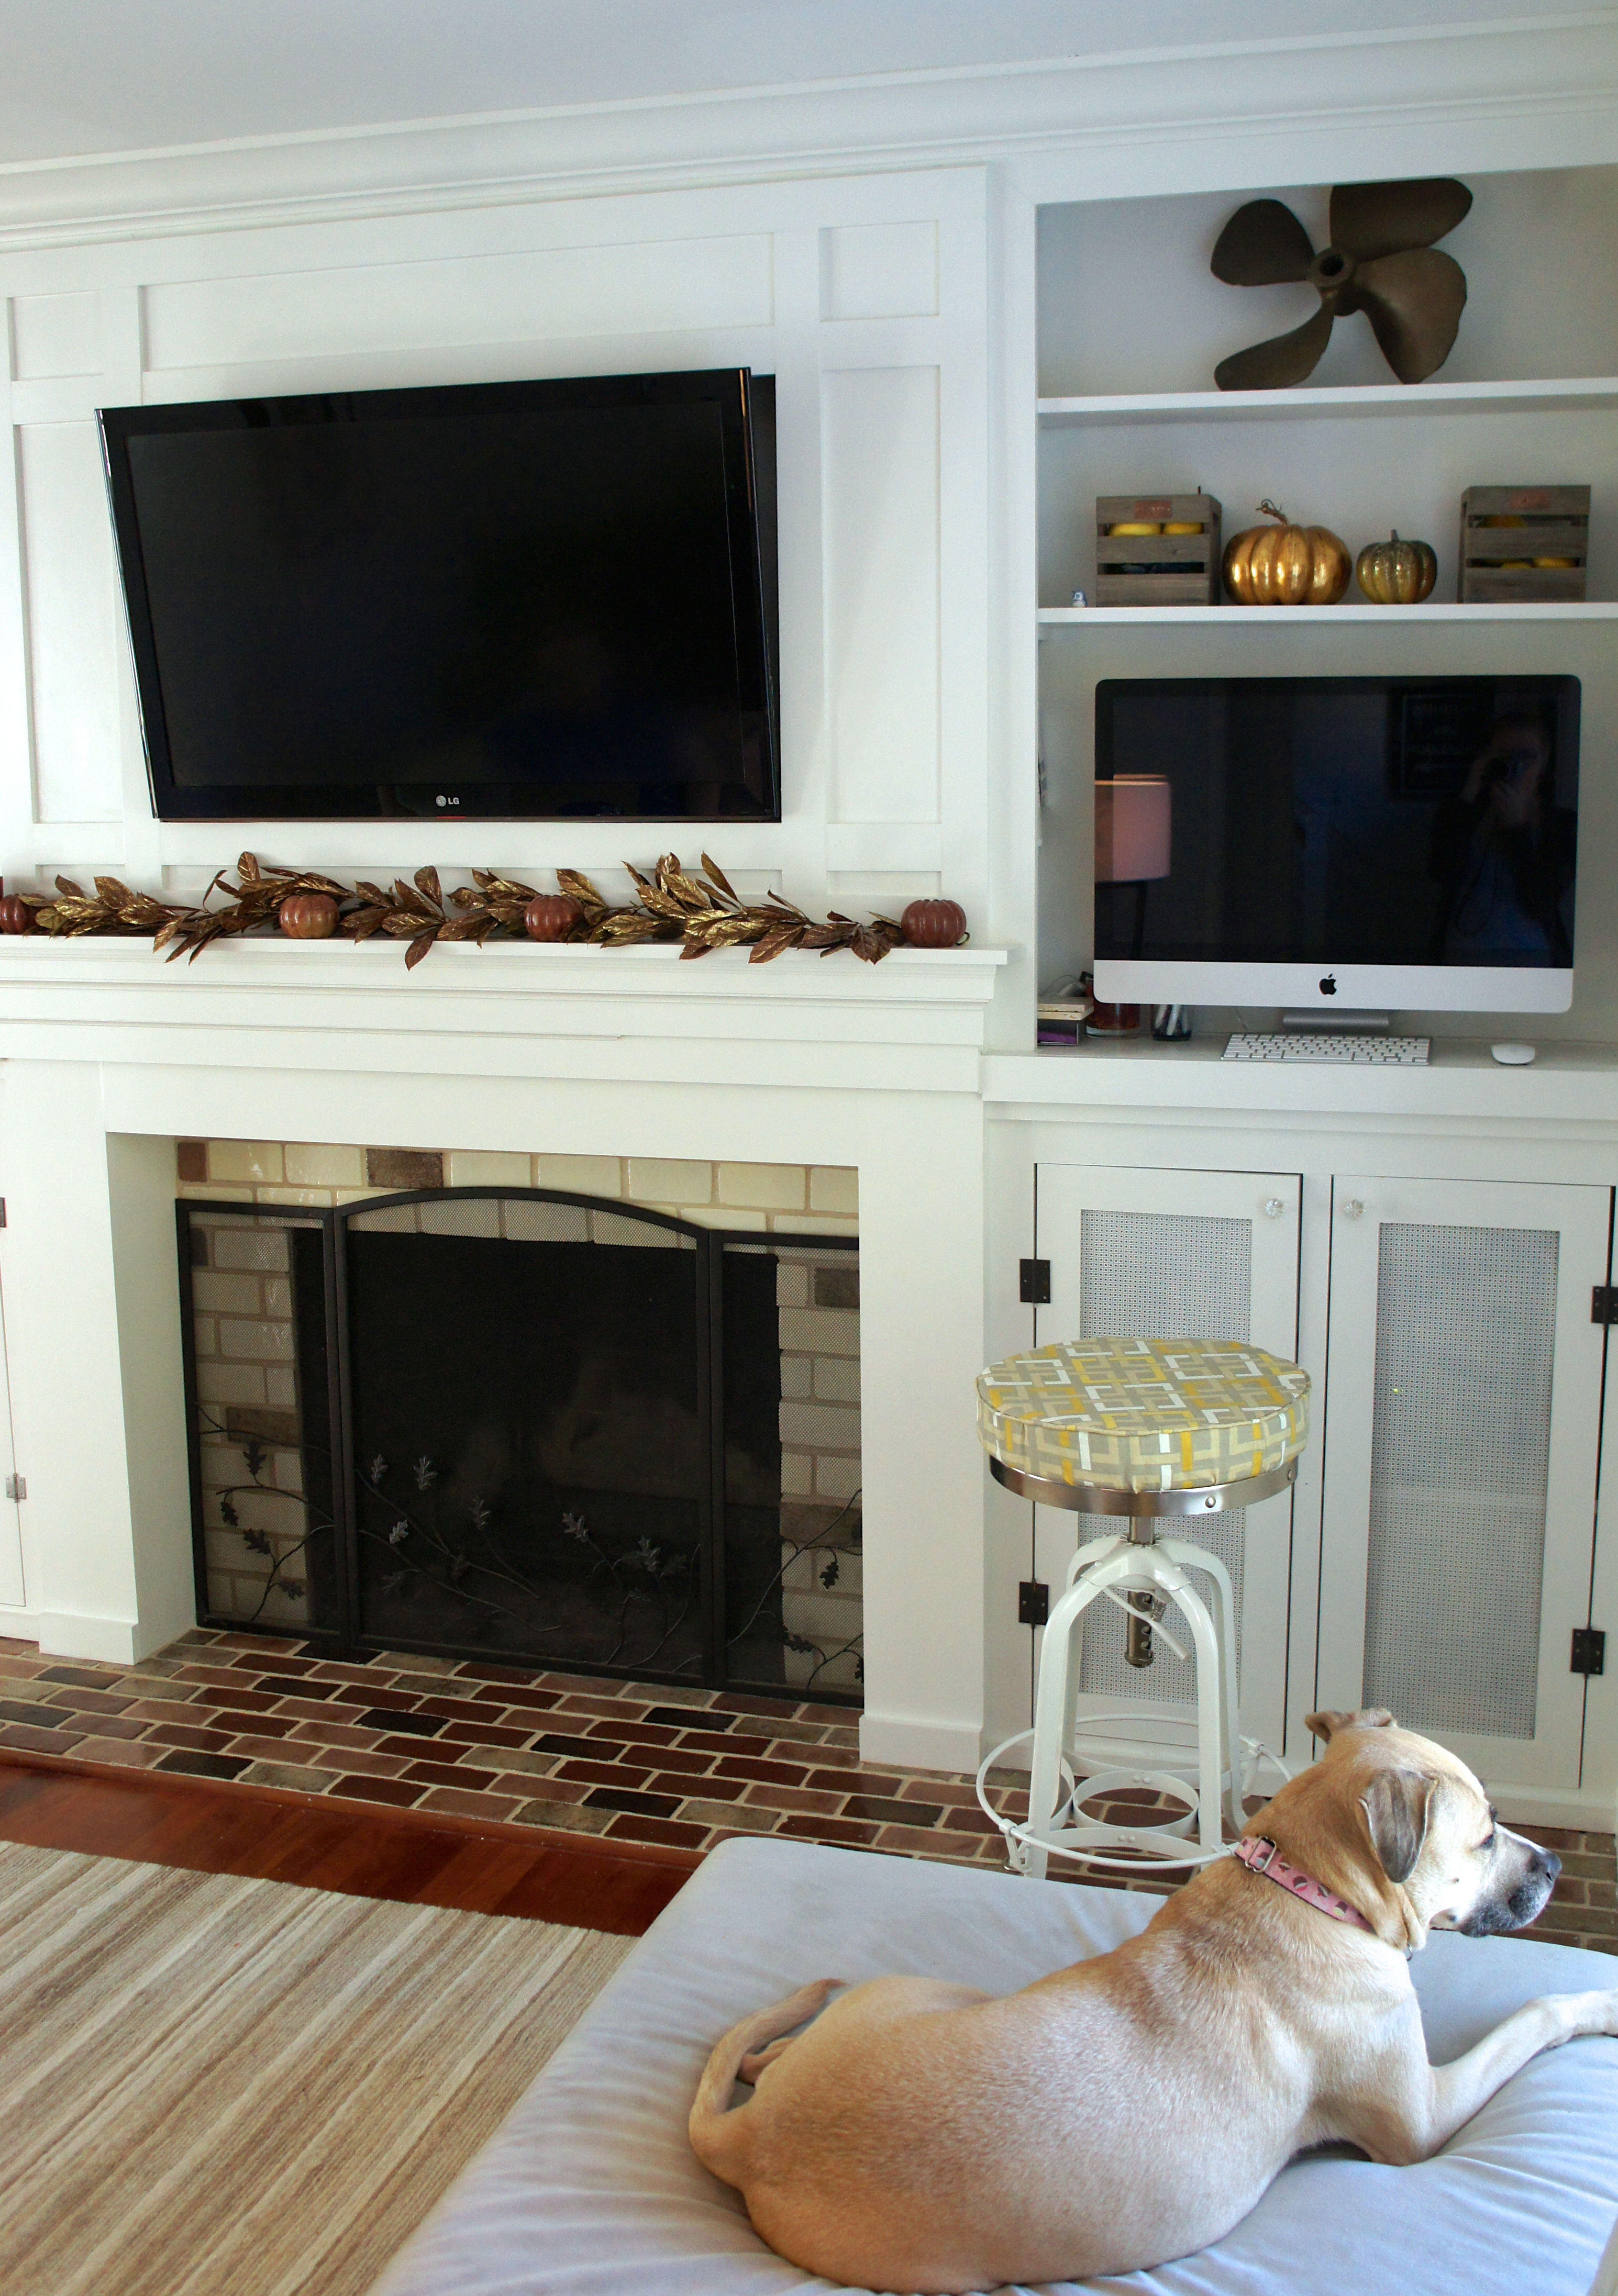
When we made our built ins this summer we decided to create an office space into one of the bookshelves, for lack of a better place. It has actually been a good set up, especially on those days when the little guy refuses to nap. If I need to get some work done that’s beyond my MacBook’s capability, I’m in the living room where I can keep an eye on him. We weren’t quite sure how to handle seating, though. The bookshelf is pretty high off the ground, so I found this barstool at the Restoration Hardware Outlet for $80.

It had the look we were going for-clean lines, small and unobtrusive, and the top is flat so it serves double as a side table. Unfortunately, it’s about as comfortable as high school gym bleachers. Our recent WordPress migration had Jason logging a lot of time at the desktop, so where I usually just deal with the pain, my husband’s incessant complaints were enough to get me going on some padding. Because we aren’t working with a regular chair, there isn’t anything for a cushion to tie onto, so upholstering the seat was my only option. This is my very first upholstery project, and my sewing skills usually don’t go beyond what I can accomplish with a glue gun or stapler. After some trial and error, the new pad isn’t exactly perfect, but it’s functional.
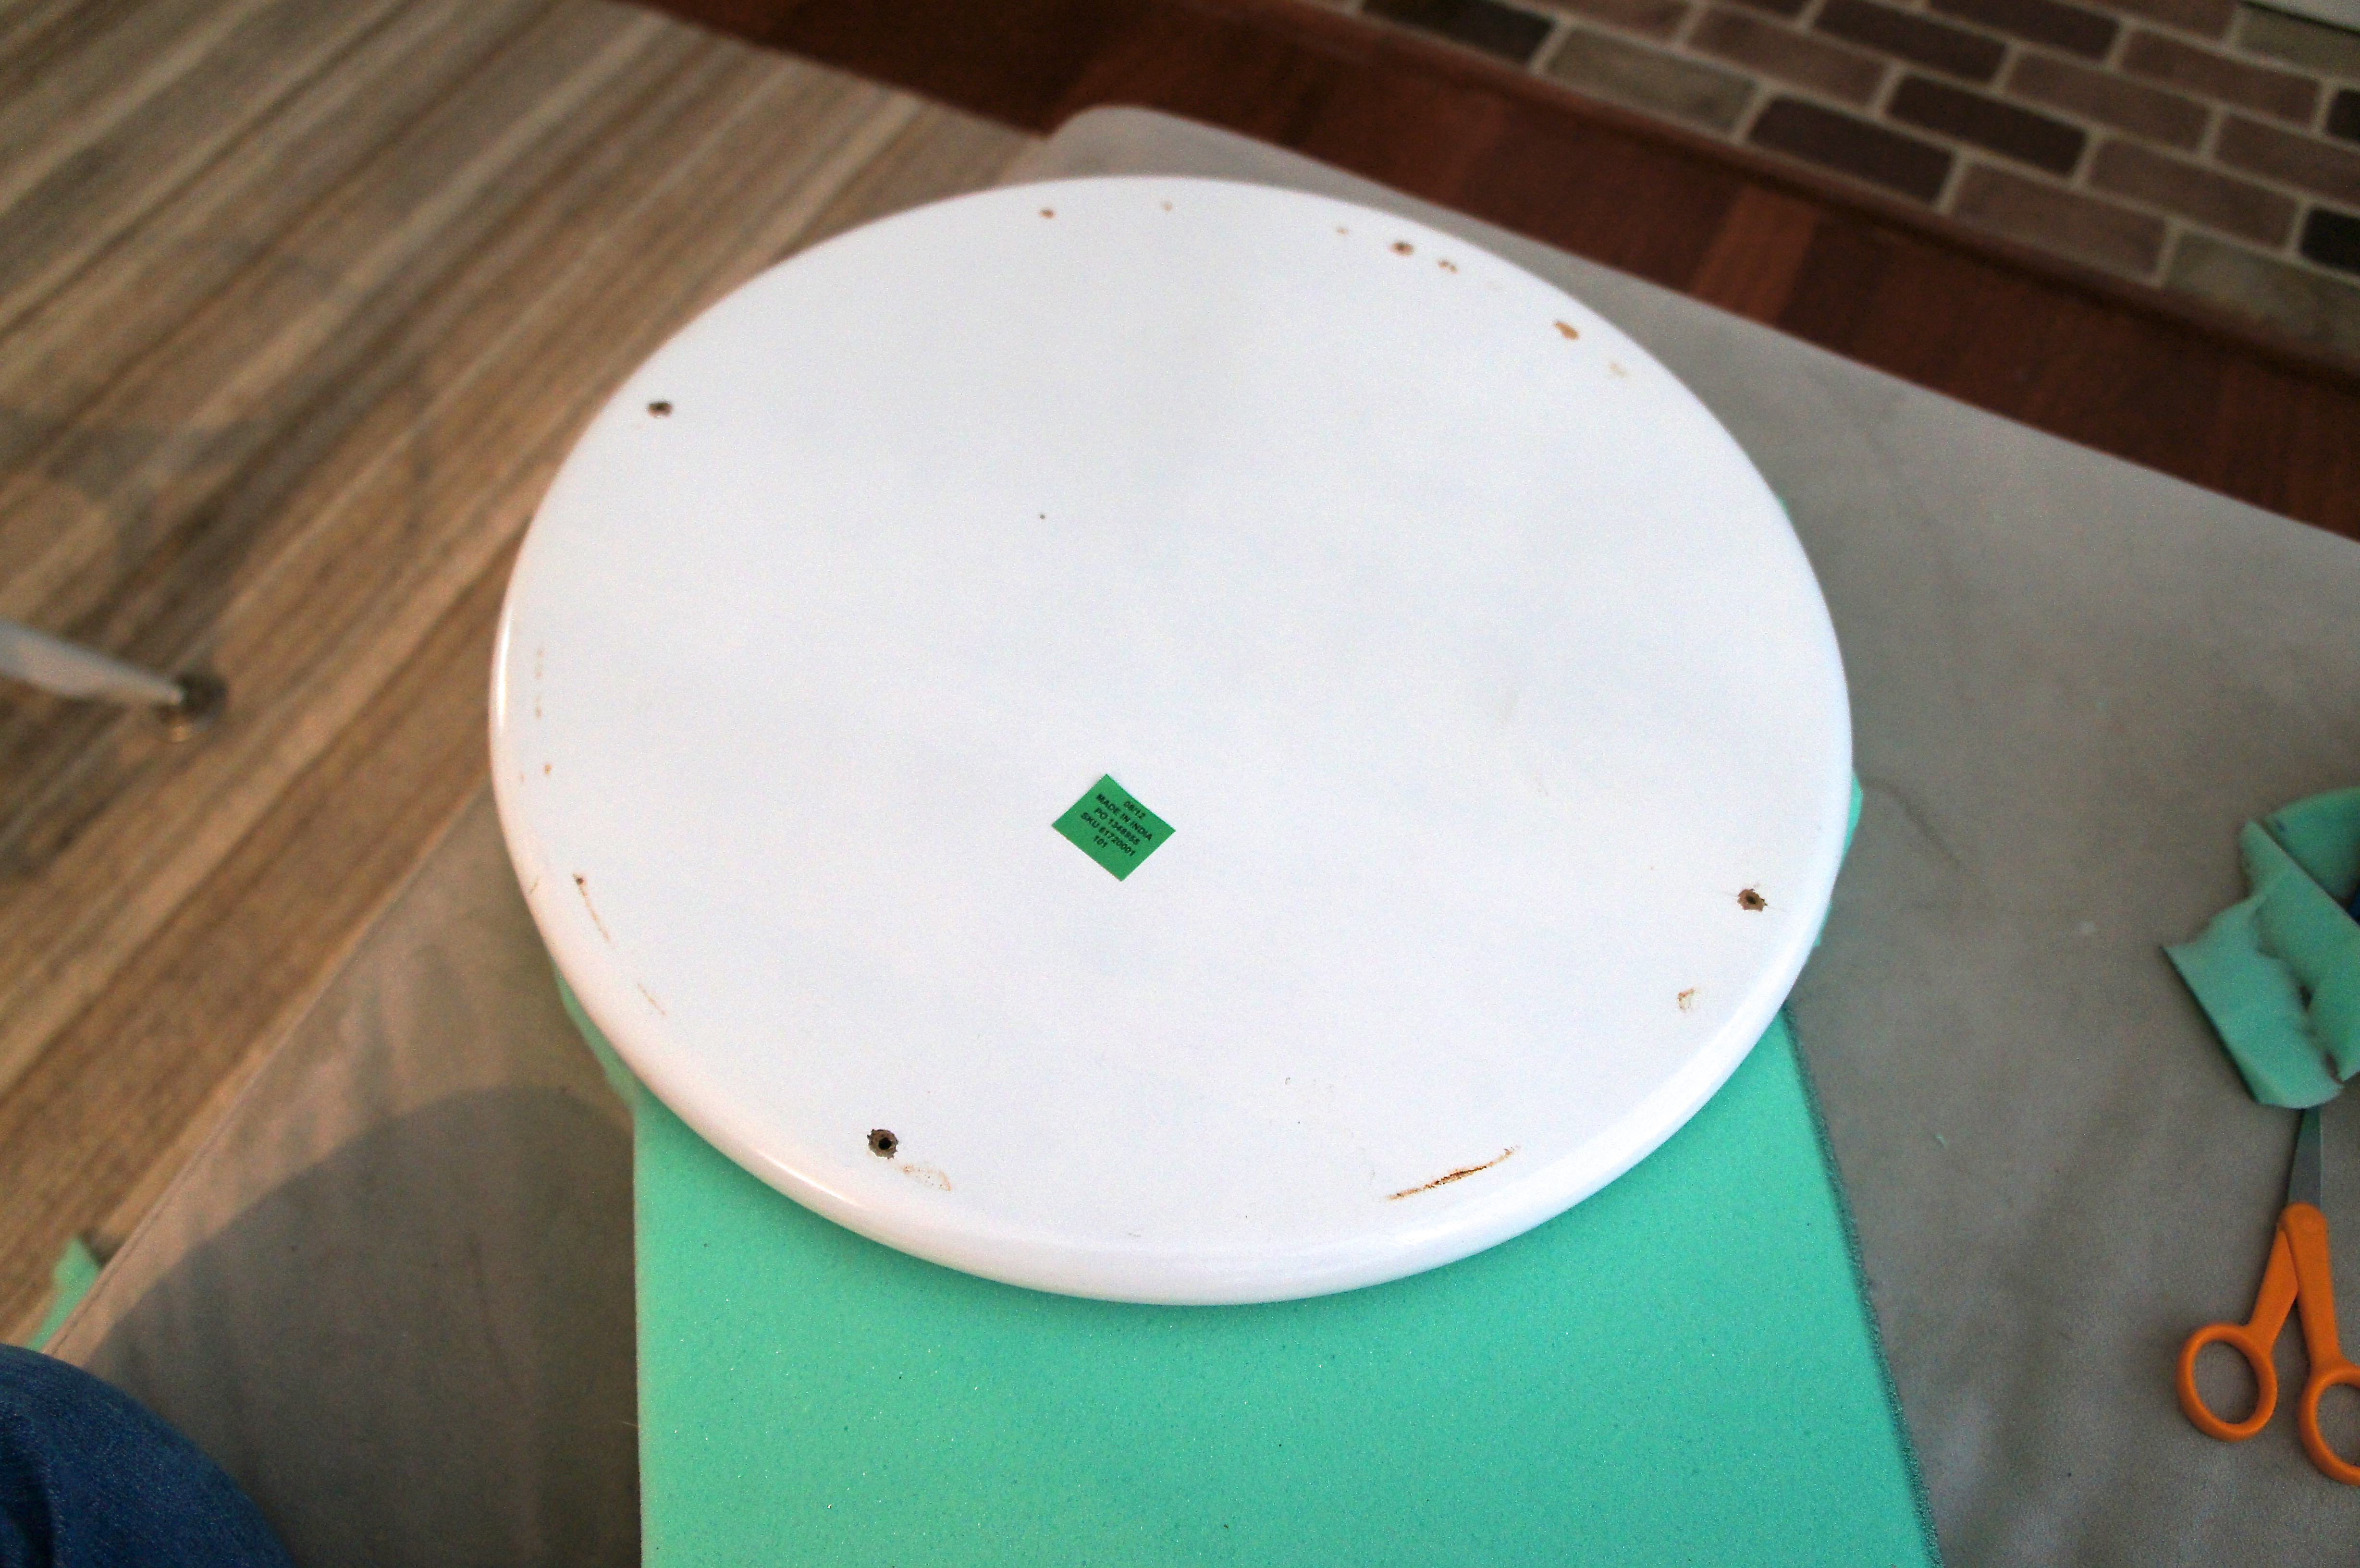
To get started, we had to take the top off the seat. It was only attached by four screws, so it was pretty easy.
I bought 2″ thick foam at JoAnn Fabrics to cover the seat. It comes in 2′ deep sections, so I bought a 1′ x 2′ piece and cut it to fit. You really need an electric knife to cut foam, all I had was scissors. The electric knife would have given me cleaner edges and a smoother finish.
My first go at the seat was a bust. Hot glue was not going to cut it.
I waited until Grant went to sleep and then used this tutorial from Addicted 2 Decorating to figure out how to modify my approach. The key is a welt cord. My method is a little different because, well, I own none of the tools necessary to upholster. Luckily, the odds and ends I found around my house seemed to suit my purpose. My “welt cord” is just a piece of rope that I wrapped in fabric and sewed together, like this:

I don’t own a sewing machine, so I had to do it by hand. This part could probably have been hot glued, though, because everything gets sewn together again at the end.
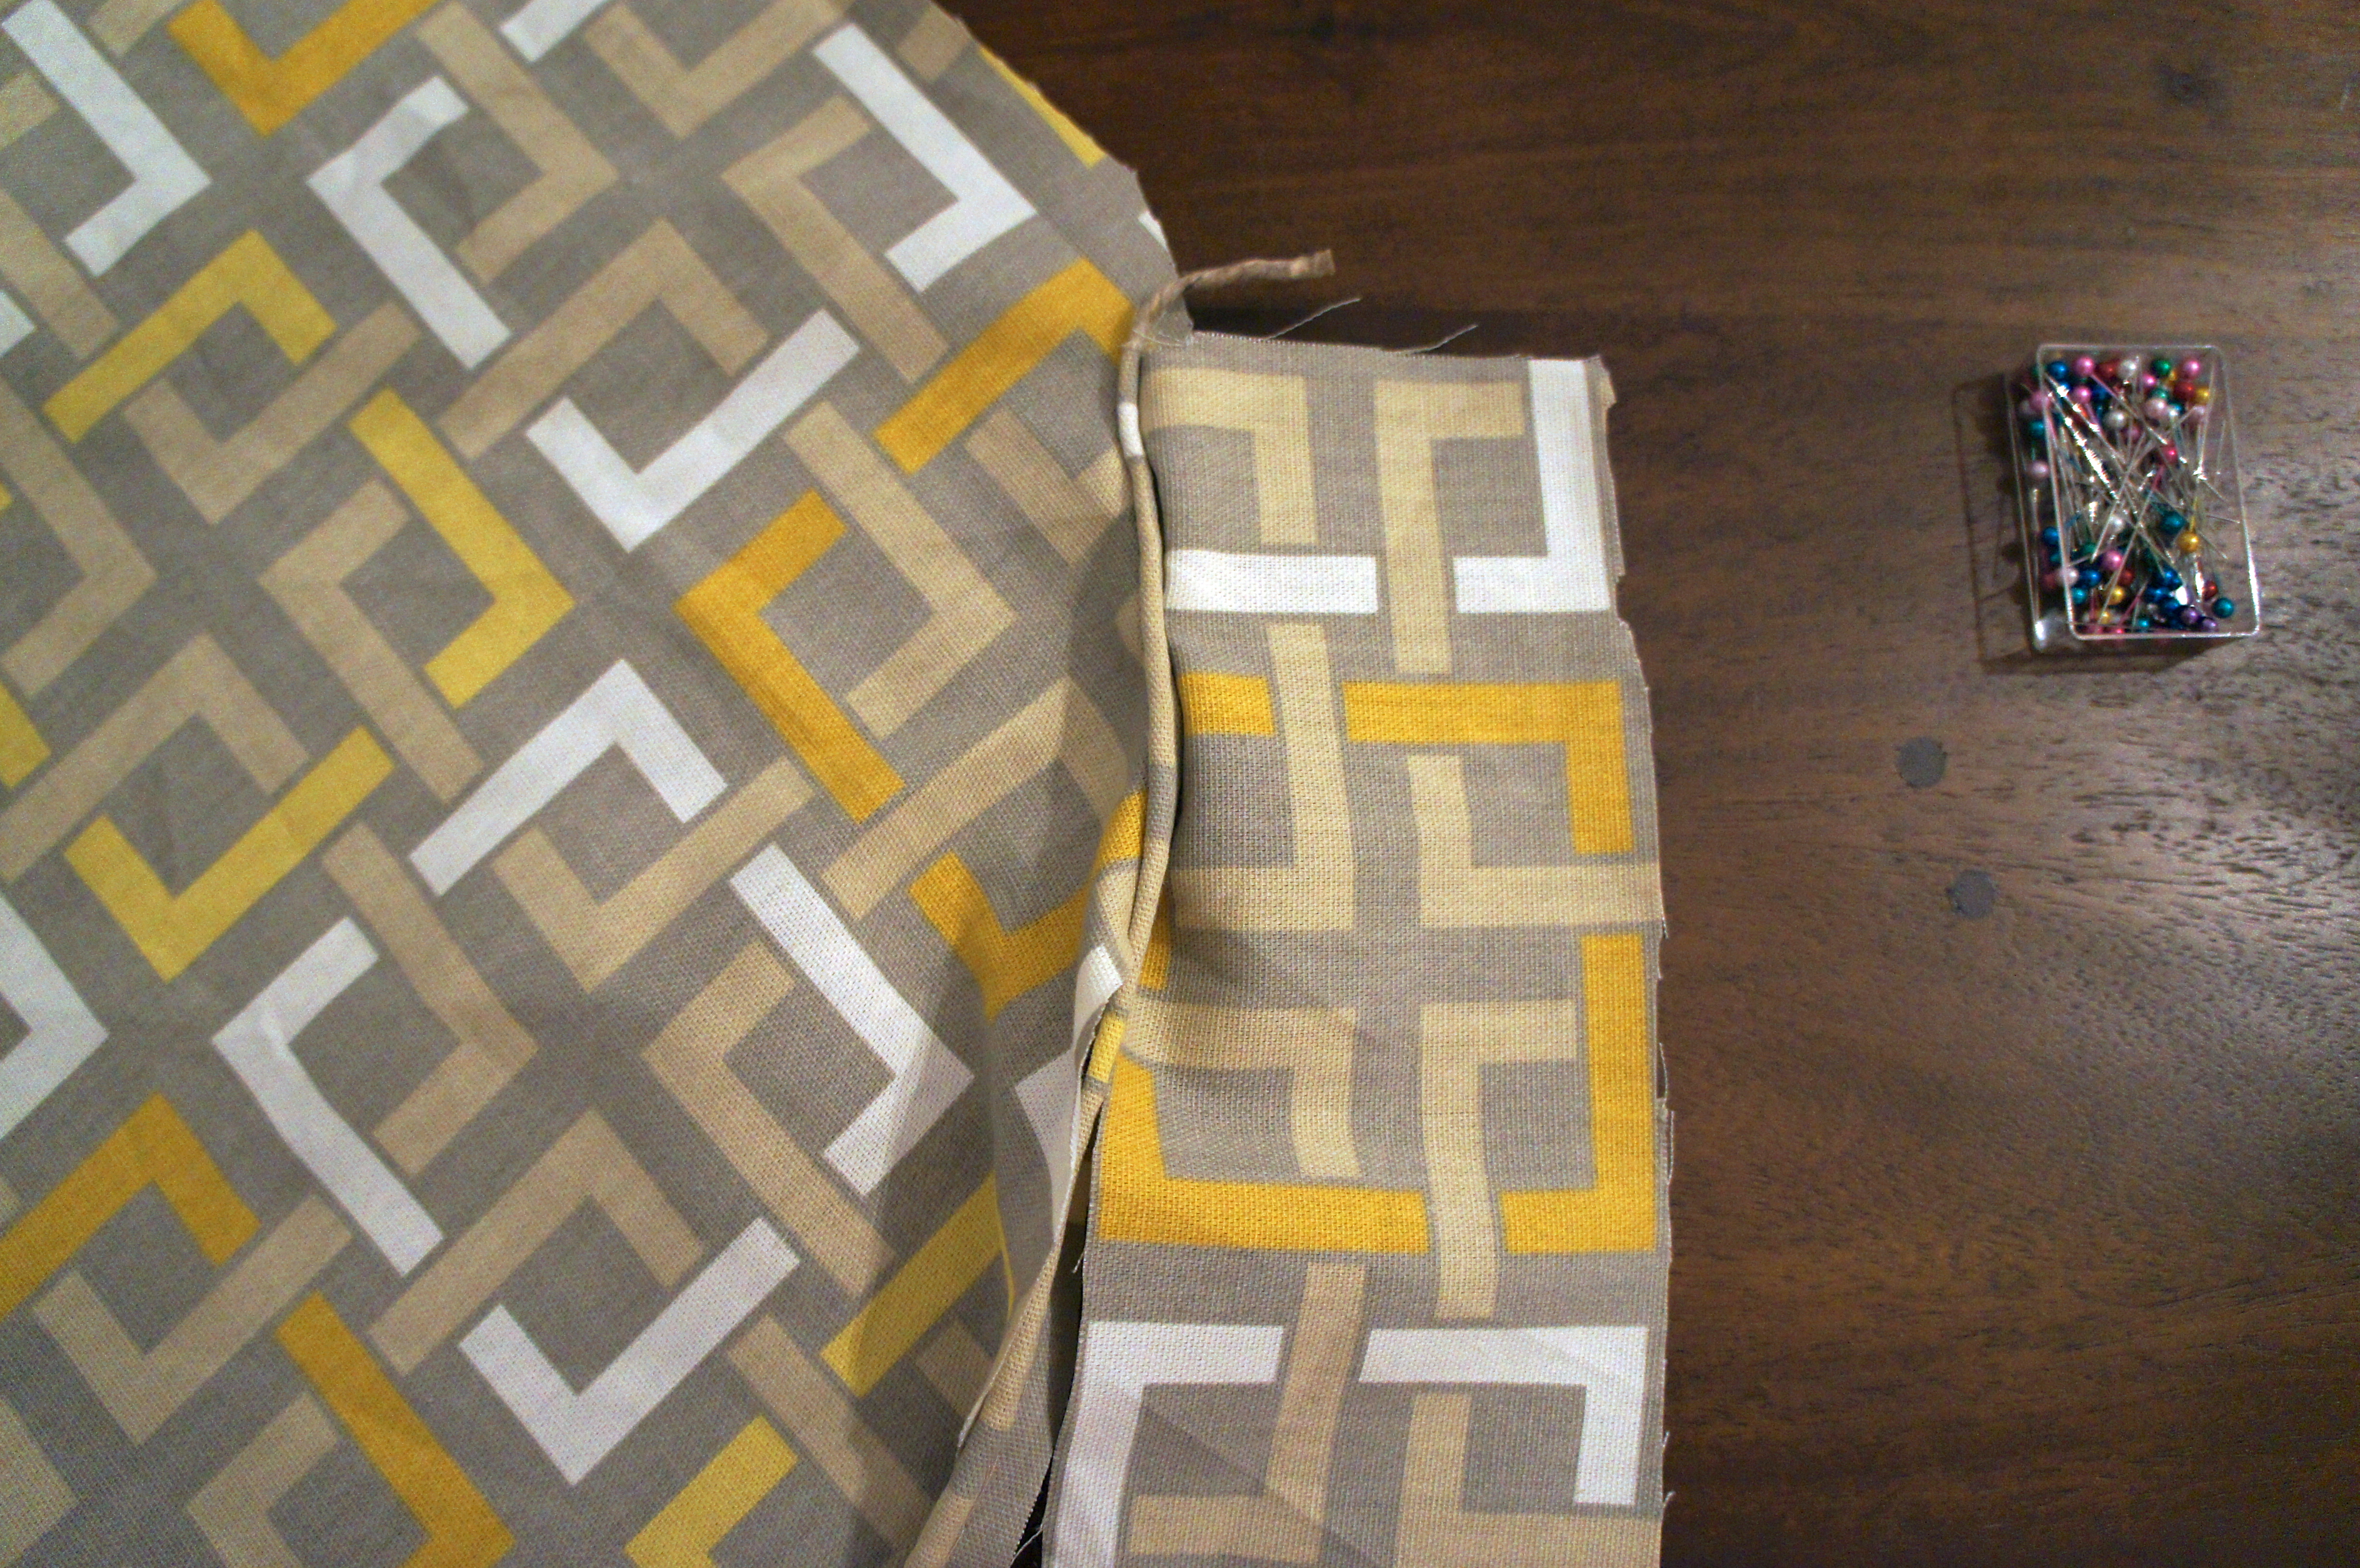
The picture below shows the three pieces I ended up needing-my welt cord, the piece around the side of the cushion, and the top:
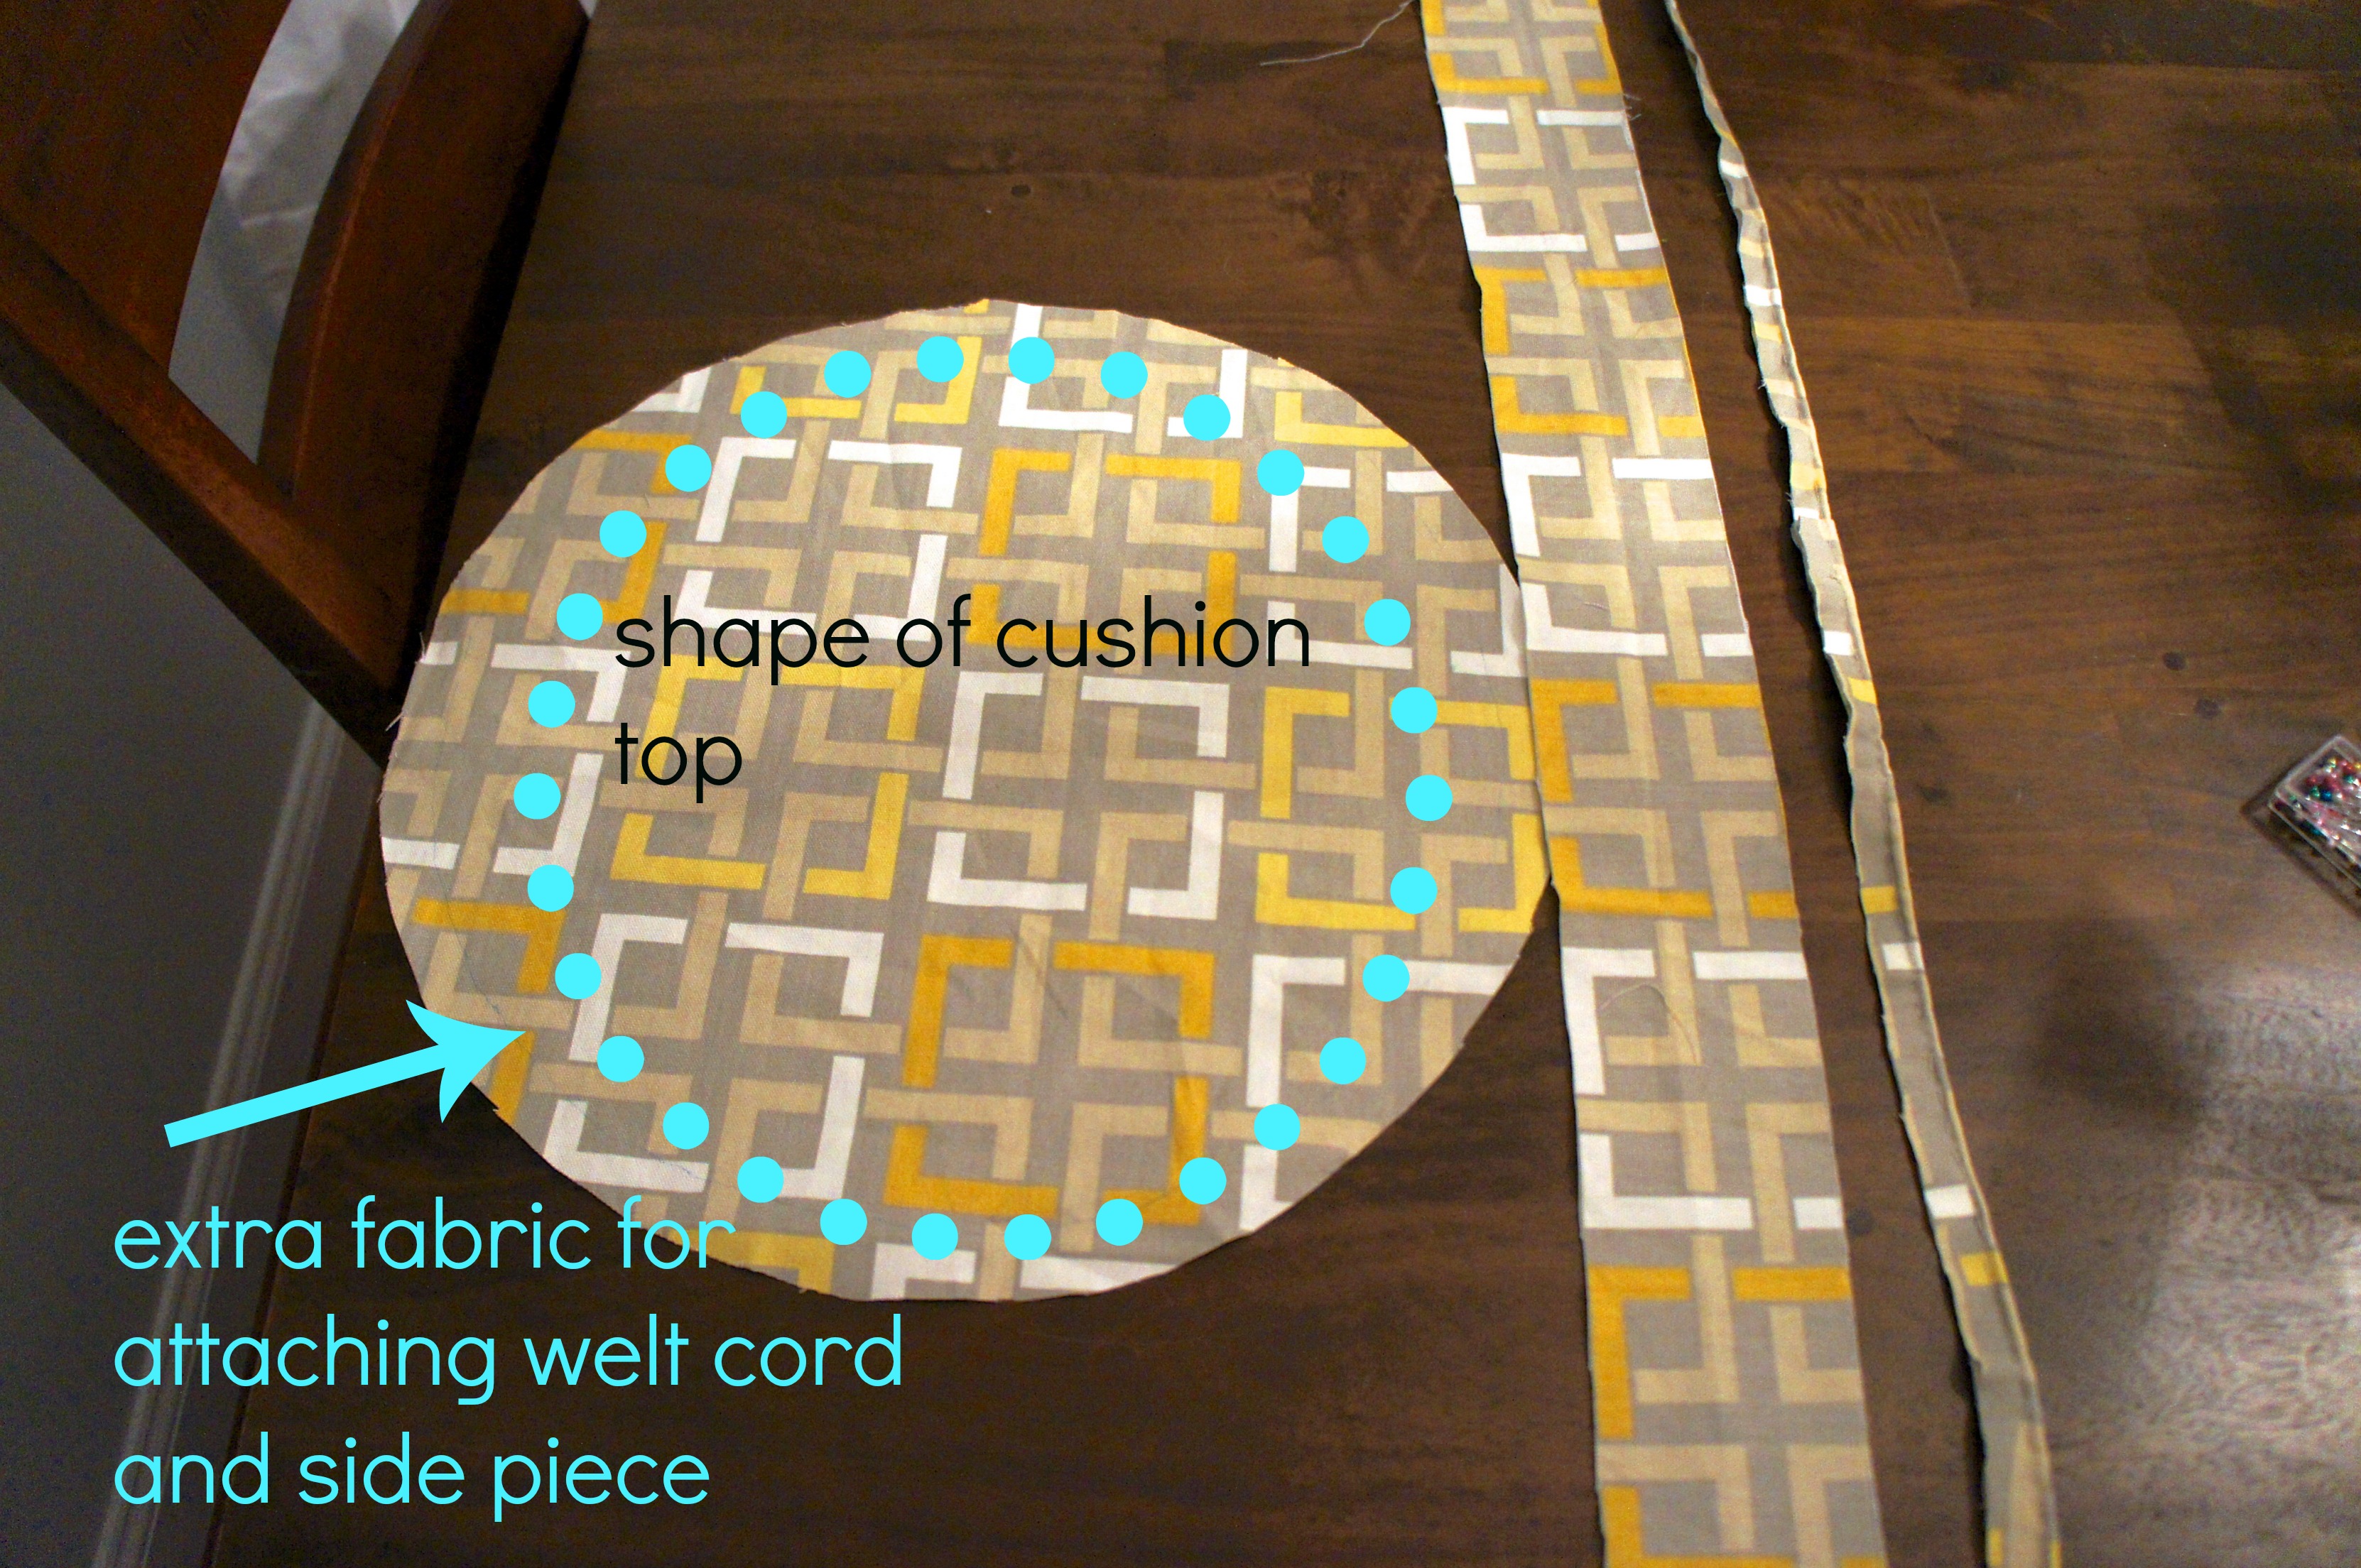
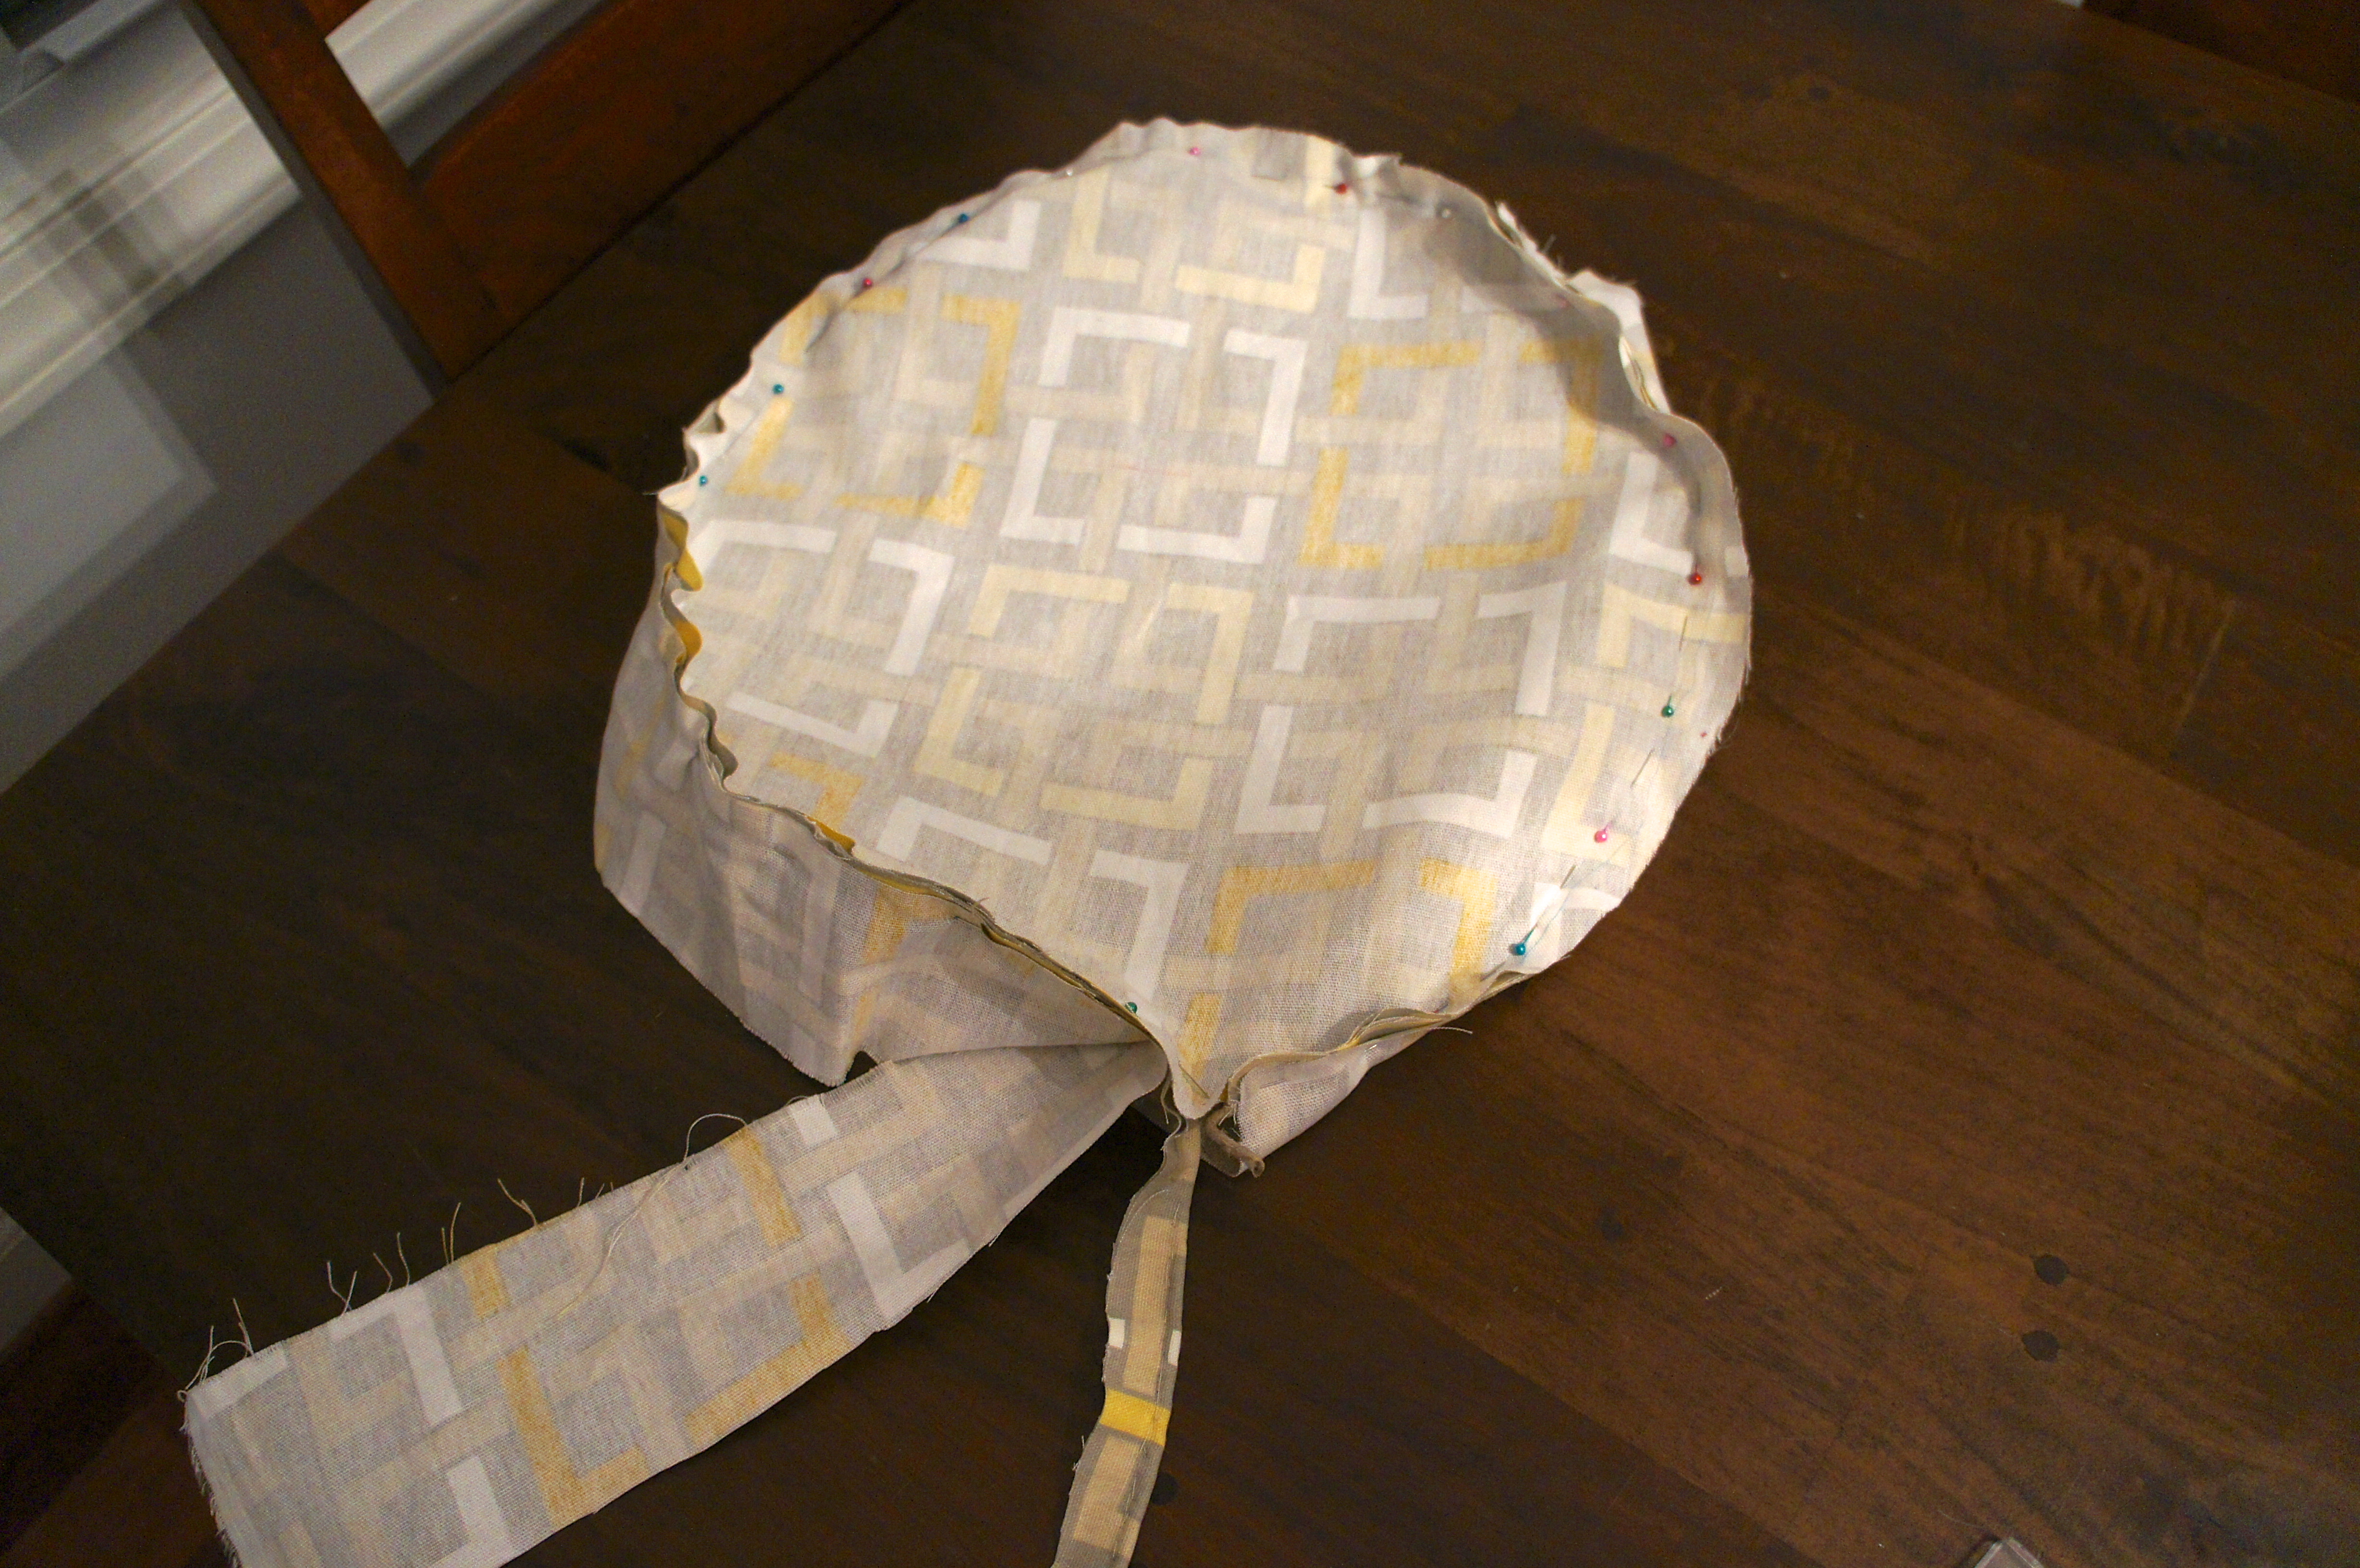
For the top piece of fabric, I simply traced around my foam and then cut out my circle with an extra 1/4″ of fabric as overhang. The part inside of my blue dotted line on the cushion top is the actual circumference of my foam, the extra fabric around the edges is needed to sew the pieces together. This is how it looks when you start piecing it together:
The welt cord is sandwiched between the cushion top and the side piece. The reverse side is shown below:

All of the rough edges are on the inside. I used pins to attach it from the back, then removed the pins one by one as I sewed. The stitching doesn’t have to look great because it’s all hidden on the inside of the cushion, the only thing you see is the welt cord.
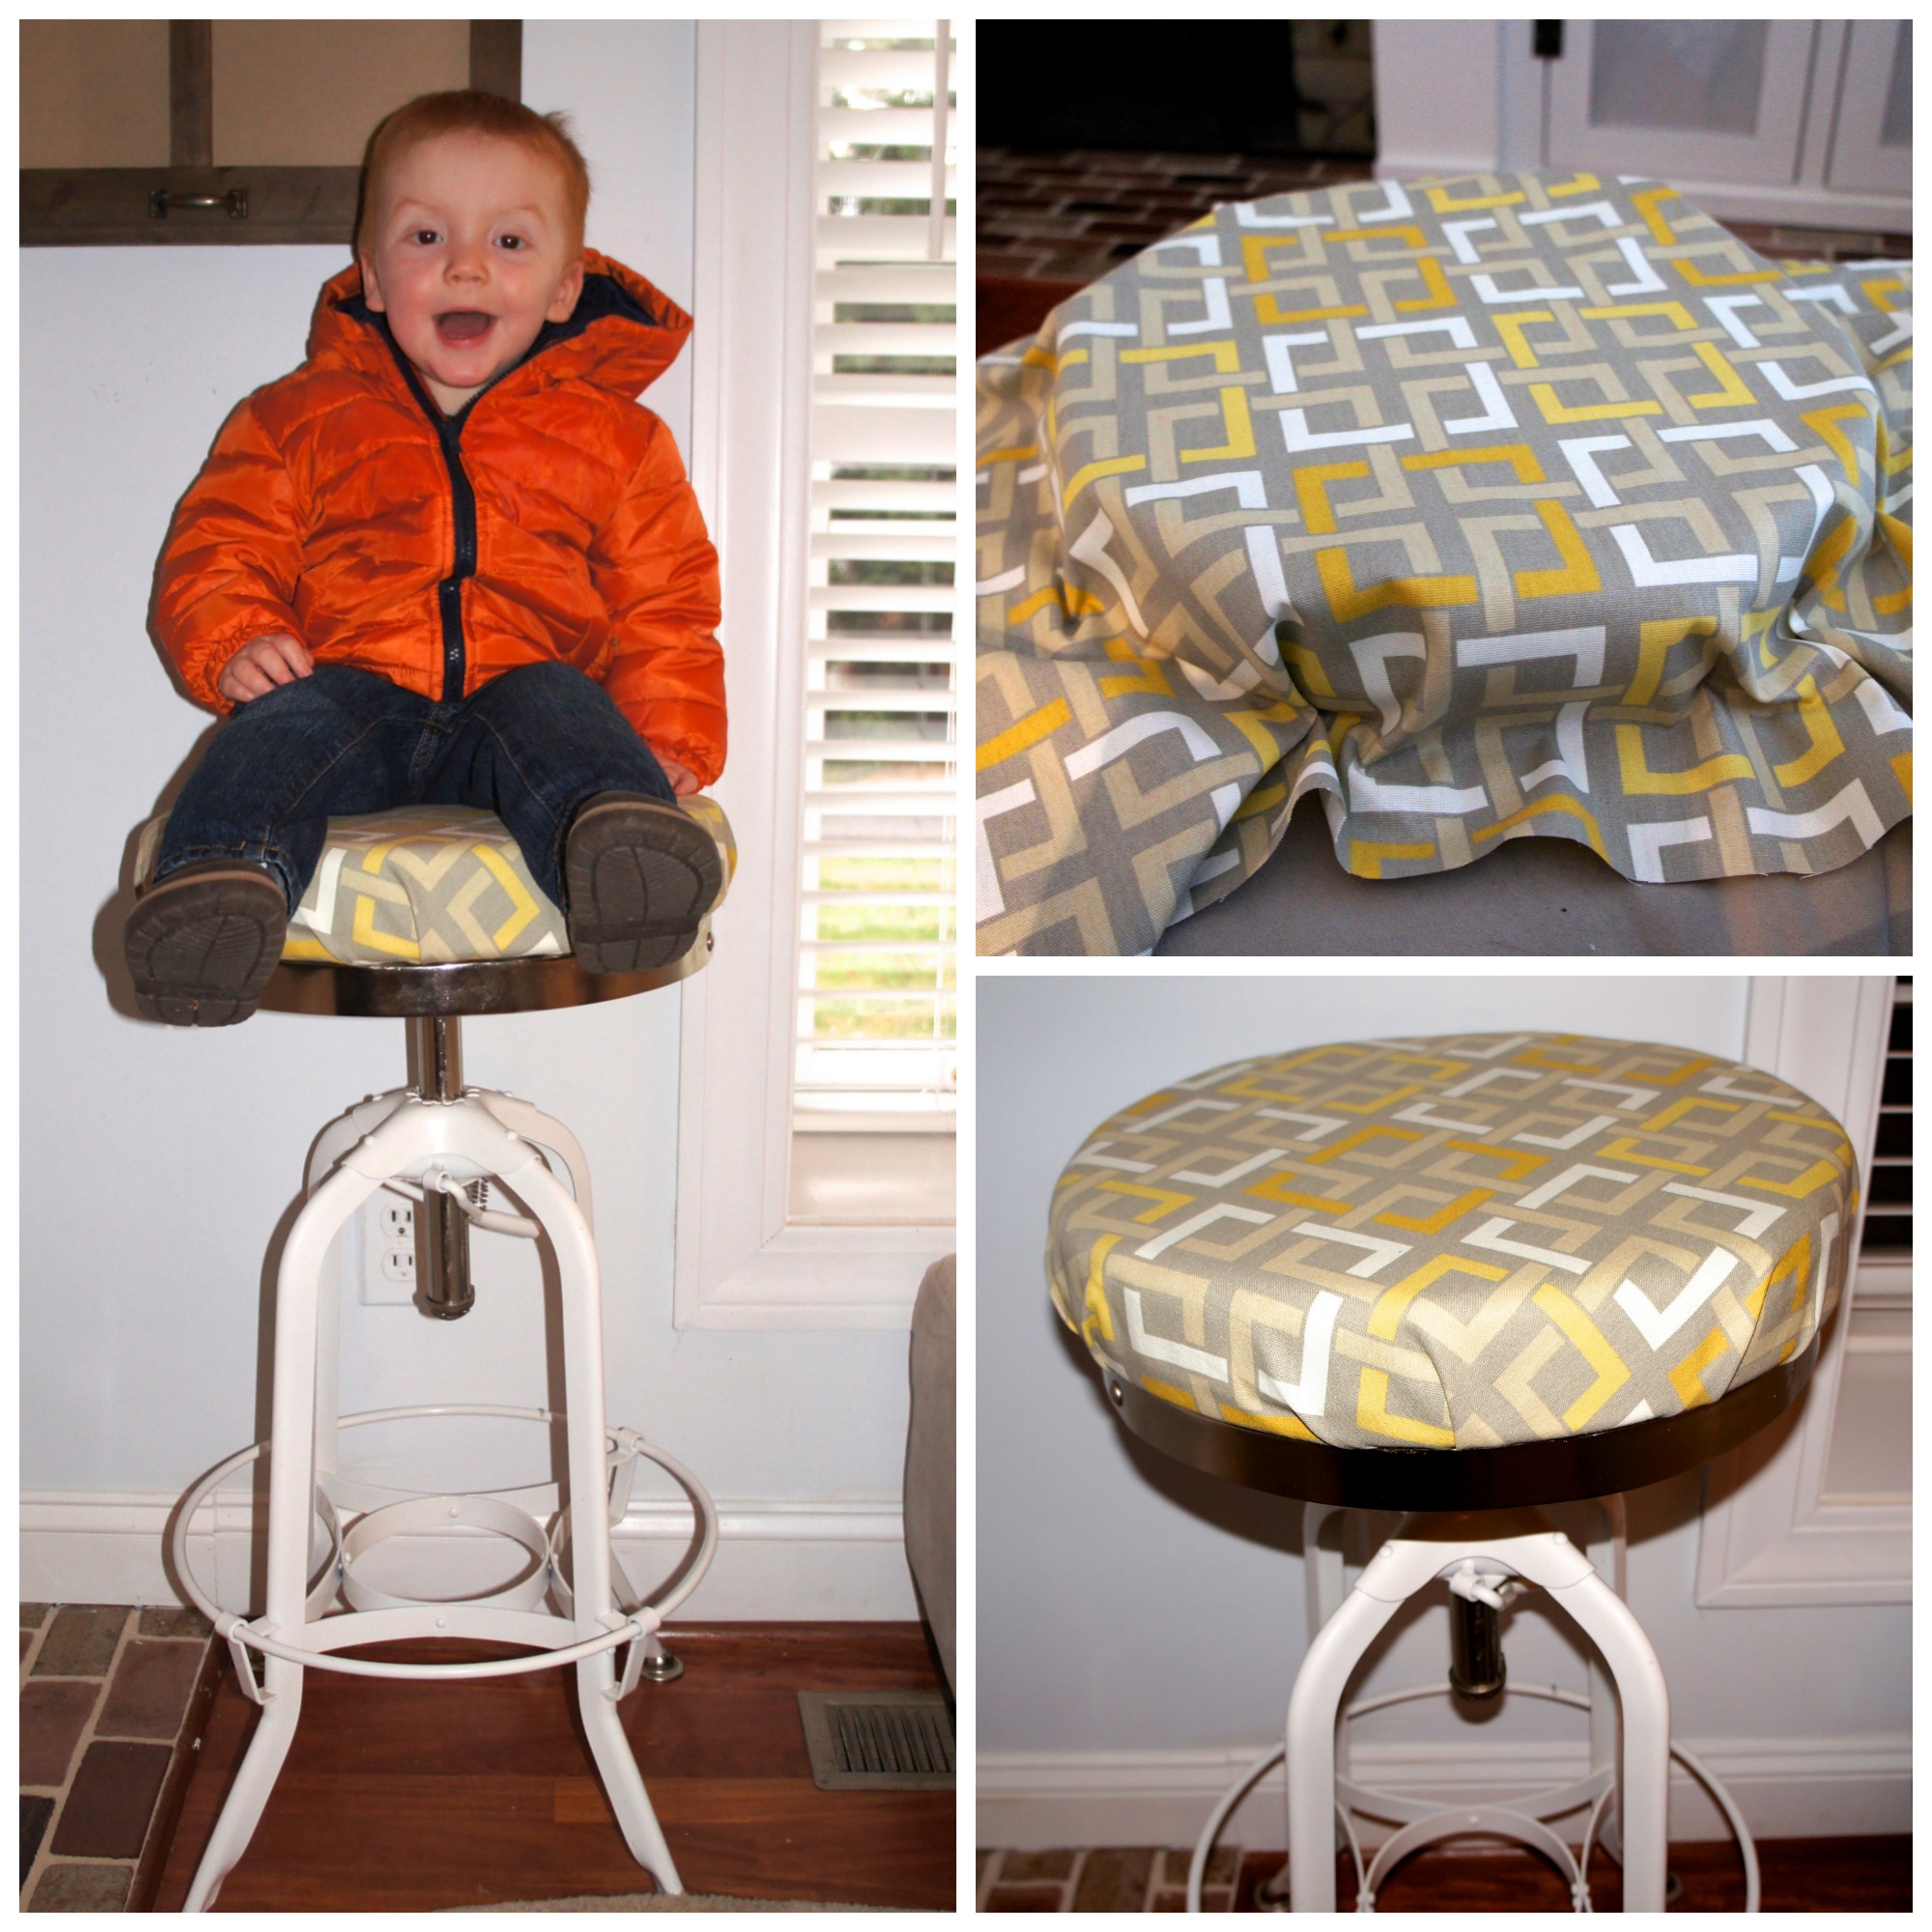
After it was sewn, I flipped it over to the front and covered my foam and seat base, then hot glued everything to the bottom edge to the seat base. (finally, I got to use the glue gun!) And here is the finished product:

While not exactly Martha Stewart quality, it’s a heck of a lot better than my first version. It is also a lot more comfortable than what we started with. A sewing machine and electric knife would definitely create a smoother finish, but for hand sewing I think it looks pretty good.
We bought a new laptop yesterday, so J has been sitting here all afternoon transferring files with no complaints about the state of his rear end. A happy husband is well worth the bloody fingers. He also managed to get all but the last three rows of flooring done in the nursery today, so we may be moving onto the our bedroom this week. That will be the last room of hardwood floors-a project we’ve been working on since June. His 30th is December 12th, and if I could make it a combination flooring wrap party/birthday celebration, it would be the greatest gift of all. I’ll keep my fingers crossed.