Earlier this week I made a stencil painting onto the matte of an Ikea Ribba frame that was in our dining room. Between the train table and artwork, we’re definitely brightening things up around here: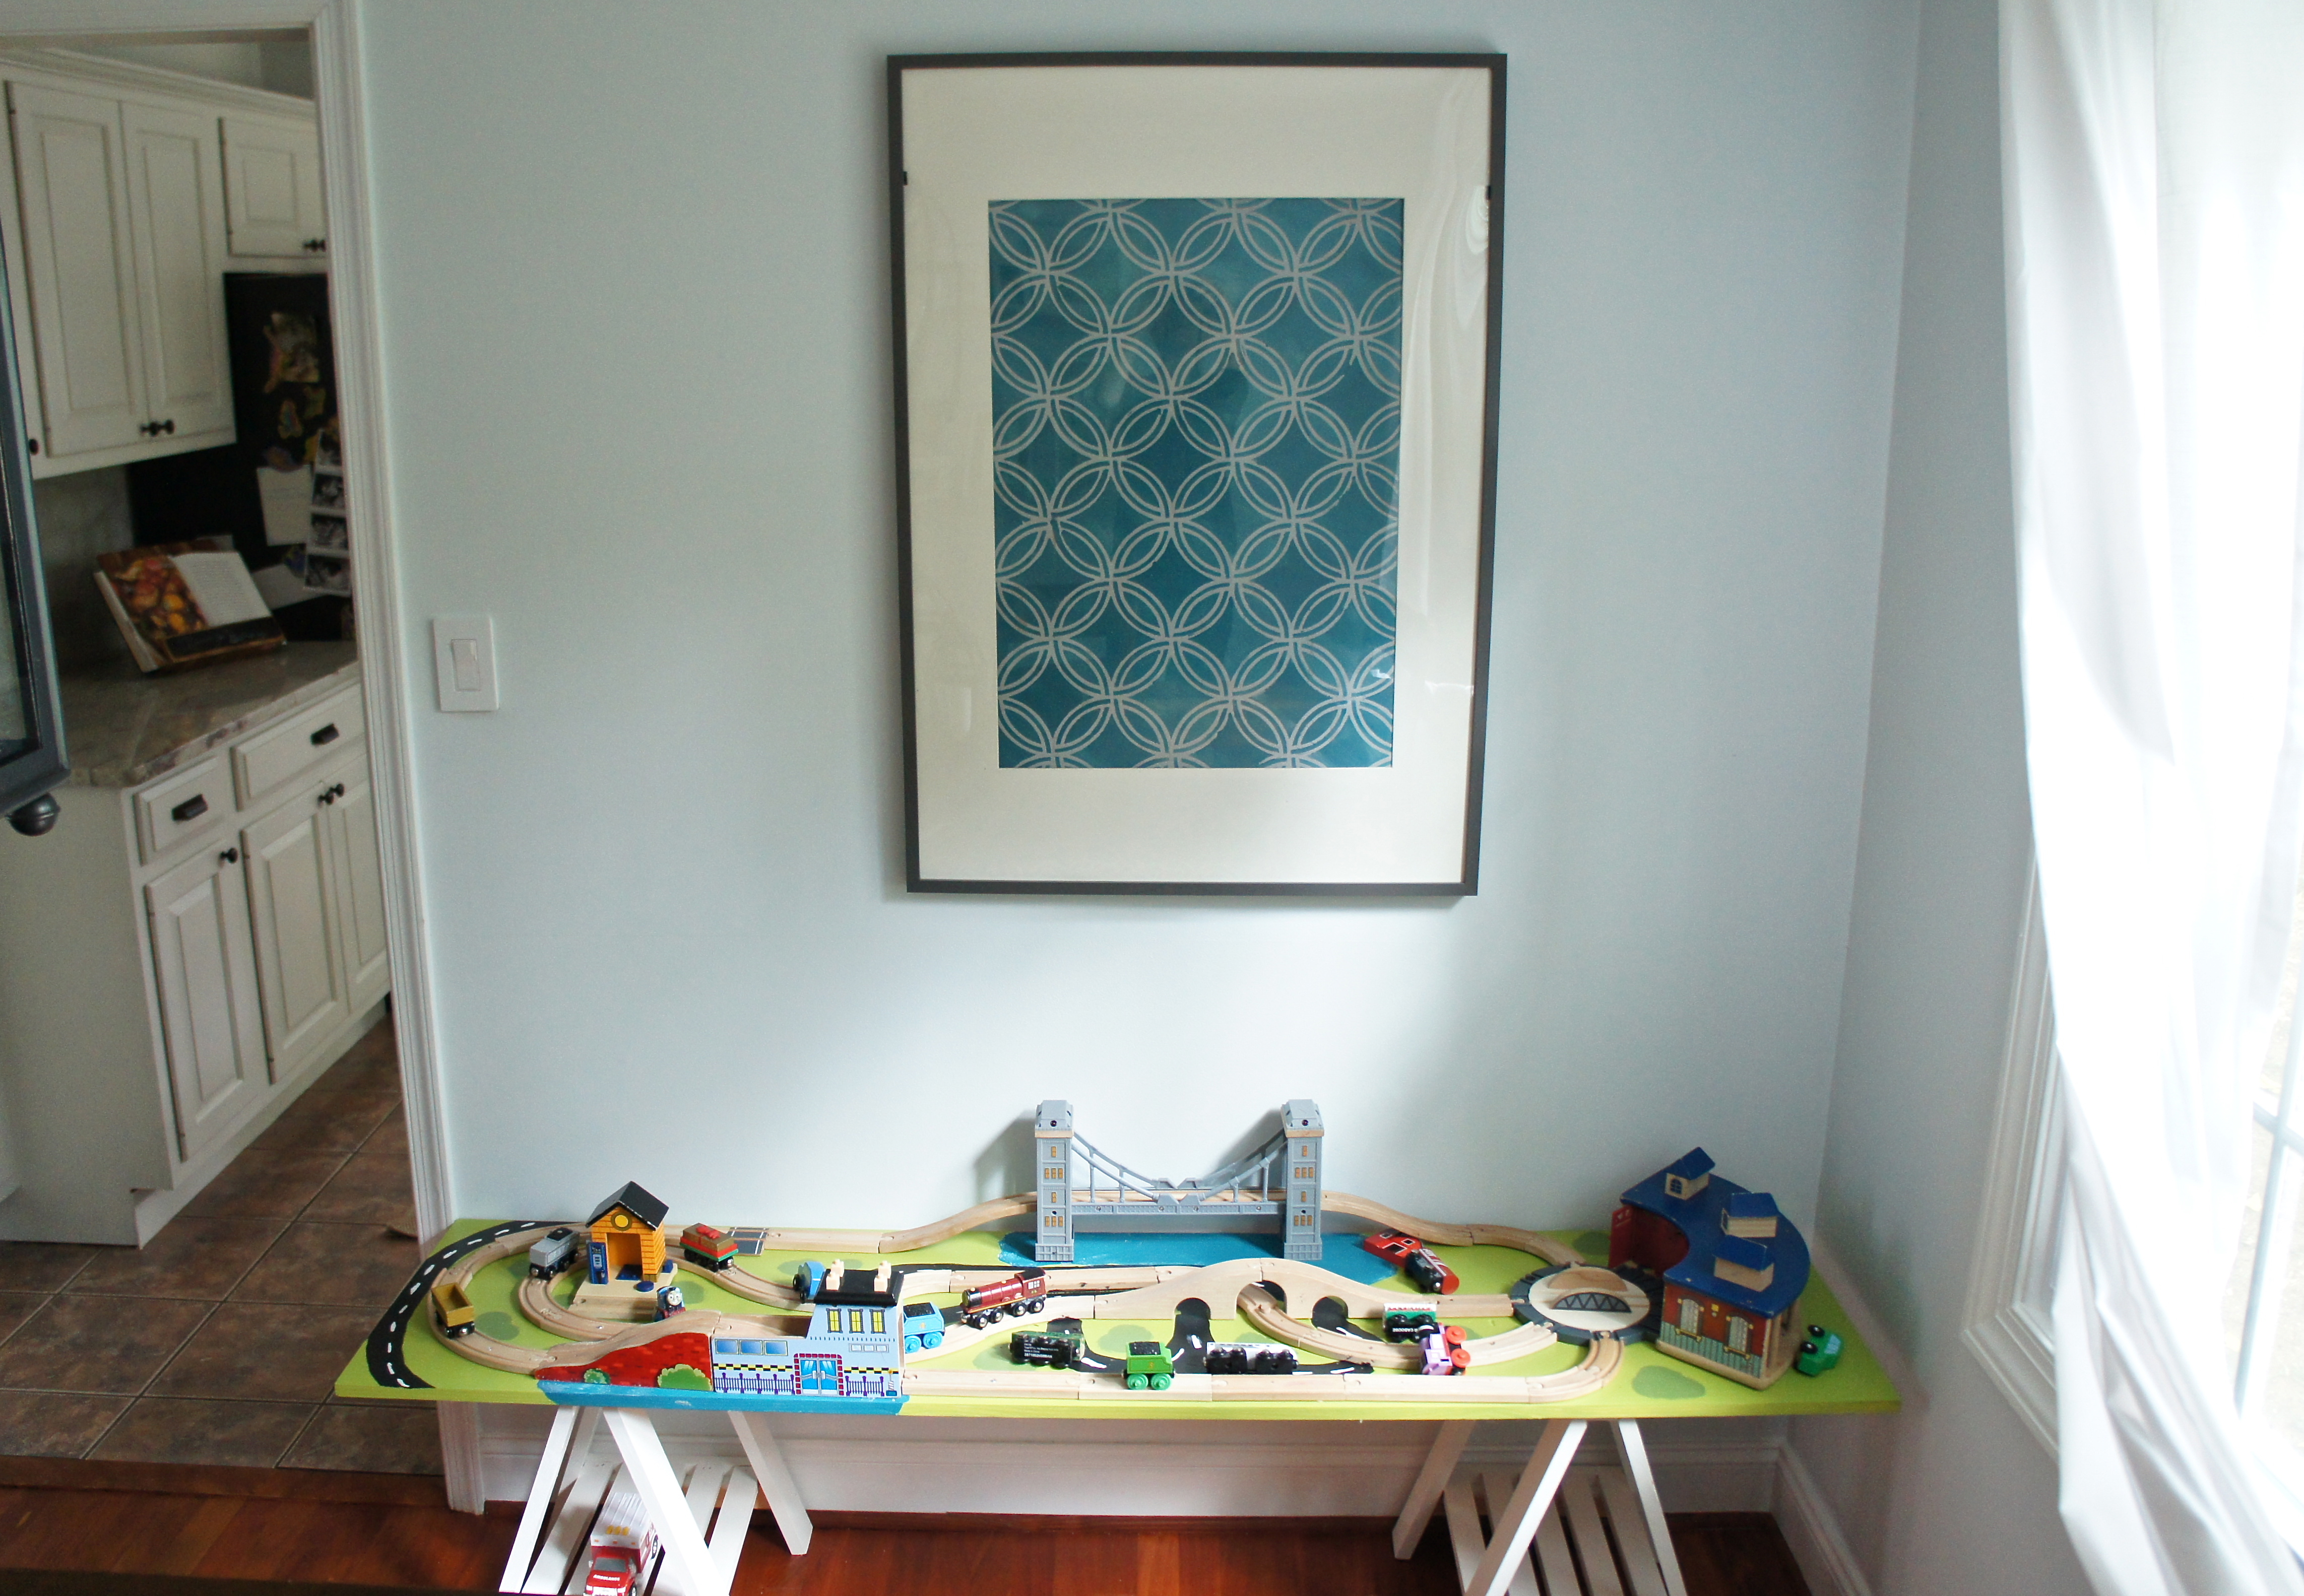 I’m not much of an artist, so I made this painting as an accent piece, not a focal point. The plan was to utilize this frame and add some other pieces to make a collage wall. Getting multiple frames level can be tricky, which is why we did photo ledges on the other side of the dining room. The first thing I did was lay out the pieces I knew I wanted to use, then I added some other frames in to see what we would need to buy:
 Grant and I headed to Ikea the next day for four more Ribba frames, totaling $11. They have 4 x 6’s for $1.99, so I always try to use as many of those as possible to keep costs down. The YUM sign is from Target, I’d been eyeing it for awhile, and the dining room seemed like an appropriate place. I also thought the oil rubbed bronze letters looked good next to our pendant light. Once I had my layout, I hung the large painting with a screw, then put two 3M Command Picture Hangers on the bottom corners to keep the frame from getting shifted on the wall, they’re basically velcro strips with double sided tape that hold everything in place.
The 4 x 6 frames aren’t made to hang on walls, so they don’t come with framing wire, but they’re light enough to be held up with the the Command Strips. I placed one large strip on the top center of each frame: Then, I put my level against the base of my large frame (it really helps to have a long level for this). Holding the level in place, I spaced out each of the 4 x 6 frames exactly 2″ apart, and then pressed them against the wall for 30 seconds, pushing against the Command Strip:
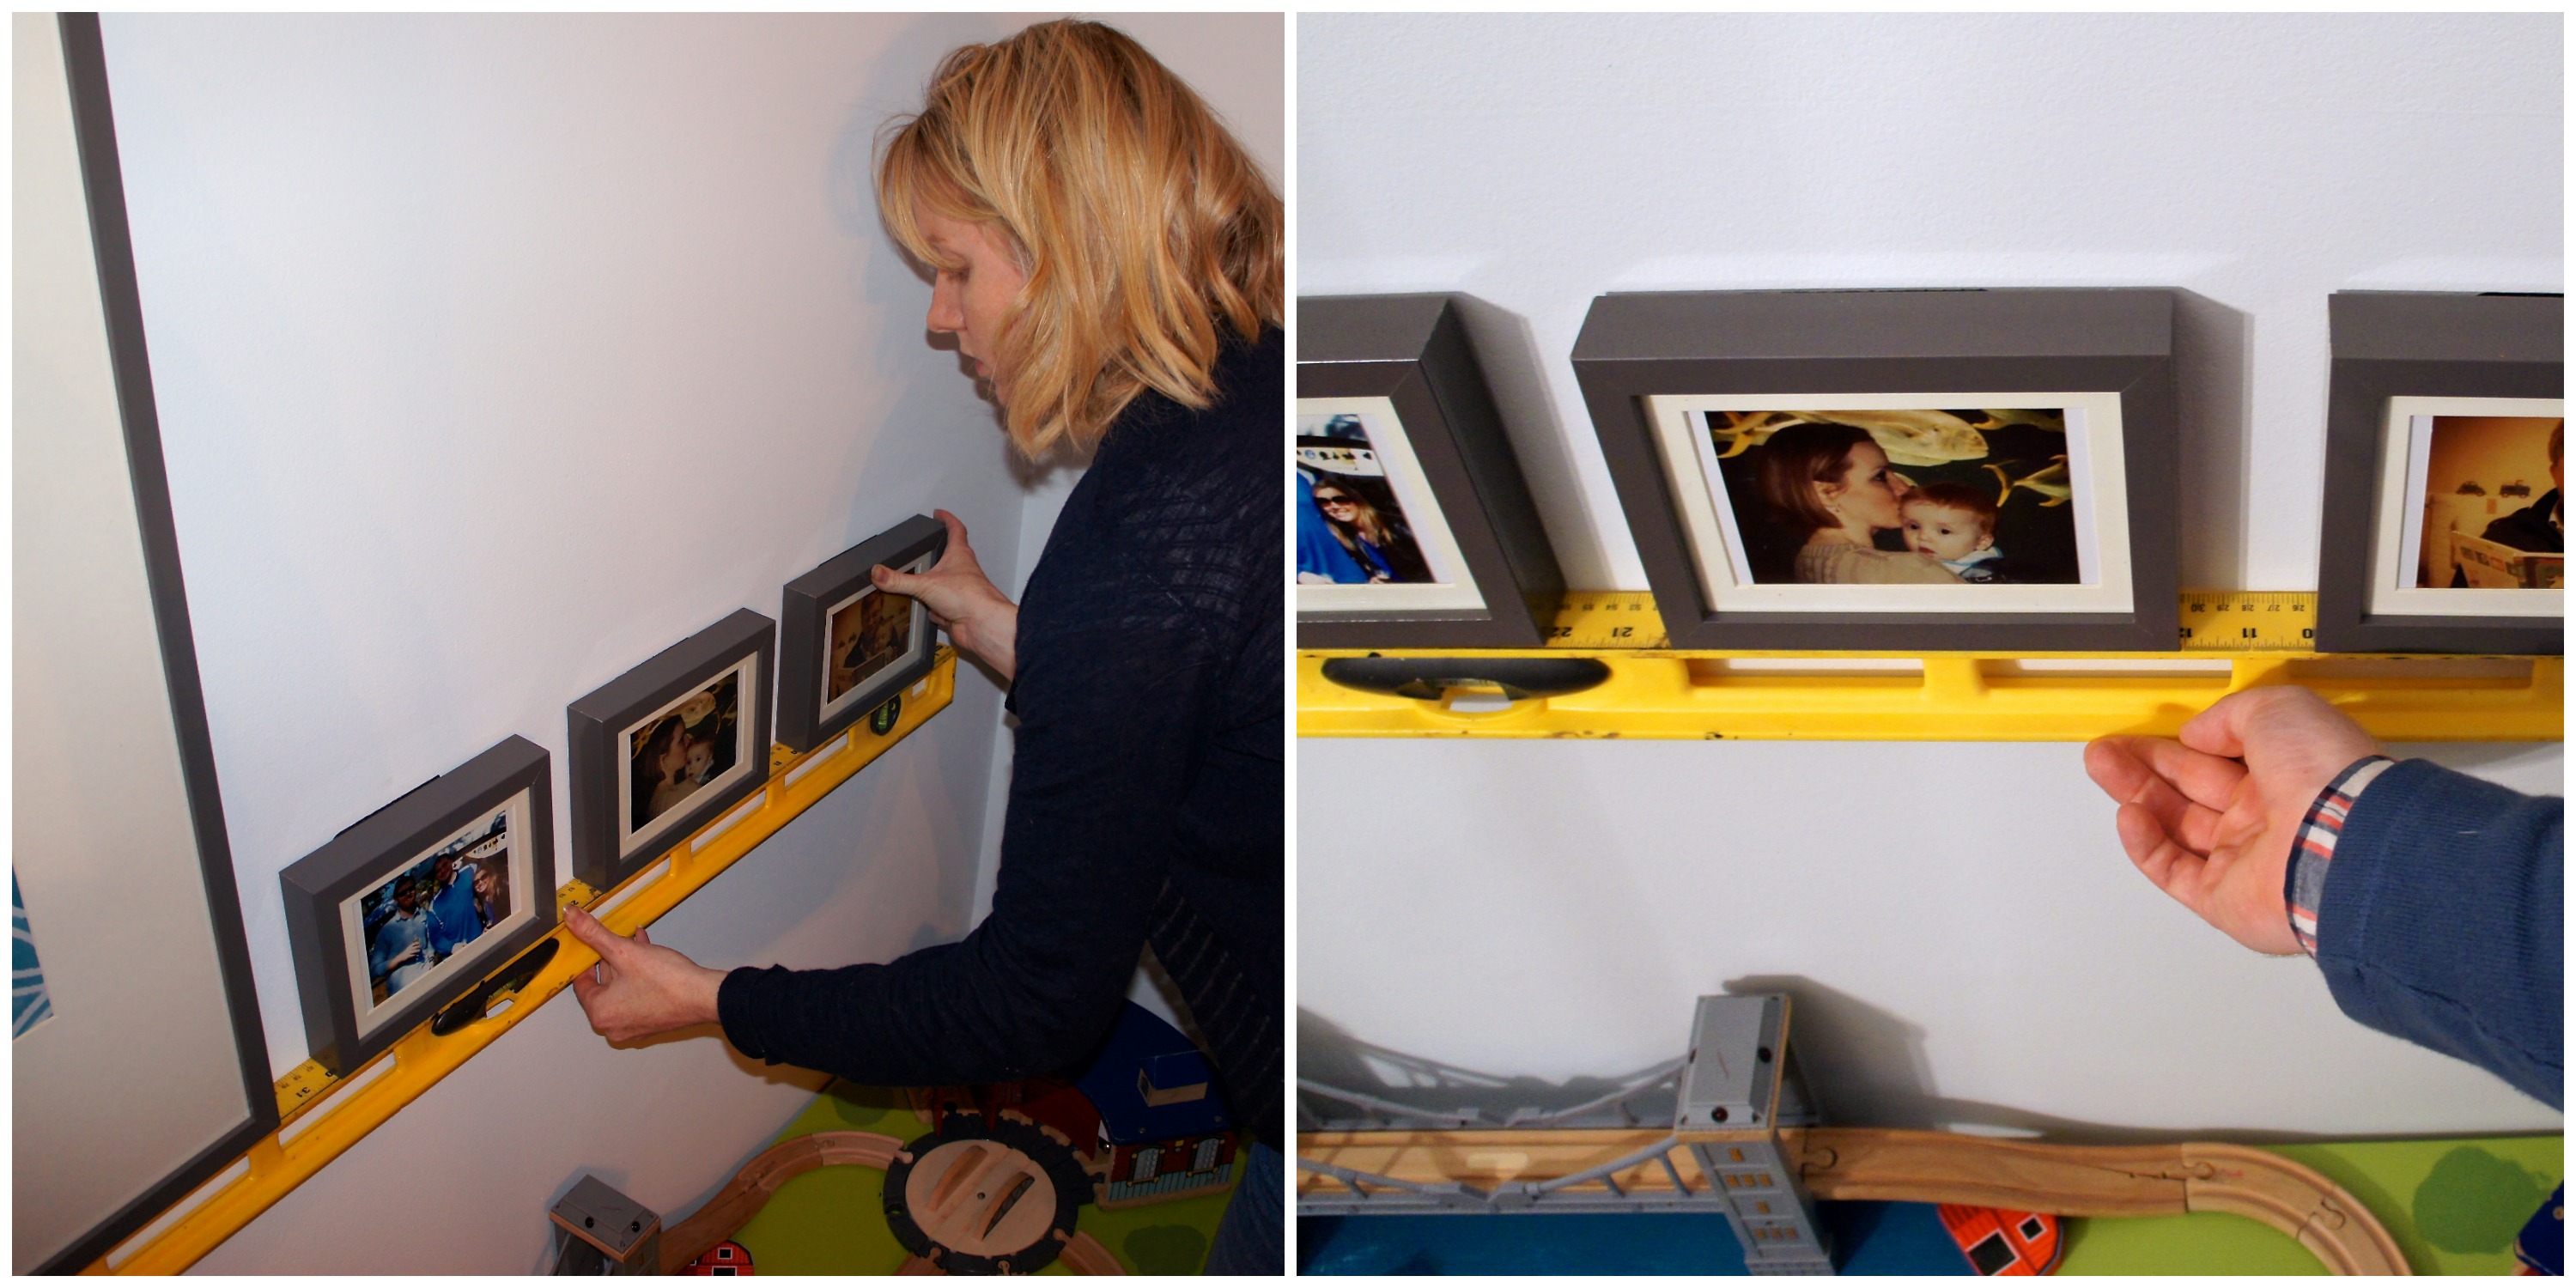 Once those were set, I started on fourth corner of the collage. The painting I wanted to place there was on framing wire, so it had to be hung on a screw. Using the level vertically, I drew a thin line with a pencil to get the painting lined up with the farthest frame on the base of the collage, then I did the same thing along the top:
 Here comes the fun part. I found the center of the top of the frame, then I pulled the framing wire up with my finger to see where exactly the frame would hang on the wall (this makes more sense in the photos below). After measuring the distance from the top of the frame to the taut framing wire center, I measured that length down (1 1/8″) from the center of the line I had drawn on the wall. That was the exact point I wanted the screw for the painting to hang level with everything else.
  I just reread that-and it still might not make sense, but look, it’s straight:
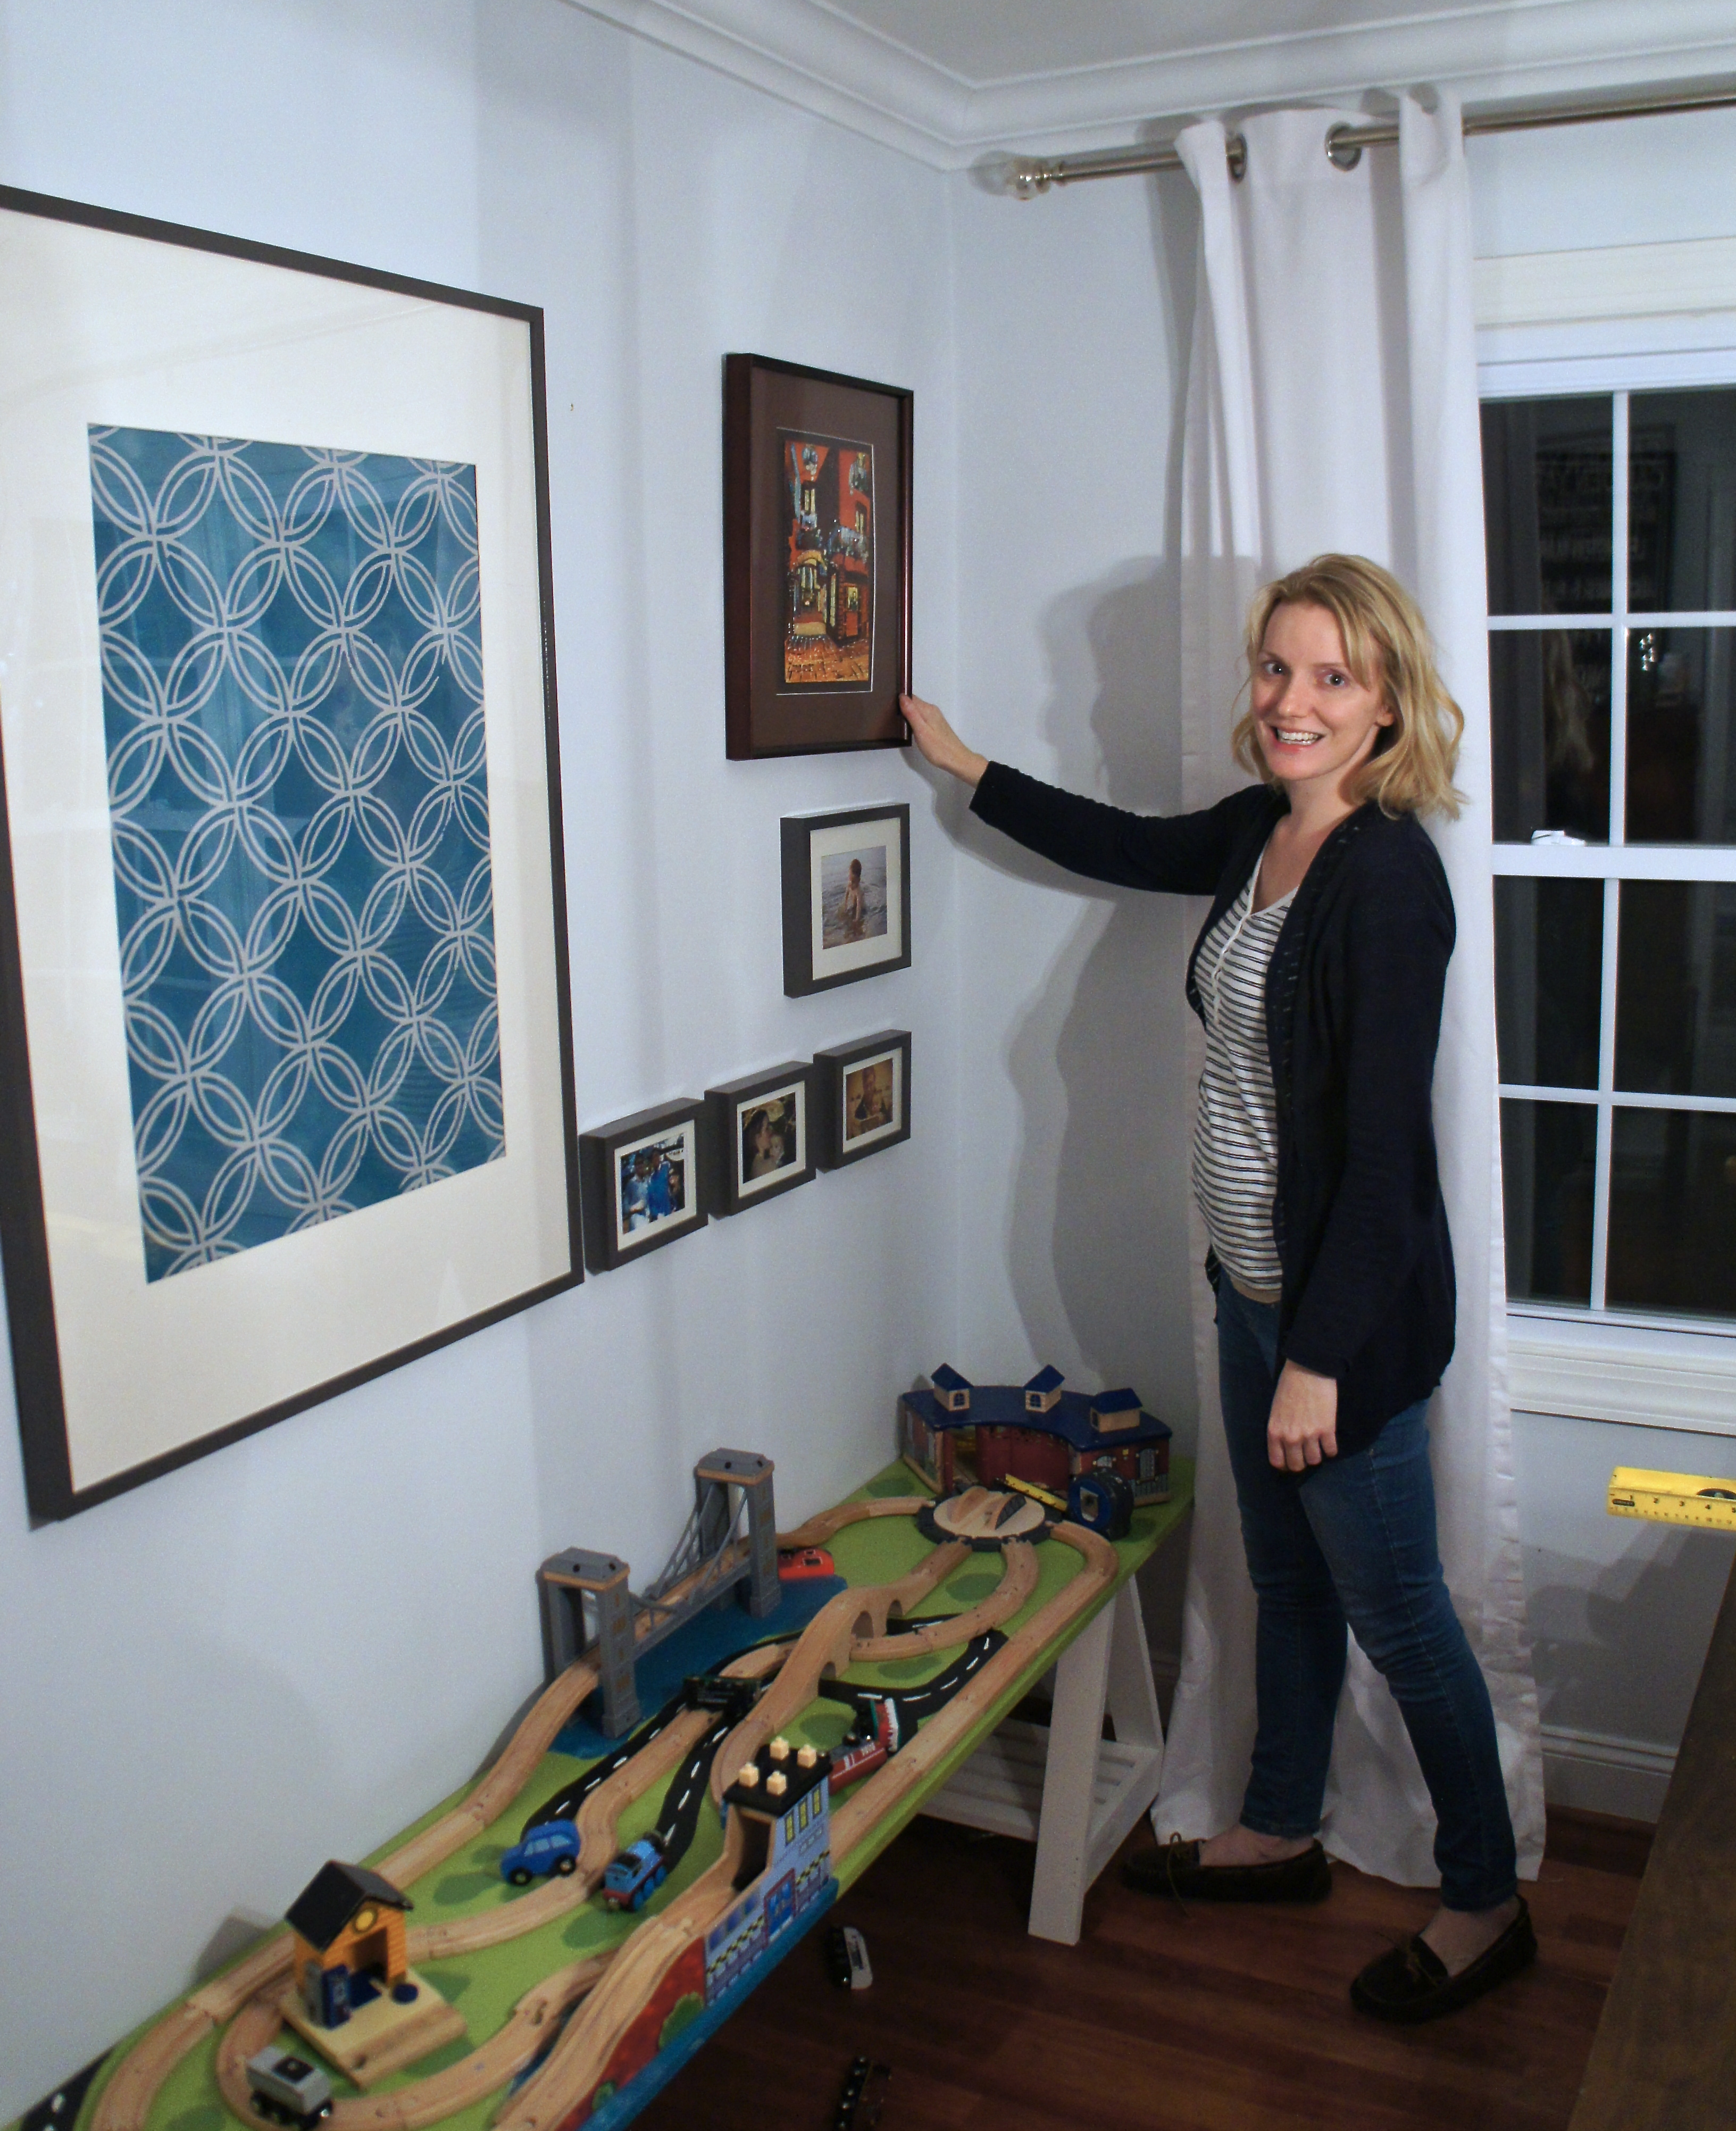 Once all the corner pieces were in place, I made sure everything I hung in the center was level with the frames that were already hung.
 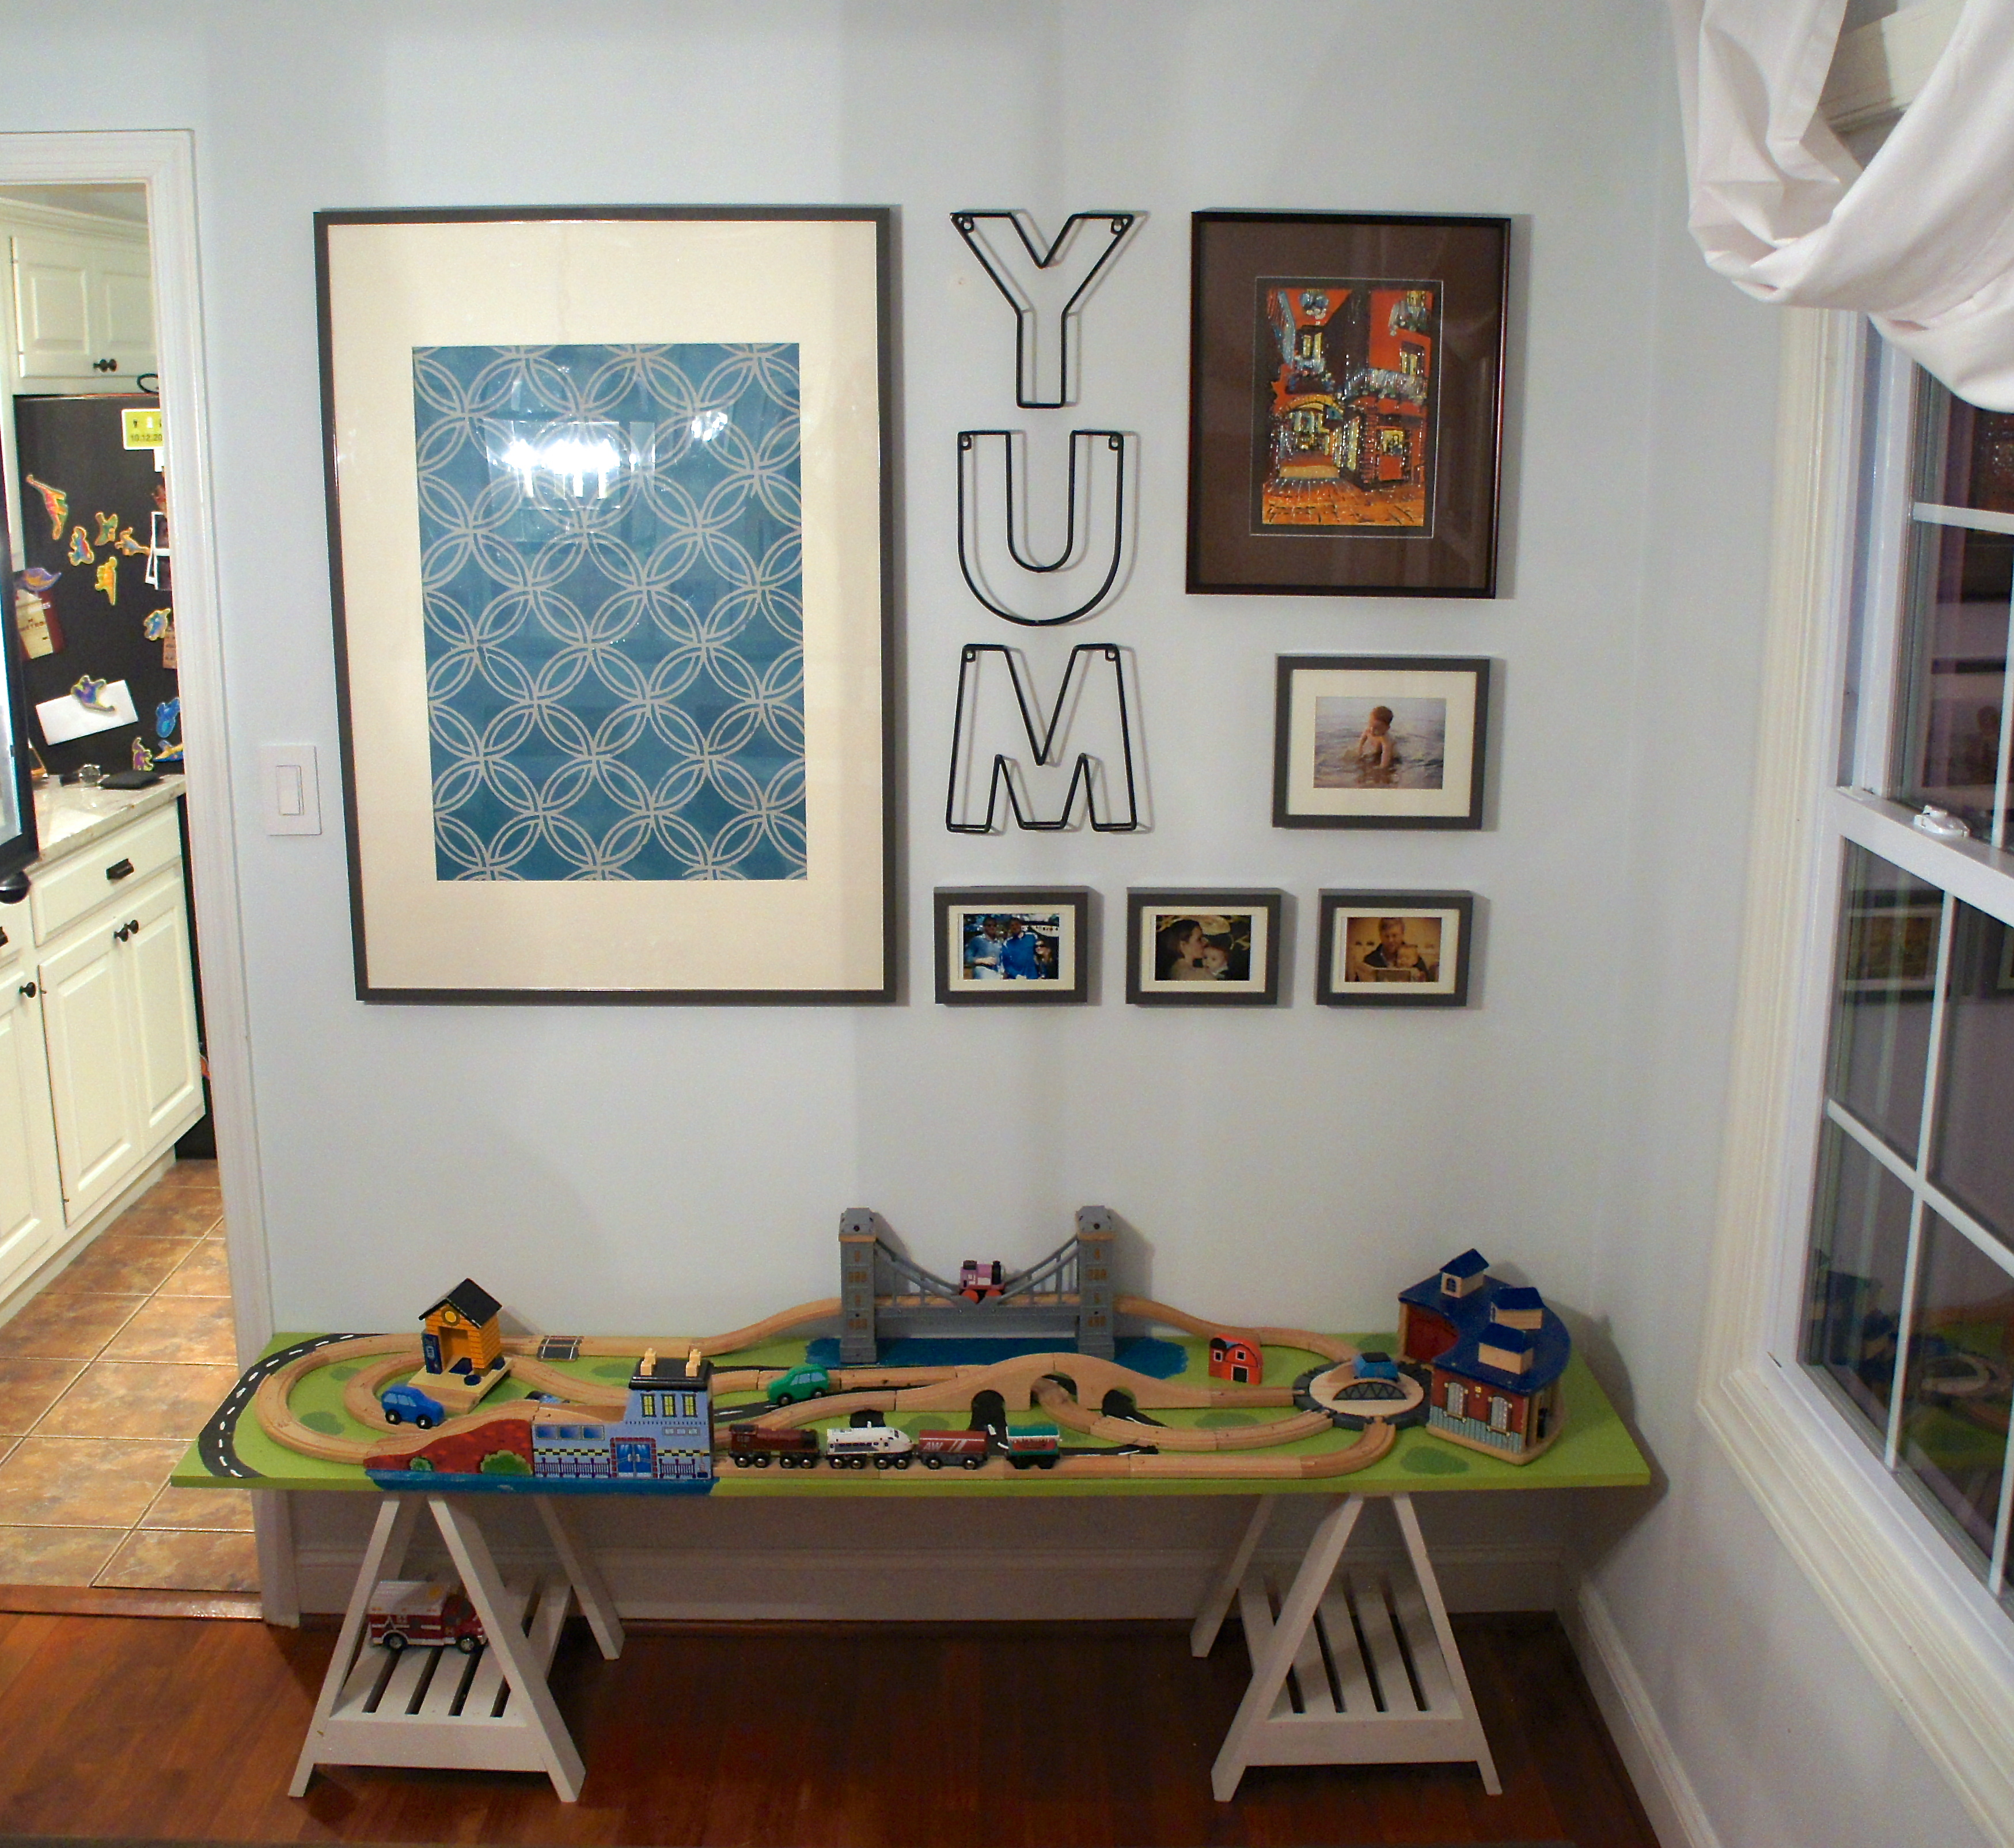 And, voila! There she is, in all her level glory. The entire project only took about 30 minutes. An extra long level is the key to everything, I think our level is actually made for hanging drywall, so it’s 48″.
We will be in Chicago this weekend for the wedding of one of Jason’s closest friends, Adam. We are really looking forward it. Most of Jason’s college friends live in different states, now, so weddings are a rare opportunity for everyone to get together. Finding a dress at 19 weeks pregnant has not been easy. I couldn’t squeeze into any of my go-to wedding attire, but I don’t really look pregnant yet, so I couldn’t find anything maternity that fit either. Hopefully I can breathe in my double Spanx and the empire waist dress I bought last night. I’m sure the bride will be beautiful and no one will be looking at me anyway, but that still doesn’t make the awkward stage of pregnancy fun. Oh well! Here’s Jason and Adam in Vegas, the day before our wedding two years ago: We’re really excited for him and looking forward to a beautiful wedding! (even if I have to show up in sweatpants)
