Fridays subway art post was, ahem, derailed. I happened to be perusing Craigslist Thursday night for a toy train when I hit the jackpot. A train table and set for $10. I e-mailed the woman at midnight, convinced it was already taken, and she told me it was mine if I could pick it up the next morning.

I rarely let anyone else have in hand in decorating, even my husband. This works out because it allows him to blame me when turning down “family heirlooms” (i.e. figurines picked up at garage sales decades ago that someone is unable to give to Goodwill, so they’re forced upon us with the most phenomenal guilt trip possible) so, I never intended to having “children’s furniture” in my home. I also intended on immediately going back to work full-time, never letting Grant watch TV, and cloth diapering. Then I actually had a child. Which explains the train table in my dining room.
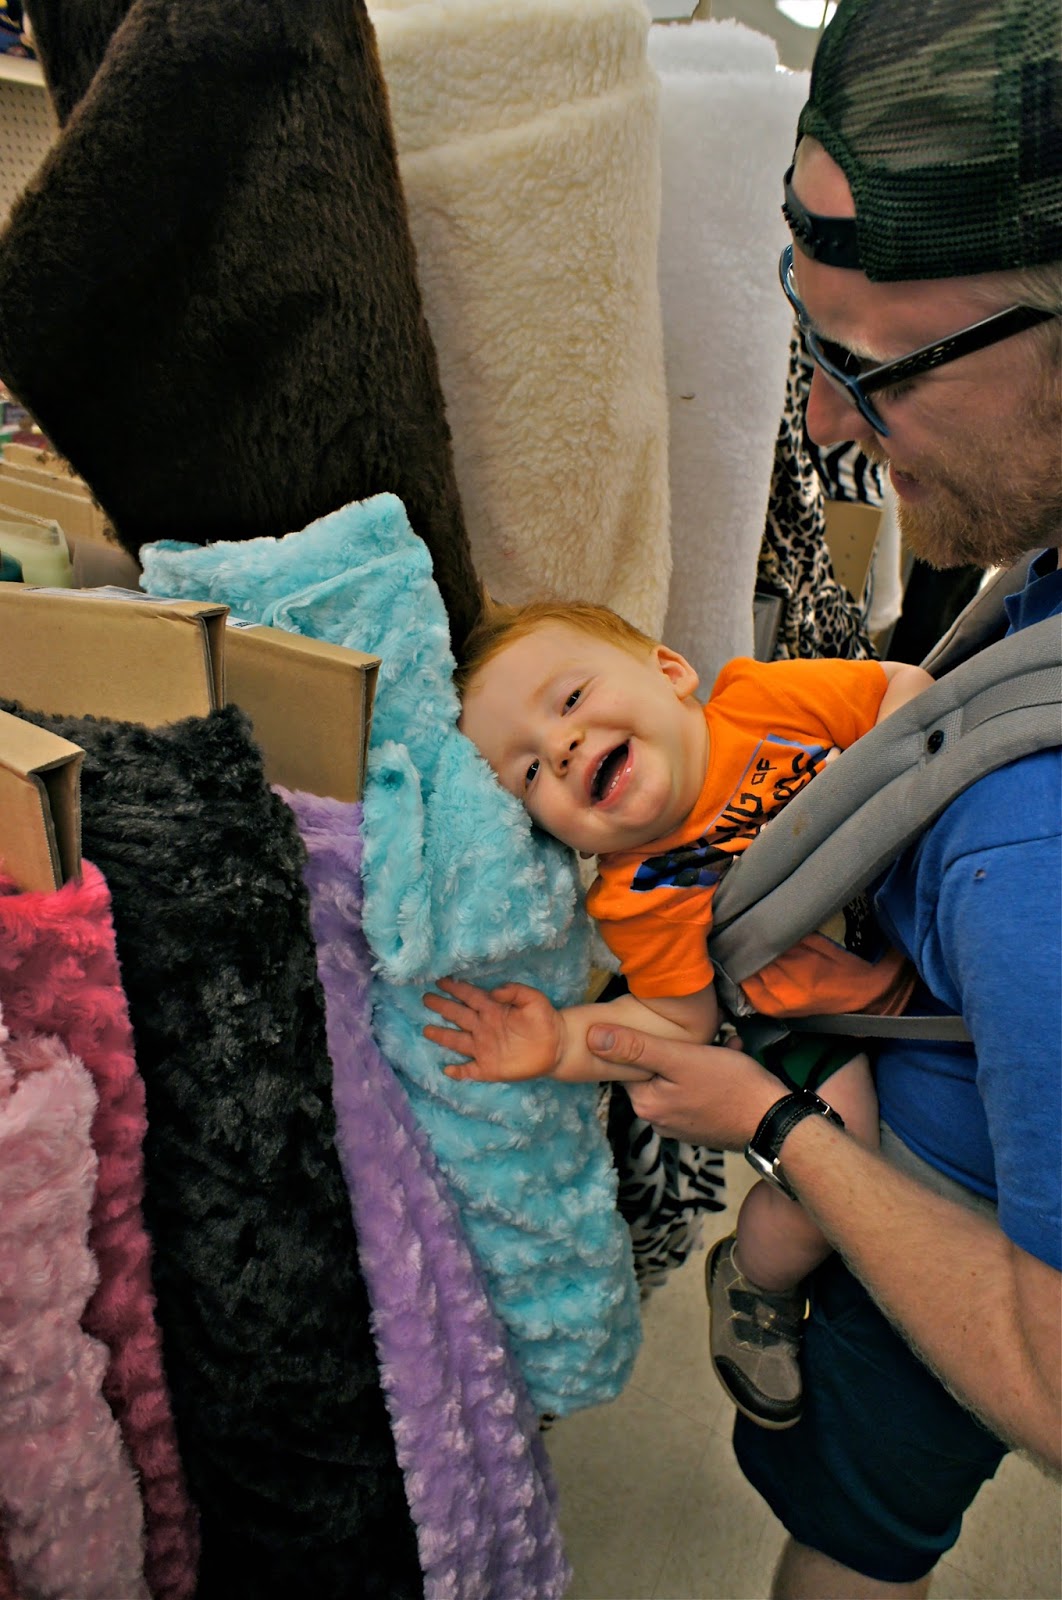
We had to switch the position of the dining table for it to fit, inspiring me to start on a project I’ve been putting off for awhile-making a pad for our bench. A dining bench saves space and is functional, but not exactly the most comfortable seat in the house. Sunday was a rainy day, perfect for a family trip to the fabric store.
I decided to use outdoor fabric for durability, a plus in the dining room. After multiple failures with threading the bobbin on a sewing machine, I don’t even try anymore and just hot glue everything.

Materials
1. hot glue
2. fabric (my six foot bench used 2.5 yards)
3. 2″ foam
4. fabric scissors
The foam piece is sold by the yard in 2′ deep sections, and was on “sale” for $16 a yard, so instead of doing one long piece I bought one yard and cut it in half. Because of the foam thickness it’s pretty hard to cut straight, which didn’t bother me and probably isn’t noticeable to anyone else, but f you’re really concerned with the pad looking perfect I would recommend spending more for entire length needed.

After cutting my pad to size I laid it on top of the fabric. I used a bead of glue to hold the fabric in place when I started, then wrapped the fabric all the way around the foam.

To keep the seams from fraying I folded the end of the fabric over and hot glued the seam, before hot gluing it to the pad.

The ends I wrapped like a present, to get stiff corners. I folded in the fabric on the short side, hot gluing it to the foam, then hot gluing the second layer of fabric to the first.

Again, I folded the edges over and hot glued a seam to keep the ends from fraying, before hot gluing the other sides.

And there you have it:
It passed the sit test!

I wasn’t convinced the cushion would make a difference, but it’s incredibly more comfortable to sit on. It was kind of difficult to describe this project, so hopefully the photos helped make sense of it. If you have any questions, please feel free to ask in the comments section!