I was in need of some distraction last weekend, and in my opinion there is no better way to clear than mind than ripping out part of my house. One of the few areas where I’ve managed to restrain myself from demo-ing is the master bath. It was redone shortly before we moved here, and while a lot of the renovation is pretty great, we have always been short on storage. No matter how often I try to organize the three small vanity drawers, they inevitably look like this:

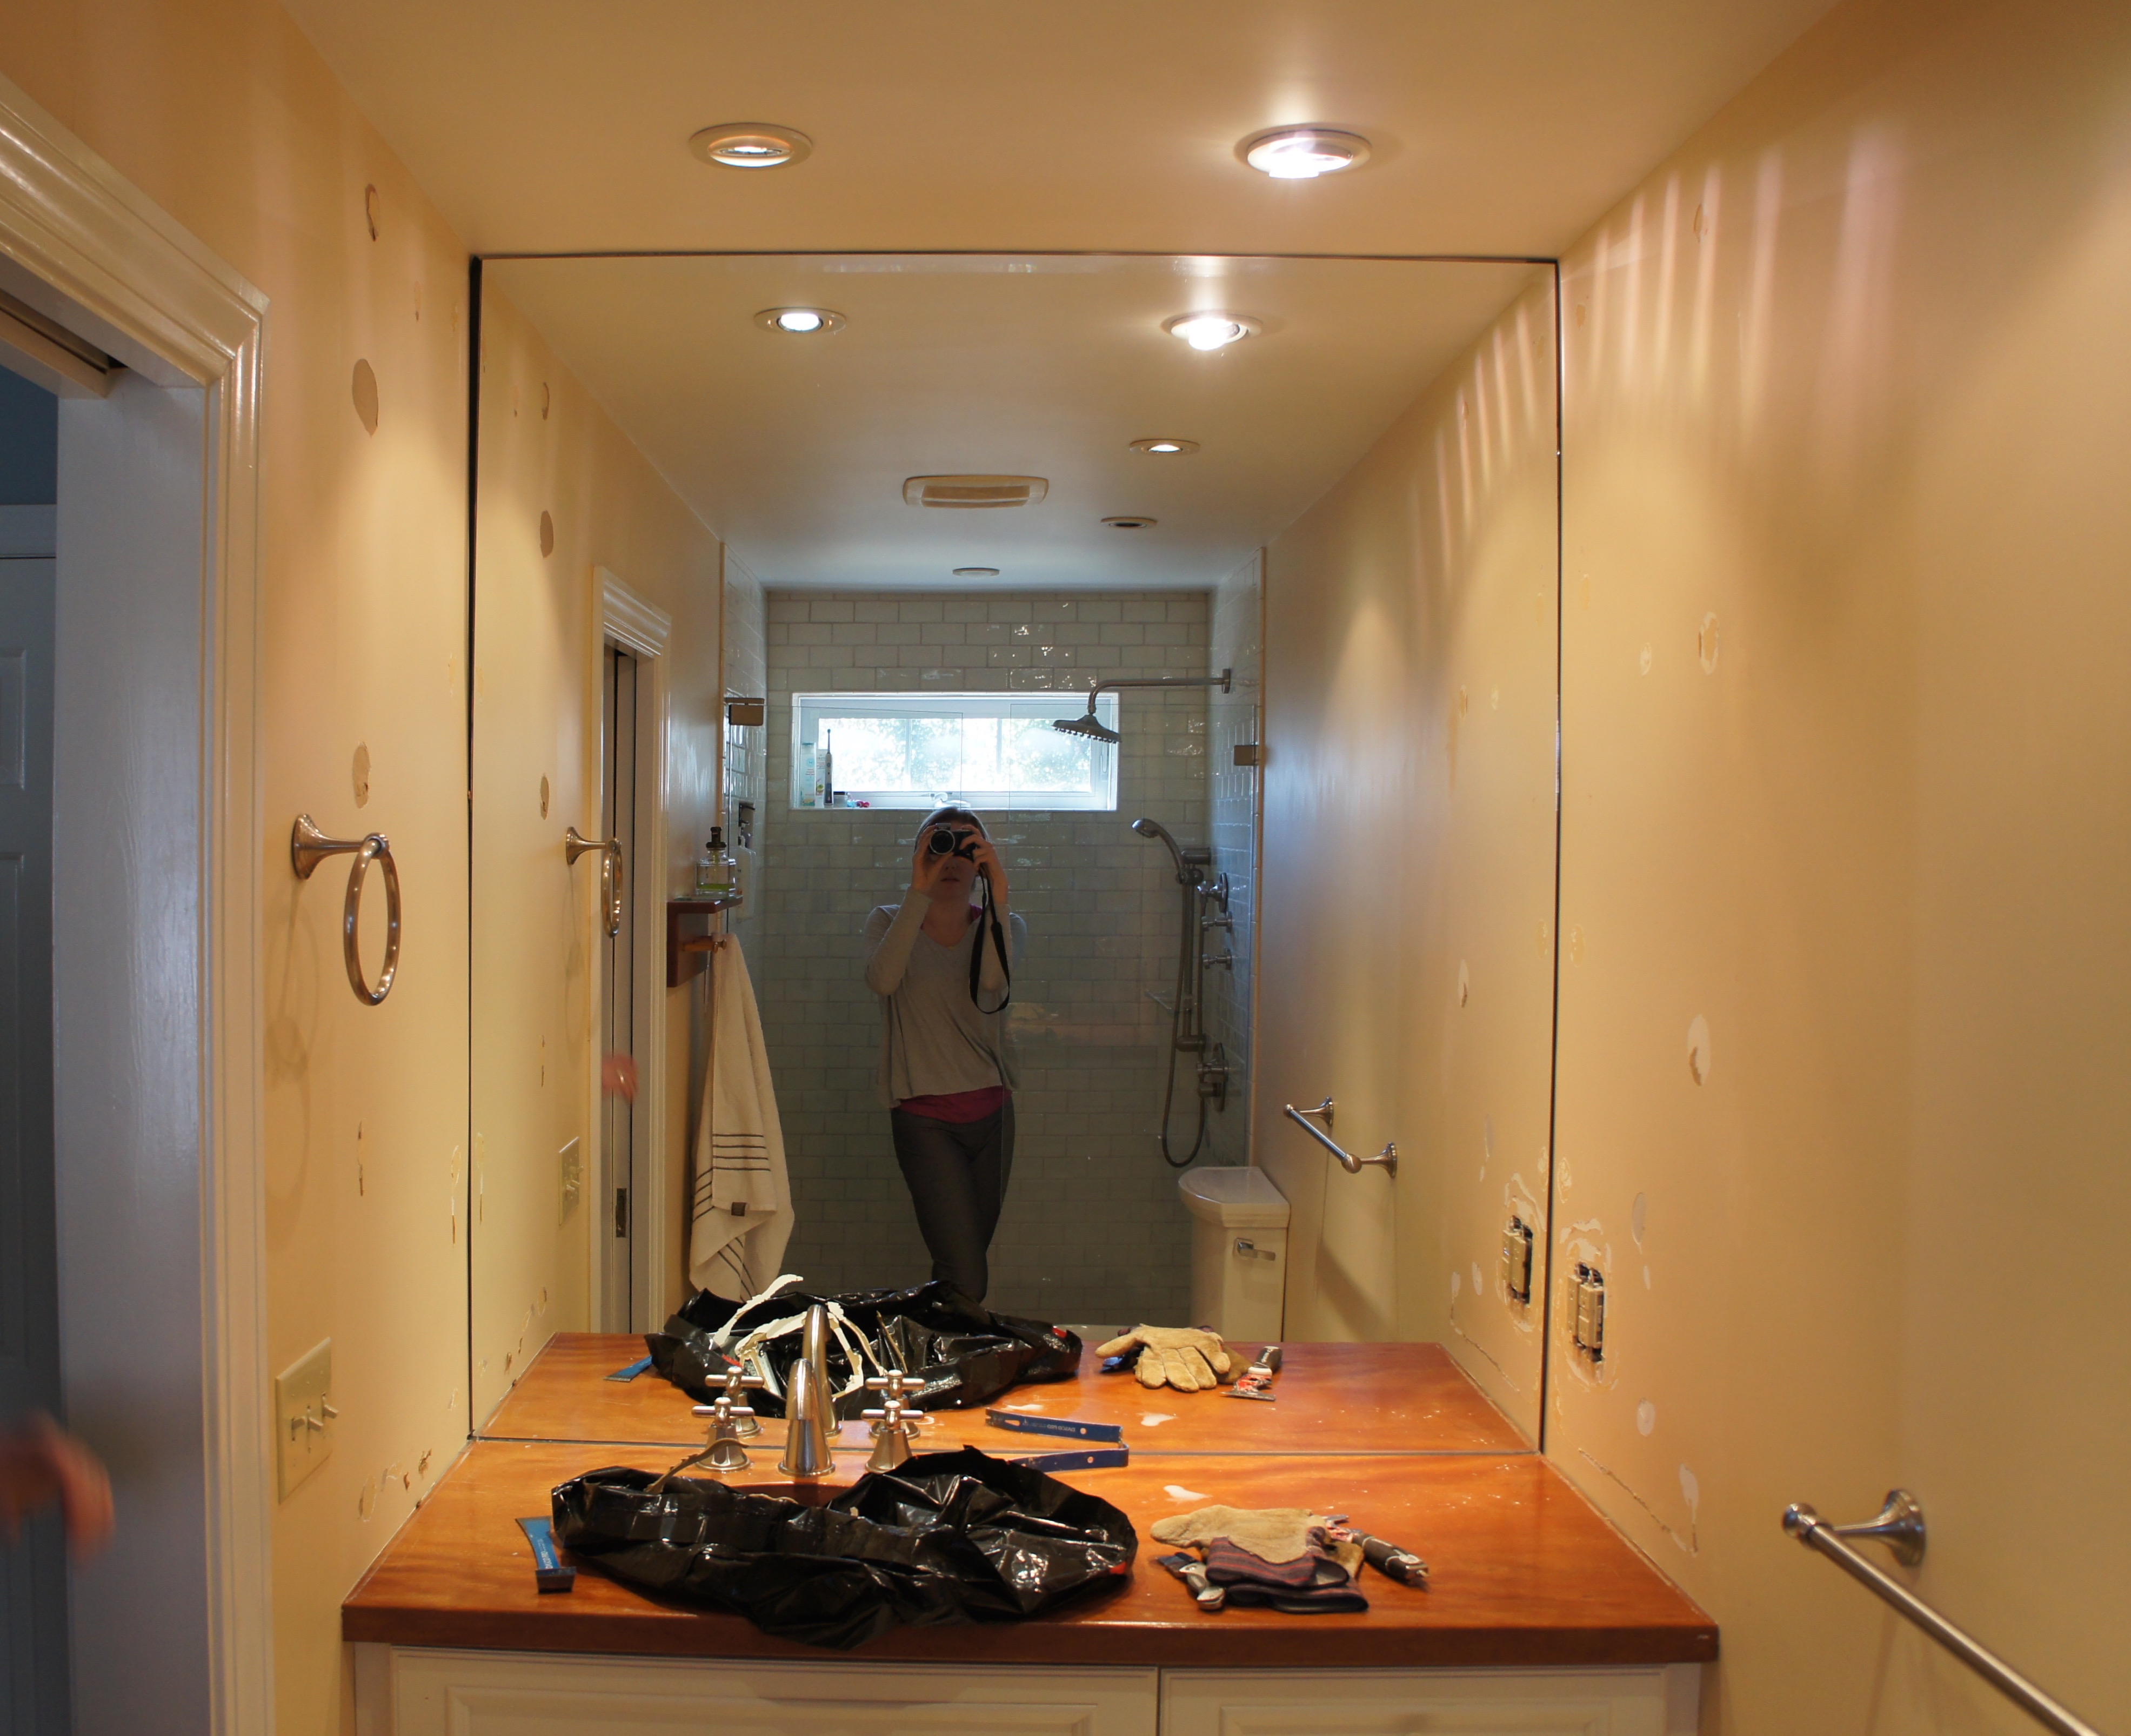
The drawers are chaotic, but my biggest issue is the giant mirror facing the shower, which provides a little more of a view than I like to be confronted with first thing in the morning:
I found a matching pair of medicine cabinets at the Restoration Hardware Outlet that seemed like the perfect solution. They were 90% off list price, and because it’s hard to find a matching set of anything there, I jumped without a second thought. That is until Jason came home from work and informed me that they were inset cabinets-as in, holes had to be cut in the wall to get them up. Seeing as they were final sale, we didn’t have much choice but to break out the Sawzall.
The first step was making frames for the inset portion of the cabinets out of 2x4s:

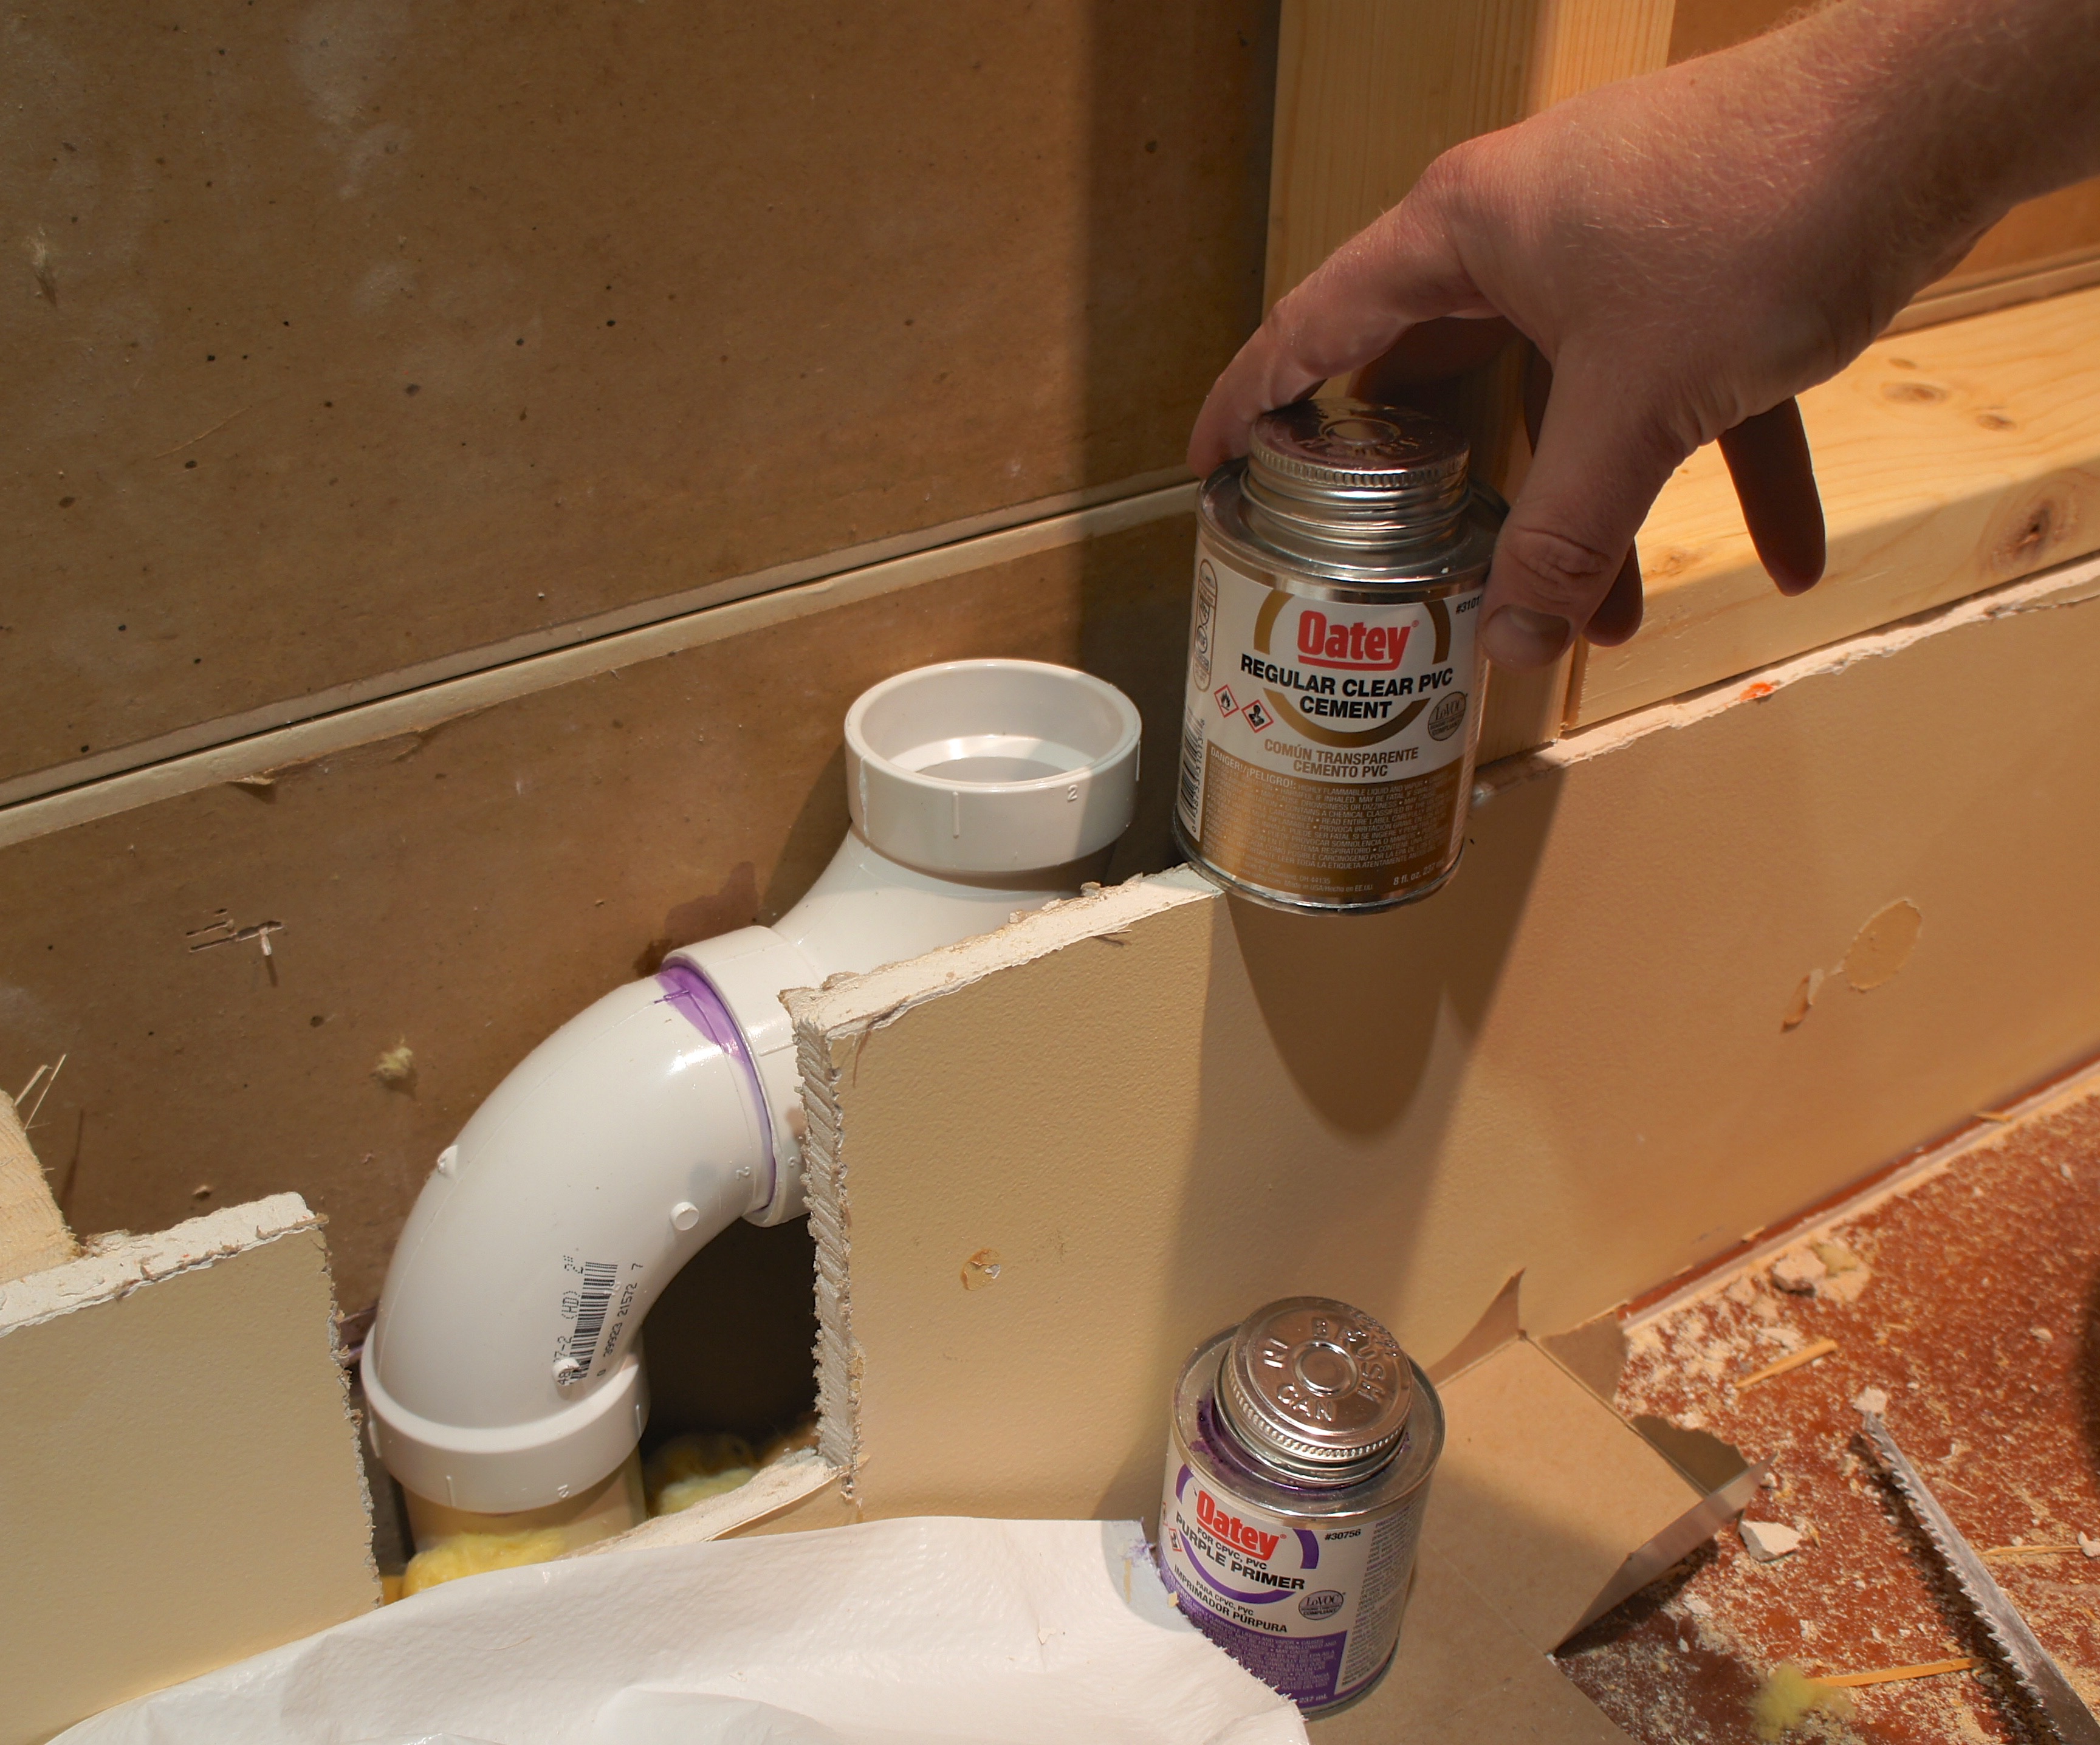
Then, after cutting the sheetrock and studs to the height of the frames, Jason worked on rerouting a plumbing vent:

He cut the pipe off at the top and base with the Sawzall, then used 90 degree PVC angles to center it between the mirrors. PVC cement keeps any of the new joints from leaking:
Once the pipe was moved and the frames were in place, all he had to do was patch the drywall.
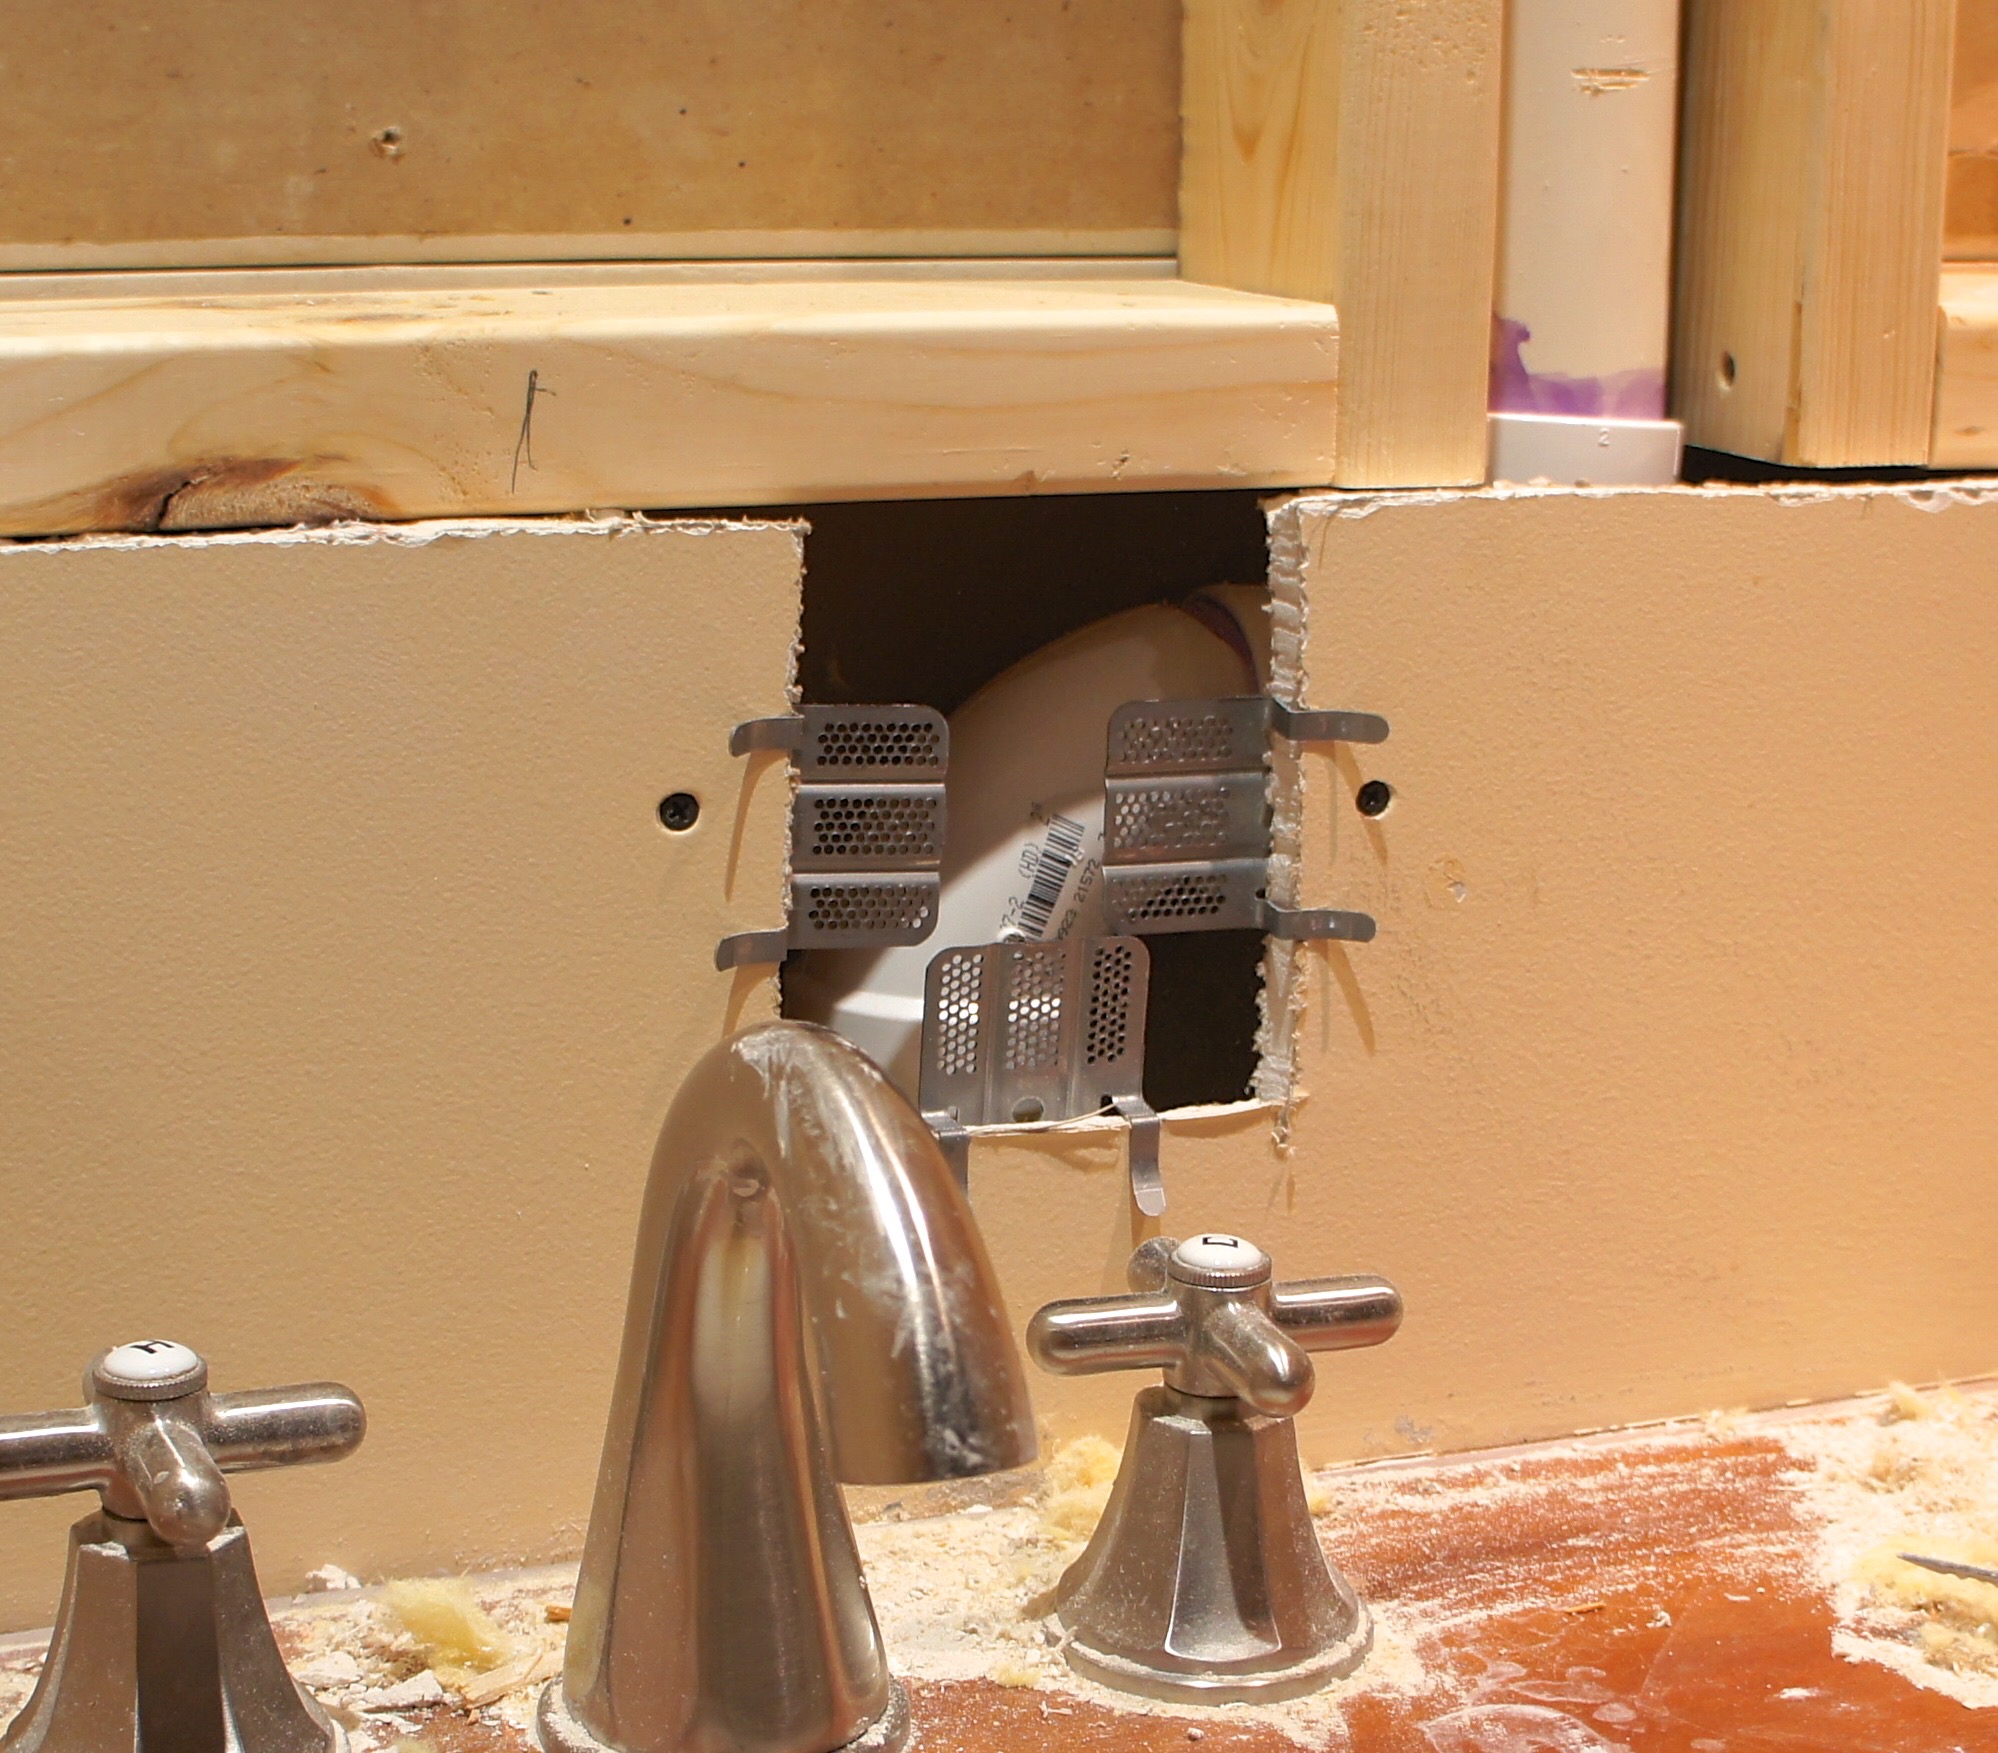
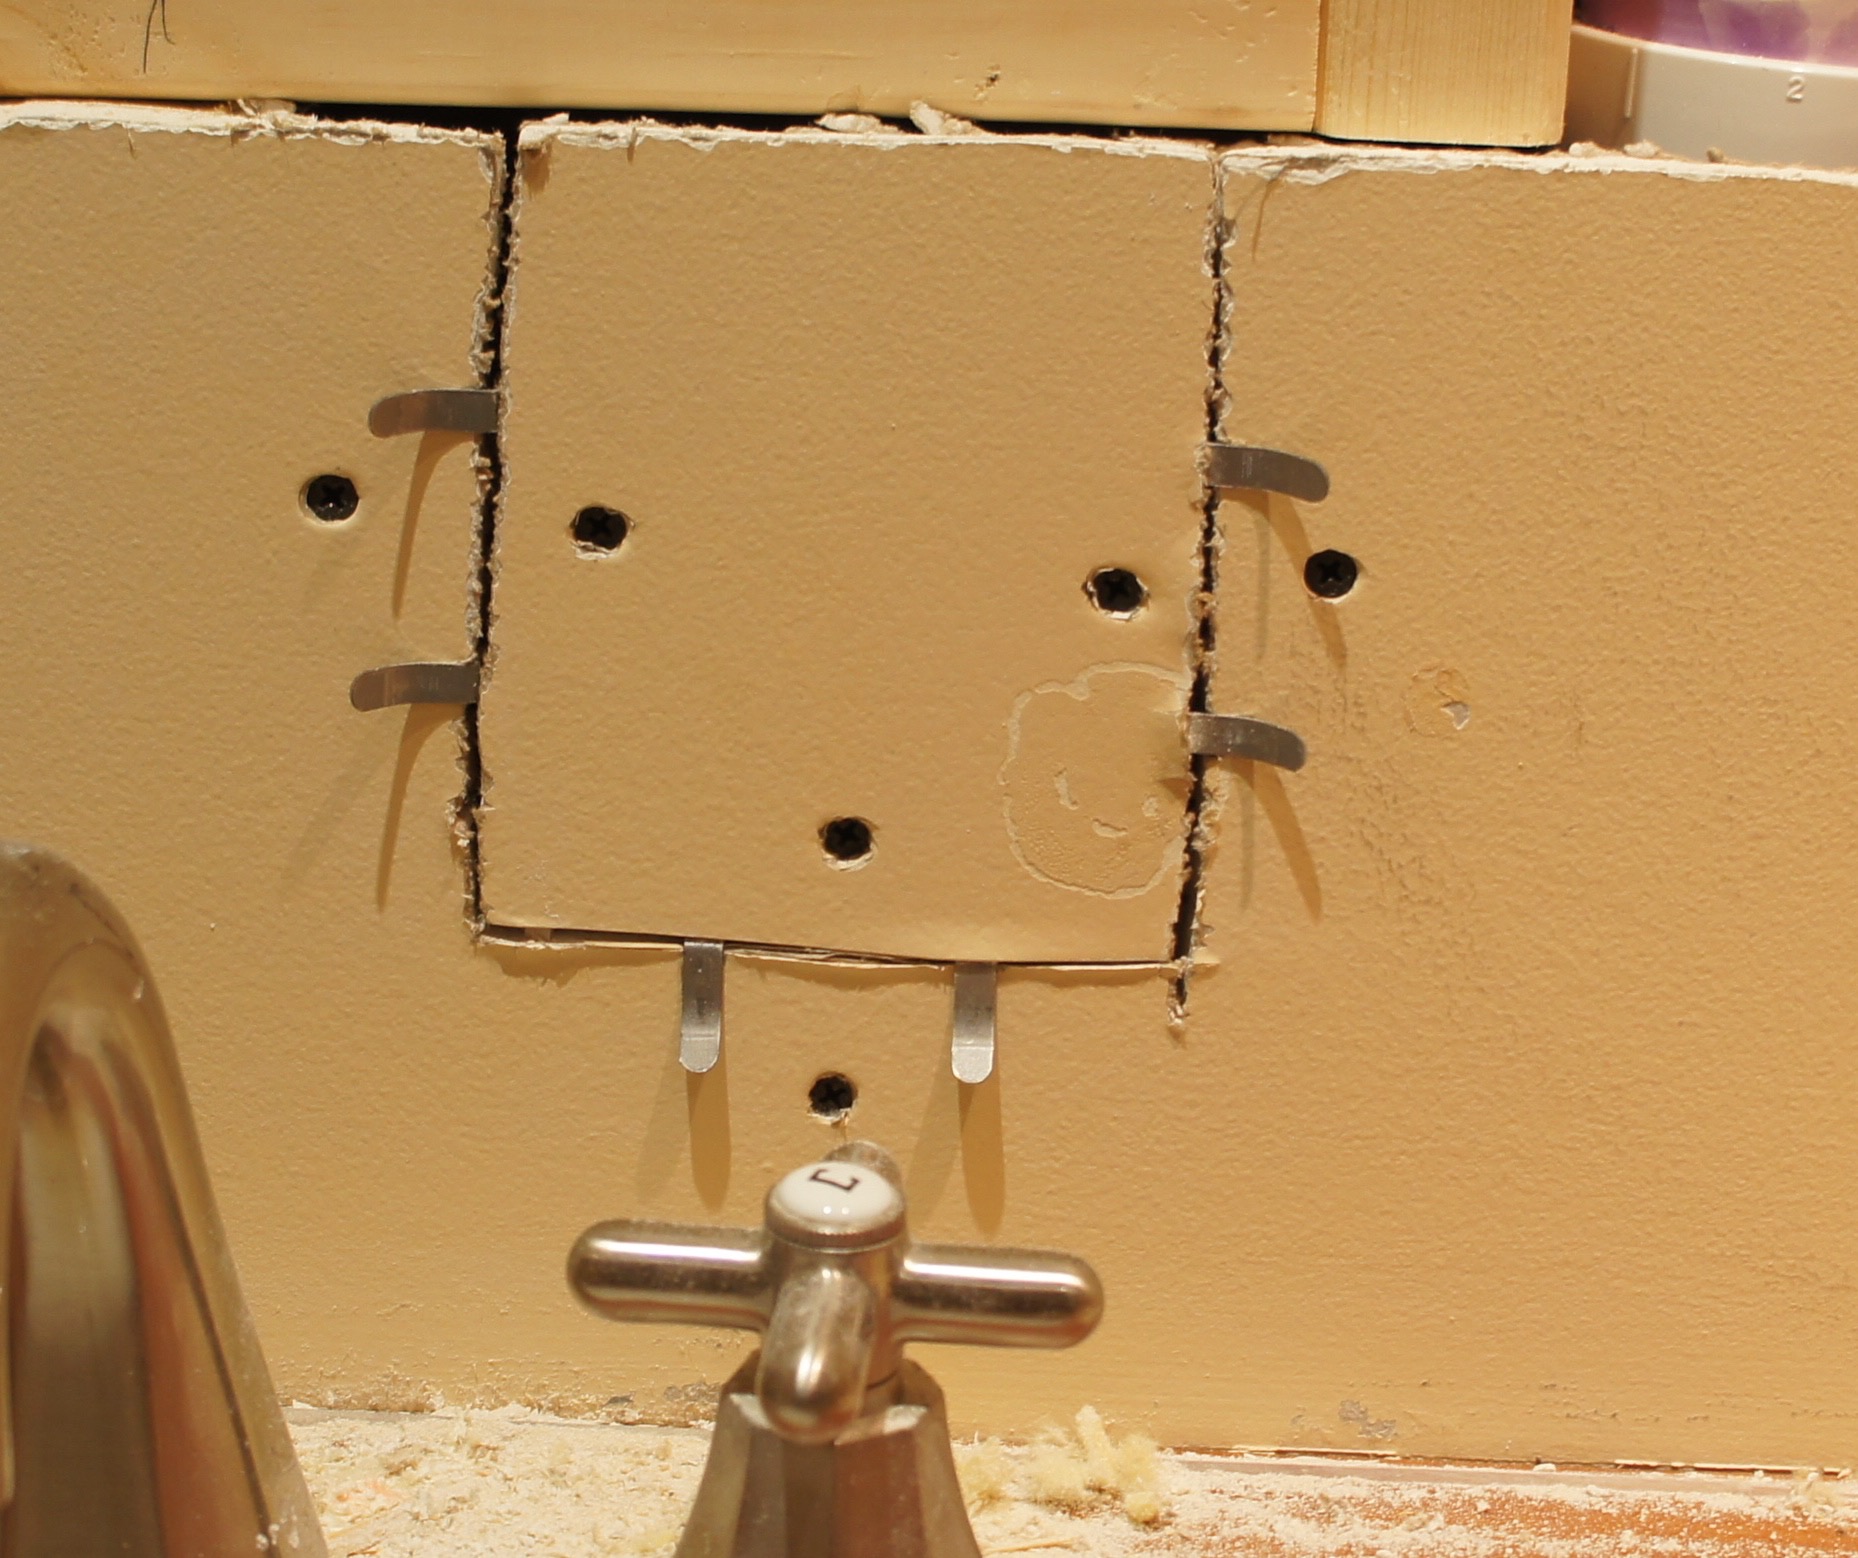
Drywall repair clips helped provide a backing for the patches. After drilling in the drywall, the clips in front just pop off.
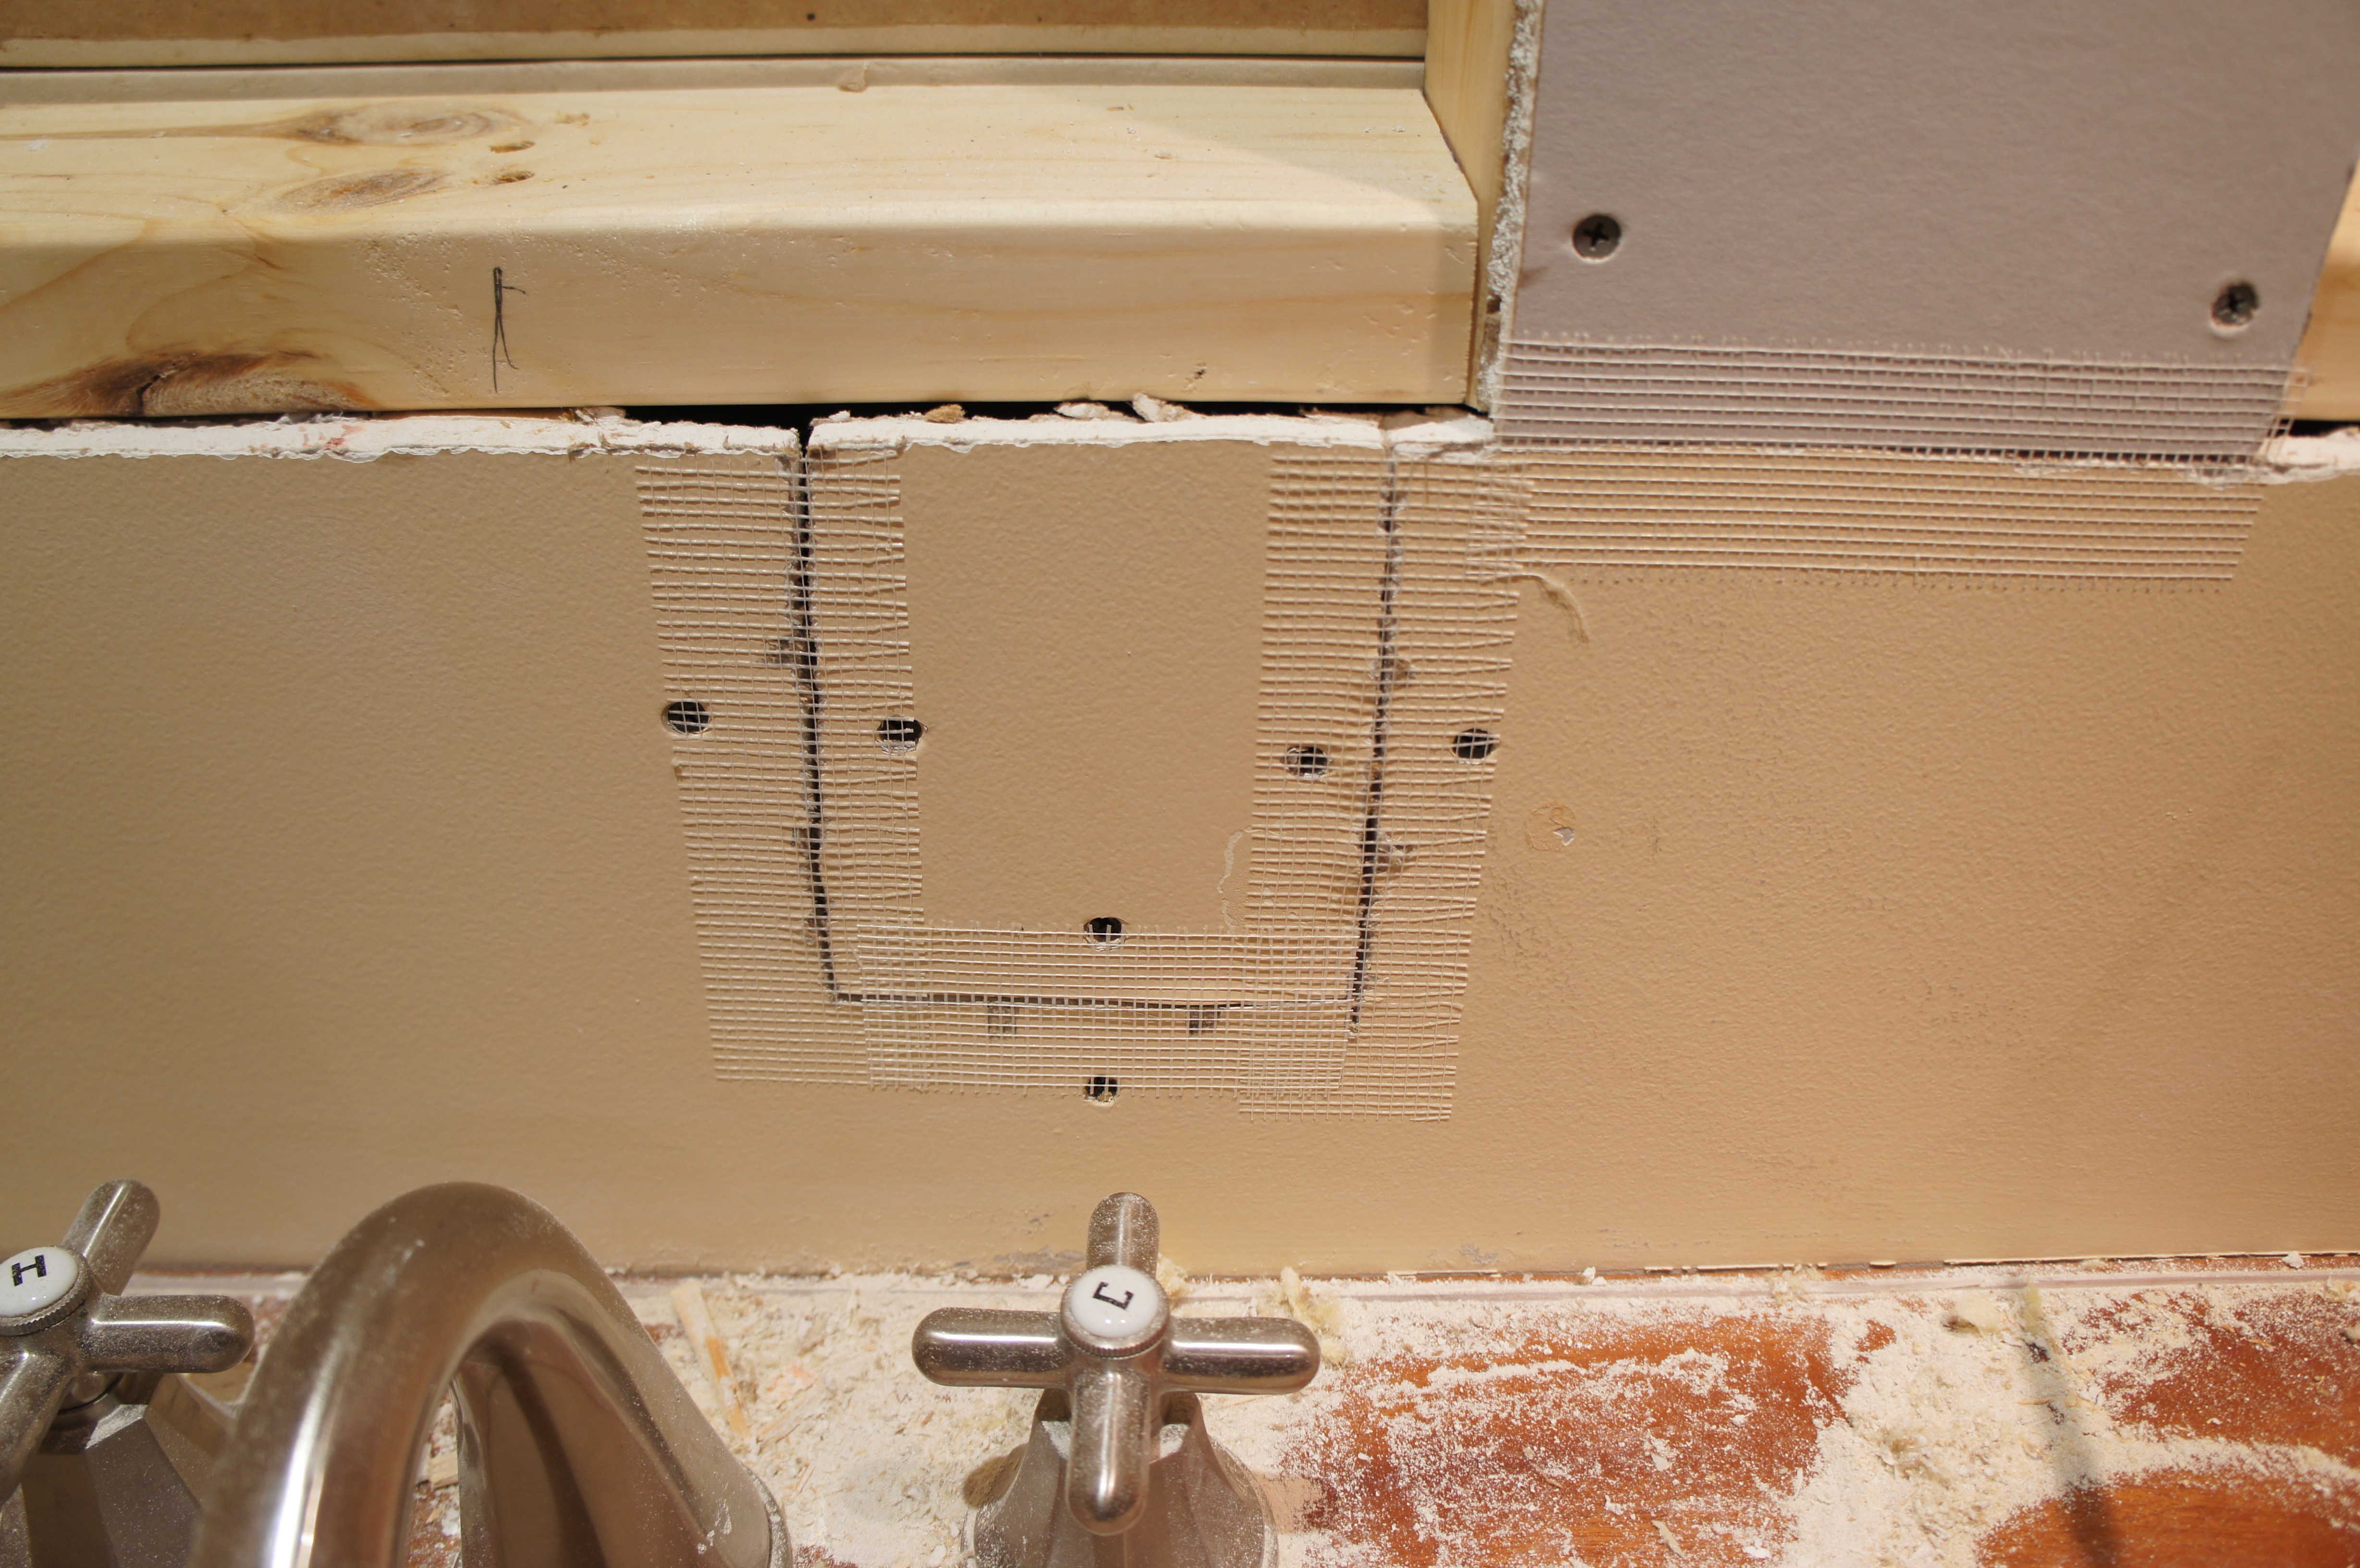
Each seam was then covered in mesh drywall tape:
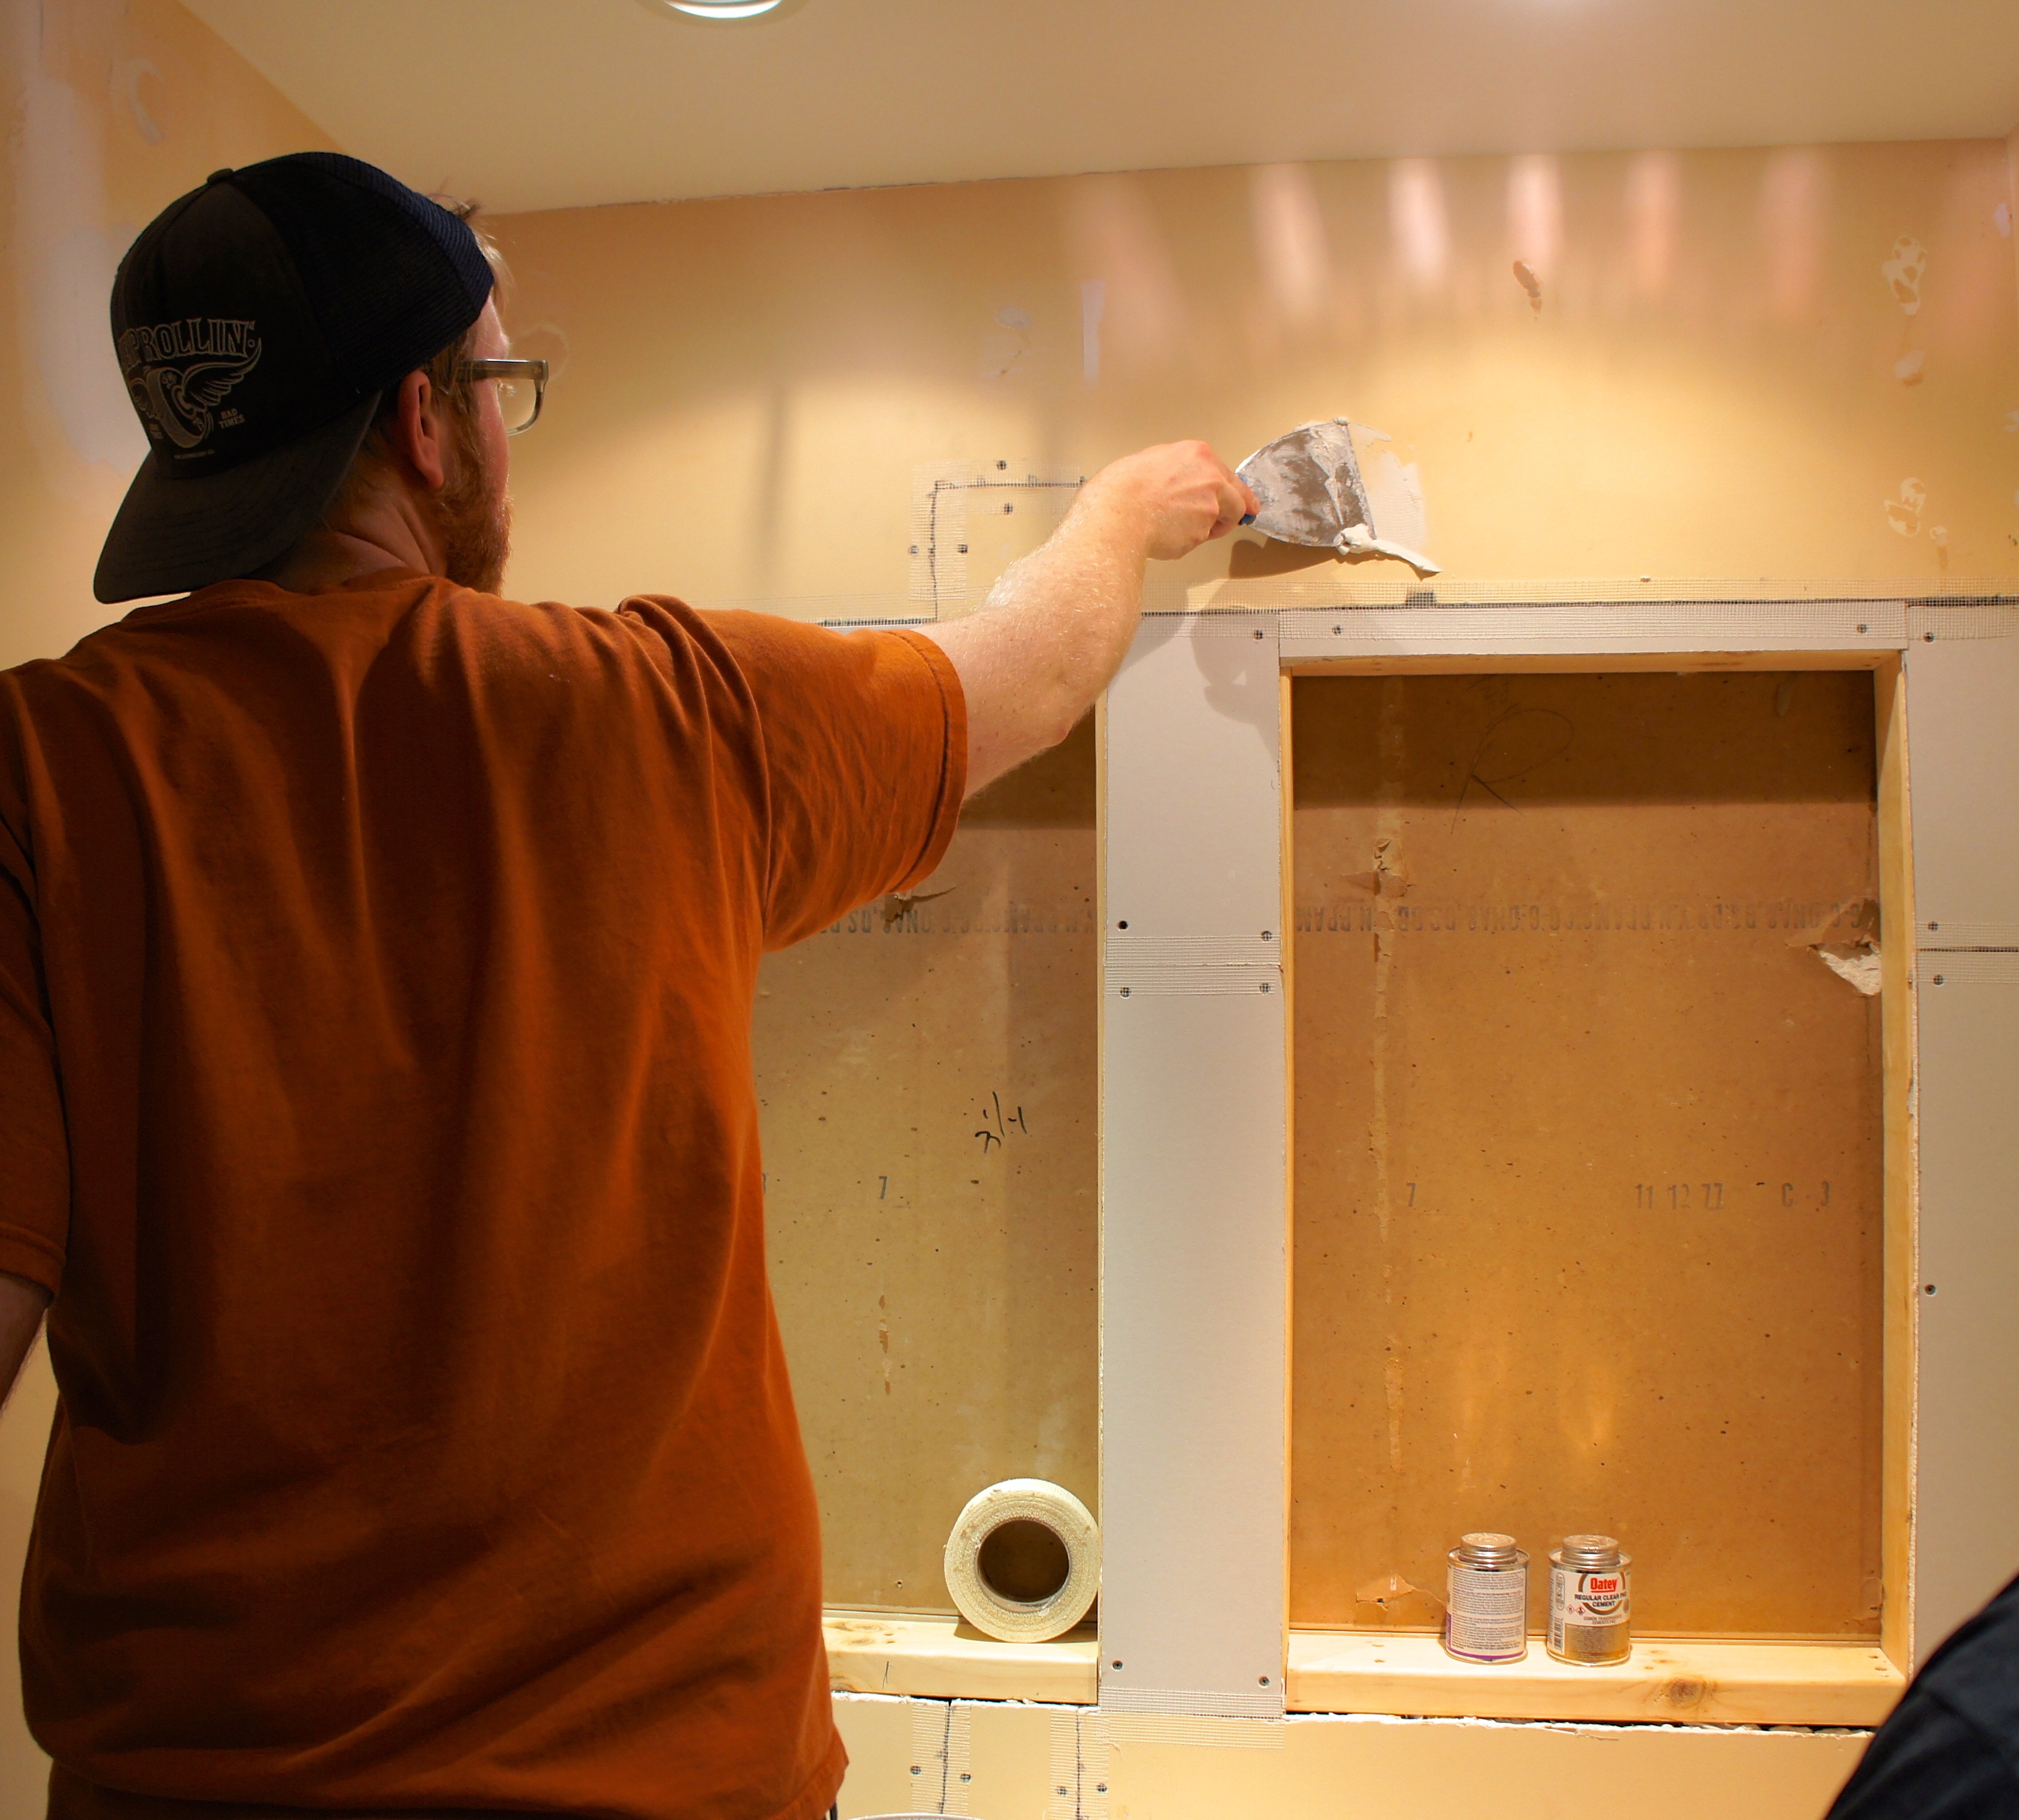
The next step was joint compound, which is a two day process. Fresh drywall usually requires three layers, all of which have to dry in between before they can be sanded smooth:
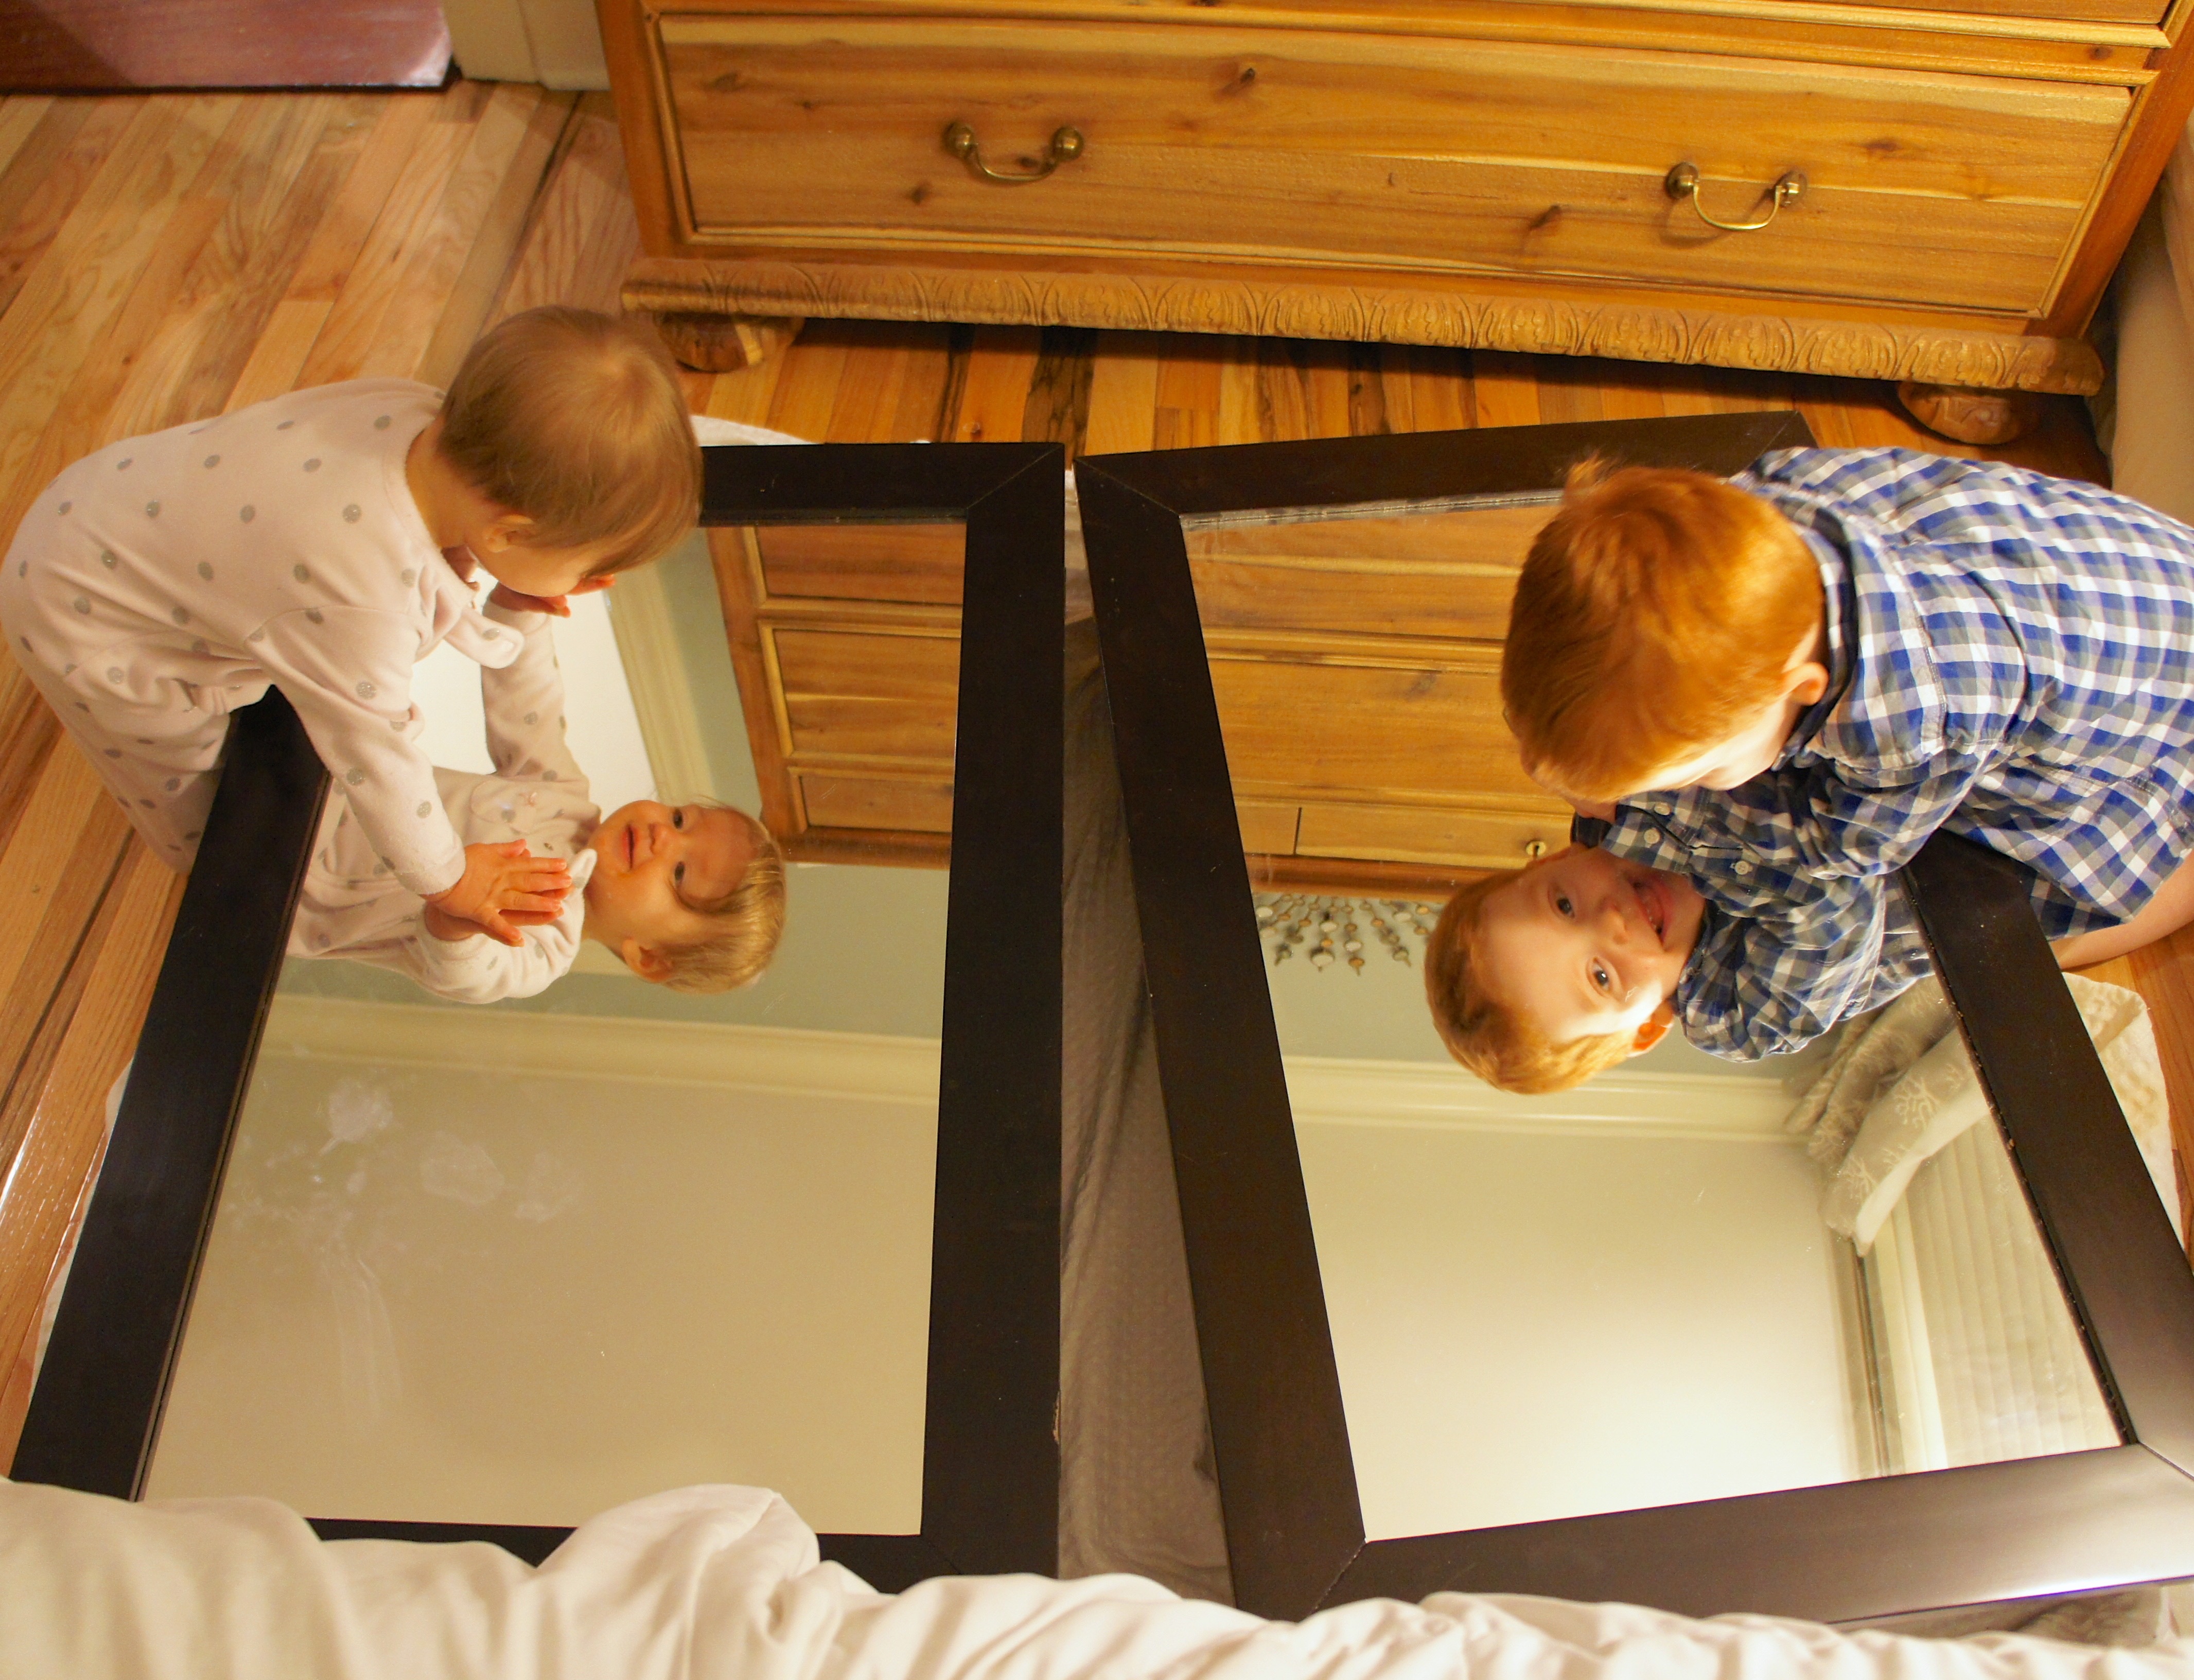
Up until here, I had the hardest job-keeping the toddlers at bay:
Luckily I was able to cut myself a break by taking over on the manual labor. After touching up the finish with a fine grit sanding block, I vacuumed and wiped down the walls before painting two coats of Ben Moore Aura Bath and Spa in Halo. Aura is pricey, but it’s the only paint that doesn’t require a primer on fresh drywall, and you can use a matte finish in bathrooms instead of a semi-gloss. The glossier the paint, the more dirt and imperfections show, so matte is a must in our house.
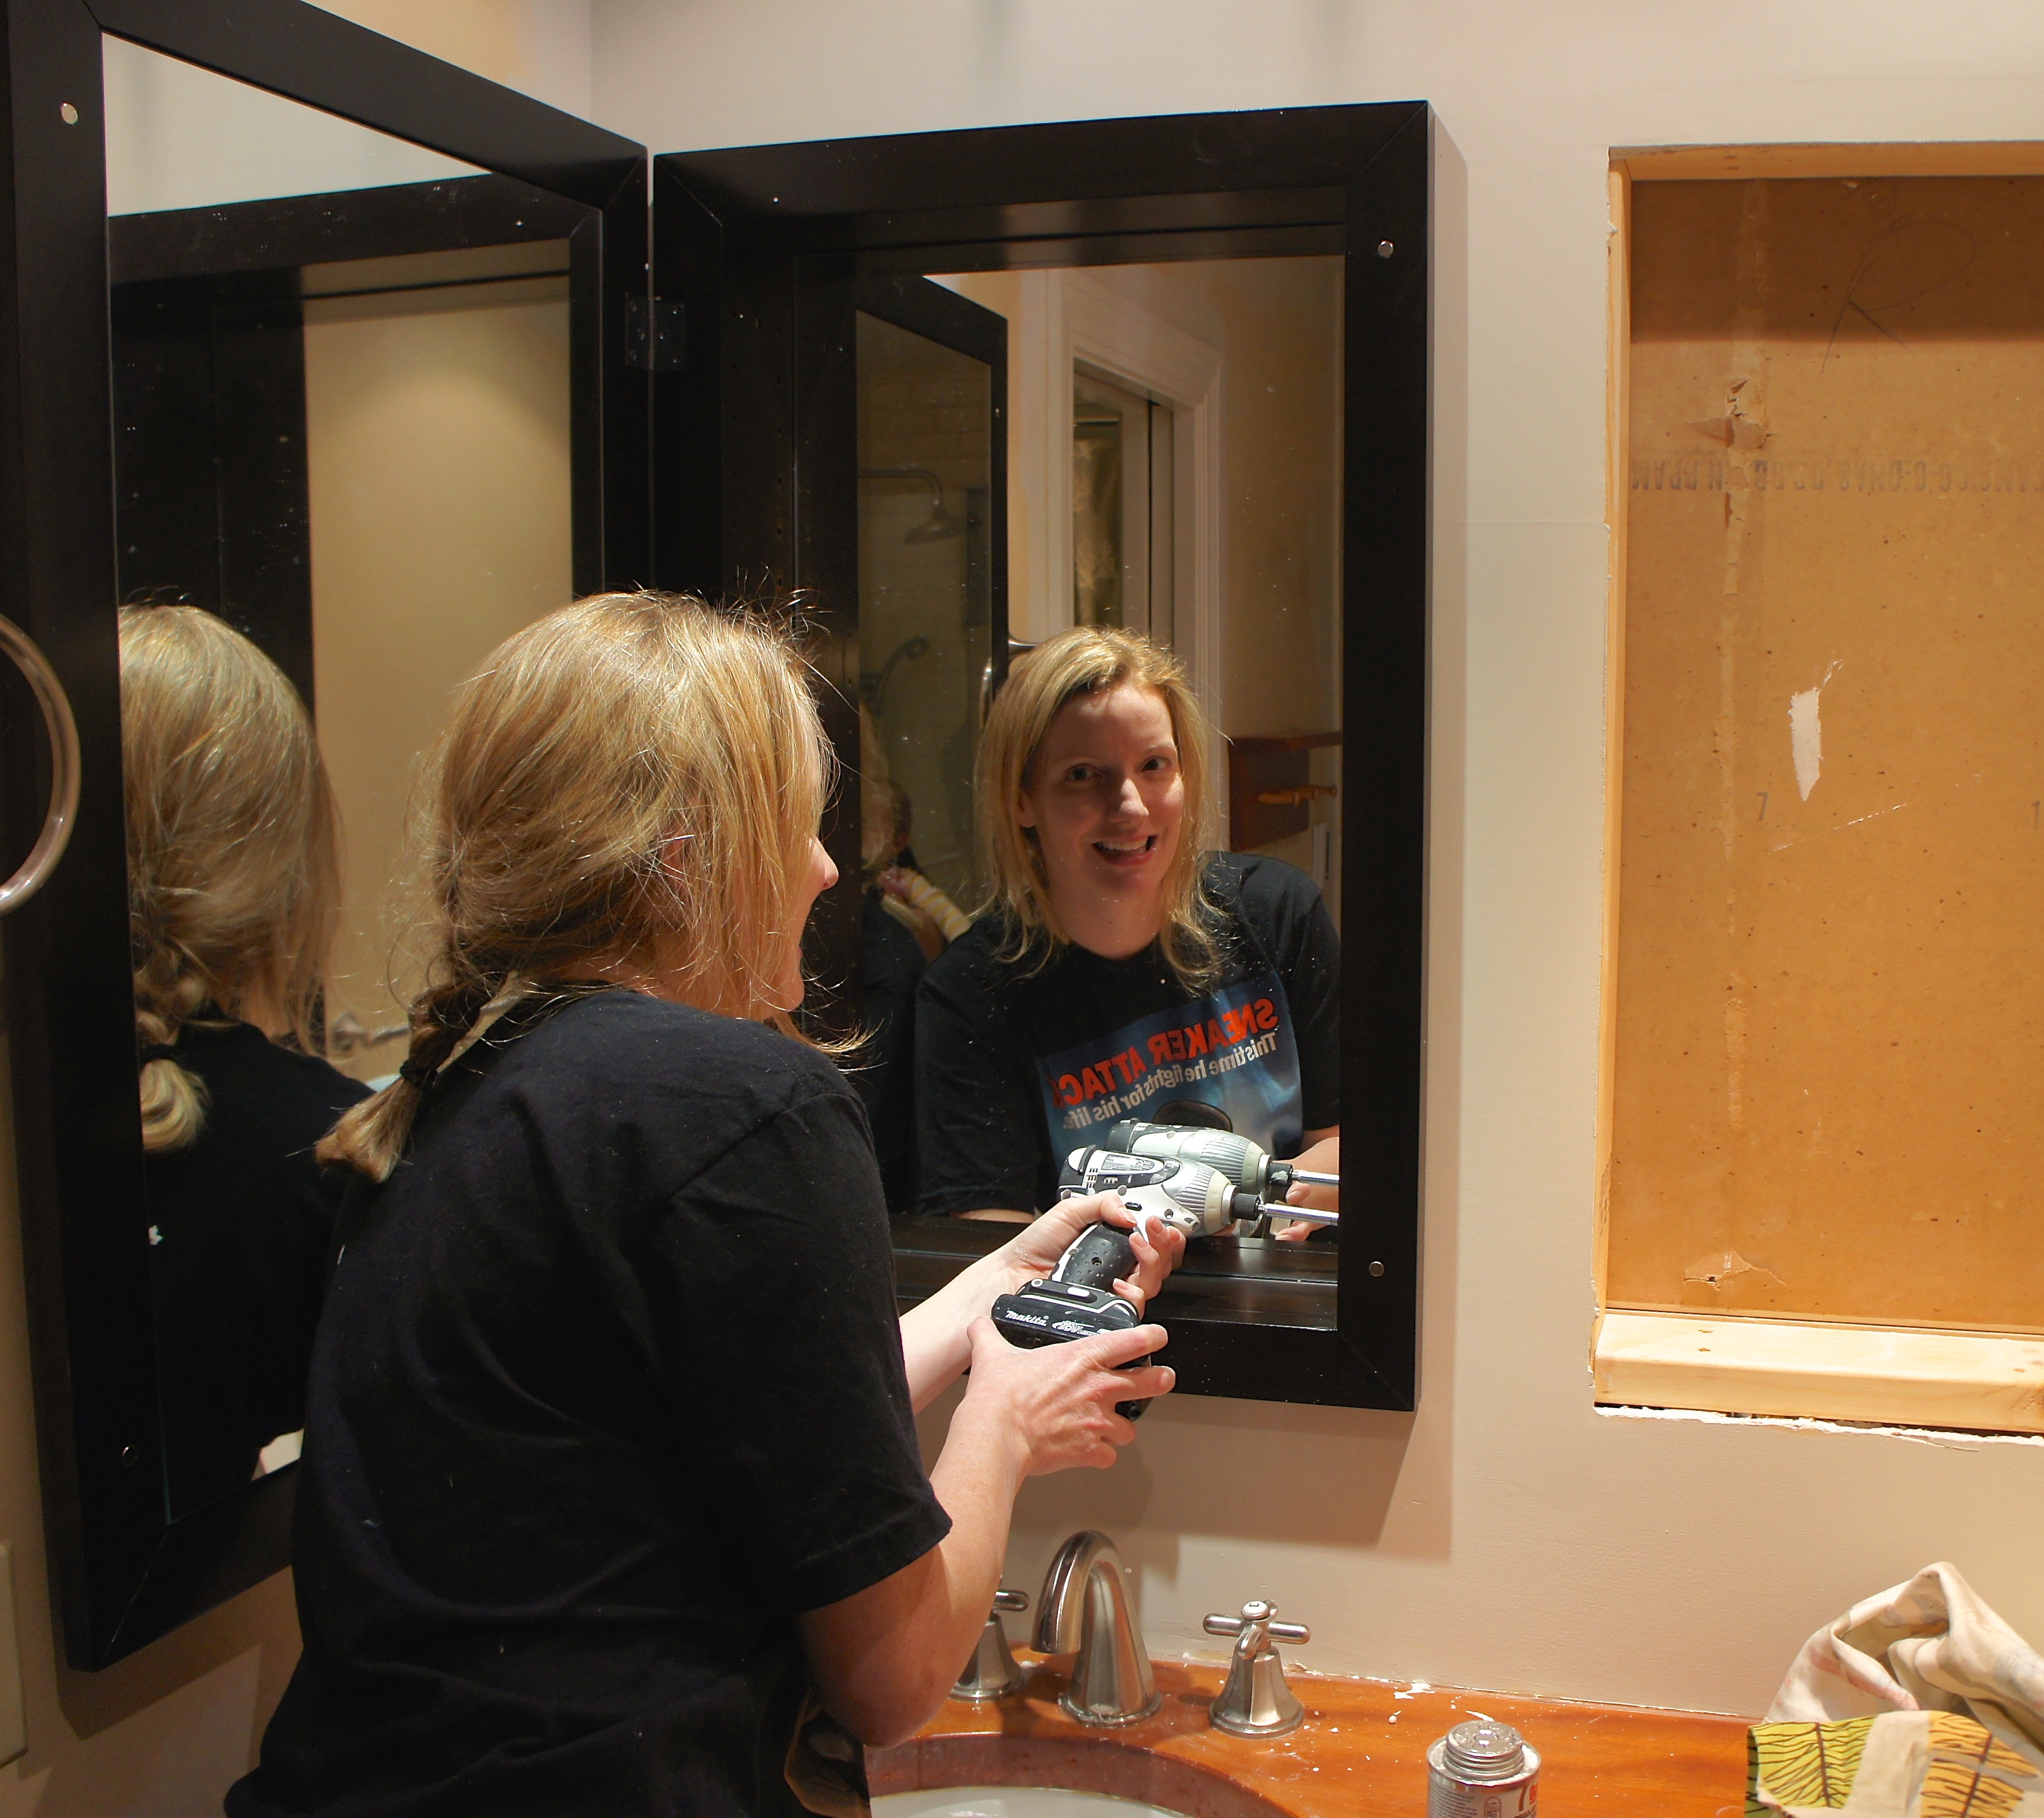
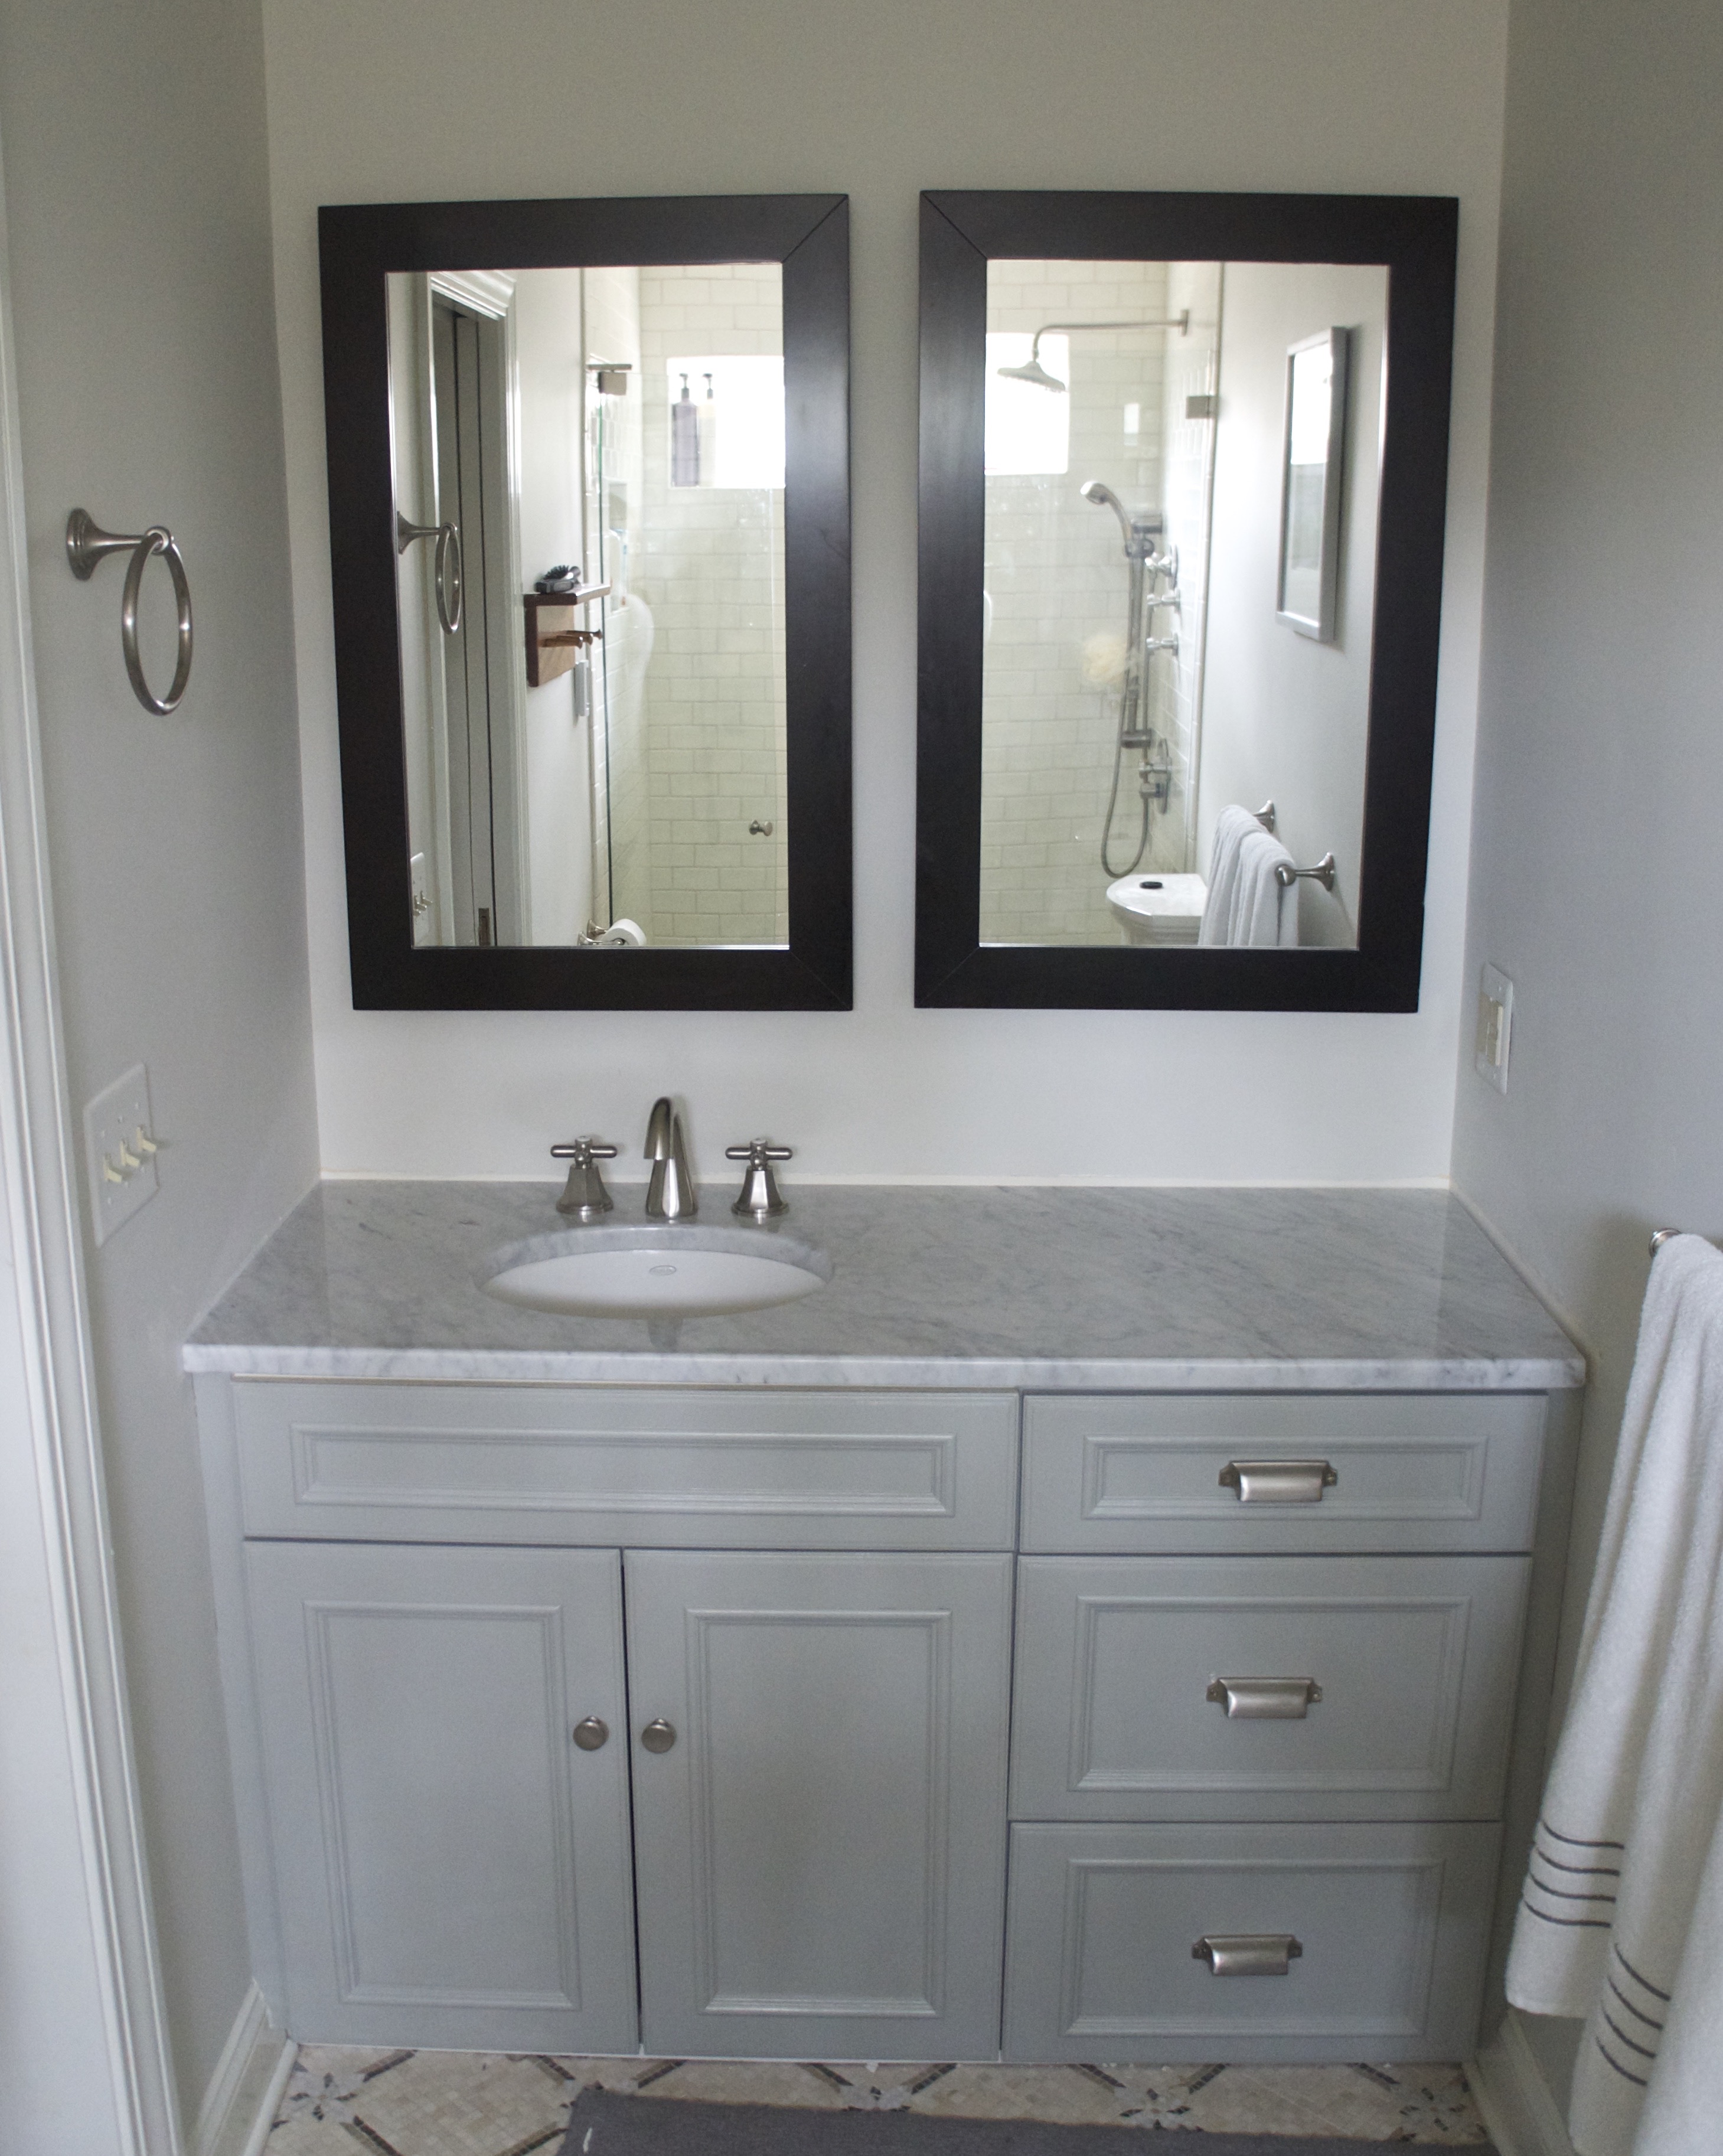
Jason was nice enough to let me attach the first cabinet by screwing them into the frames through predrilled holes. At long last, I got to see the new view.
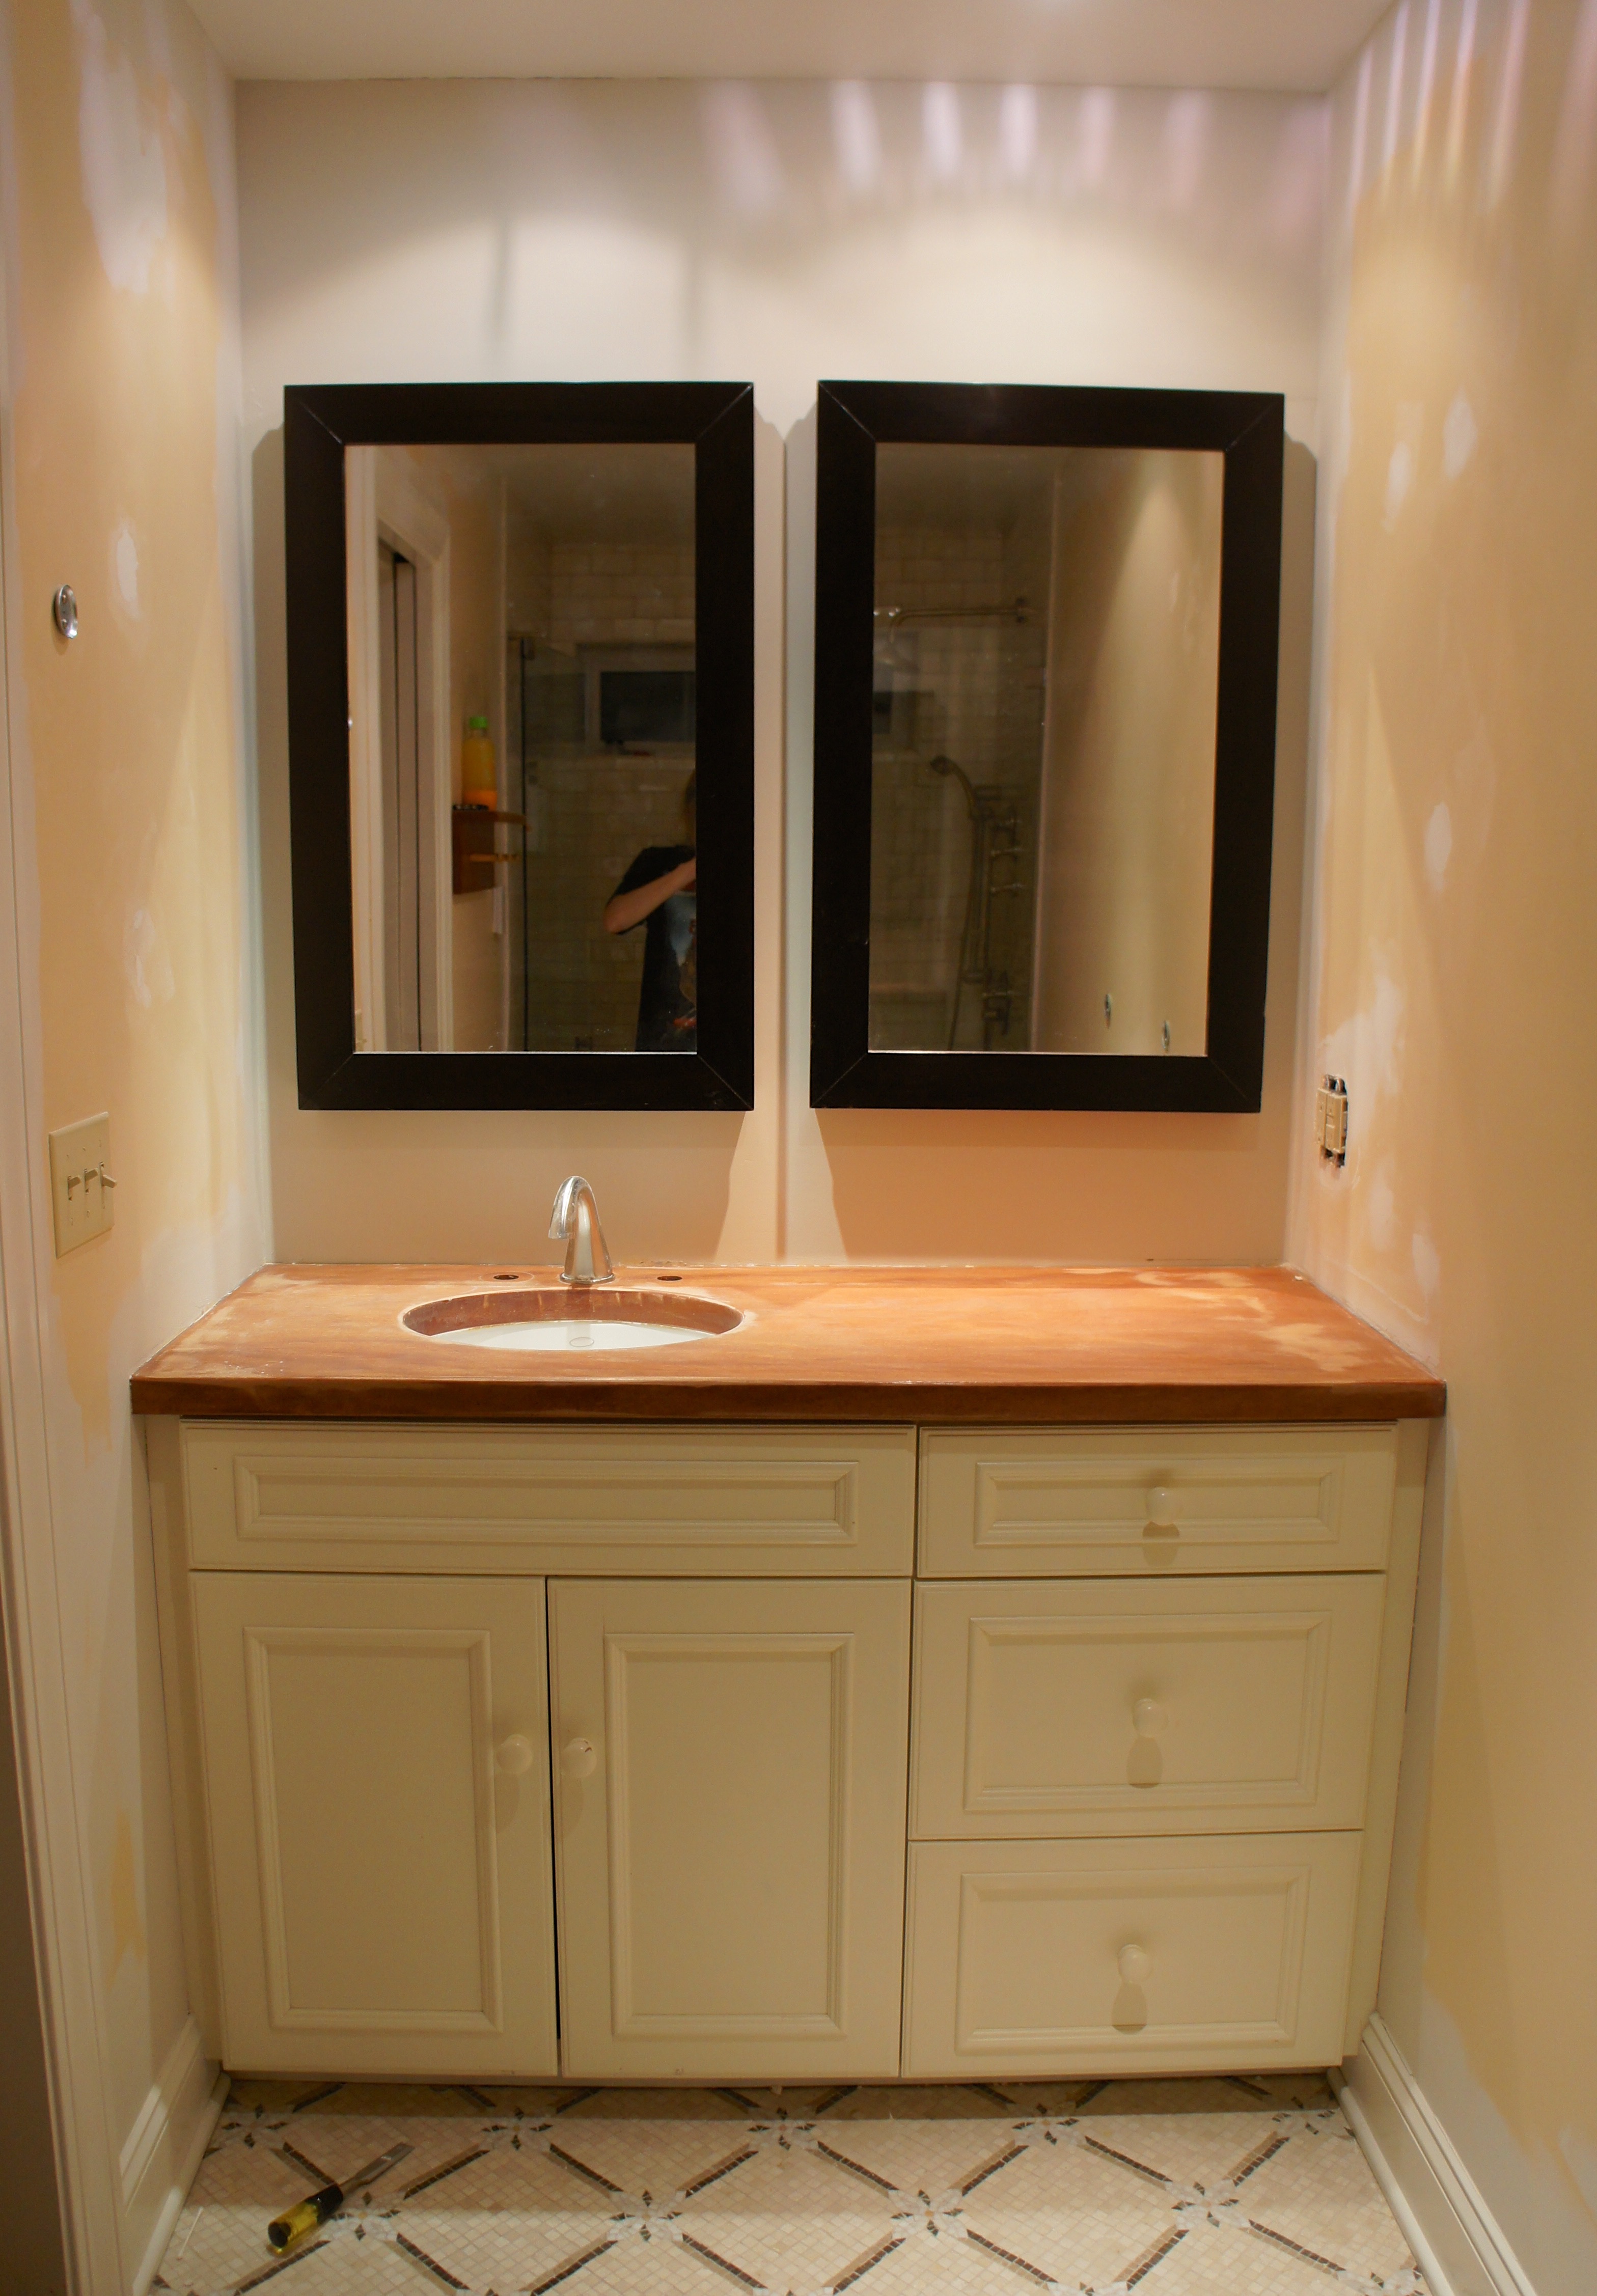
I love it, but more importantly I love having all of our toiletries lined up neatly inside. For the rest of the facelift, check out how we replaced the vanity top with a piece of remnant marble to give the bathroom a modern update.