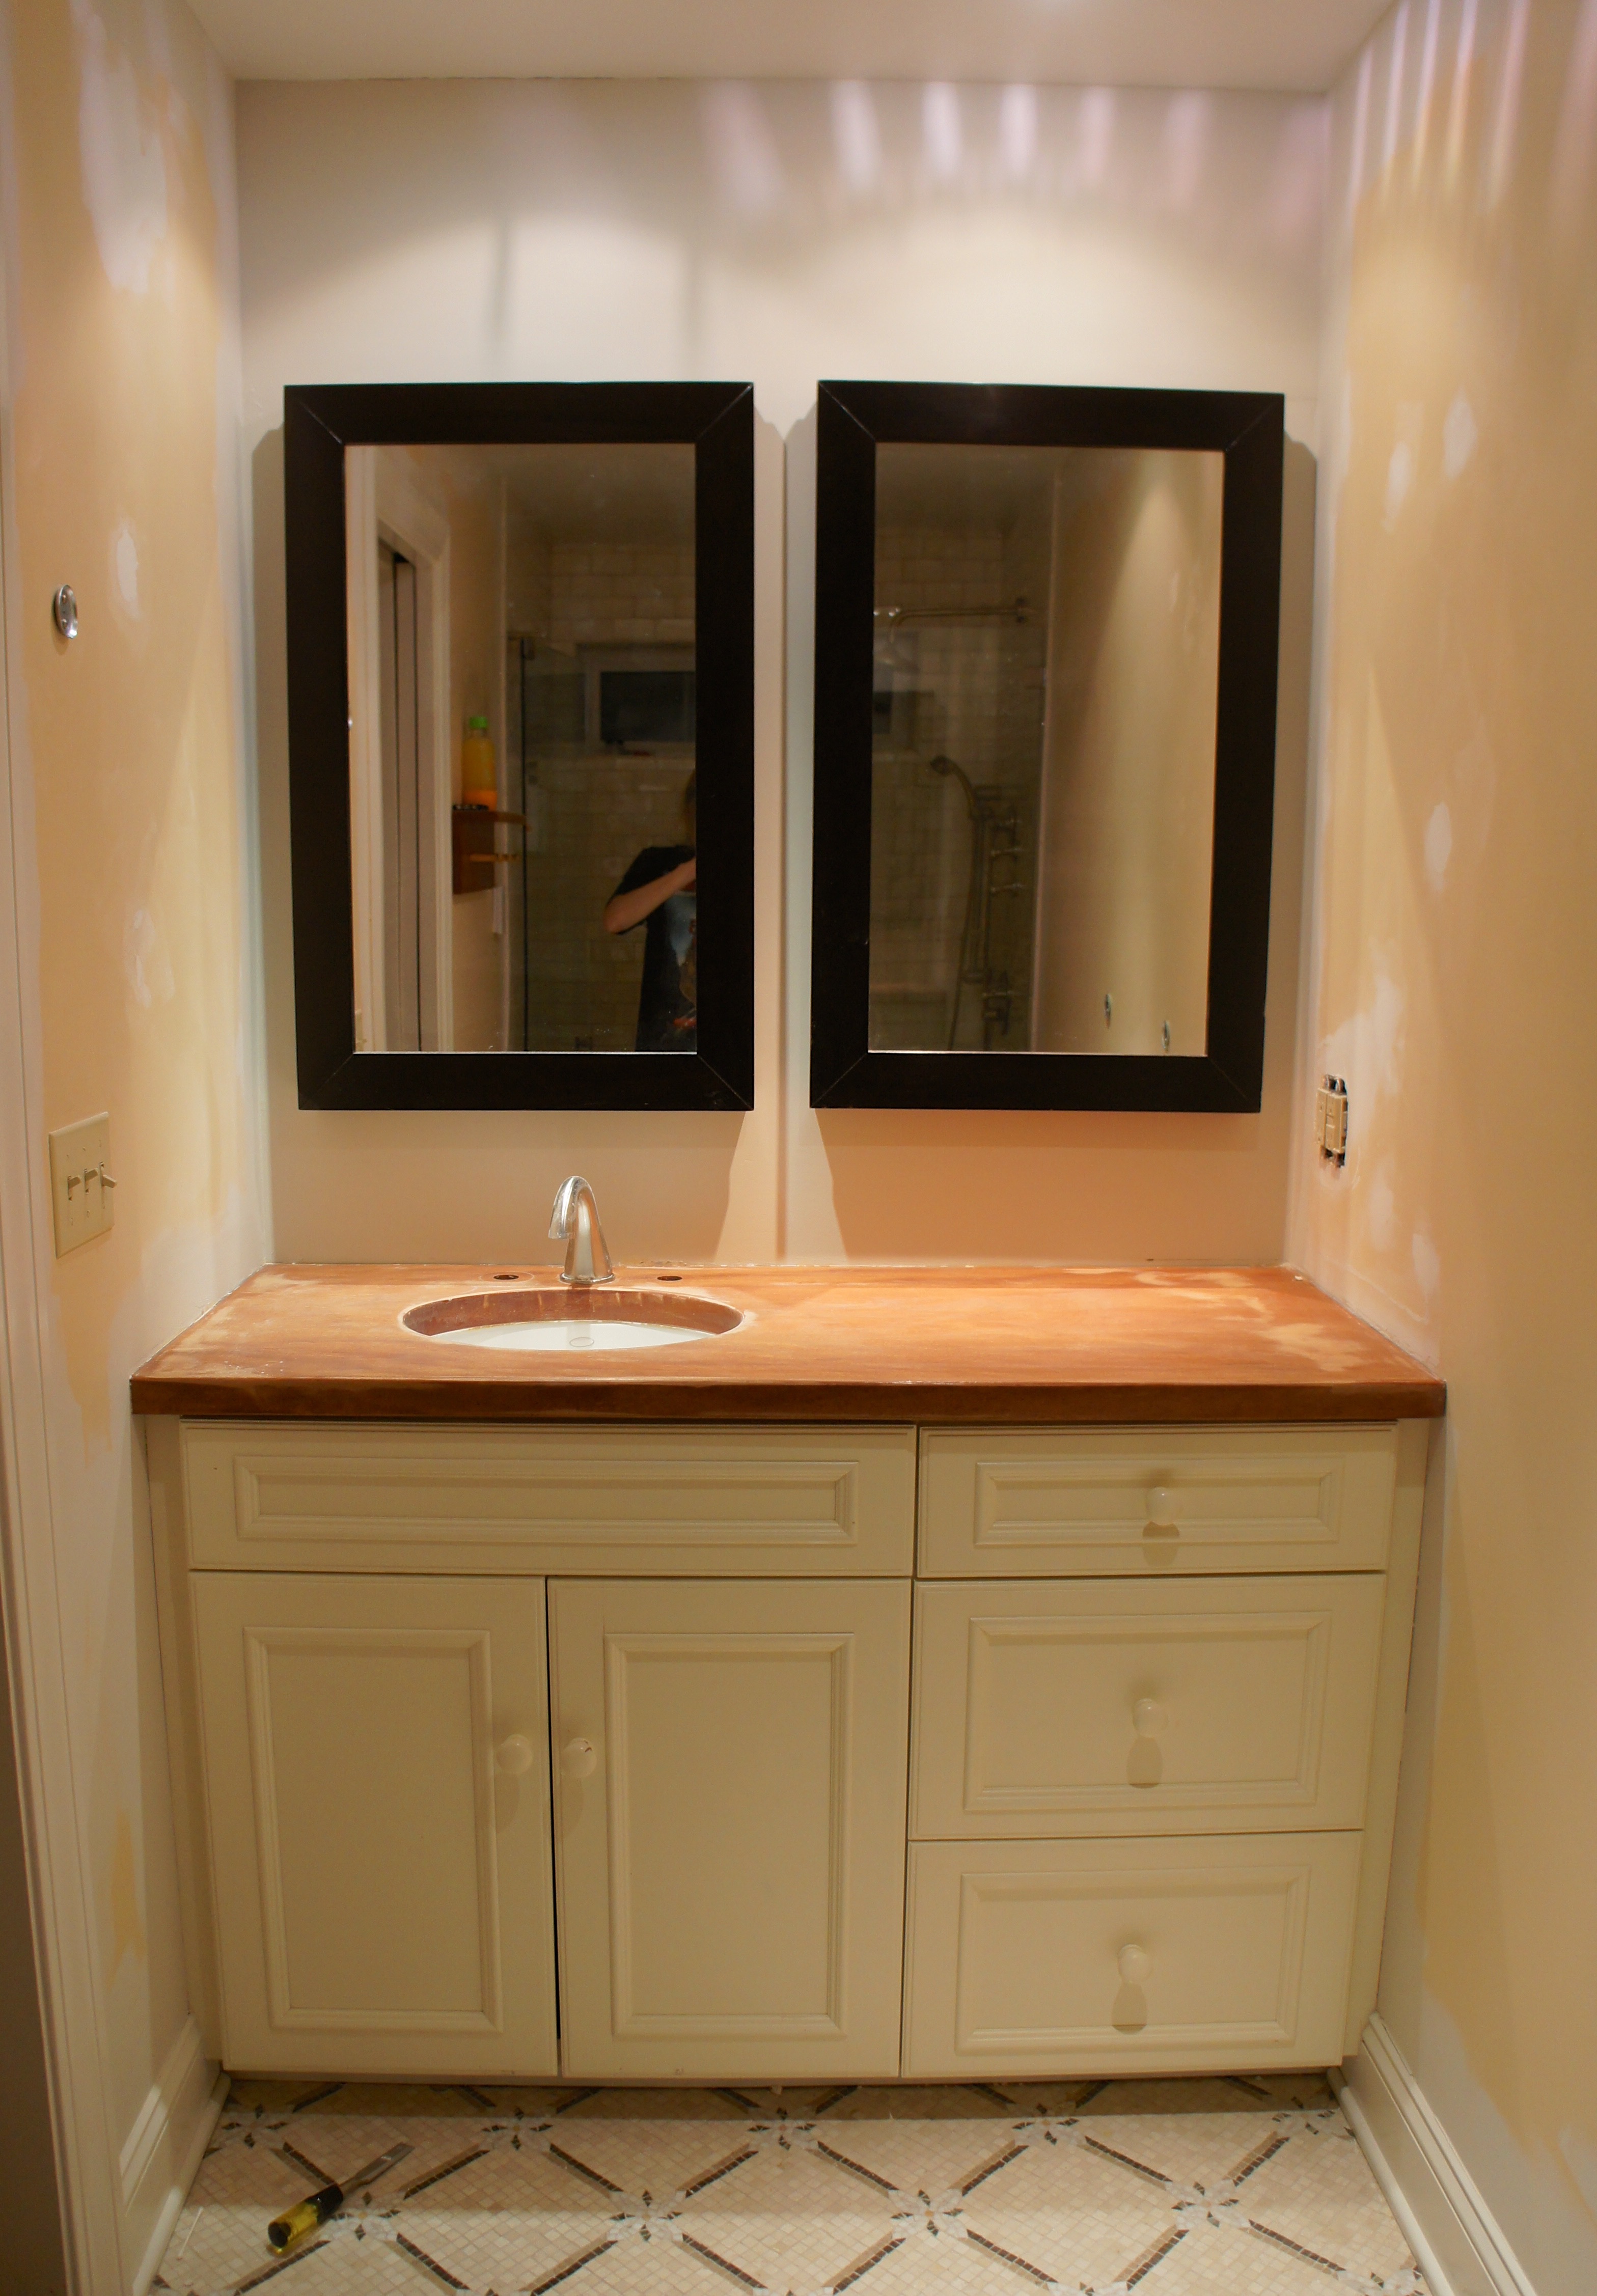
After installing the medicine cabinets in our master bathroom, the vanity was clearly in need refreshing. I’m not a big fan of wood countertops in general. They don’t hold up well to moisture (no matter what people on Pinterest say about Waterlox), and you can usually find a good deal on a solid surface countertop if you shop around-avoiding Home Depot at all costs.
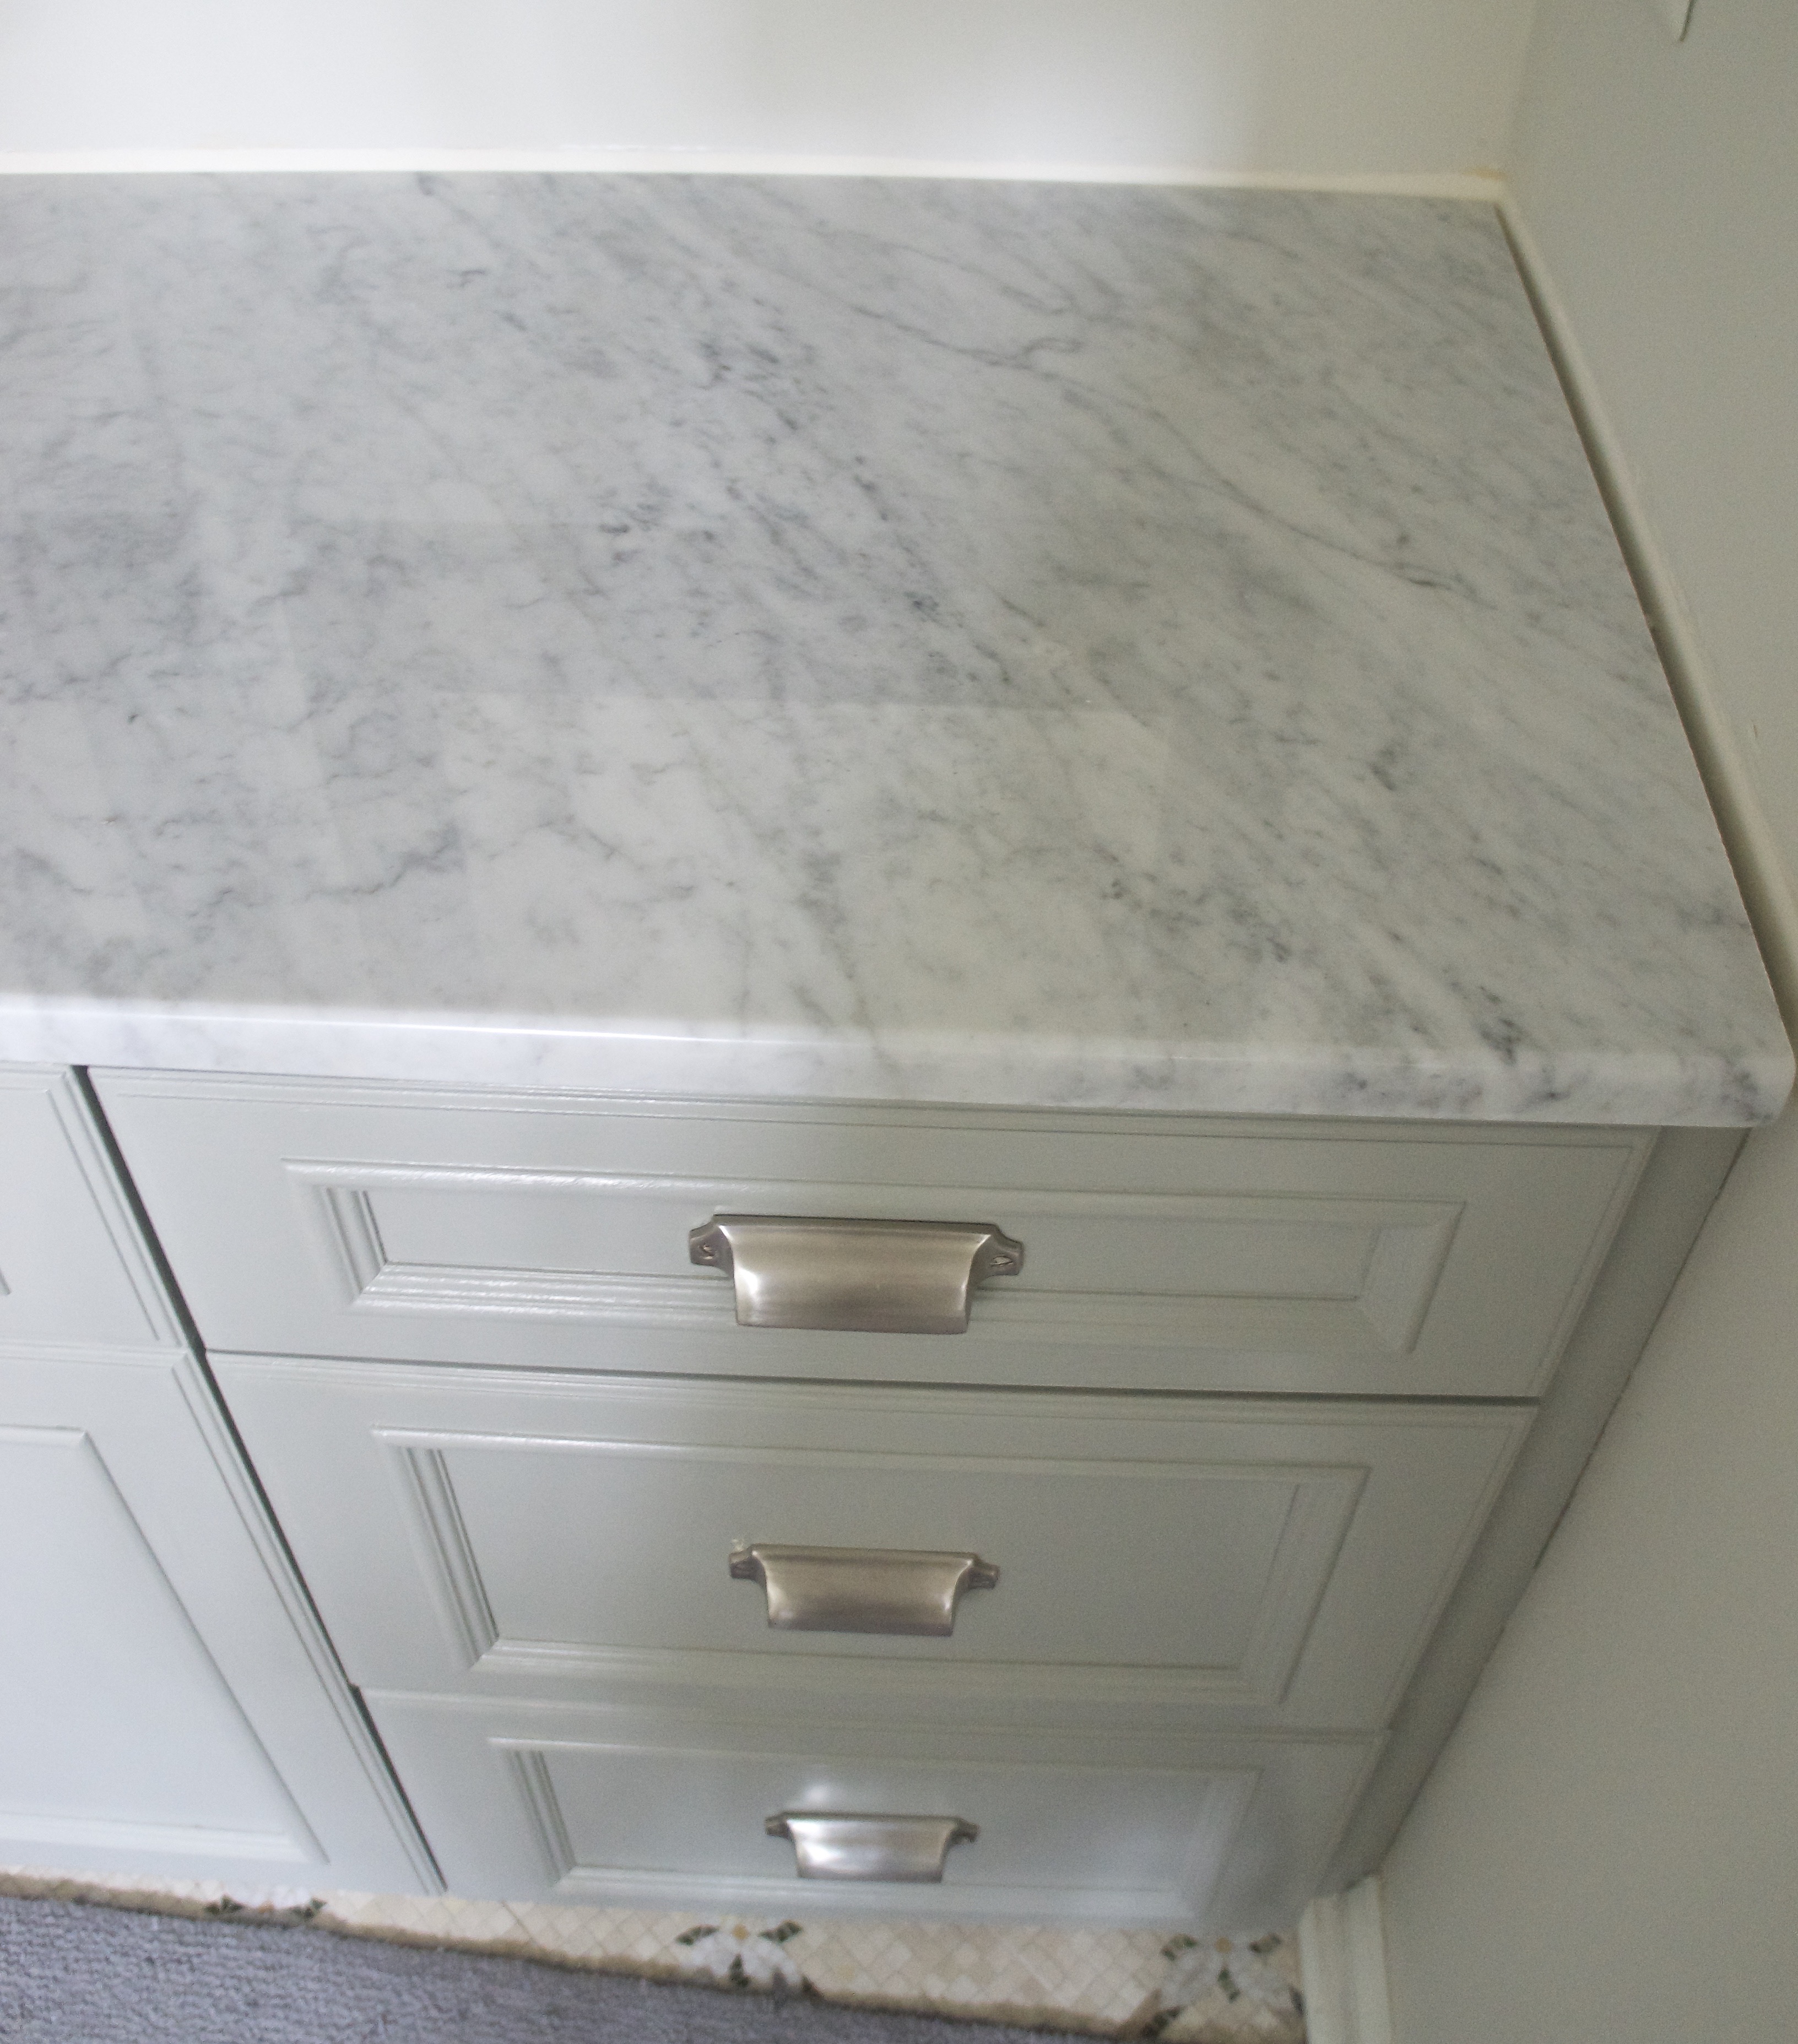
After pricing several places, I found a local granite store with a large lot of remnant pieces. Remnants are great options for bathroom vanities or small kitchens. Each remnant is priced the same per square foot, the only question is finding a piece you like that will fit your space. I took my measurements and found a piece of Carrera marble that came to $447, self installed, for a 53″ x 23″ vanity with a sink cutout and polished edge.
A week later it was ready to be picked up. Jason detached the plumbing fixtures and removed the original vanity top with a chisel and hammer.

He then pried the old sink (which we were reusing) from the wood, and scraped any remaining caulk from the edges.

The marble was surprisingly heavy, so it took both of us to slide it in place. Here’s a close-up:
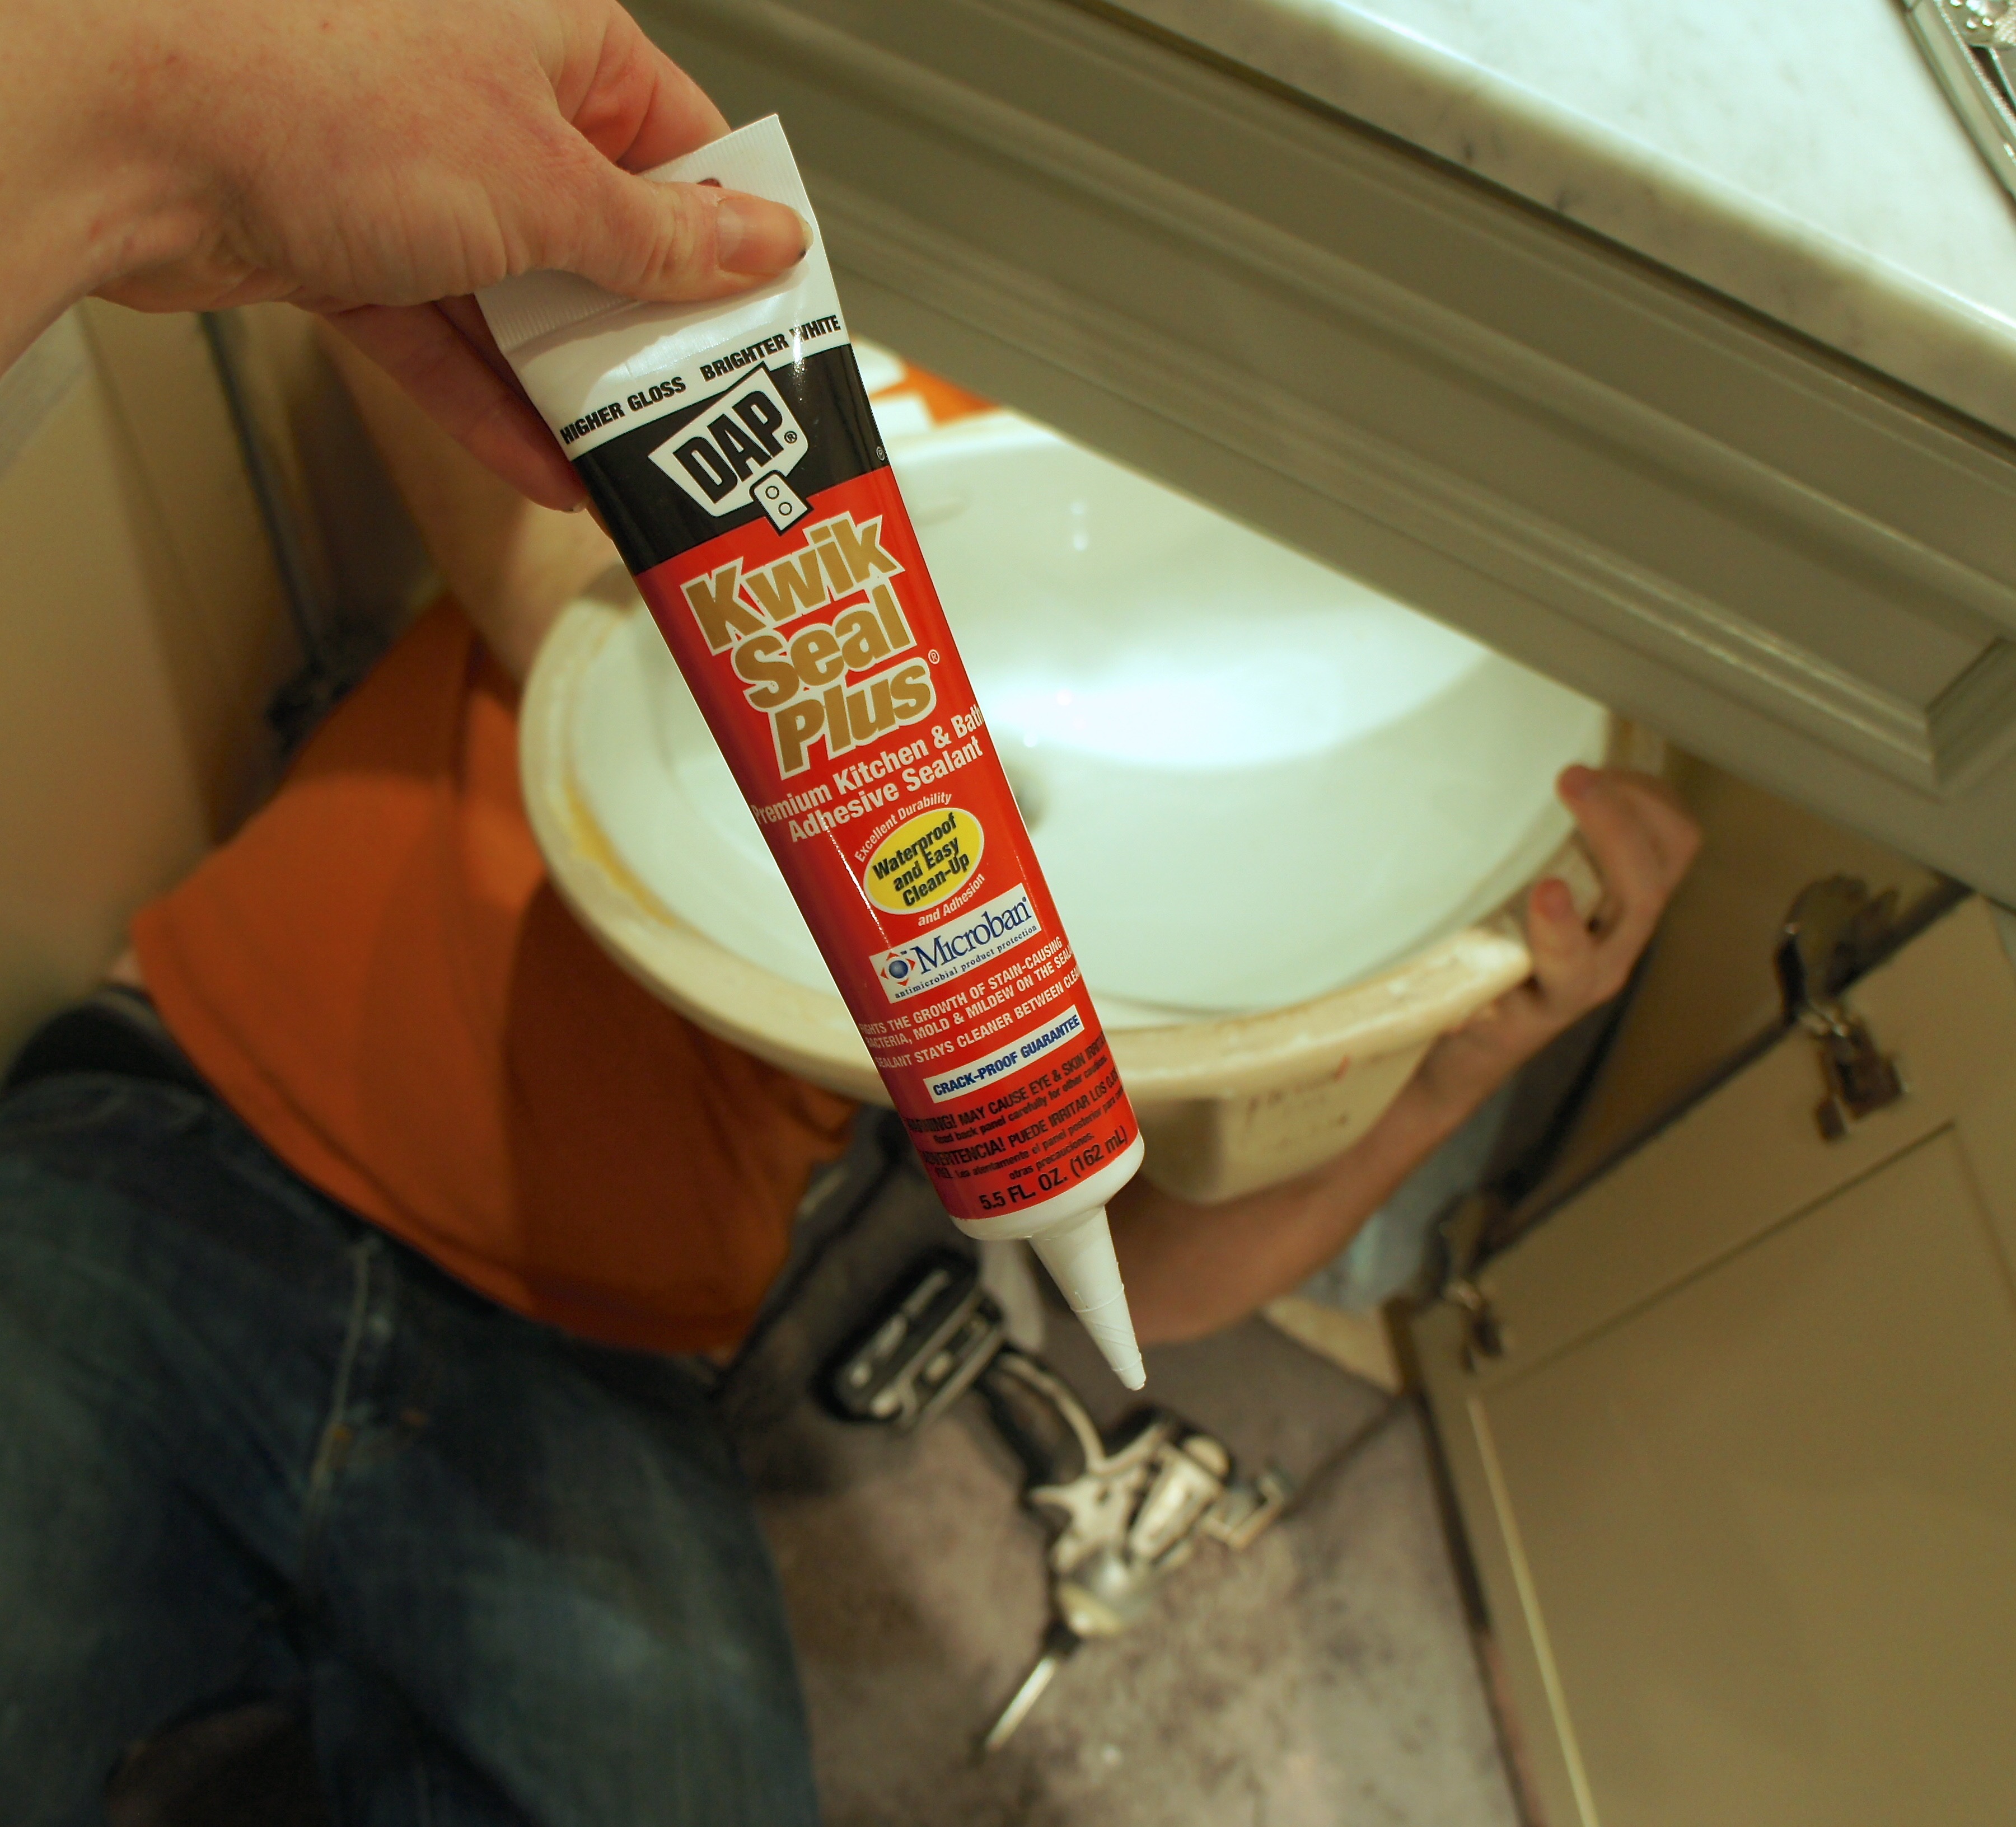
After squeezing a toothpaste thick smear of Kwik Seal around the lip of the sink, I guided Jason from above to get it in place. In Home Stone had drilled holes into the base to attach sink clips that secured the bowl.
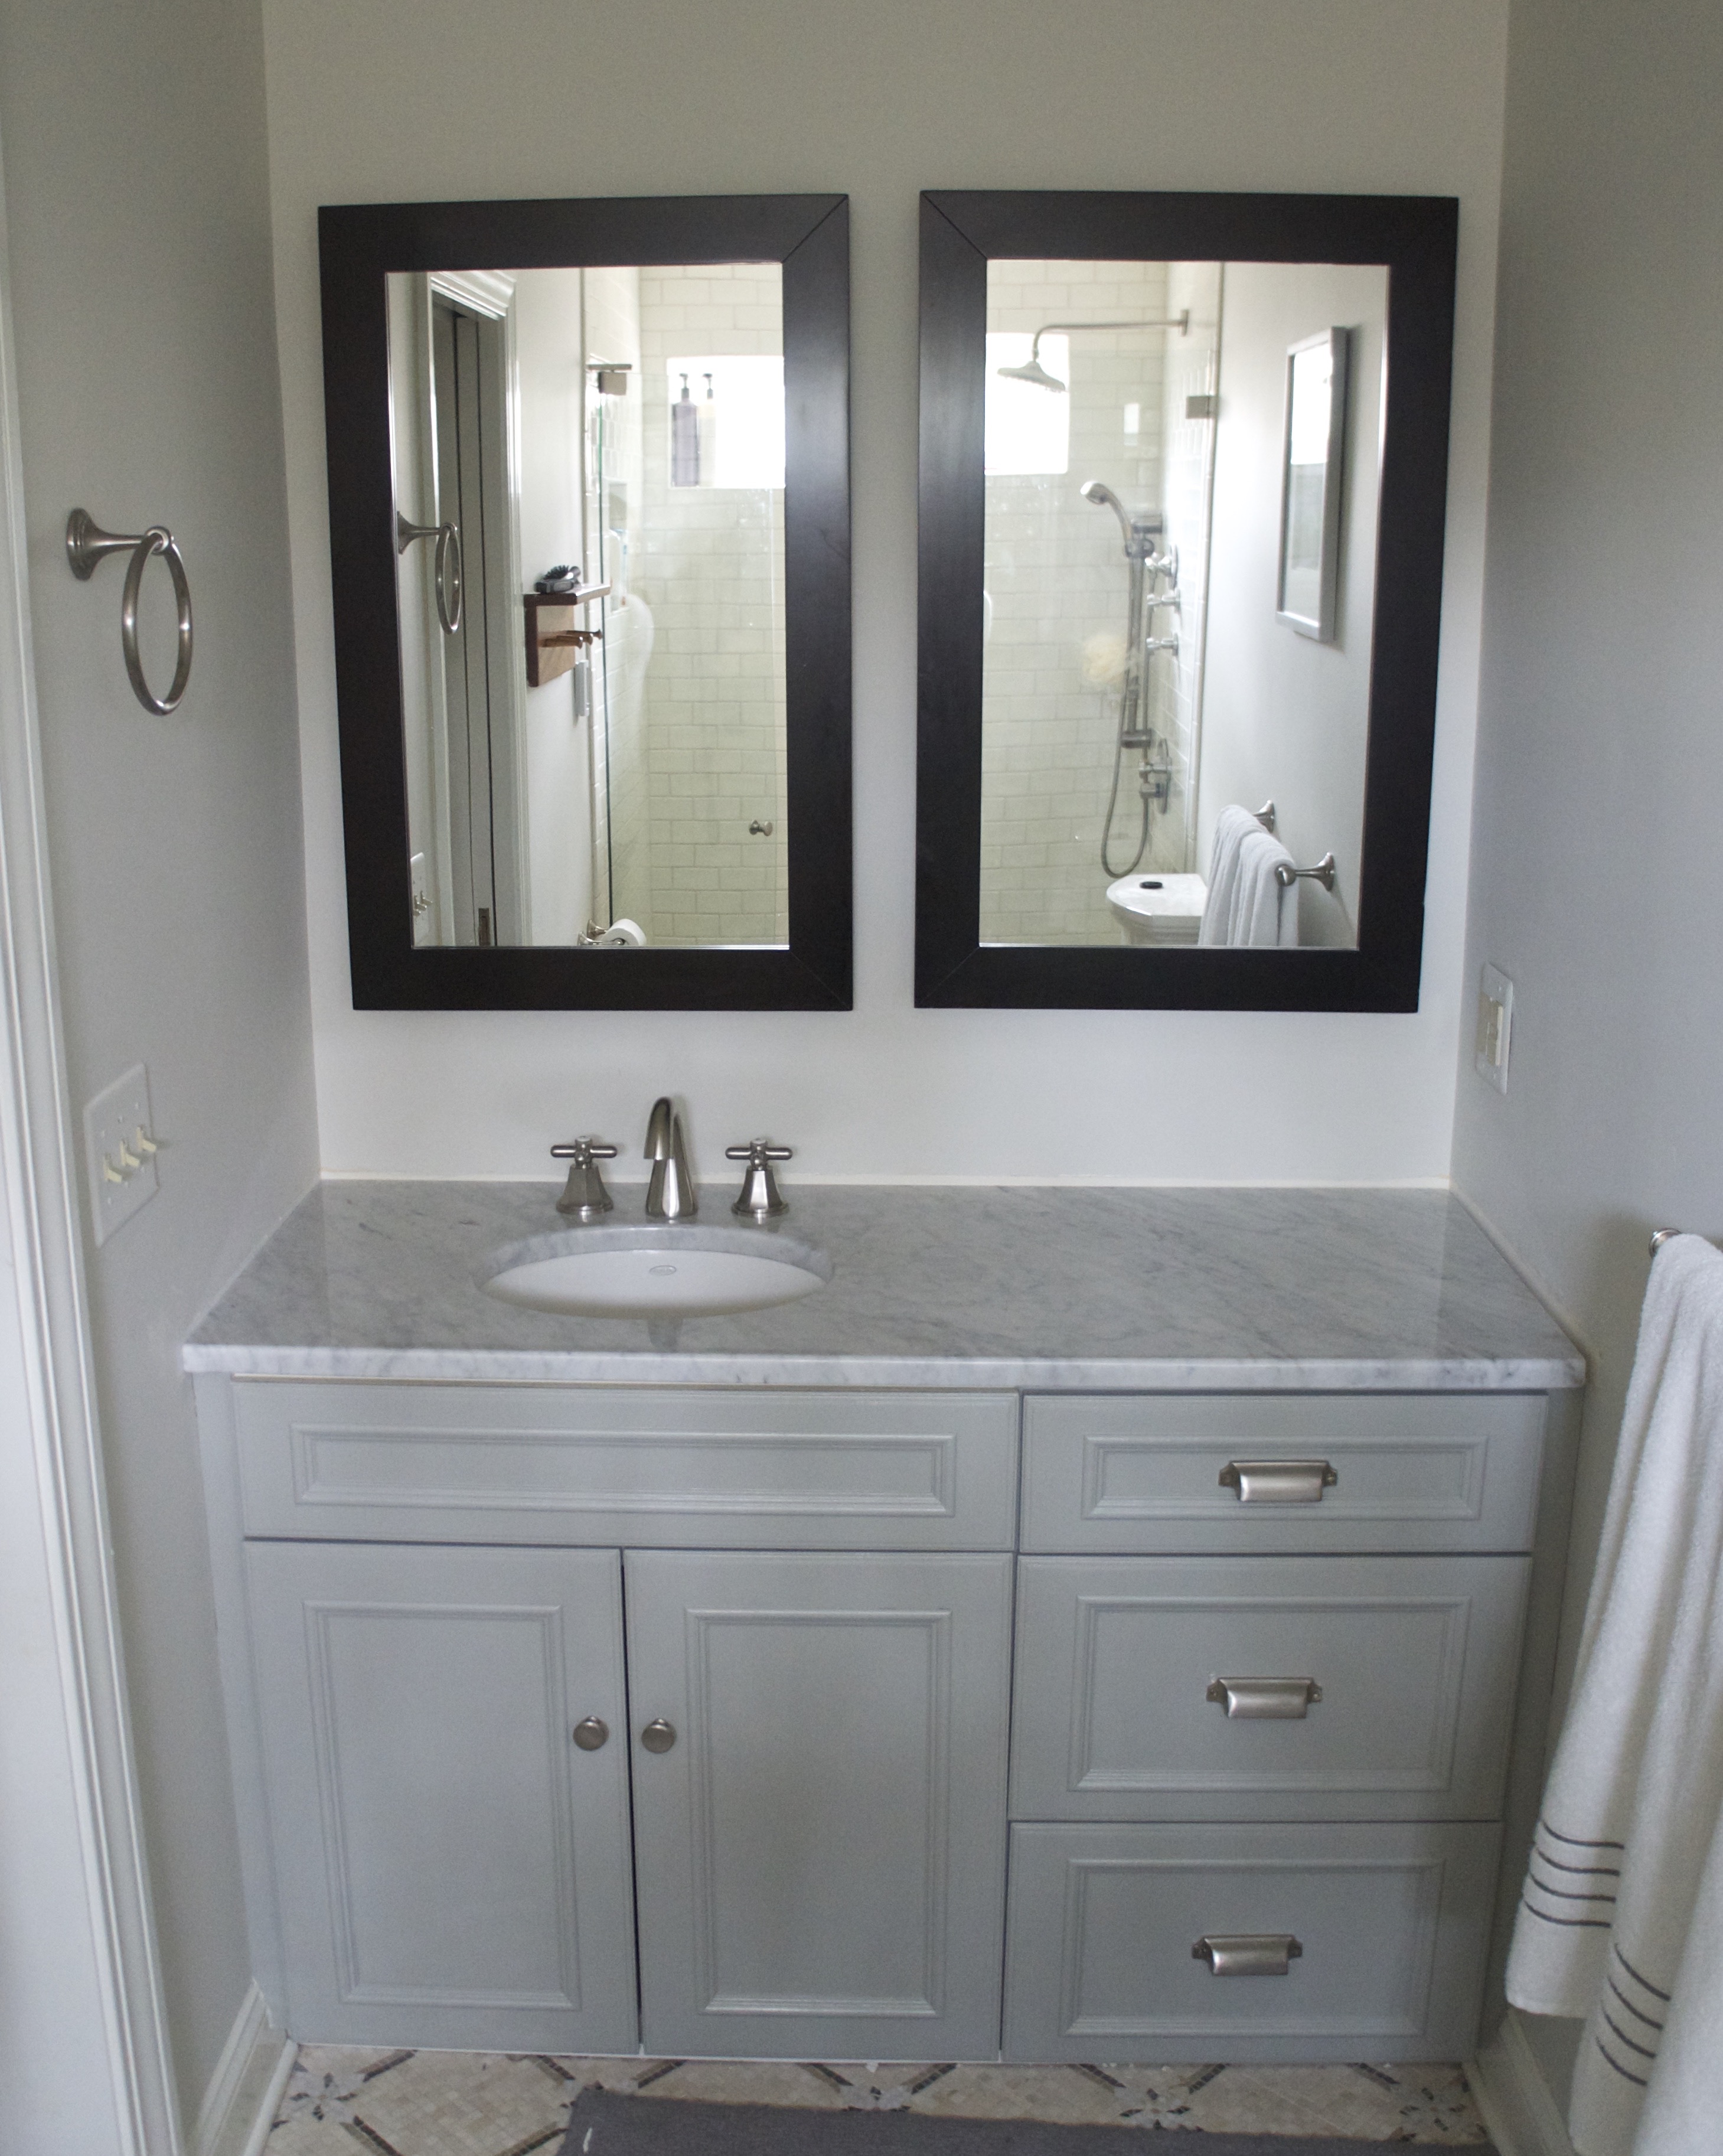
While we allowed the caulk to dry overnight, I gave the cabinets two coats of Benjamin Moore Aura in Fieldstone, replaced the hardware, and painted the walls in Benjamin Moore’s Halo. A little paint always makes a huge difference.

I was slightly anxious about the dark wood mirrors with the light vanity, but the end result was even better than I’d imagined. Best of all, we managed to create a whole new vanity for less than $500.
Once we finish the backsplash our master bathroom upgrade will be complete.
