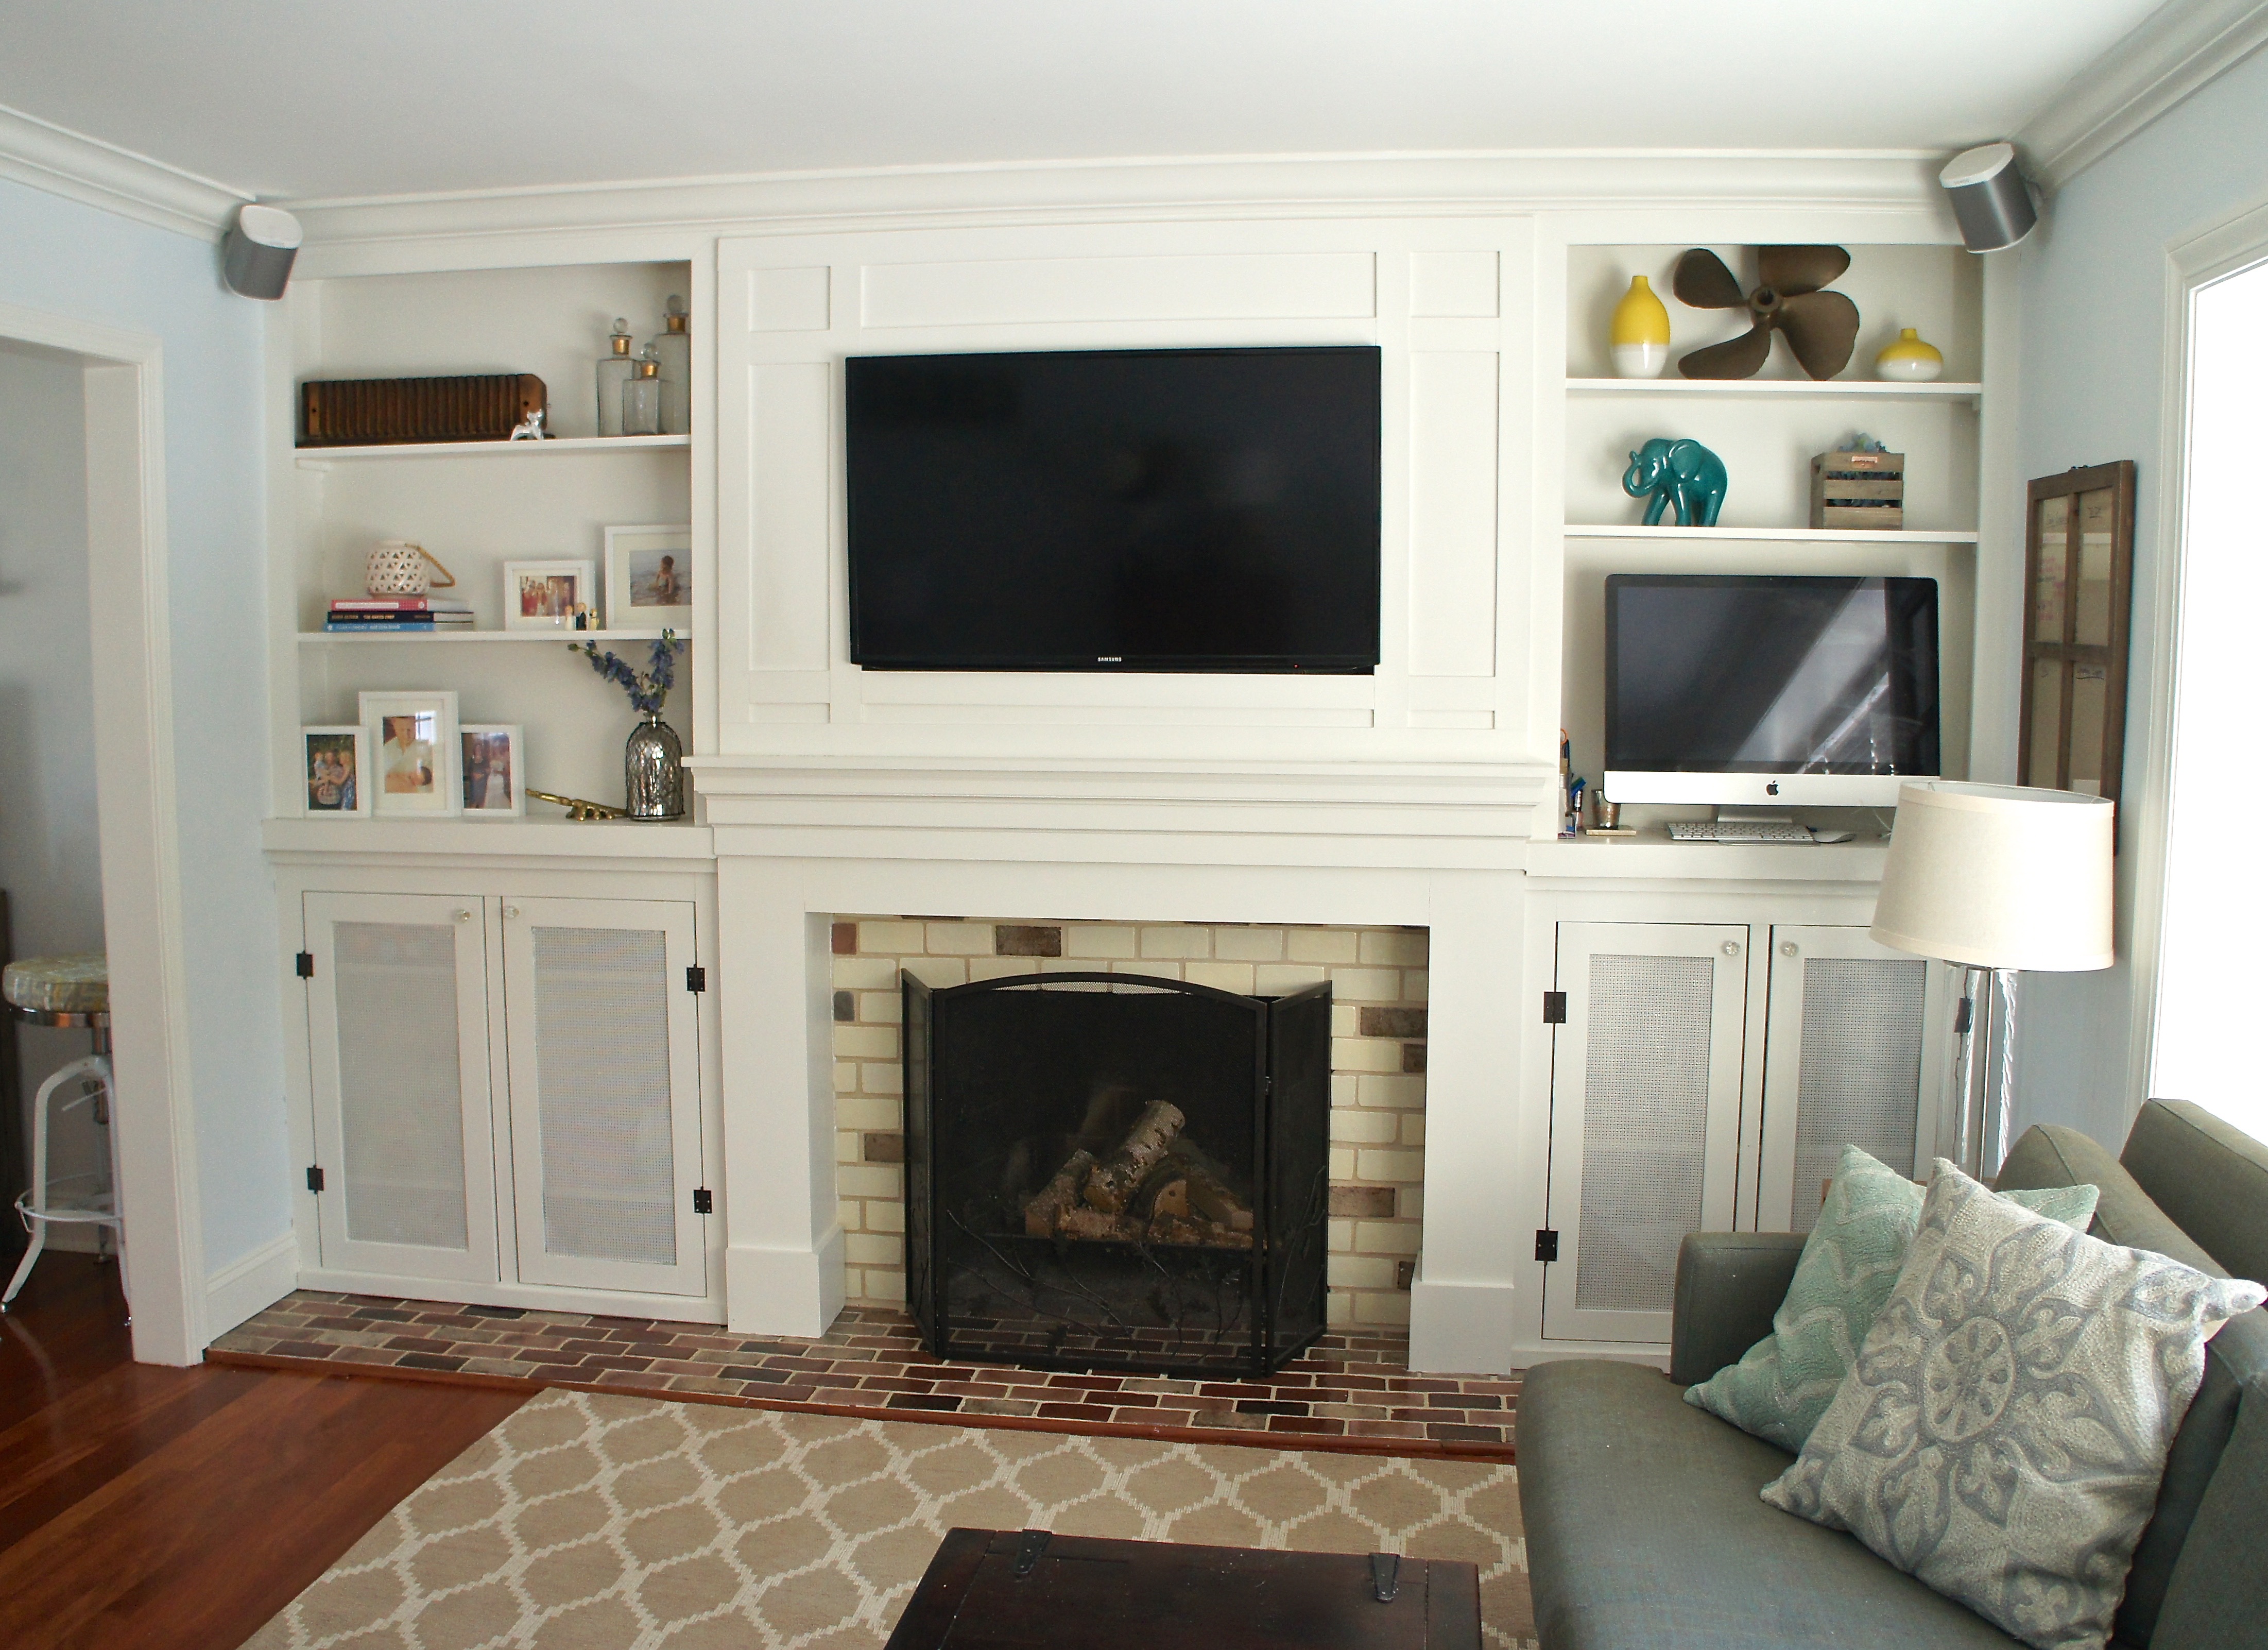
The living room isn’t totally finished, so if you’ll excuse the missing sections of crown molding (we haven’t found a match, yet) I’m going to pretend like it is. We’re going to be on vacation all week and I’m anxious to get this posted. Without further ado, our big reveal:

A lot has changed since we began this project a couple weeks ago:
Big difference, right? The cabinets kind of looked like they were swallowing the fireplace whole.
We weren’t sure where to start, so after debating for weeks, J came home from work one Tuesday to a living room that looked like this:
Suddenly he was motivated. We decided to make new built ins that were 6″ narrower on each side, to make the fireplace the focal point. Thanks to a slew on YouTube videos, we figured out how to build a cabinet frame and doors. We gained a little more confidence after getting the first built in completed:
After wall mounting our flat screen, we played around with several types of trim until we came up with a mantle design. We built our new mantle, and then framed in the television.
The wiring for the tv runs through the mantle to the cable and outlets inside right hand cabinet. This saved us the expense of an electrician. I used decorative metal for the cabinet door frames, so the remote controls transmit through.
Piece of cake, right? Not so fast. When we pulled out the bookshelves we found the hardwood flooring didn’t extend beneath them. The whole point of this project was to increase our living space by removing the 27″ deep bookshelves and making the new depth 8″, so we now had 20 square feet of bare subfloor in our living room. As pretty as the new mantle was, it didn’t make up for that.
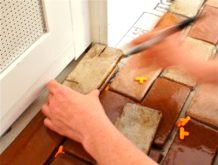
Knowing we would never be able to match the hardwood, we came up with the idea of using a brick-like tile to create the look of an extra long hearth. It was our best idea, so we figured it was worth a shot. I found the perfect handcut, glazed clay tile at our local tile store, but it was more than I’d ever considered paying, $18 a square foot. I spent a week trying to find something cheaper, but when Jason caught me googling “Annapolis kiln’s for public use” (admittedly, I can get a little crazy on the DIY stuff) he told me to suck it up and make the big purchase. I was going for more of a 1980’s look to tie in the modern trim with the age of the house, and I think the tile definitely did that:
For the fireplace itself I chose a creamy white tile from the same manufacturer to pull everything together. Unfortunately, I didn’t buy quite enough. When tiling you need 10% more to account for waste from the pieces you cut, and I tried to save money by buying the exact amount. I was three pieces short, and after paying $85 for freight shipping the first time I wasn’t about to order more, so I used some of the lighter colors from the hearth randomly placed in the design. It actually turned out even better and gave it another dimension. I did a couple posts on
laying tile and
grouting for anyone looking for how-to’s.
Once we get all the tools out of the left-hand cabinet it will be a great place to stash toys, and my office is built into the shelving, so we have a multi-functional space. We still need to make a pull out shelf for the keyboard, but the computer fits perfectly. I hung a large photo frame on the wall as a dry erase board to write out my project ideas, to-do lists, and daily calendar.
The room is desperately needing some color, there’s a whole lot of beige going on. I’m toying with painting my bar-stool/desk chair a teal and doing something to the backs of the bookshelves. Luckily there are a lot of other bloggers out there with some excellent skills in that area for inspiration. I’ll post some progress when we get back, but for now, we are in the sunny Caribbean! Have a great week, we’ll be back soon!
Tags : before and after, built ins, Carpentry, DIY, fireplace mantle, framing tv, media center