
I almost titled this post, “How to Fix Your Jacked Up Walls,” because at the moment, that’s how I feel about our living room. I decided to go a classier route, though. This technique can be applied to various materials by changing the product you use. If you’re working with metal, use Bondo. Bondo is what they use to fix dents in automotive repair. I discovered it when I drilled holes in our steel front door for a door knocker that didn’t end up fitting.
I drill a lot of holes incorrectly, like the time I tried to hang Whitey, our resident White Marlin:

and somehow drilled straight through the waste water line:

See the hole on the other side of the wall? That’s because I drilled through both sides of the pipe. I hit the metal pipe and kept going, thinking it was a stud (a stud that kept wiggling around as I drilled). We realized it when I brushed my teeth and water began pouring out of the wall in the living room. Jason had to cut holes in both sides of the wall to fix the pipe with plumbers caulk. Lesson learned.
This post is dedicated Bailey Hollander (she’s the one with the big ears):

Who gets anxious when she’s left alone, and does things like this:


Fast N’ Final is quick drying, small holes can be sanded in 2-4 hours, the more layers you have the longer the dry time will be.

Dipping the putty knife in water can help you smooth, if it drying too quickly and looking coarse.

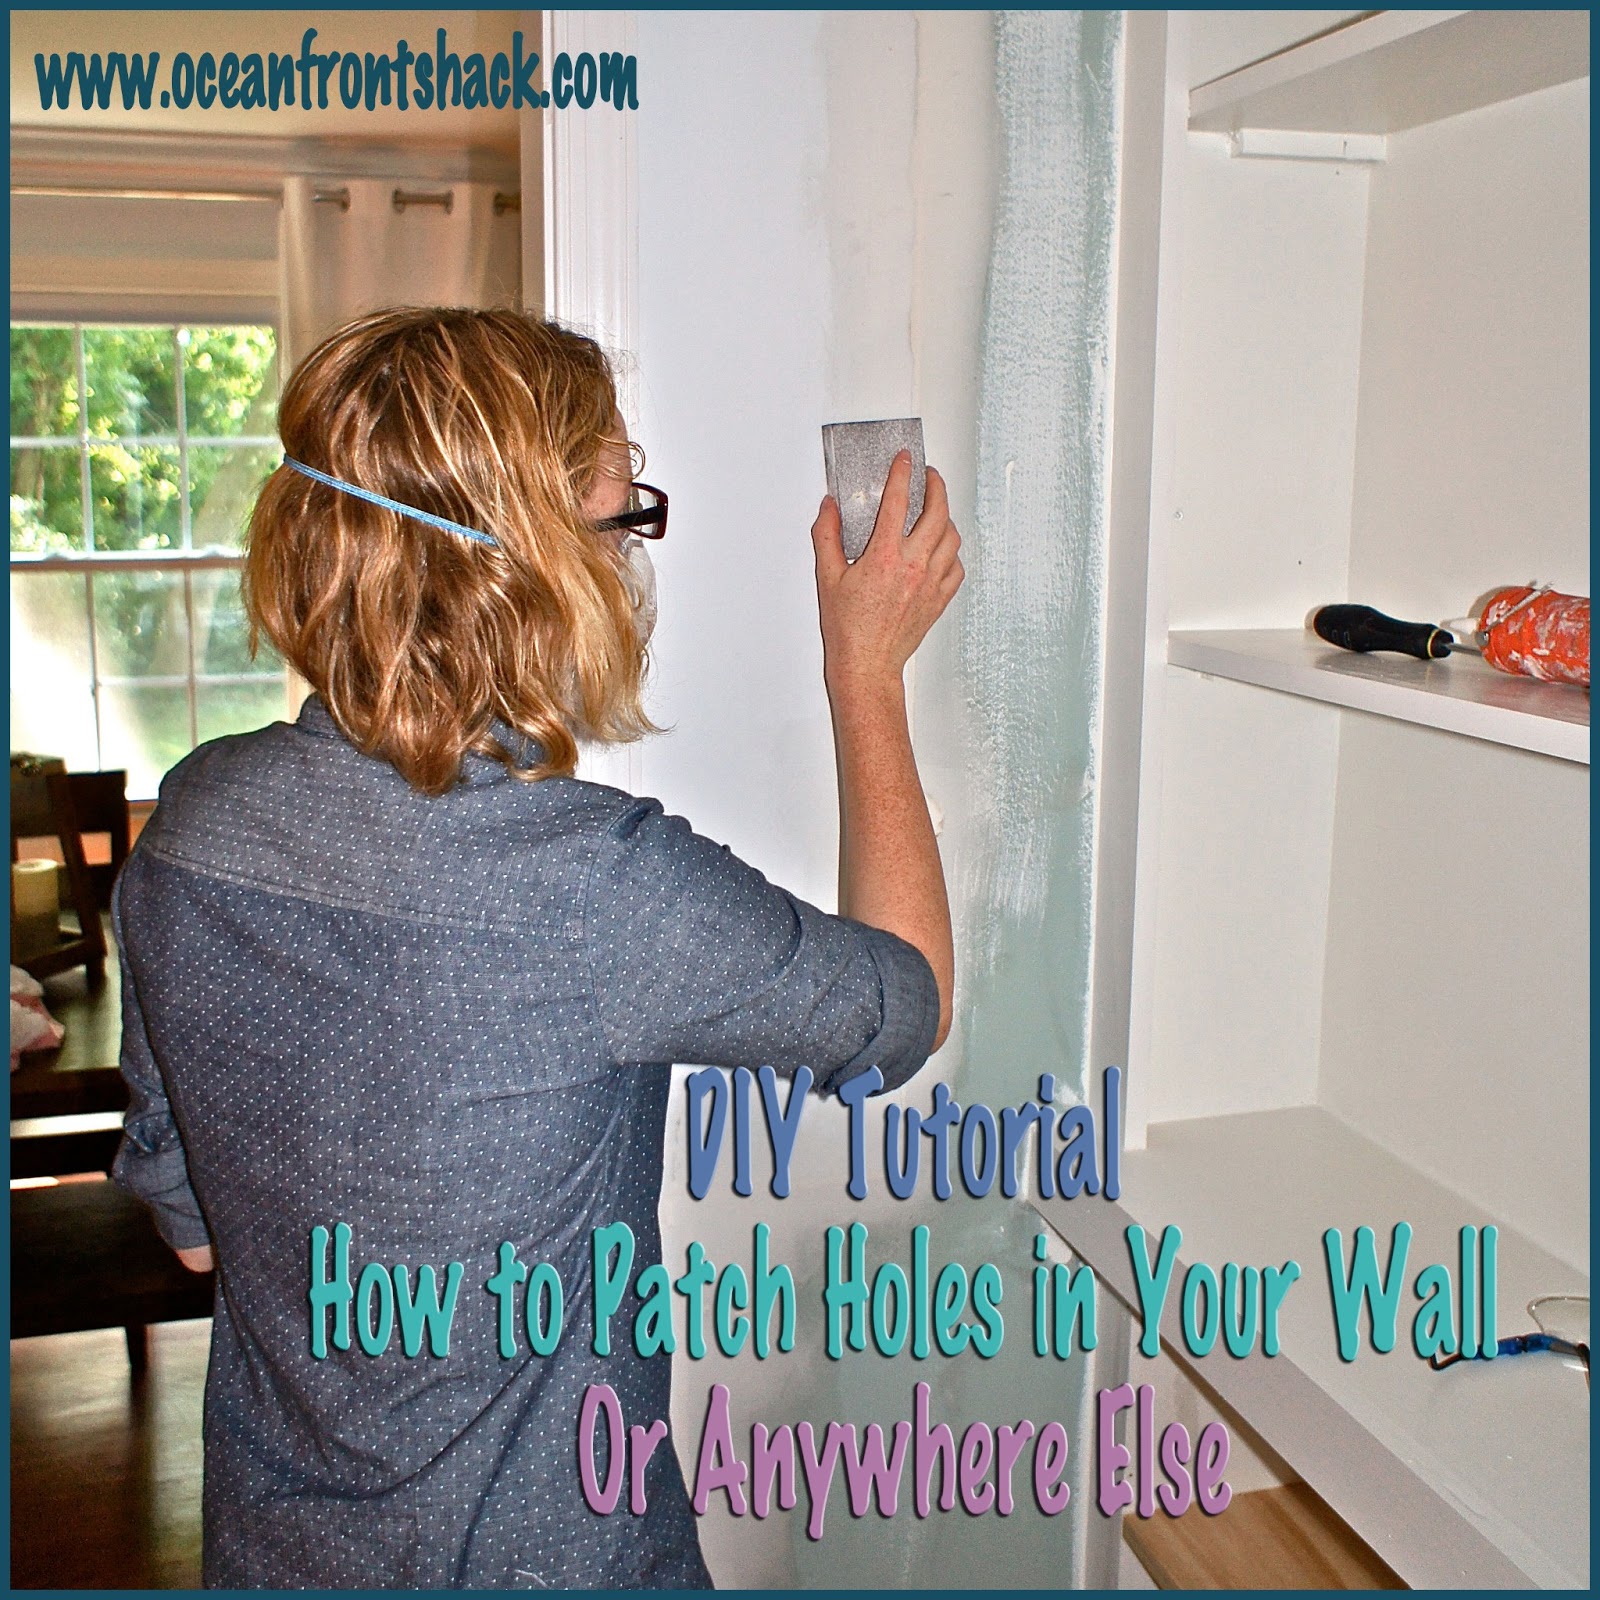
I use a very light touch when sanding. If I layered properly and did my smoothing with the putty knife, I’m just feathering the edges of my spackle to blend with the wall. When working with molding I start with a coarse, 120 grit sanding block, to shape the new “wood” I’ve created. Once it is pretty close to level with the rest of my trim, I switch to a 220 grit to finish. Sanding blocks start at 60 grit, which is the roughest, and keep going upwards. I use 200-220 grit for drywall.
This is my final product:


It doesn’t look like much now, but two coats of paint and we will have less scary looking walls.
Jason is building cabinet doors now, so we are almost done with these built-ins. We used this tutorial from Our Home From Scratch, I can’t tell you how much help it was!
Tags : DAP Fast N FInal, DIY, drywall, patching hole in wall, repair, spackle
